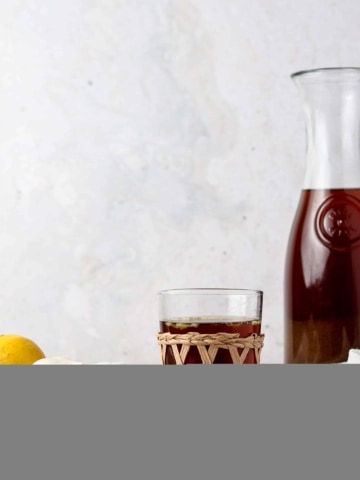
This Honey Simple Syrup is perfect for all of your mocktail and cocktail needs. It is simple and it tastes oh so good. I have been making this recipe for years and it is finally making its place on my blog. This paleo simple syrup goes perfect in just about anything, from homemade lemonade and all of your yummy cocktails and mocktails.
I love a fun sweet drink especially during the summer, but I try to avoid refined sugar for both my gut and mental health. Sugar gives me the worst anxiety. This paleo simple syrup is a great alternative. It is perfect for all of your nights in and hosting needs. No one will even know it is refined sugar free!
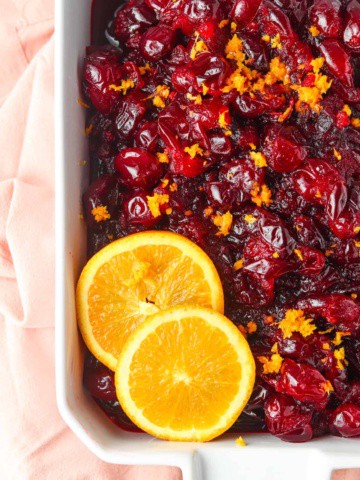
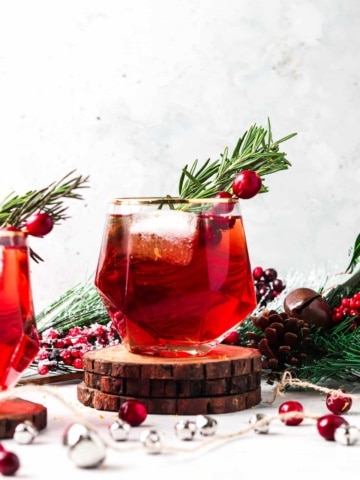
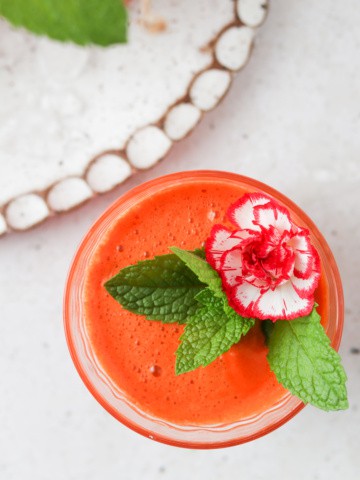
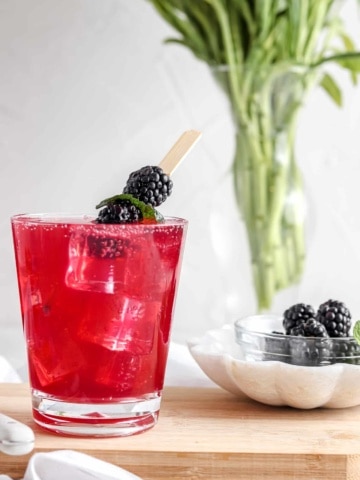
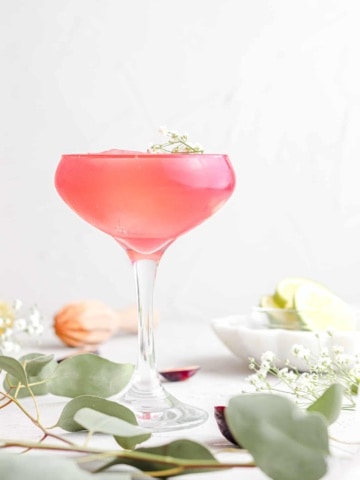
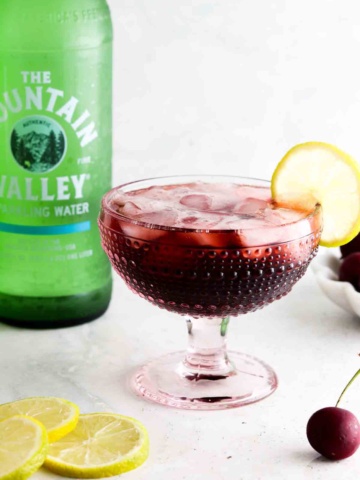
I have developed a variety of mocktail recipes since giving up alcohol. Some of my favorite mocktail recipes are: Pineapple Margarita, Key Lime Pie Mocktail, Blood Orange Mojito, Cherry Mocktail, Cranberry Mocktail with Orange and Lime, The Best Watermelon Margaria Mocktail and Apple Margarita. You will also love the Strawberry Simple Syrup and Homemade Elderberry Syrup on my blog too!
[feast_advanced_jump_to]Why You Will Love This Simple Syrup Recipe
- It is so simple! With just two ingredients, you get a versatile base sweetener for any mocktail, drink, or tea.
- There is little mess only needing one pot to make!
- You can bulk make this so you always have it on hand.
- This recipe is naturally soy free, dairy free, refined sugar free, and paleo.
- I love to use this honey syrup recipe in my healthy raspberry lemonade drink recipe!
- If you are local to the Pittsburgh area, we occasionally have mocktail recipes on our weekly meal prep menu.
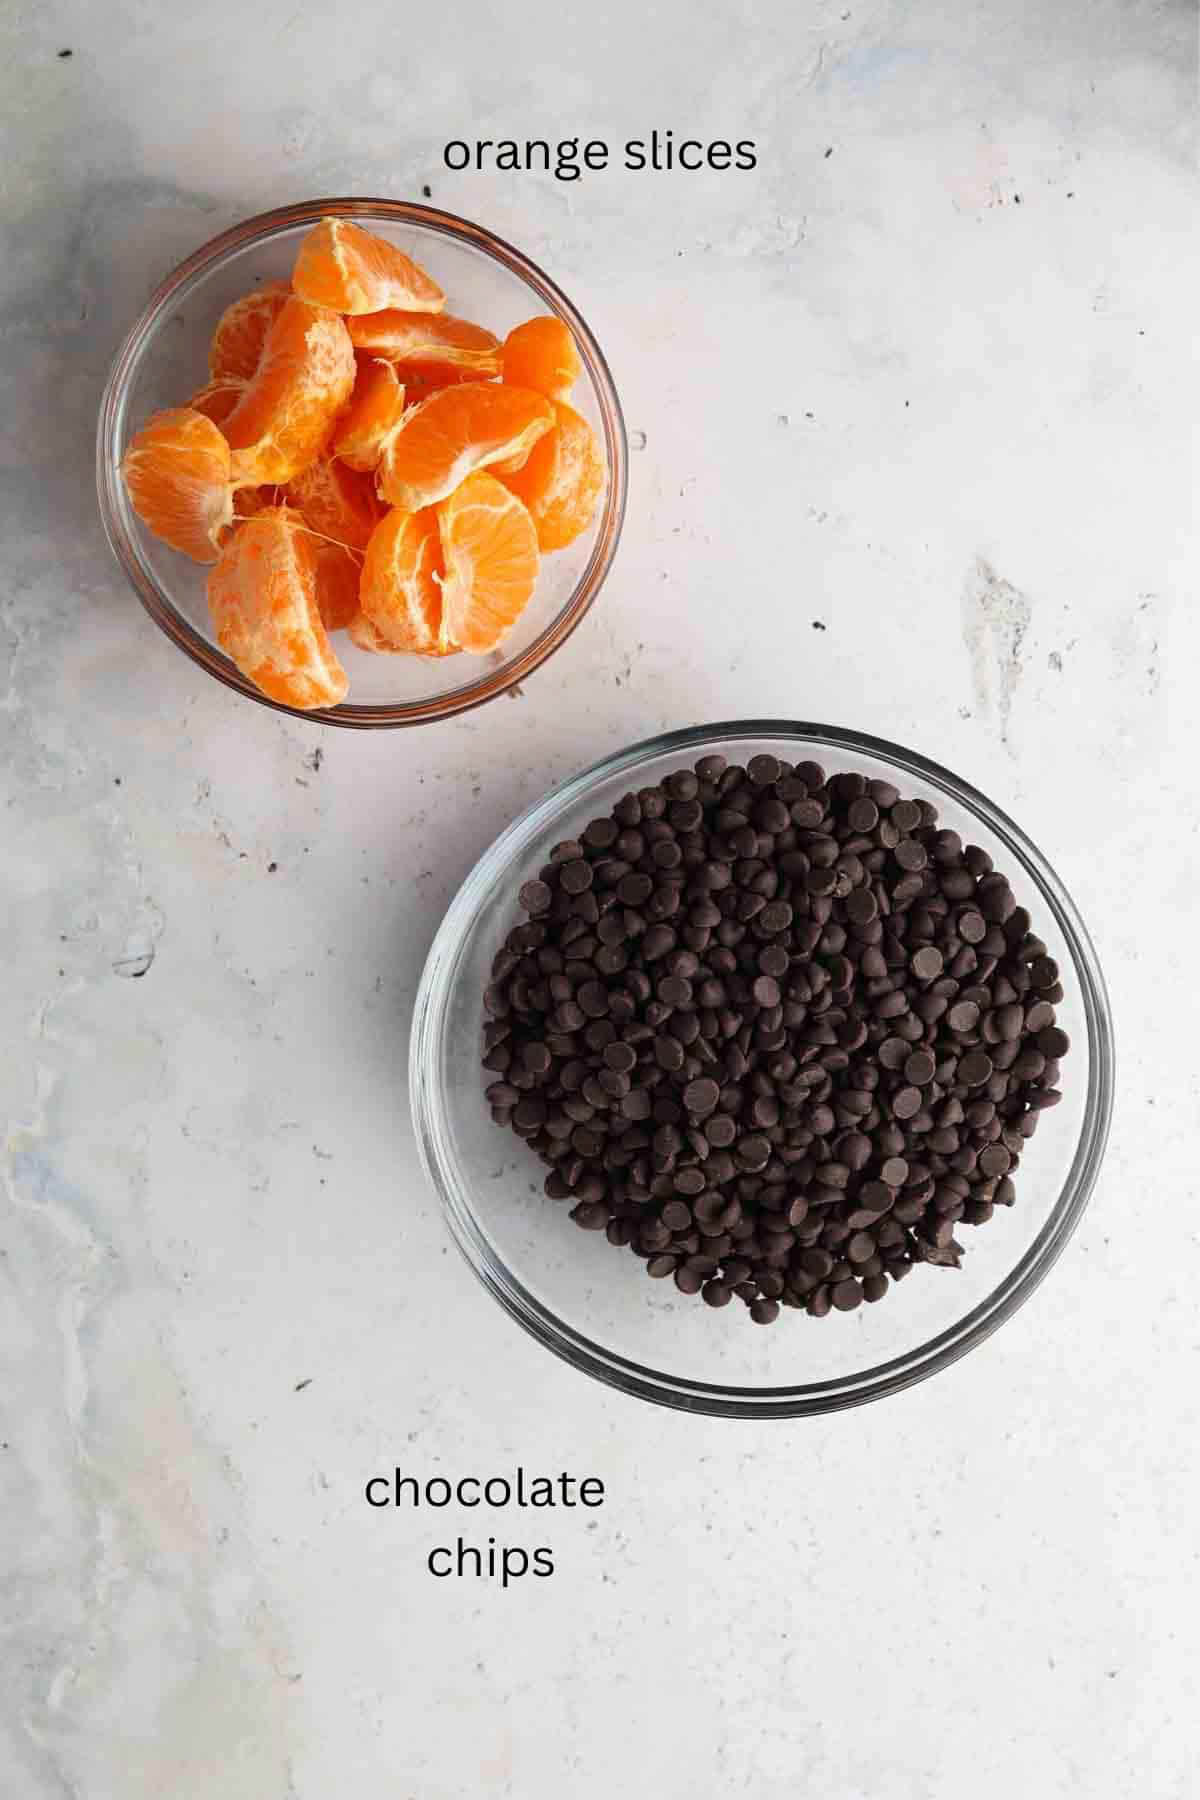
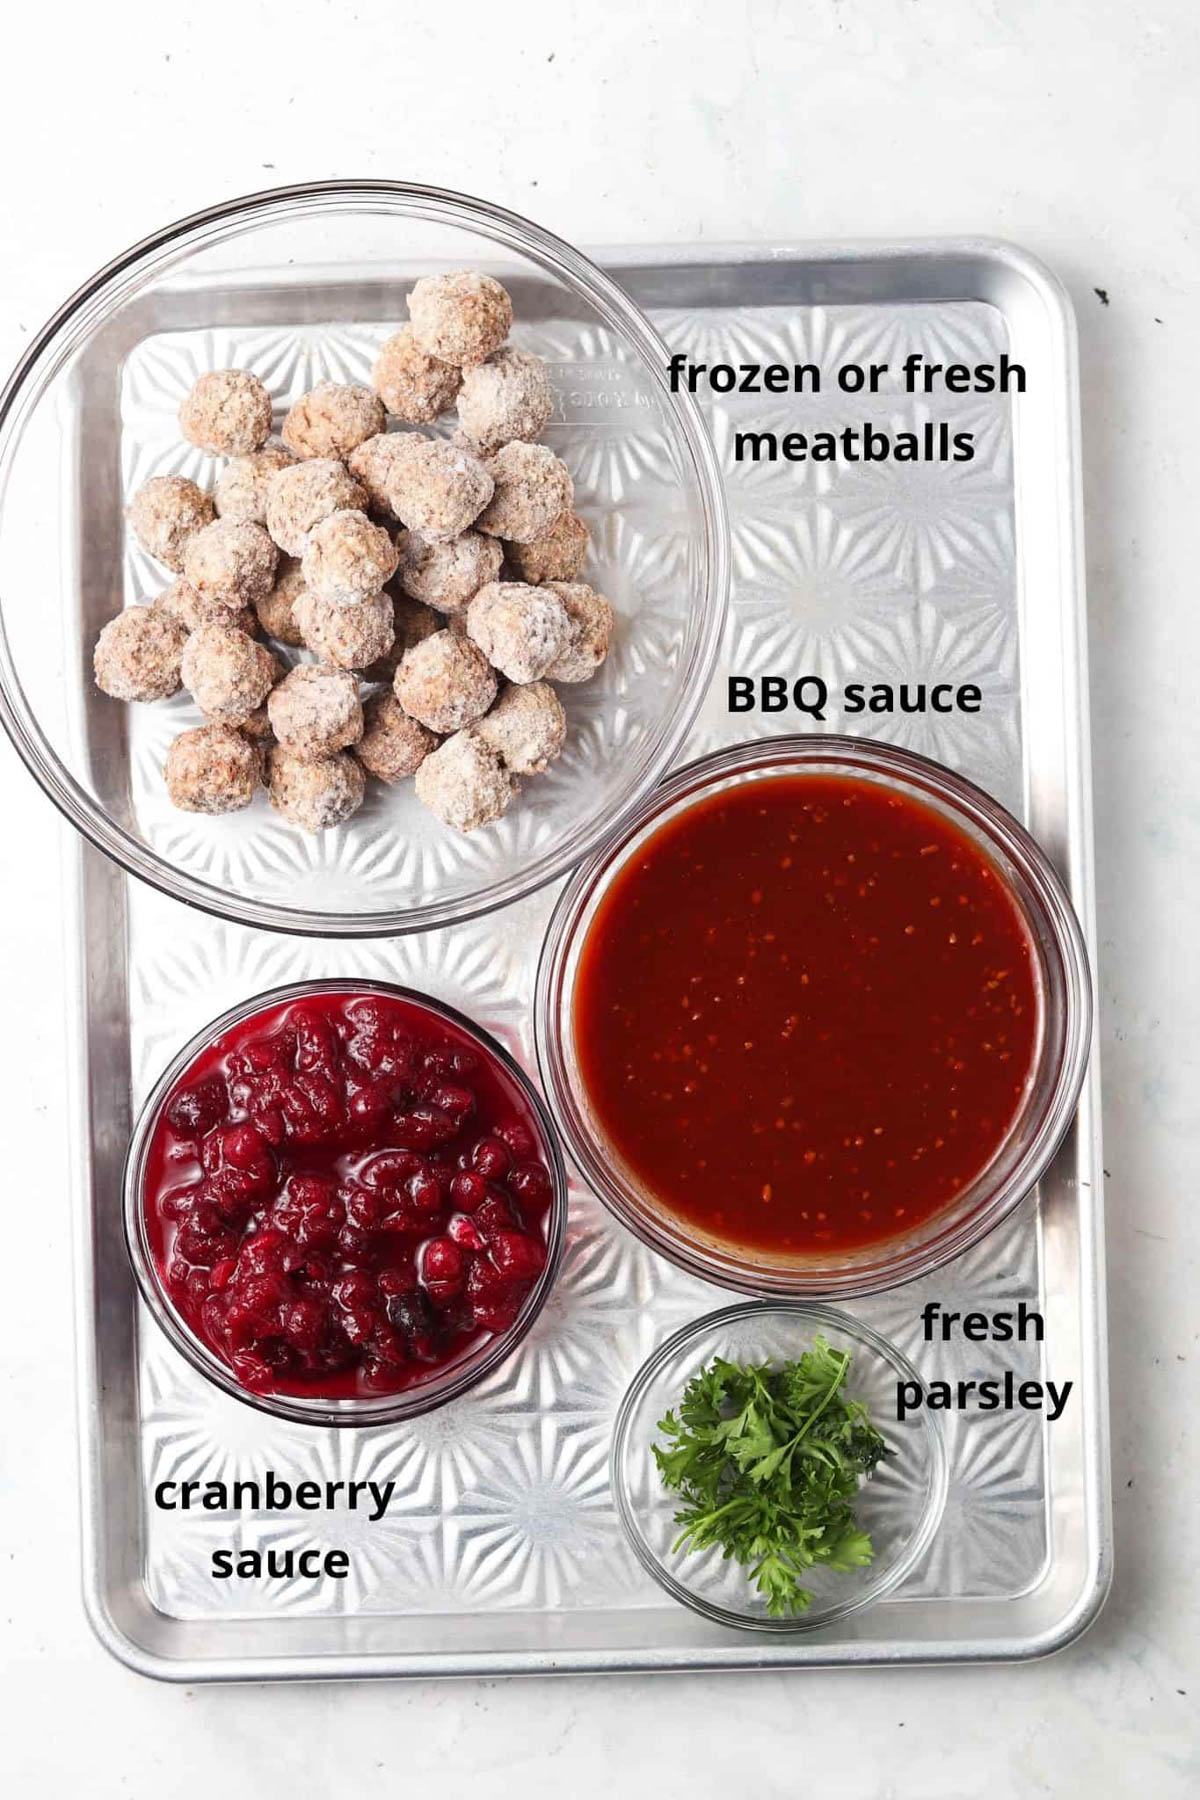
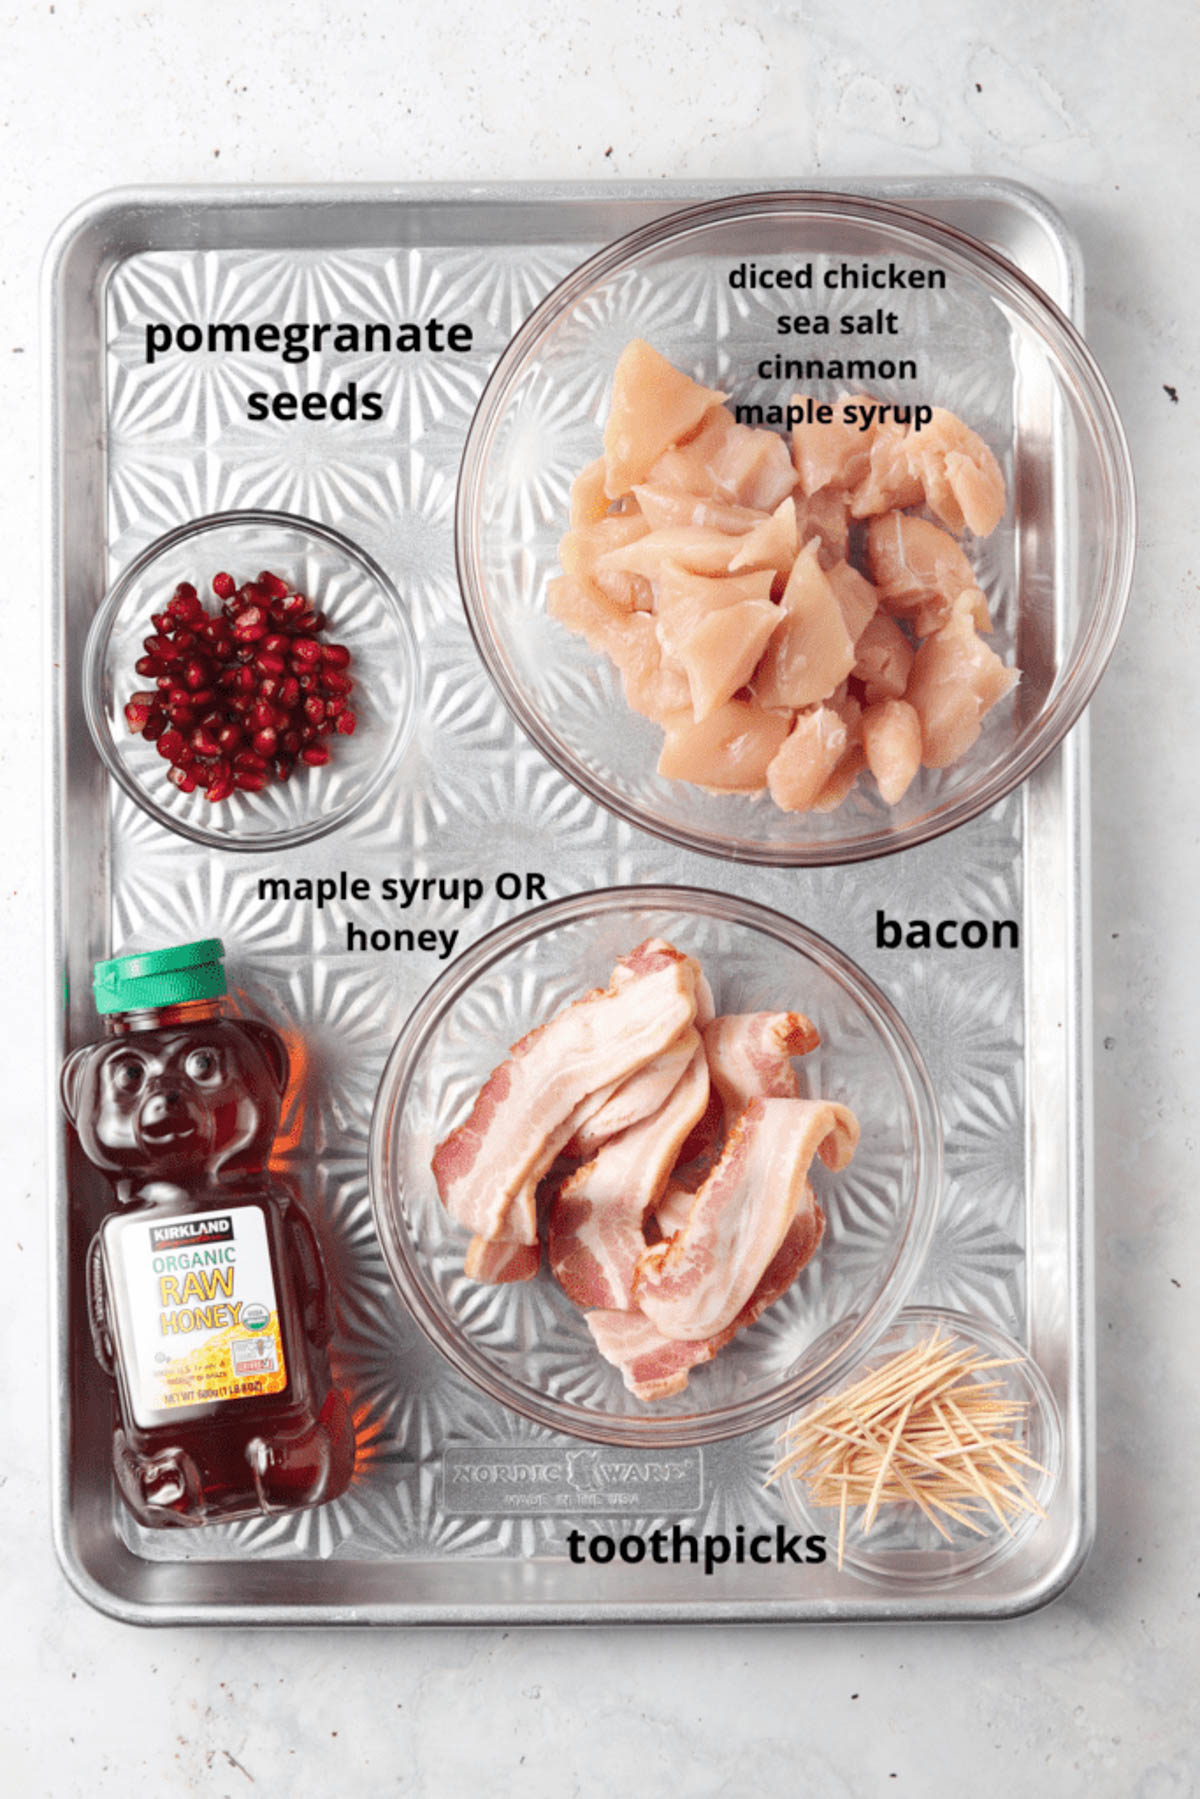
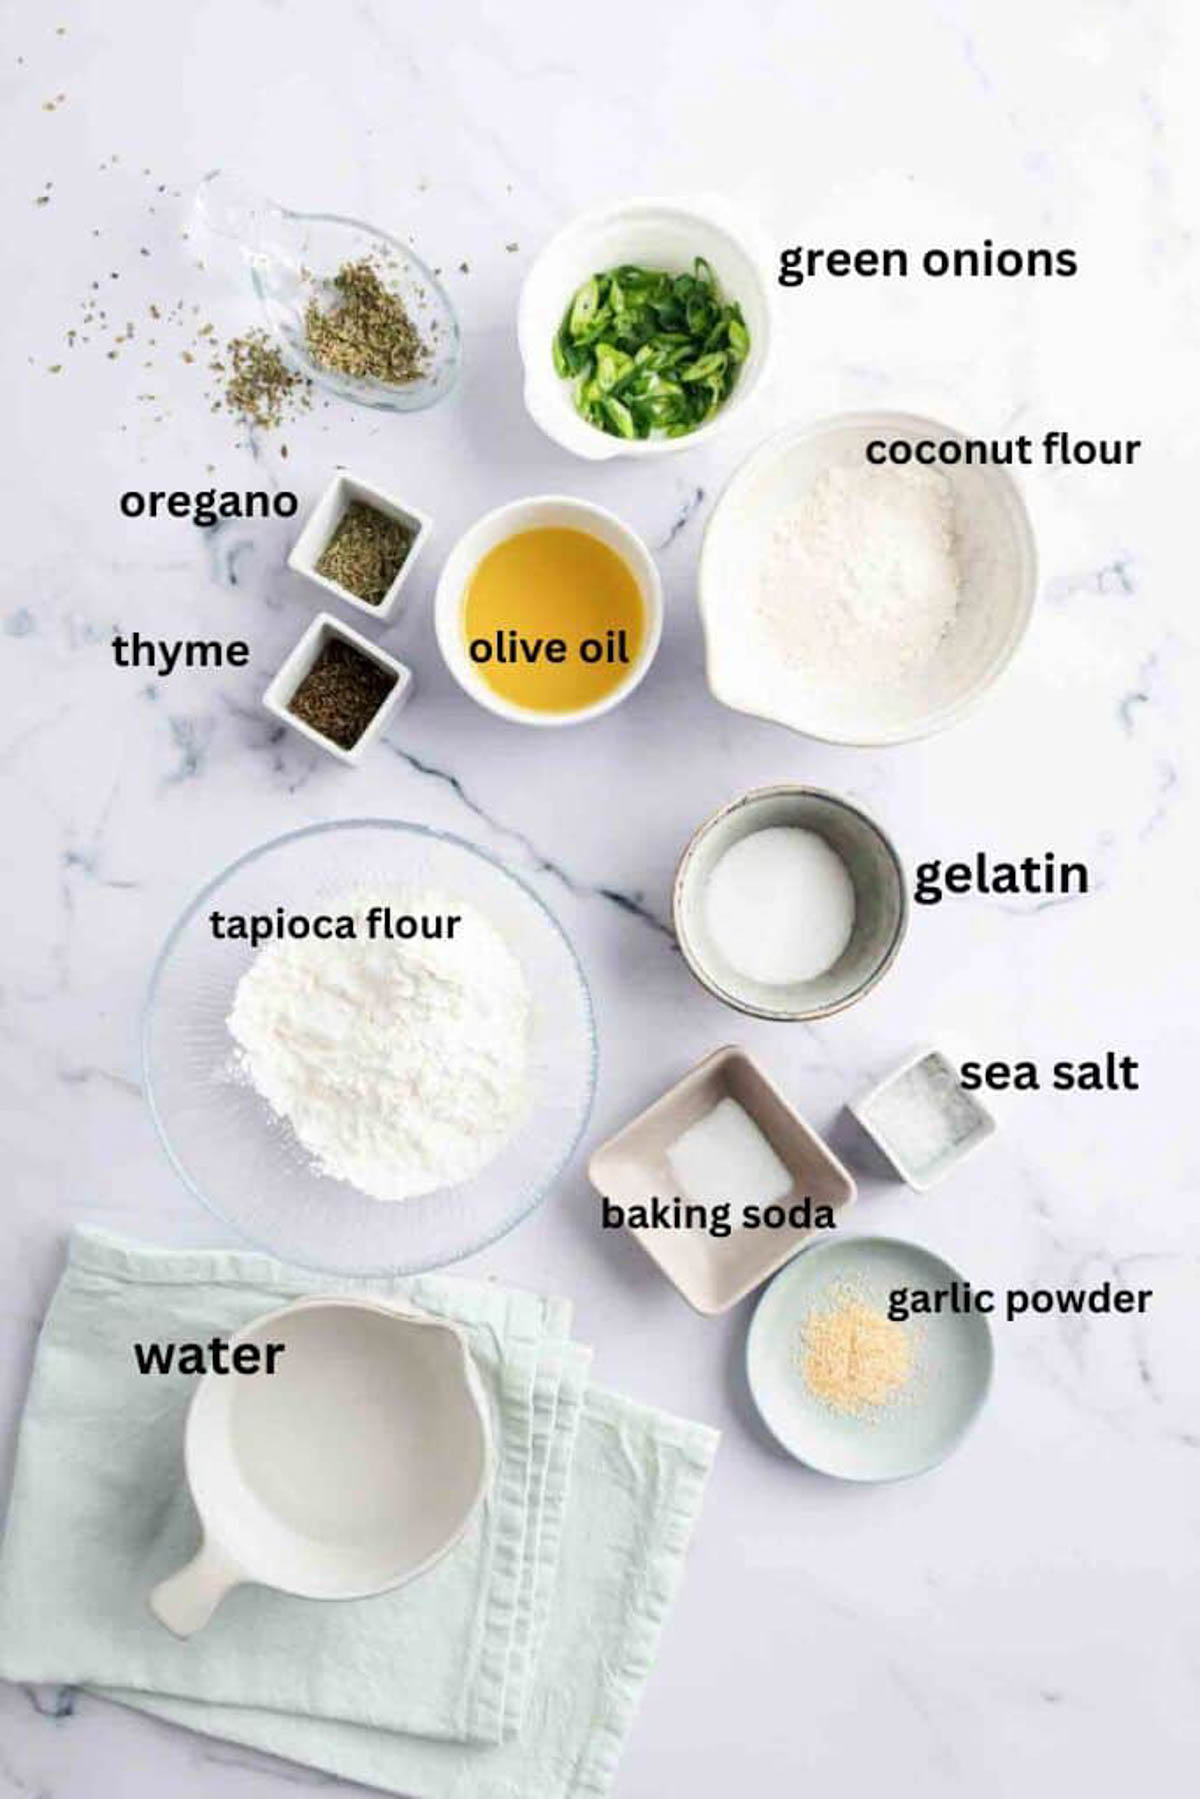
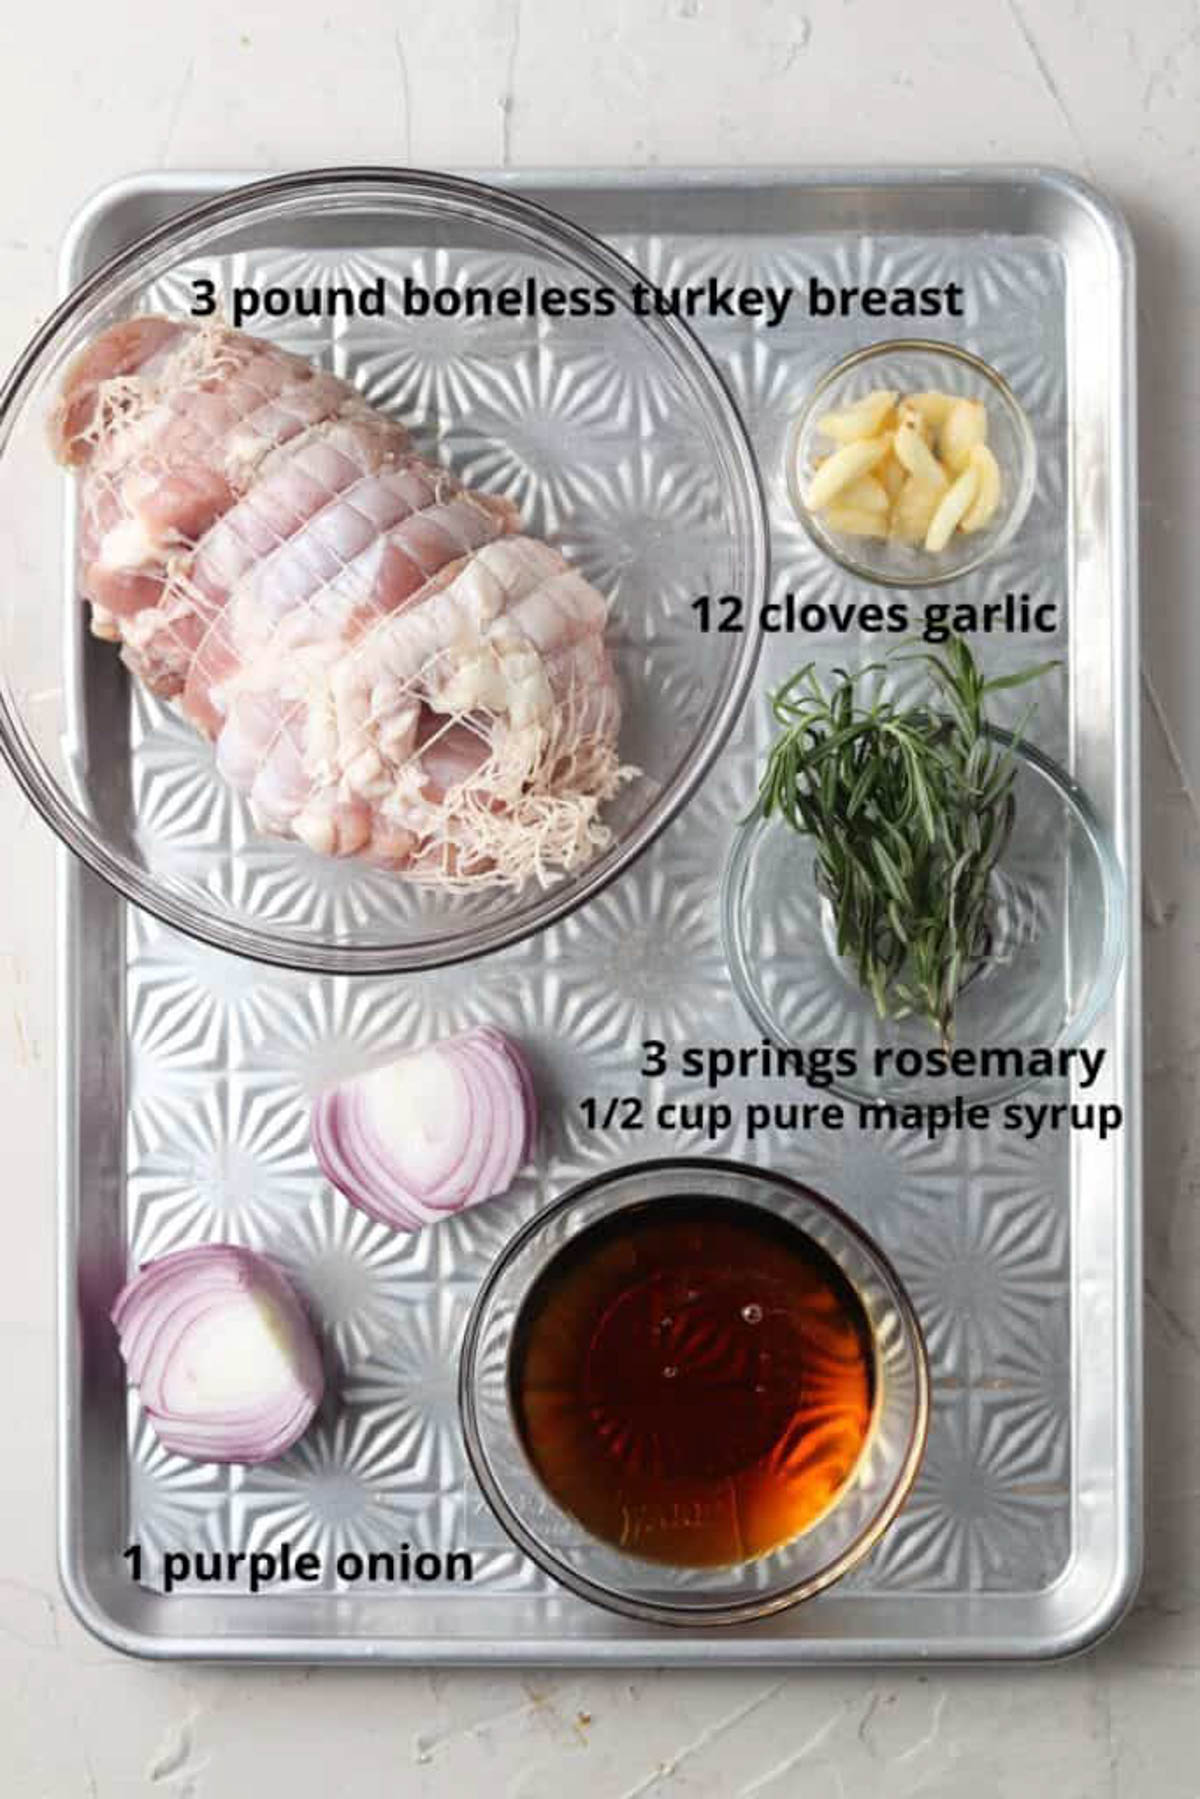
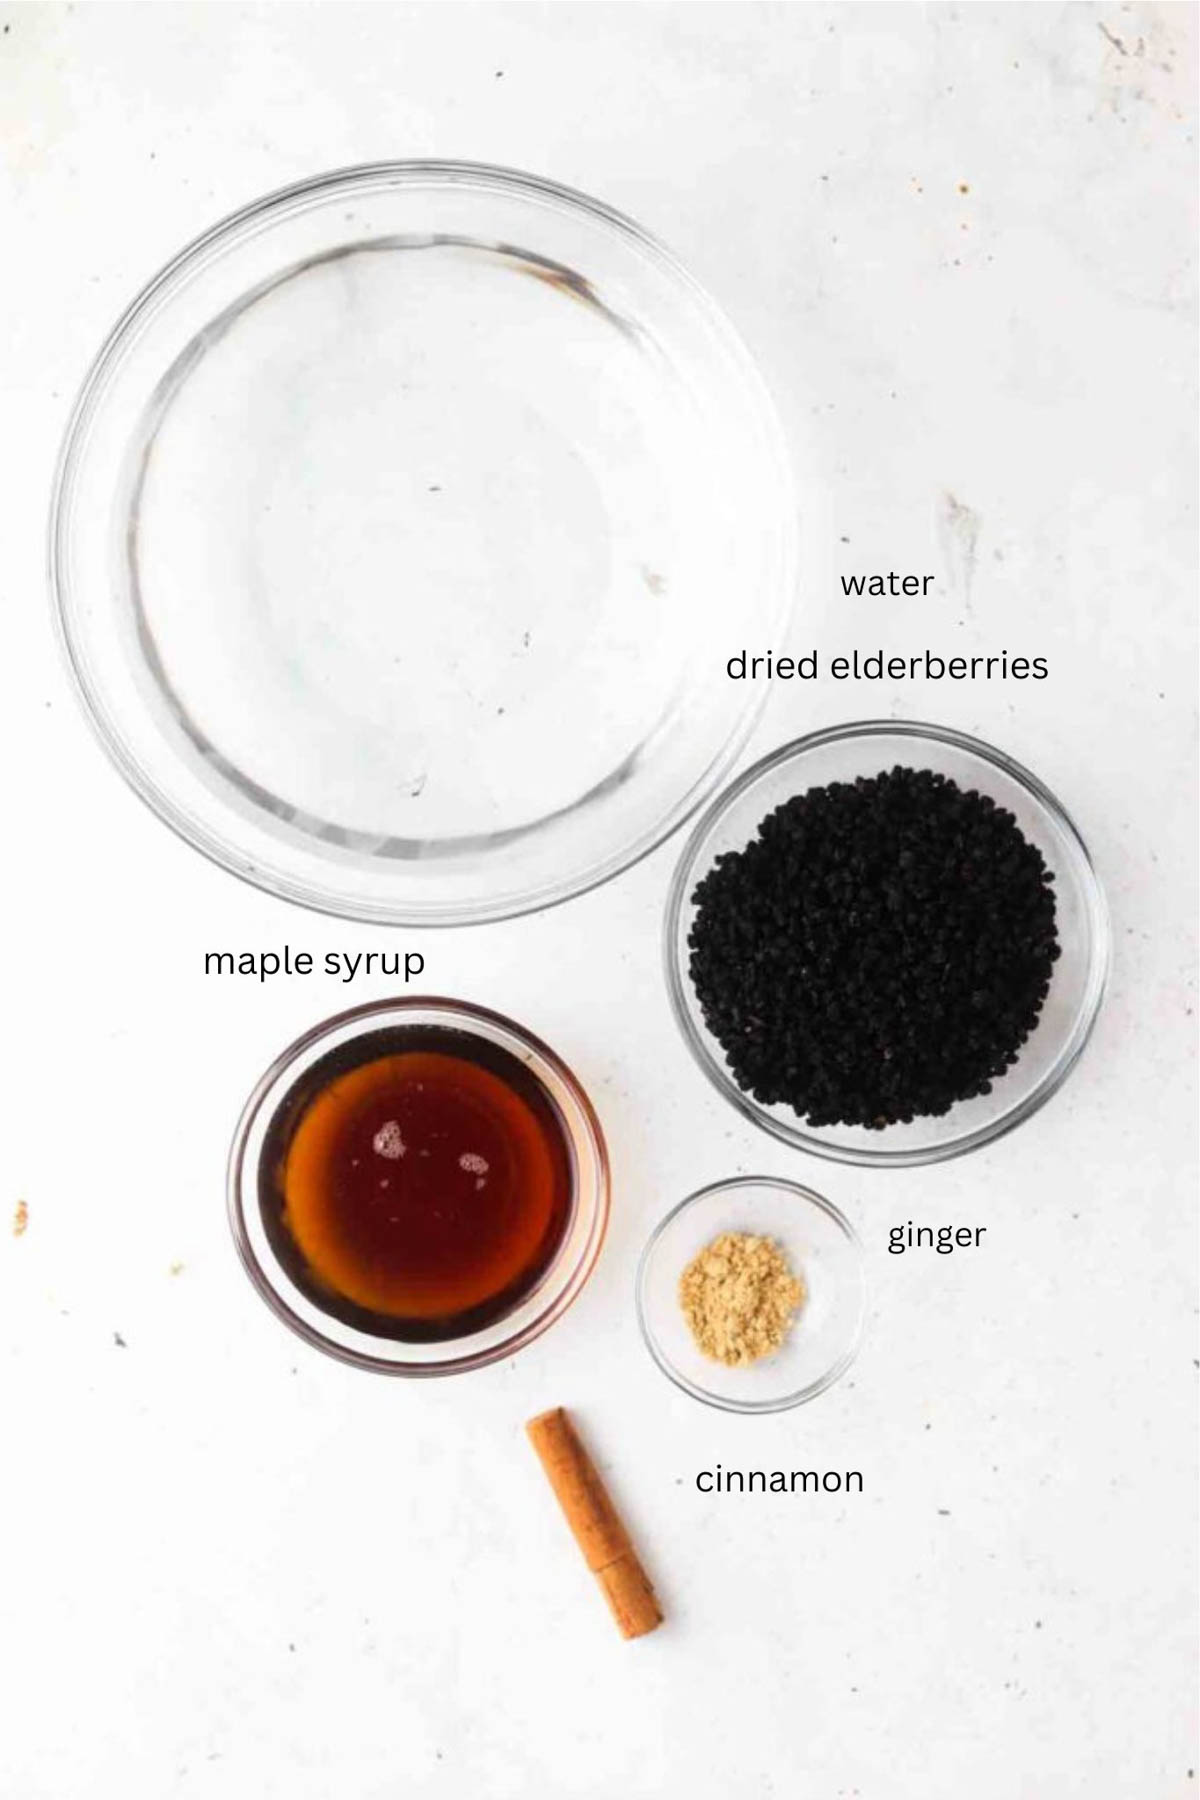
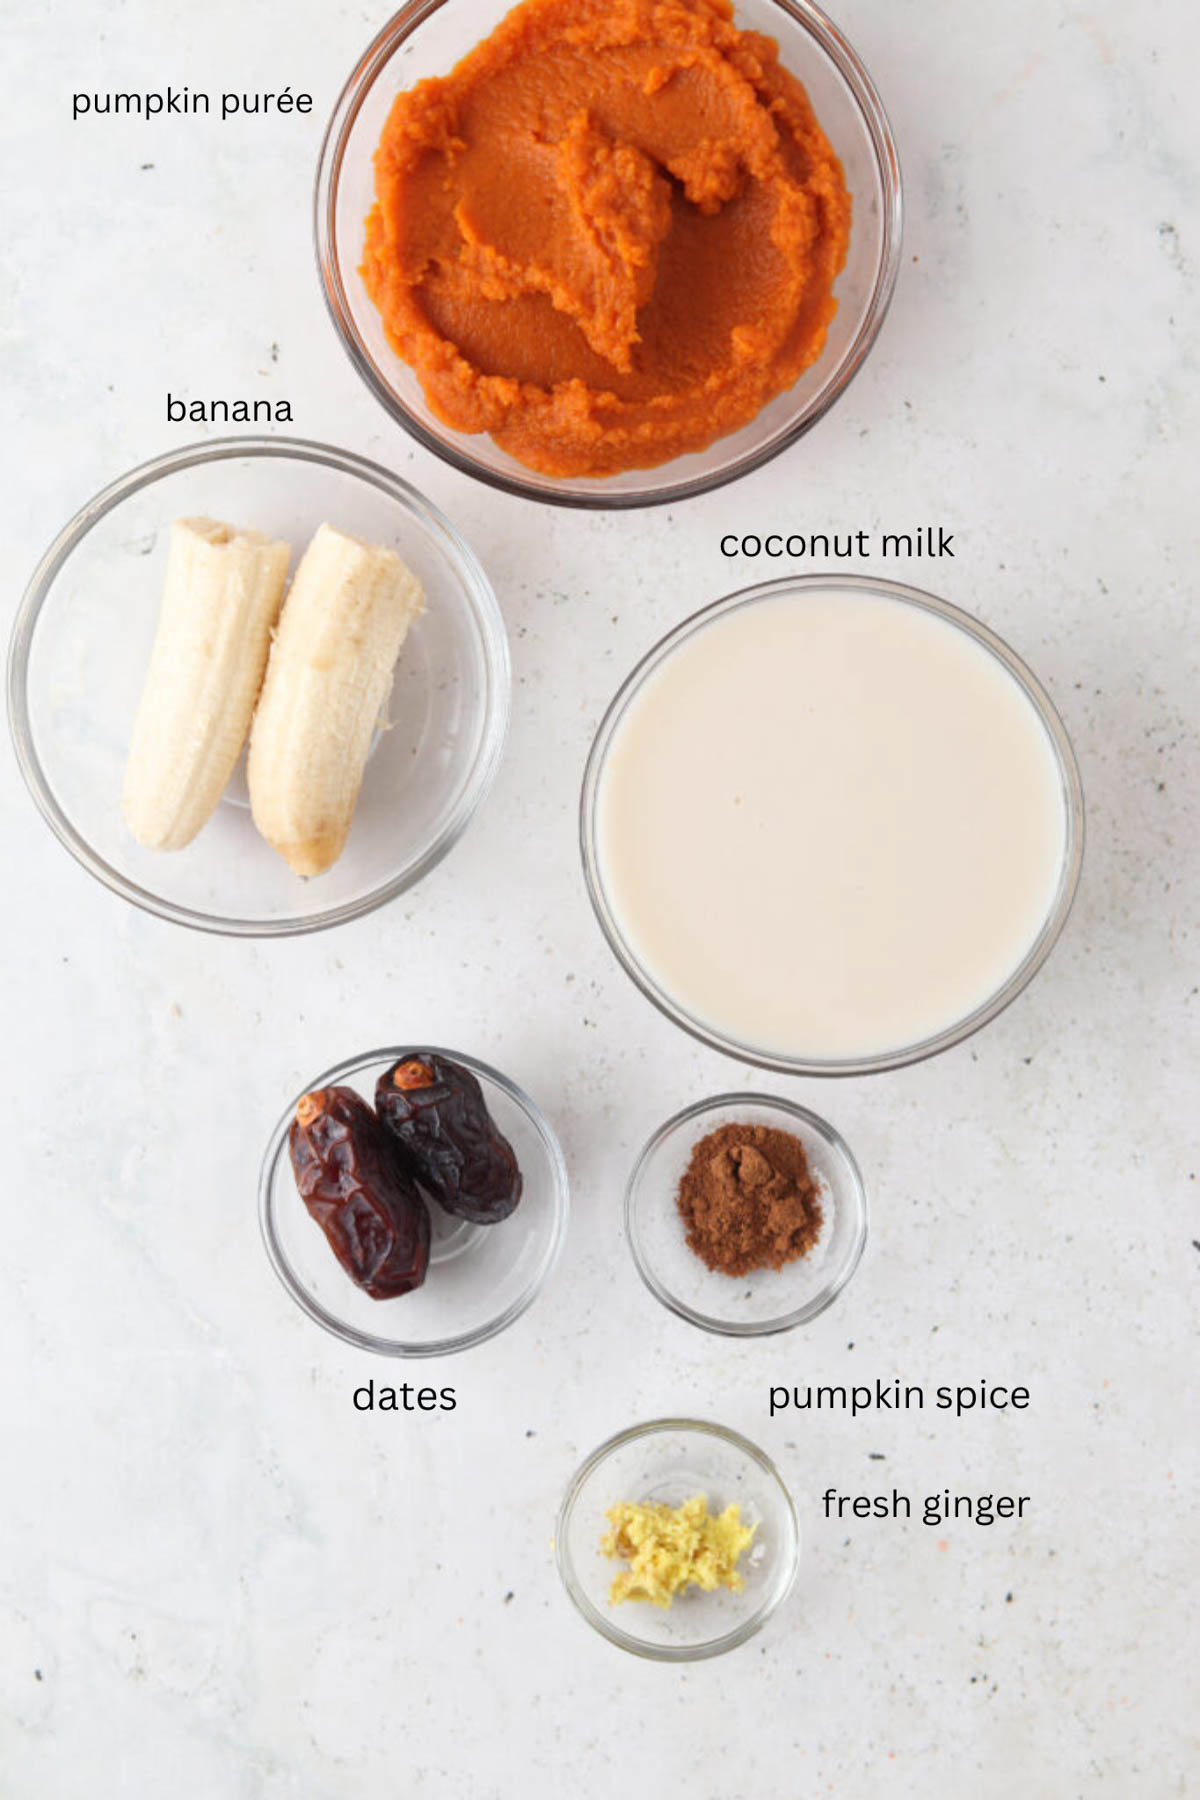
Ingredients
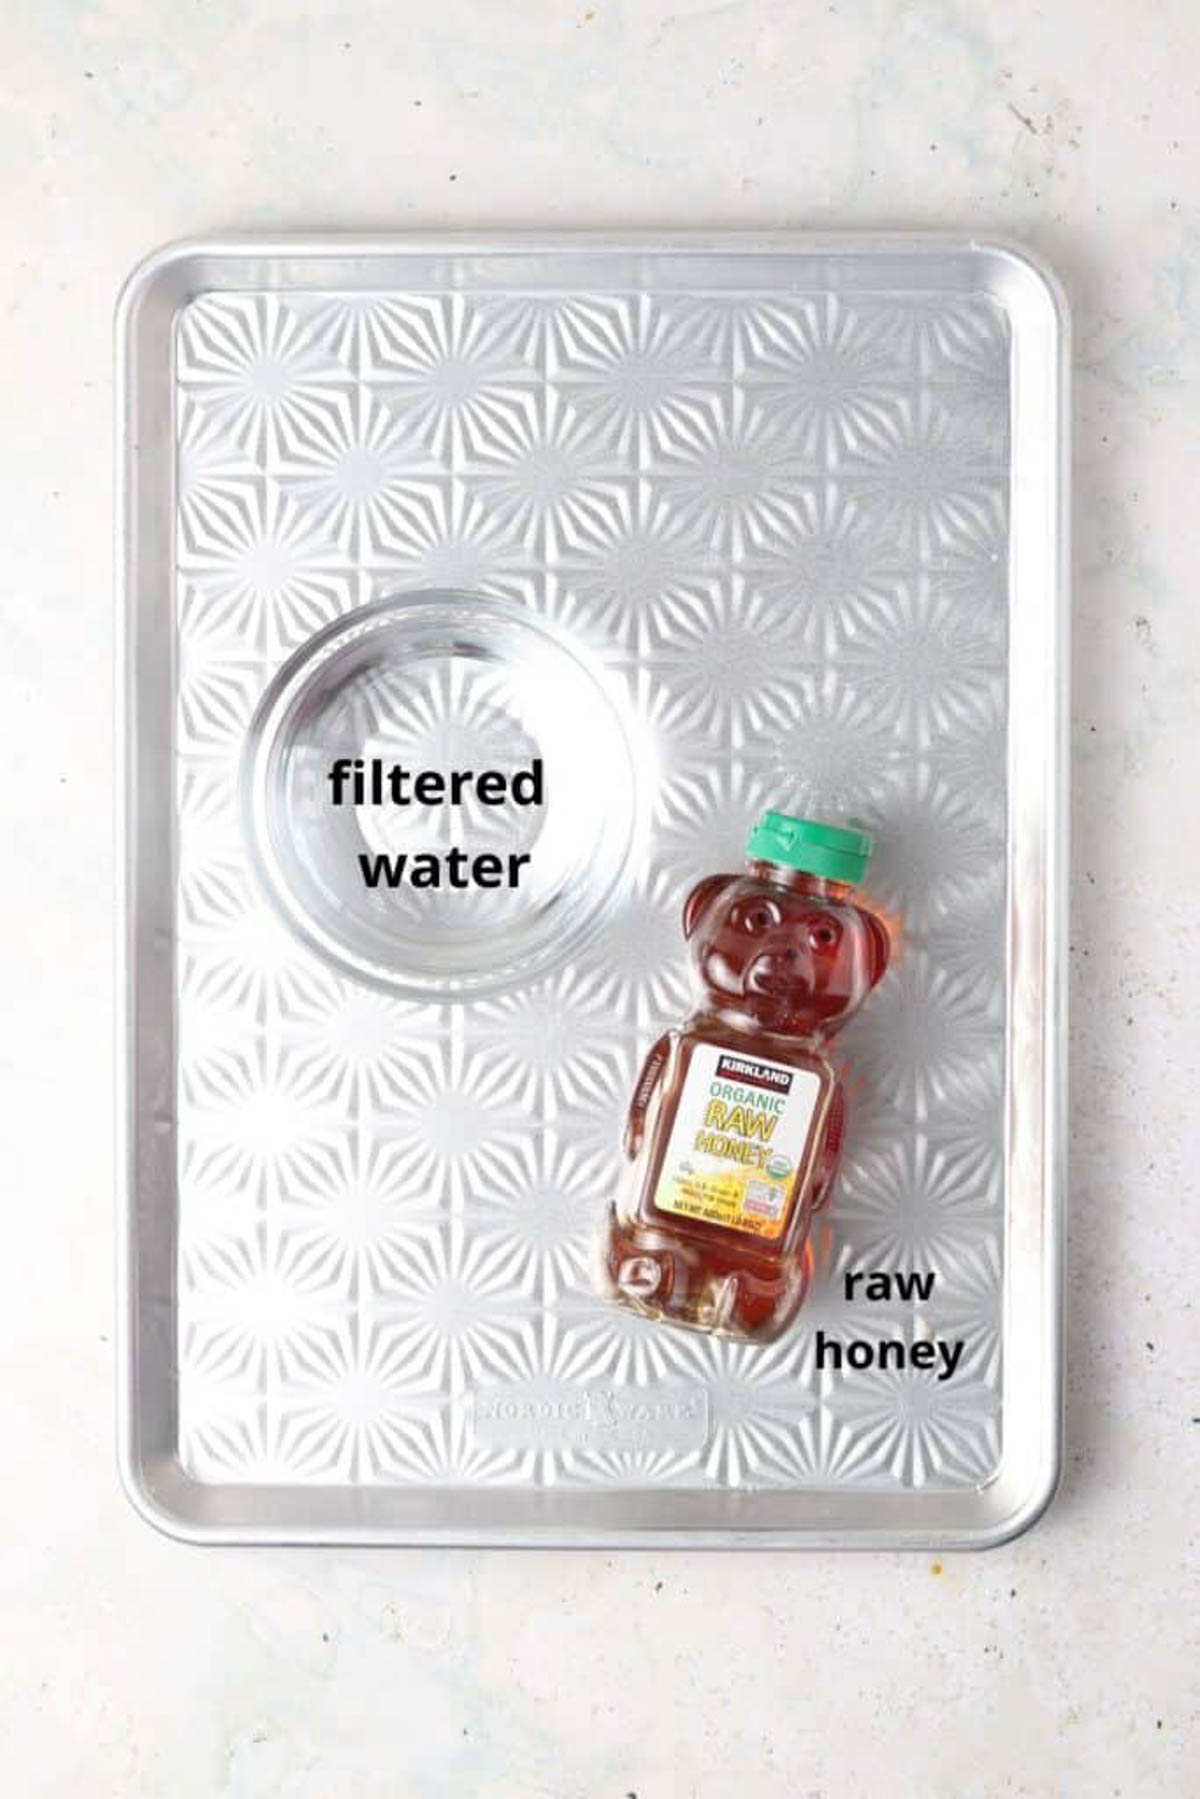
- Honey-Raw honey is my favorite. The lighter the honey the better. I like to get the big bottle of Kirkland’s Brand. It is the most economical way to go. You can try a different kind of honey to see which you prefer.
- Filtered water-Make sure your water is filtered!
See the recipe card below for a full list of ingredients and measurements.
Substitutions and Variations
- If you do not like to cook with honey, you can use agave or your preferred natural sweetener instead.
- You can make variations of this simple syrup by adding different citrus and herbs into the syrup while it cooks such as lemon.
- If you are not refined sugar free, you can replace some of the honey for white sugar for additional sweetener to make a regular simple syrup.
This recipe has not been tested with other substitutions or variations. If you replace or add any ingredients, please let us know how it turned out in the comments below!
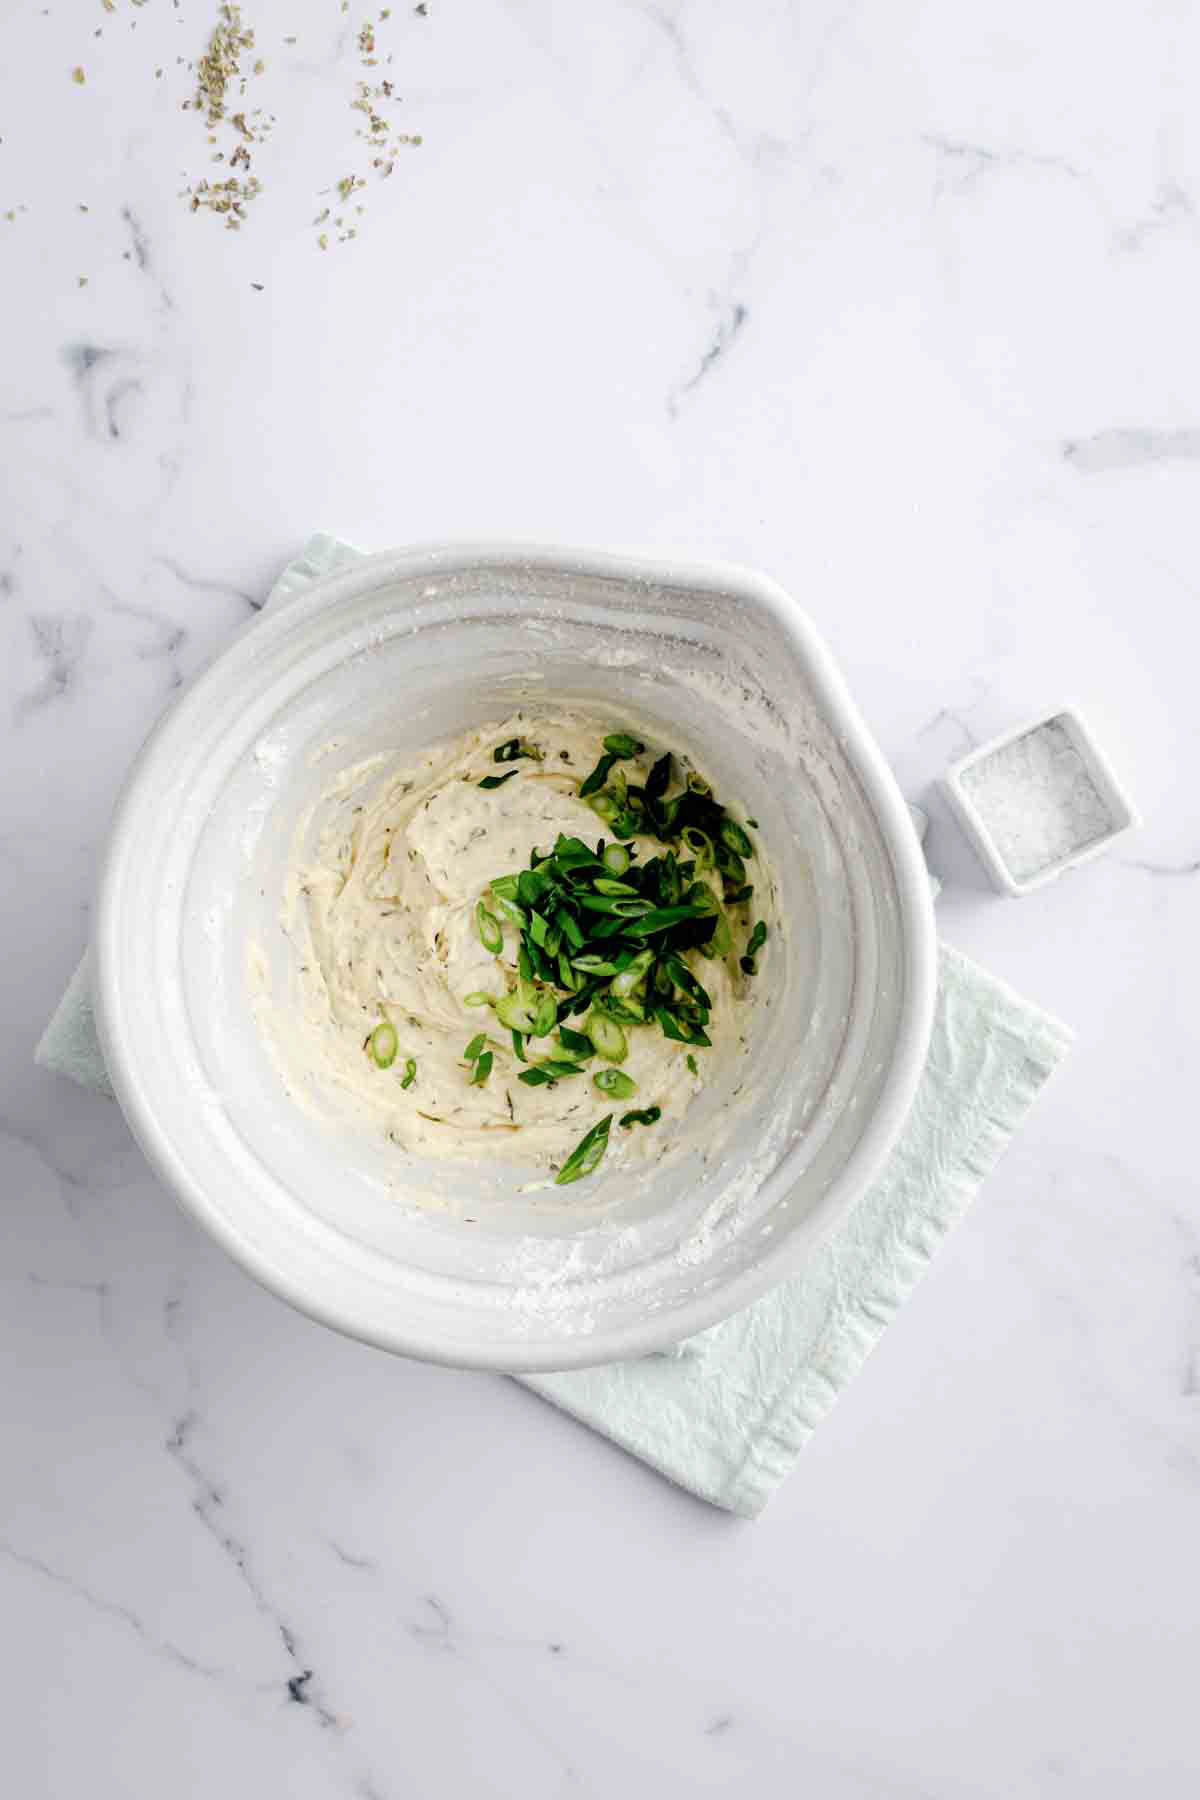
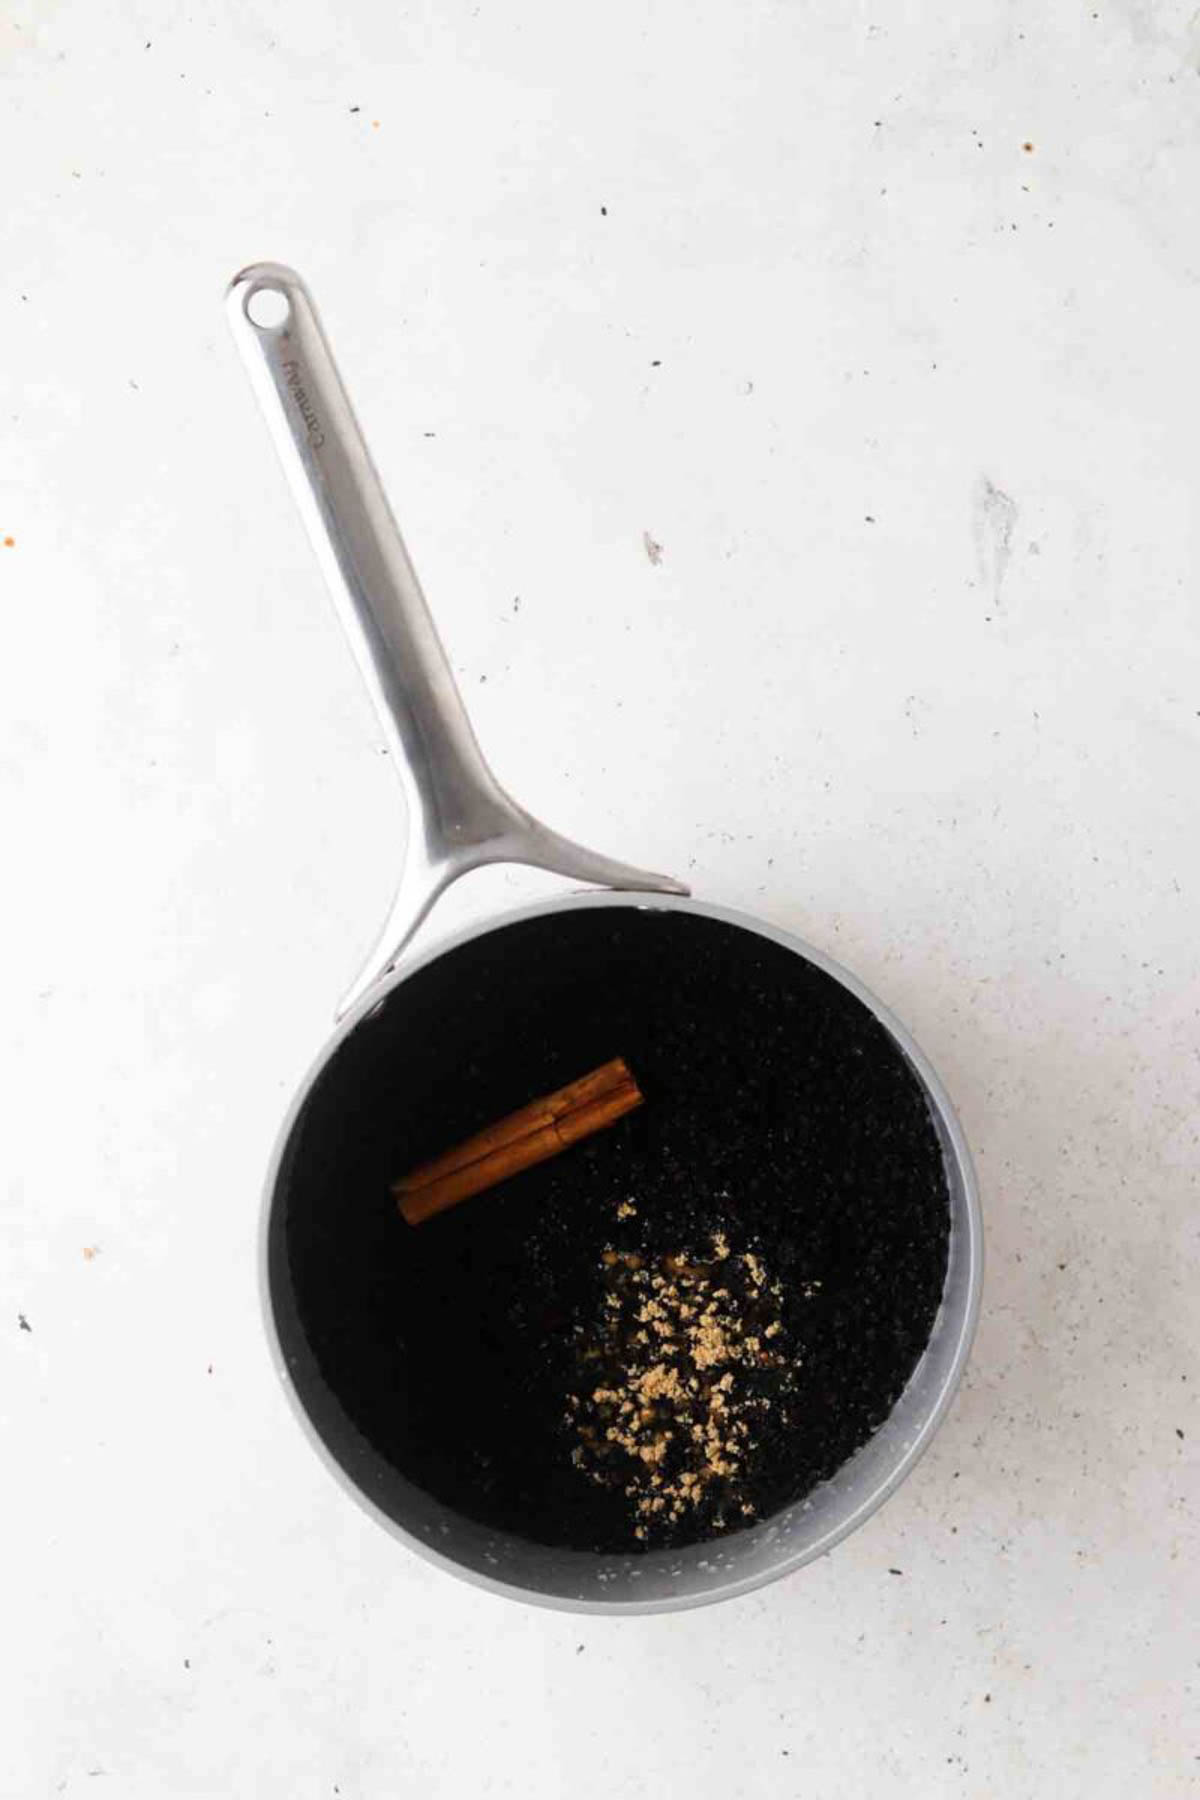
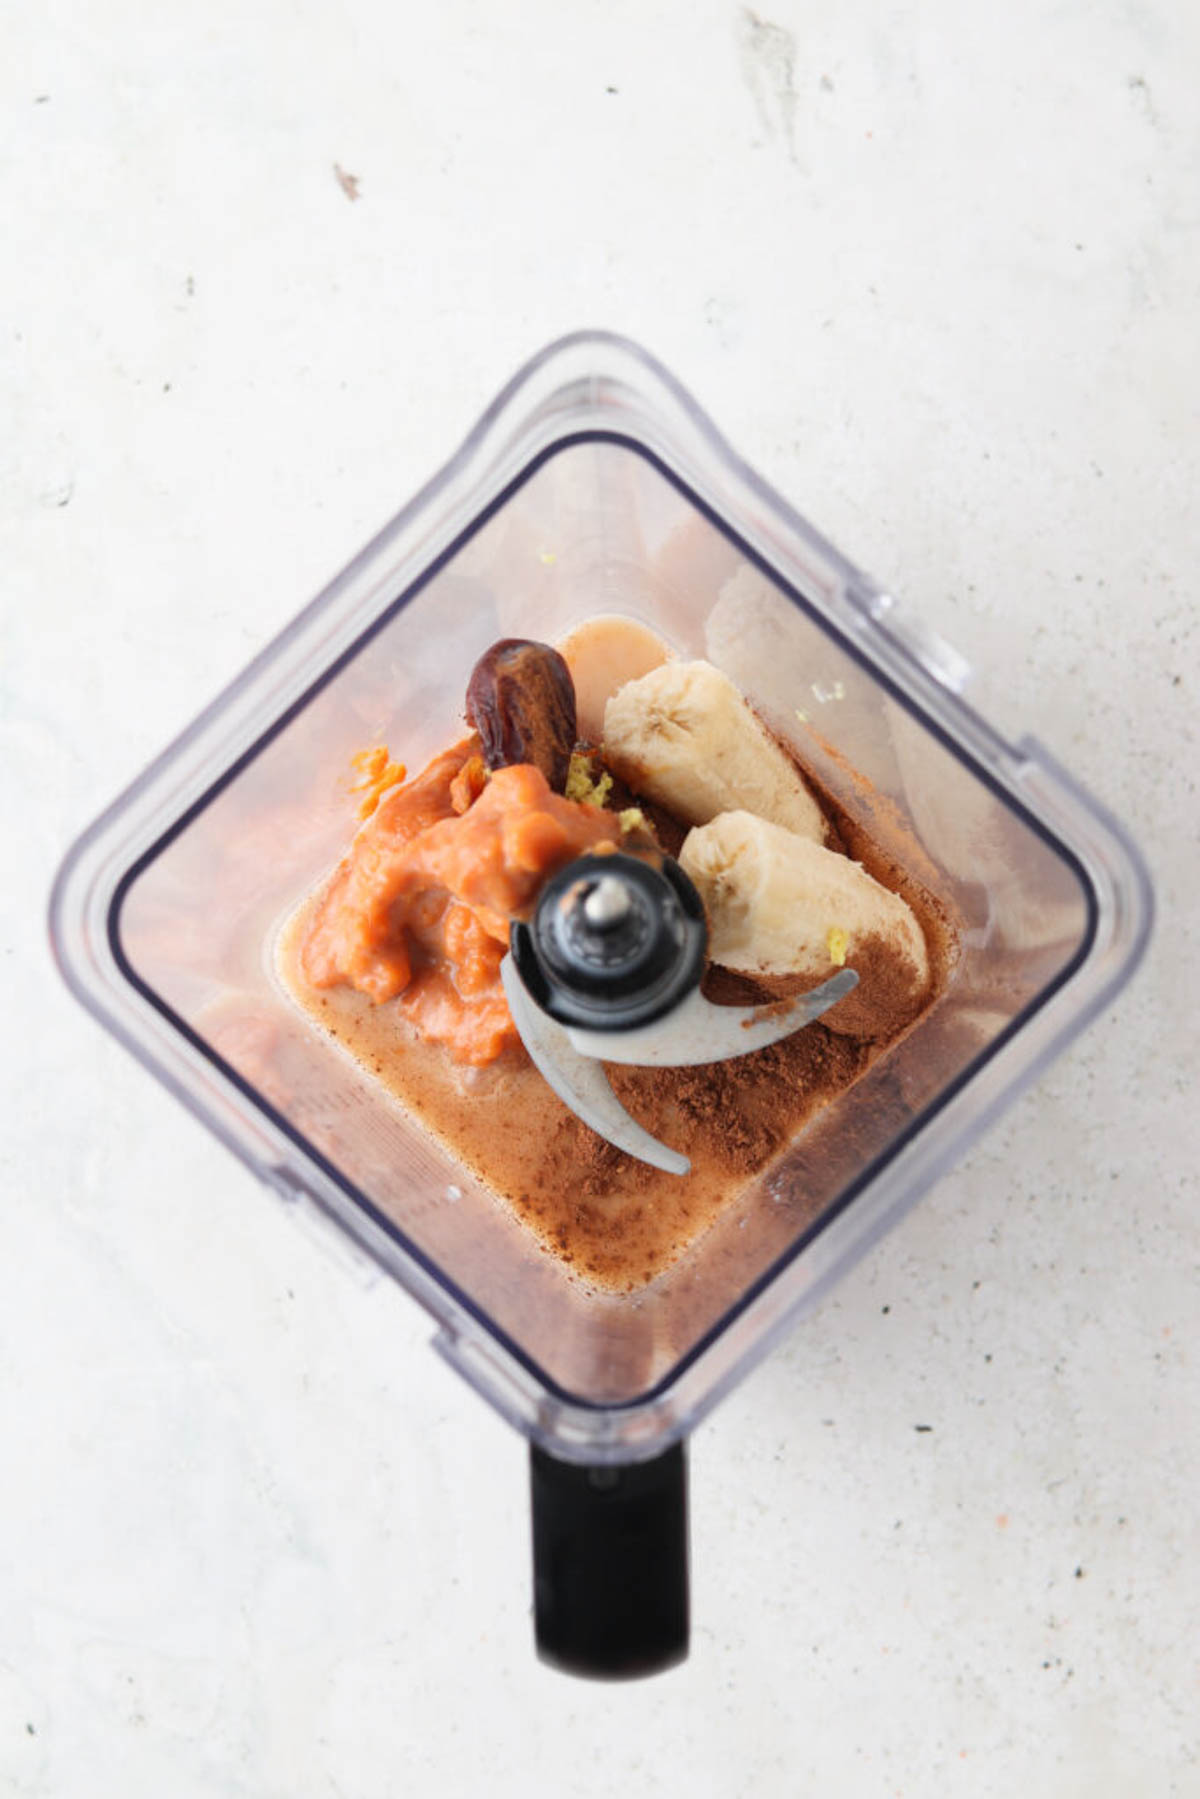
Step by Step Instructions
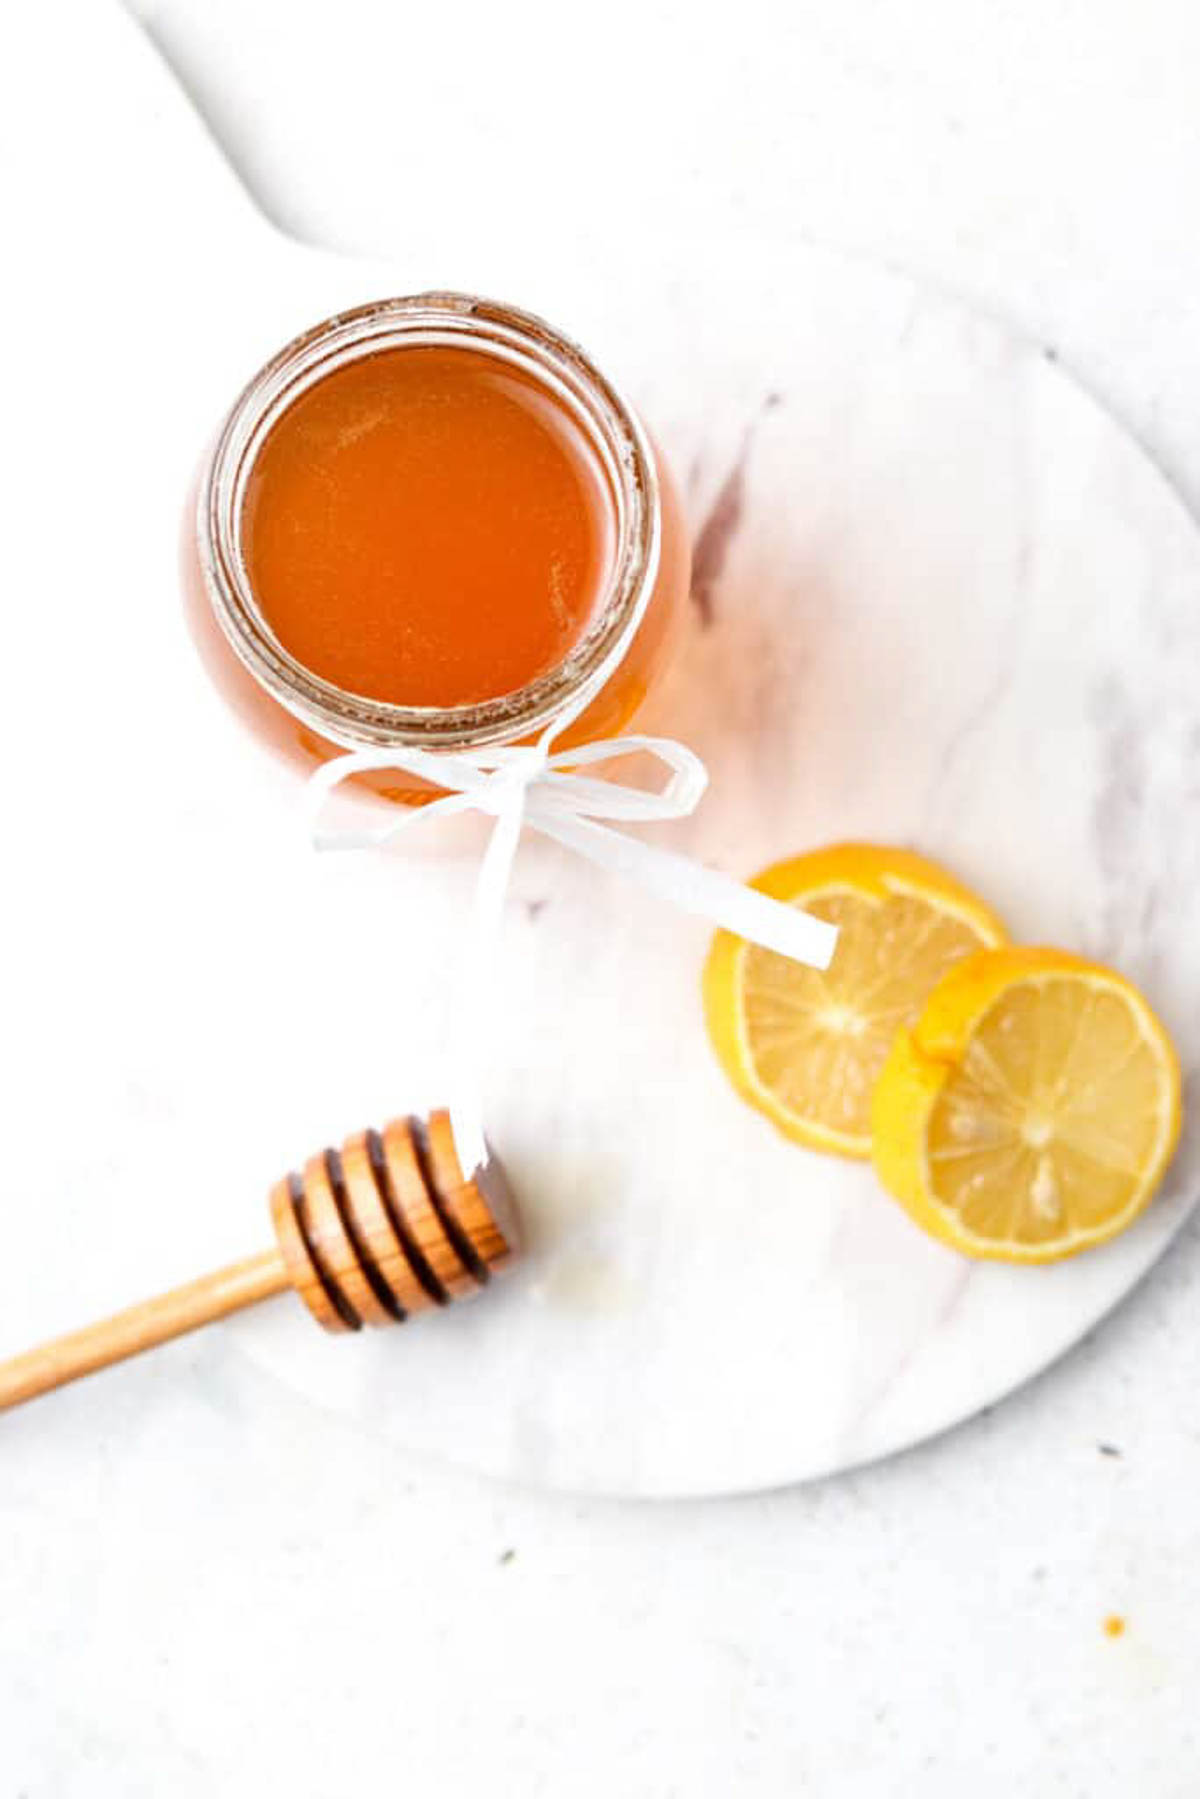
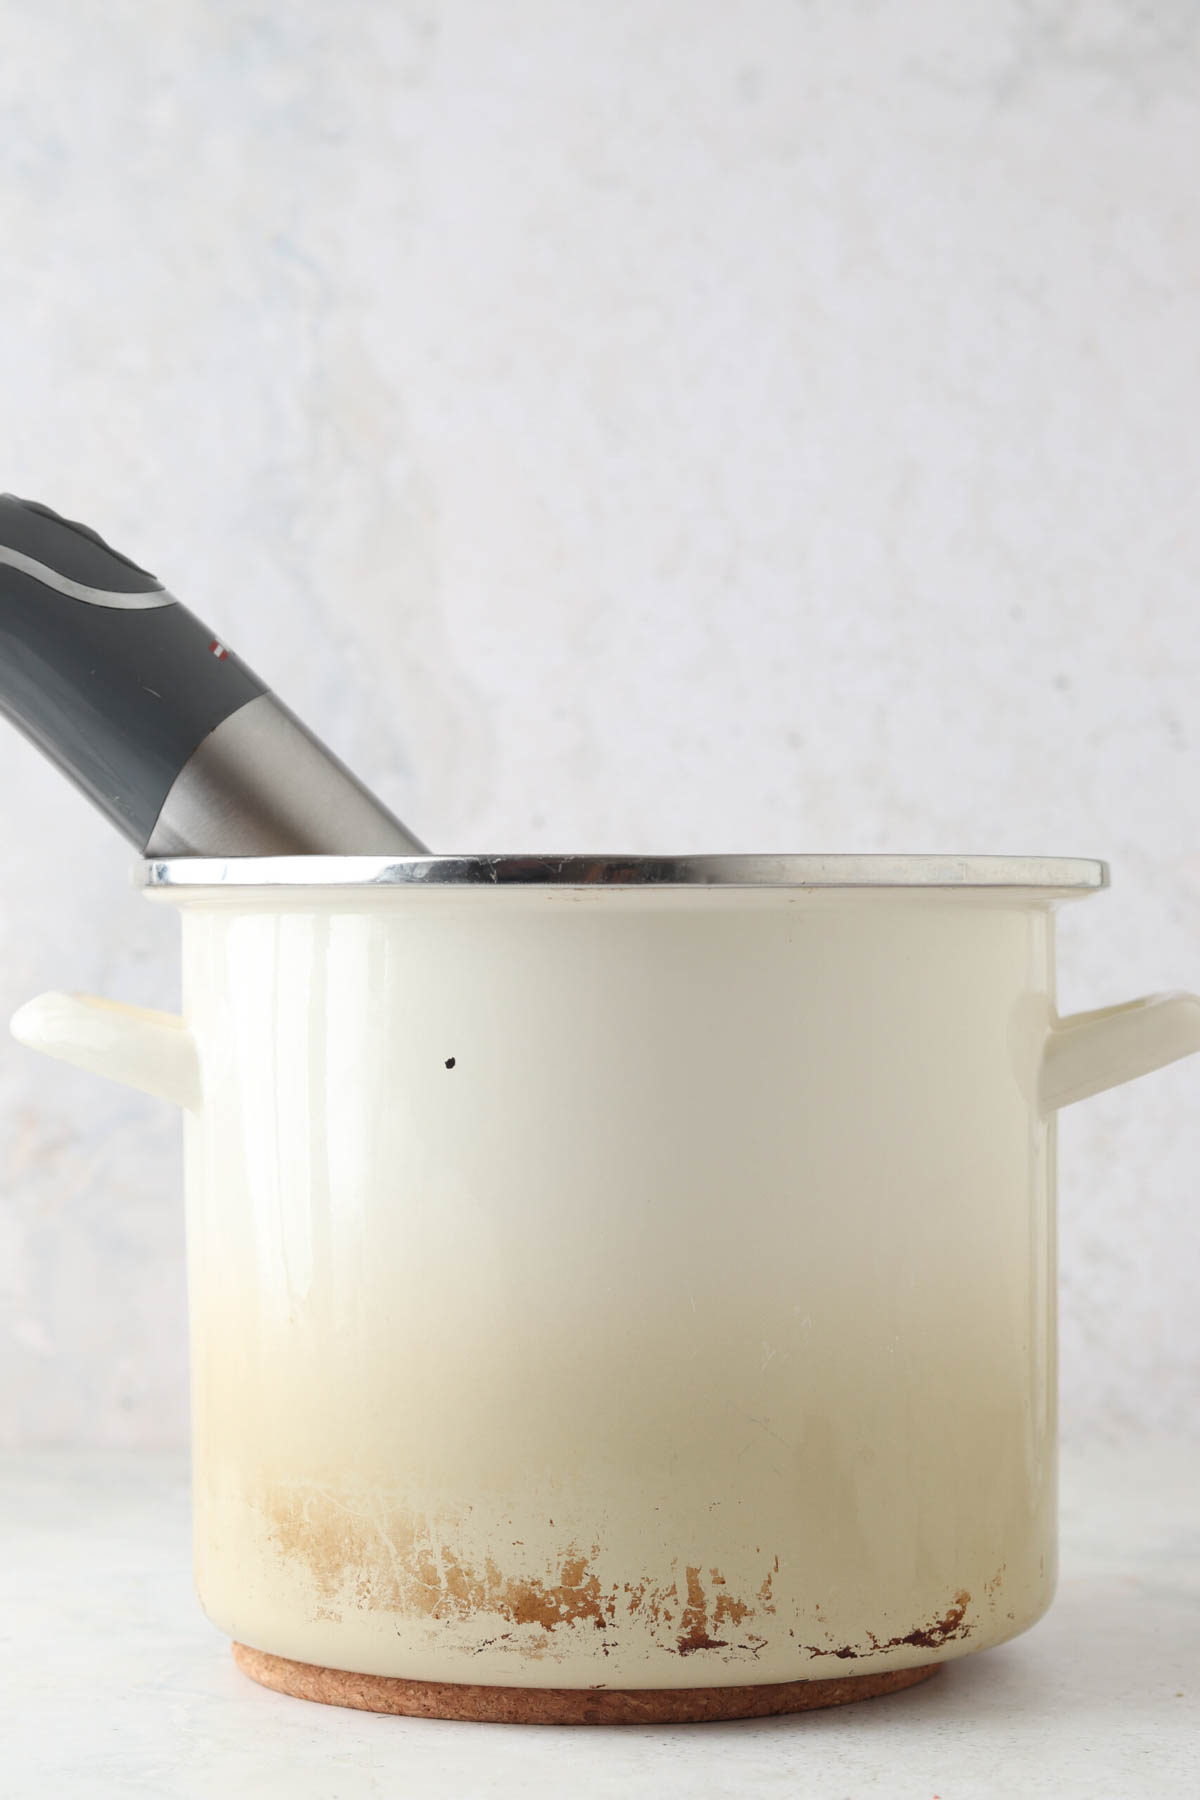
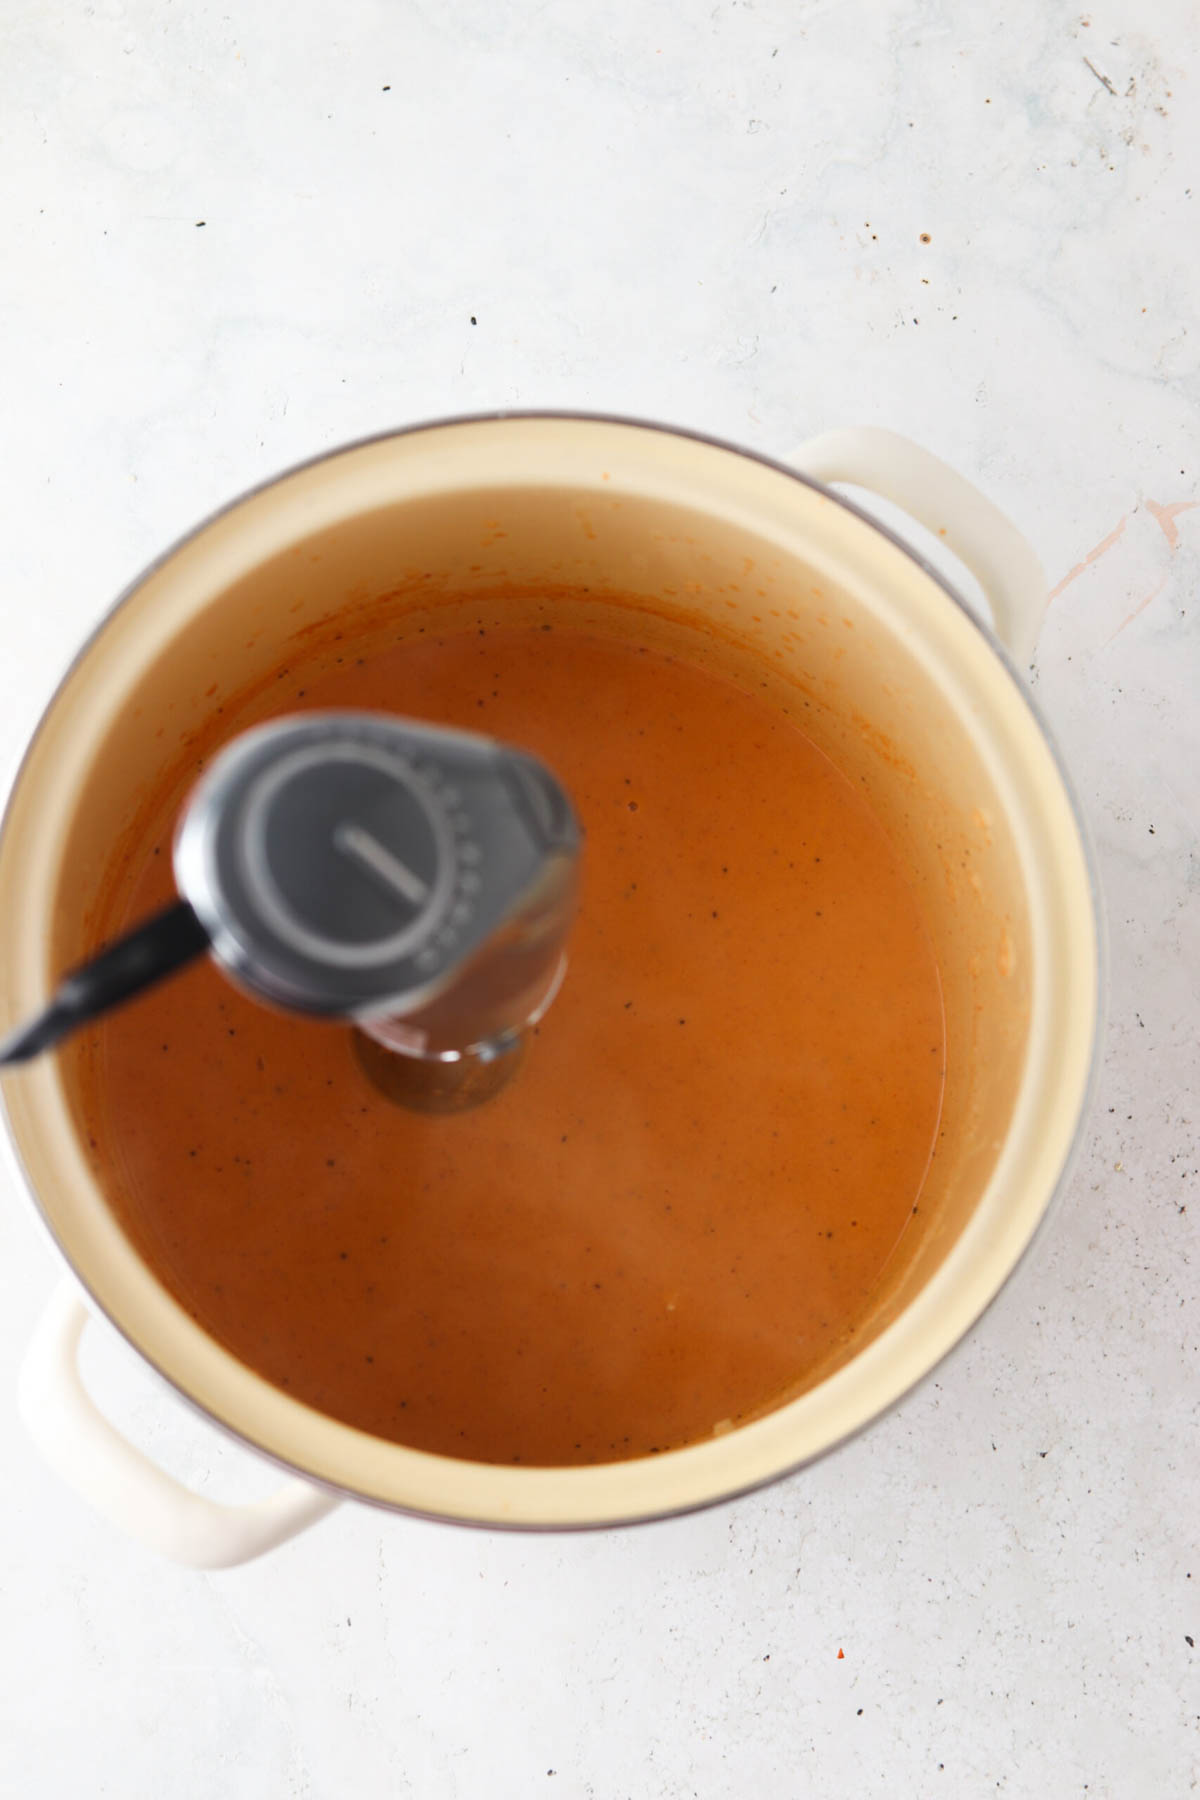
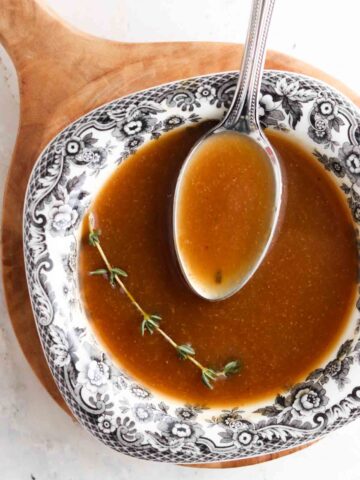
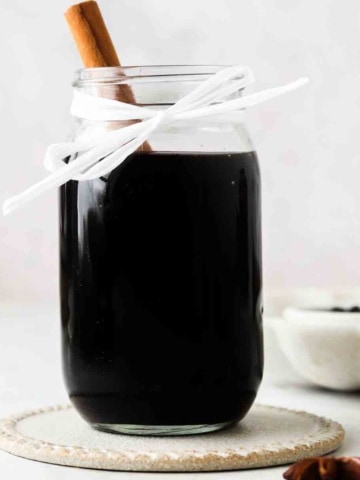
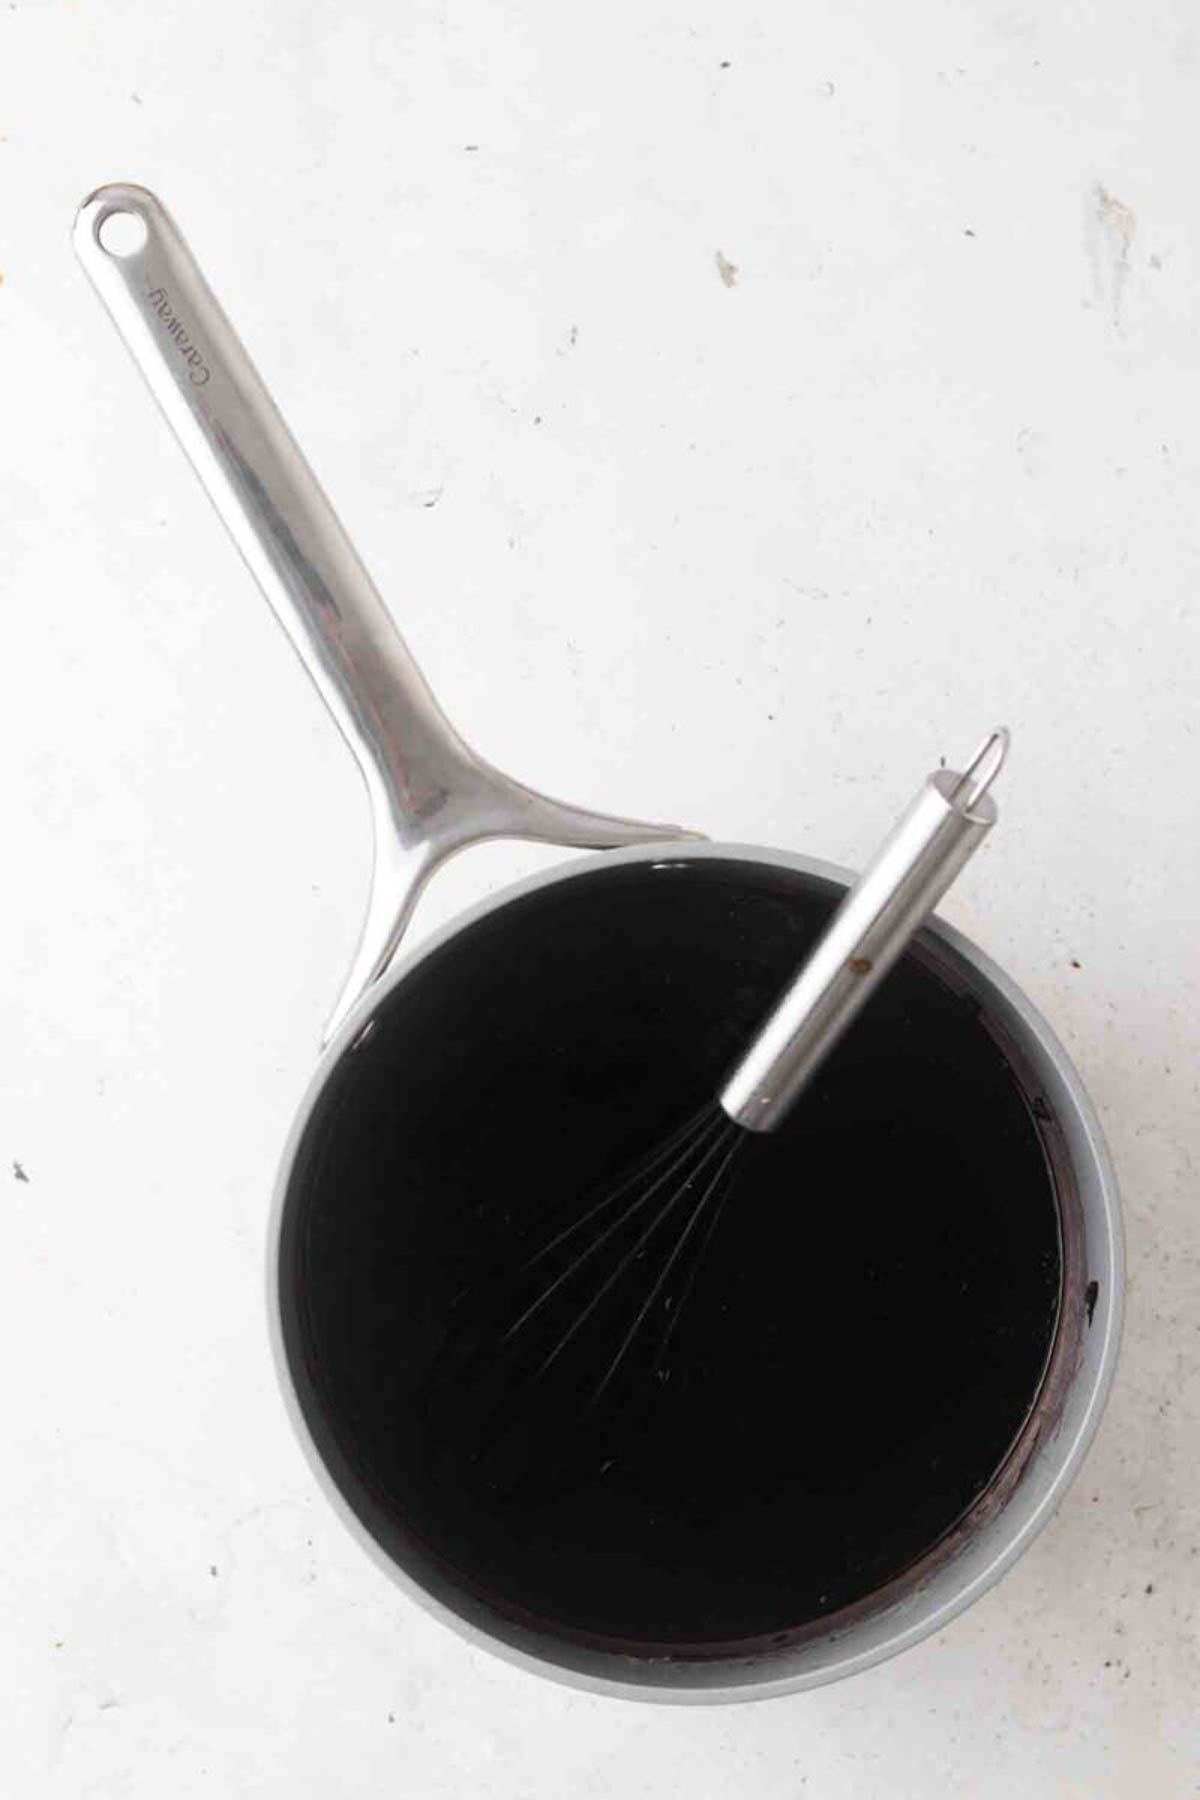
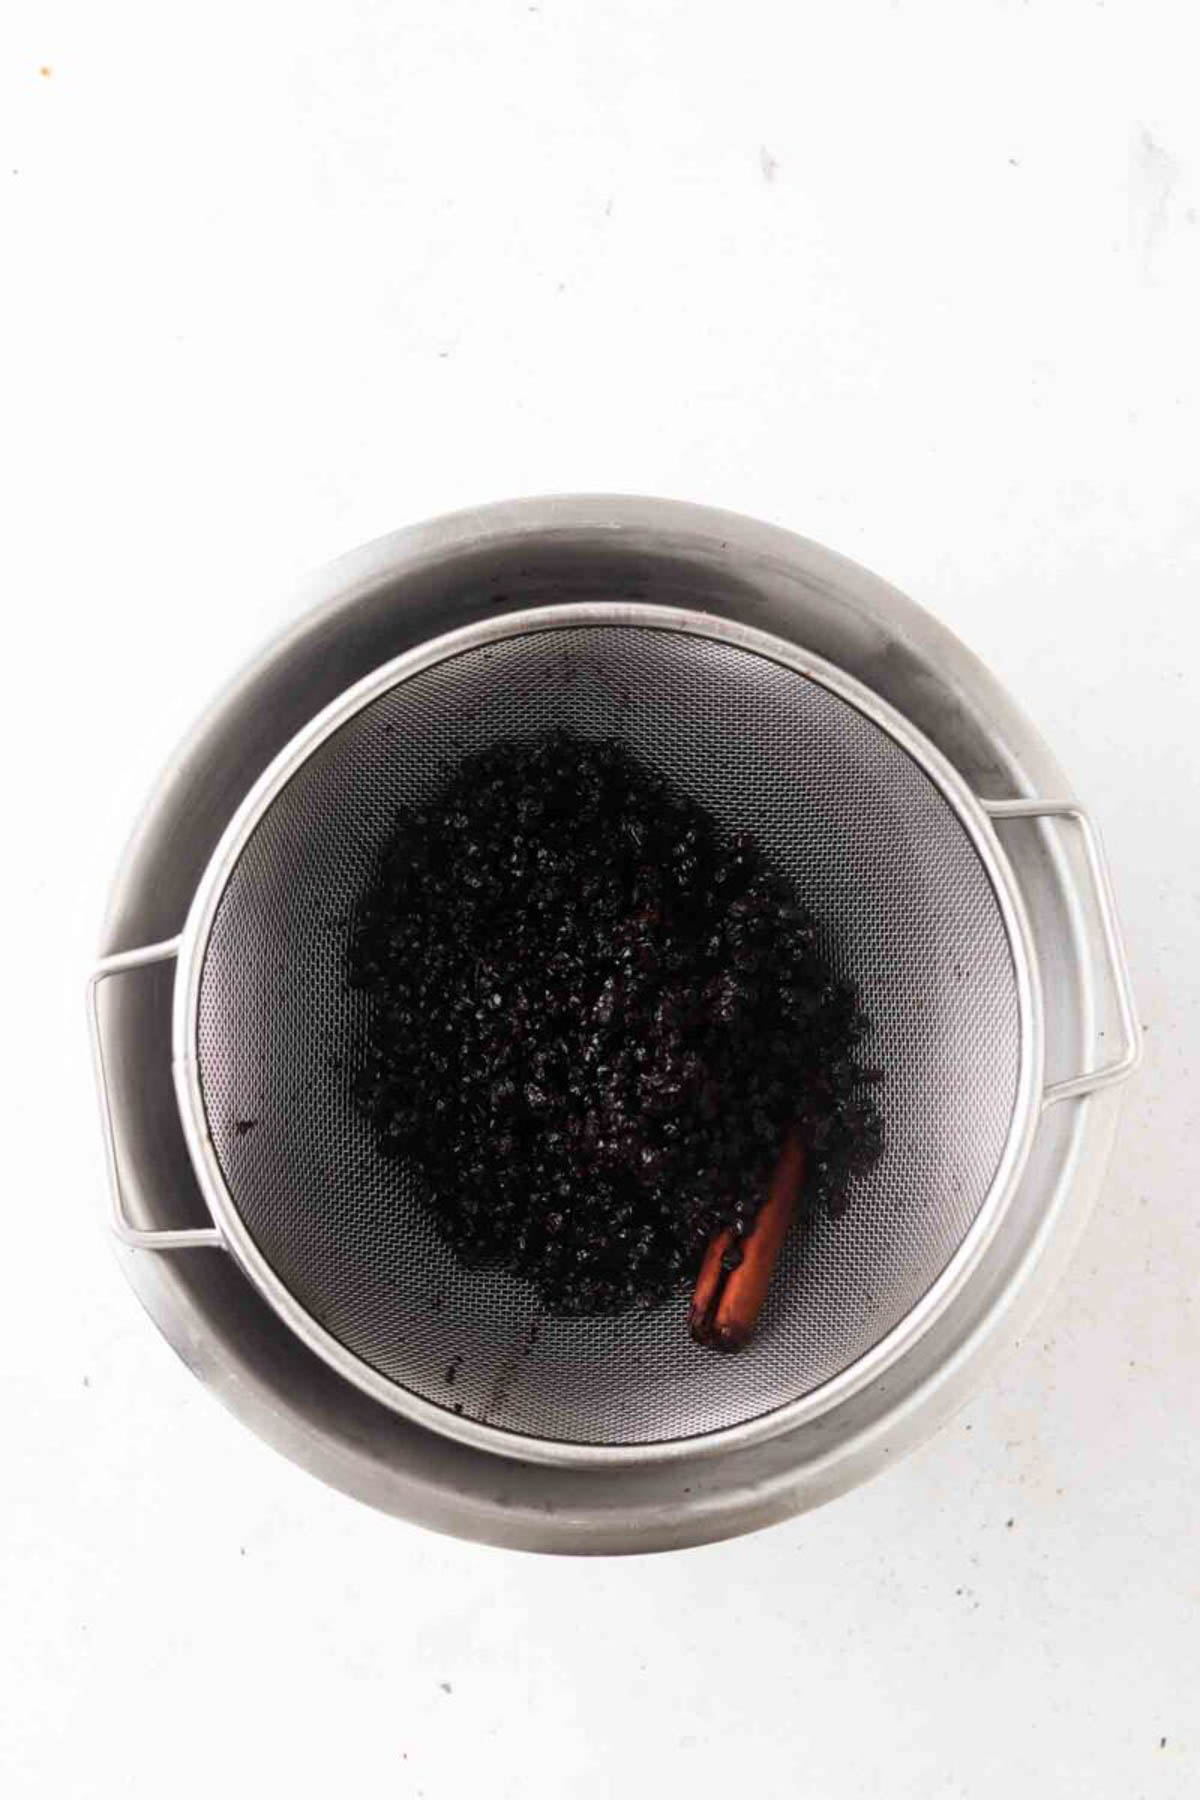
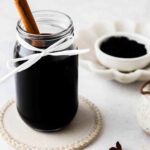
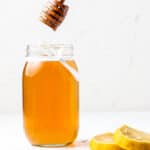
Photo 1: First, add the water and honey to a small saucepan and set to medium heat. Bring the water and honey to a boil for 2 minutes and ensure the honey dissolves completely. Then, let simple syrup mixture sit for 20 minutes before using to allow it to cool completely. You will want to allow the simple syrup to come to room temperature before placing it into your mason jar to store.
Expert Tips
- Tip # 1: You can add this to all of your favorite mocktails and cocktails. It also makes a great addition to a variety of drink recipes as well such as iced tea.
- Tip # 2: Make sure that you stir your water and honey mixture to ensure that no honey is resting on the bottom of your saucepan. This could cause the sugars in the honey to burn.
- Tip # 3: If you are making multiple batches at once of this simple syrup, you may need to allow the mixture to stay over medium heat for longer to accomplish the correct consistency.
Recipe FAQs
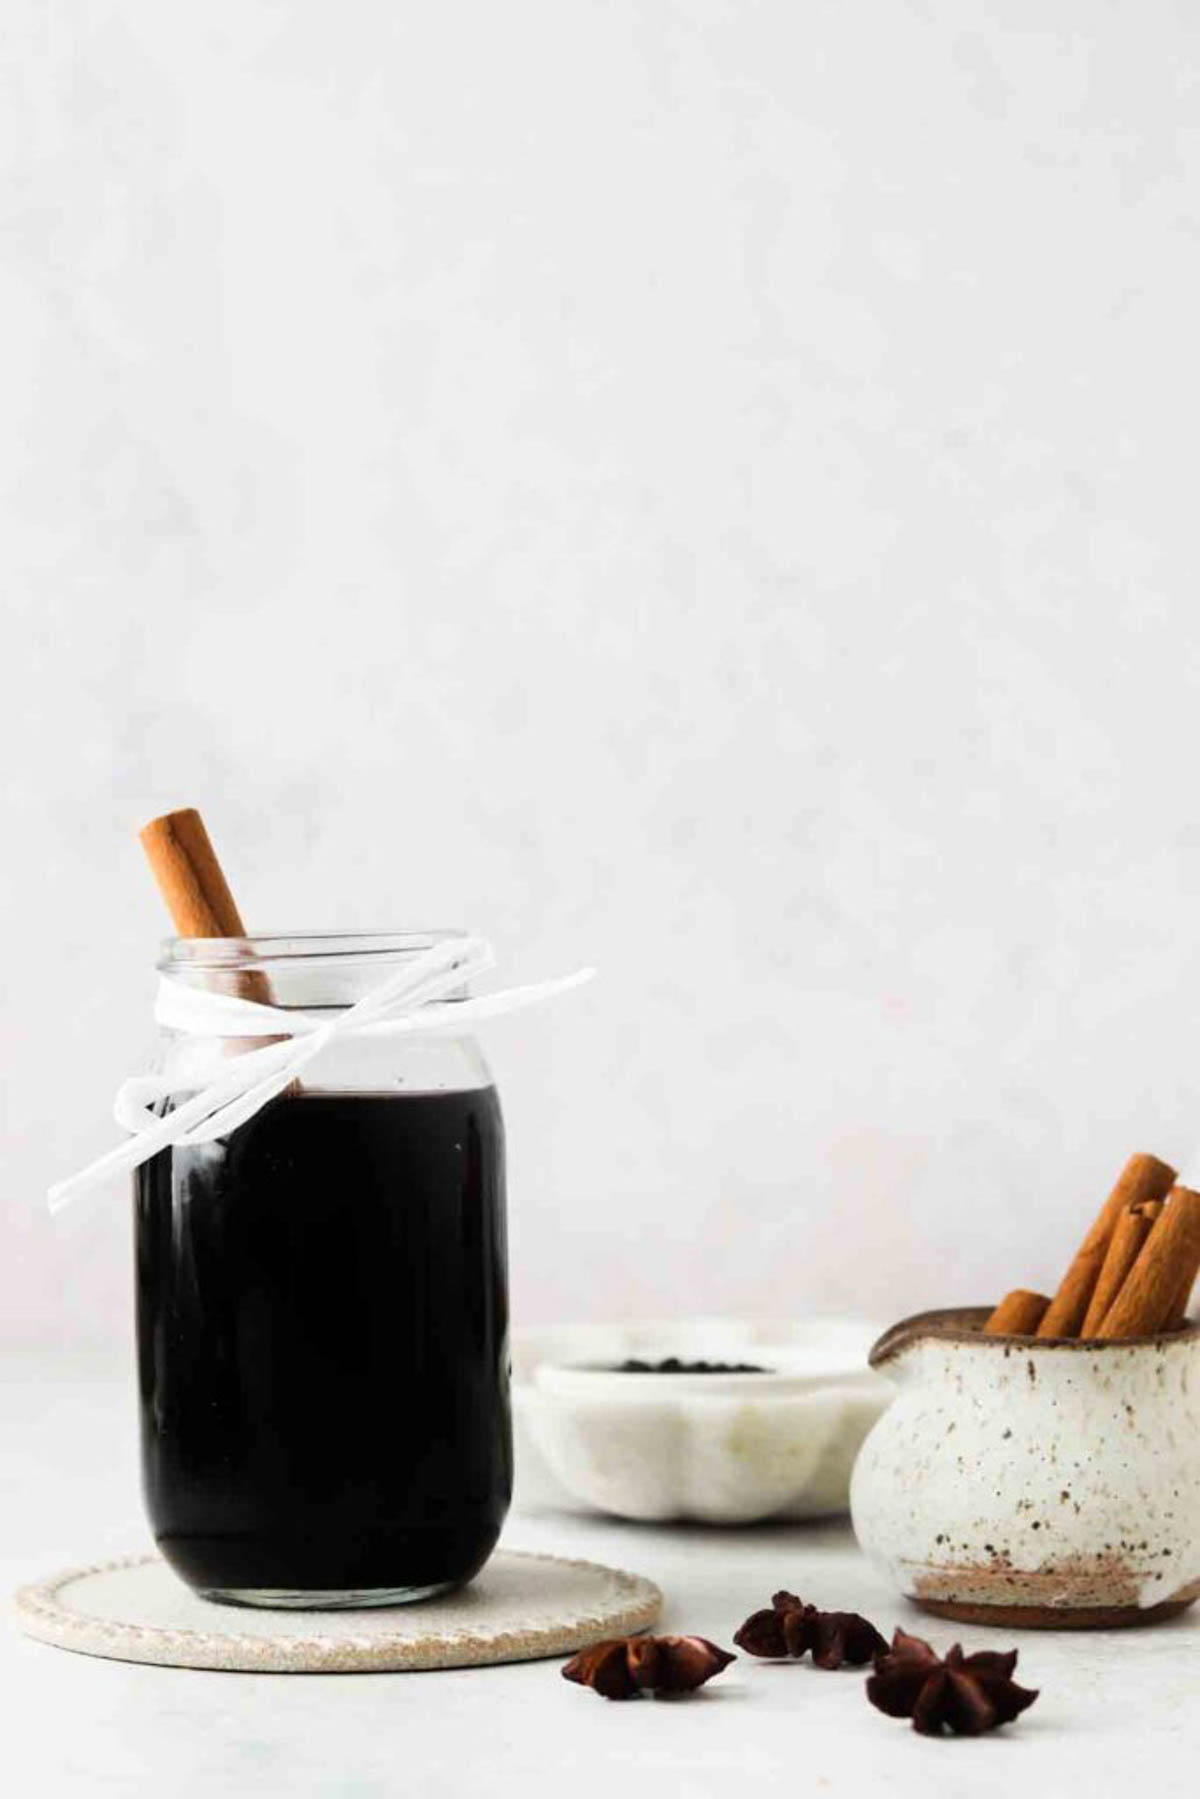
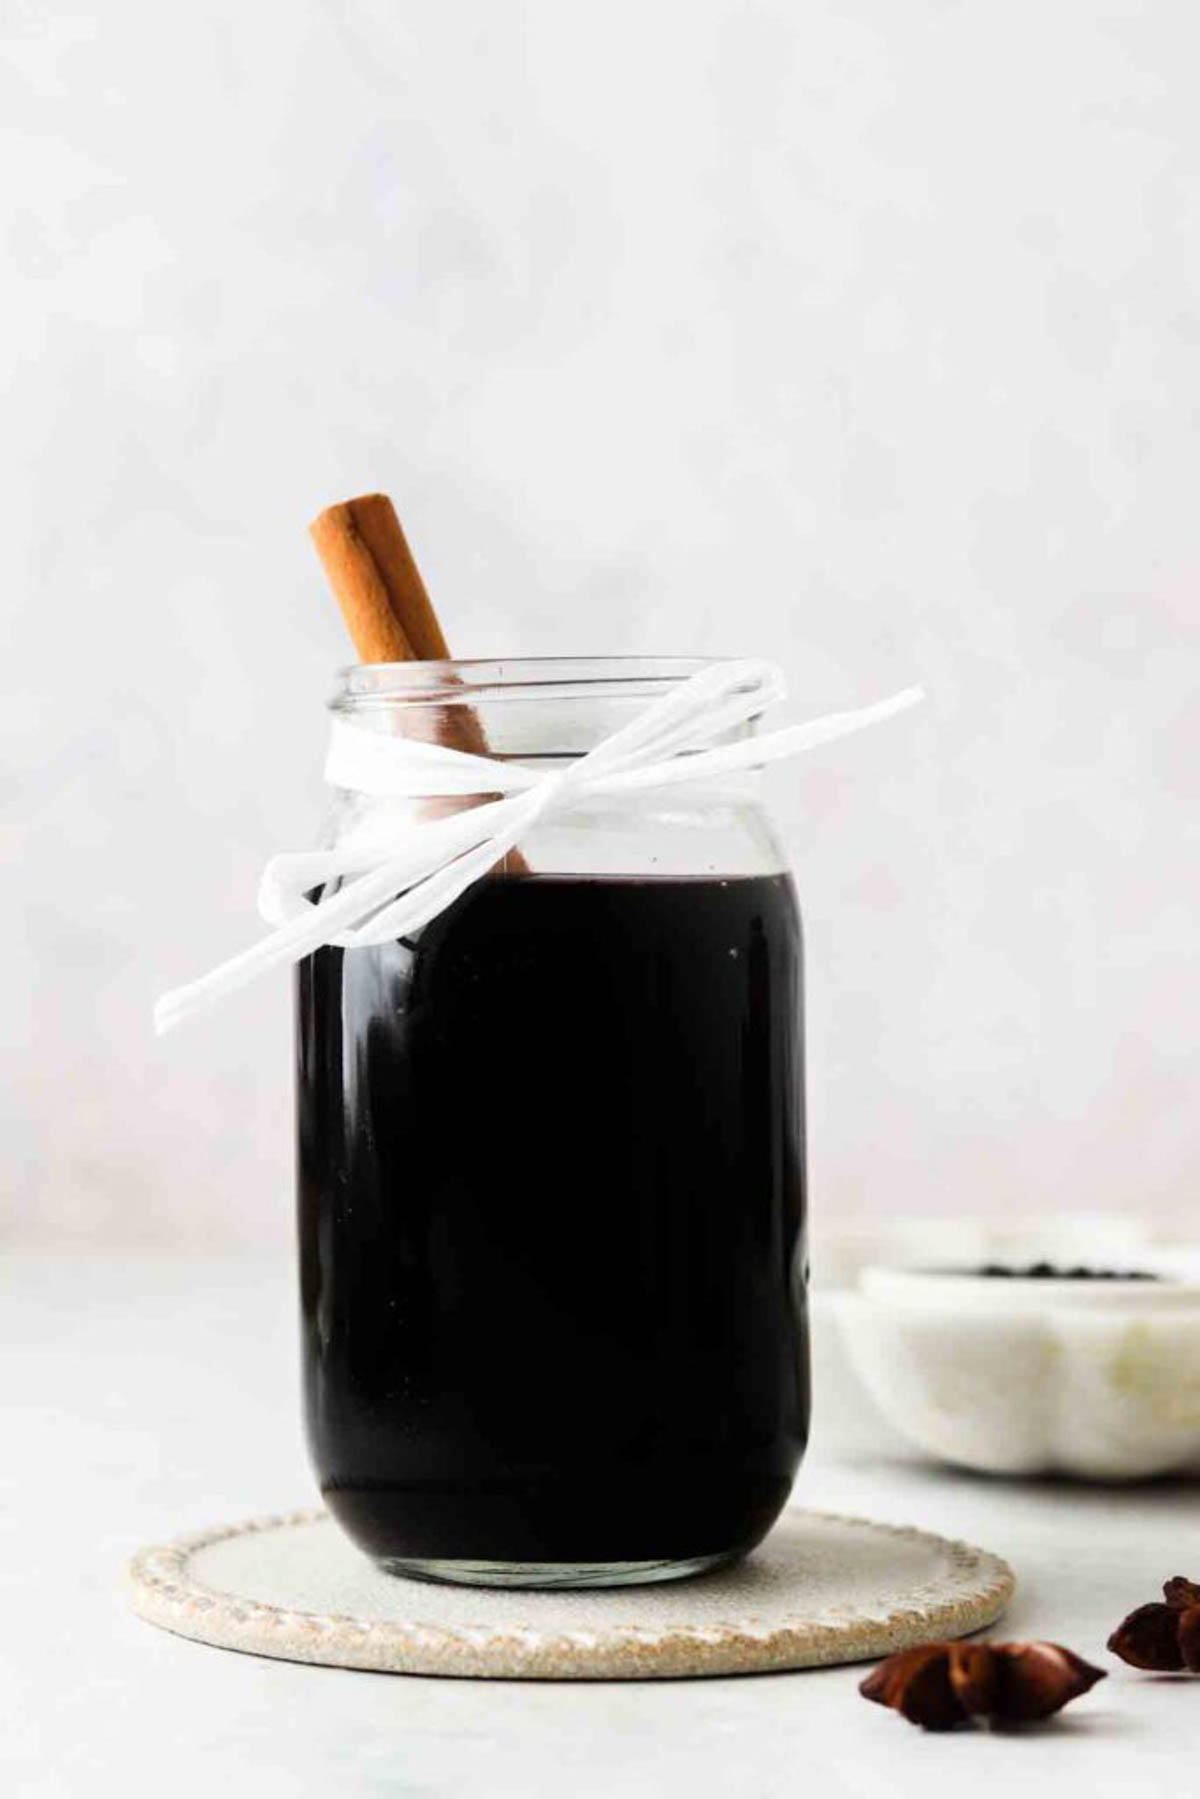
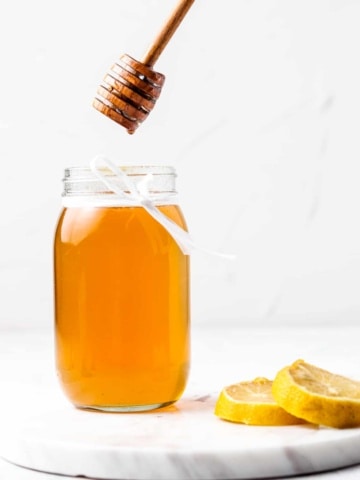
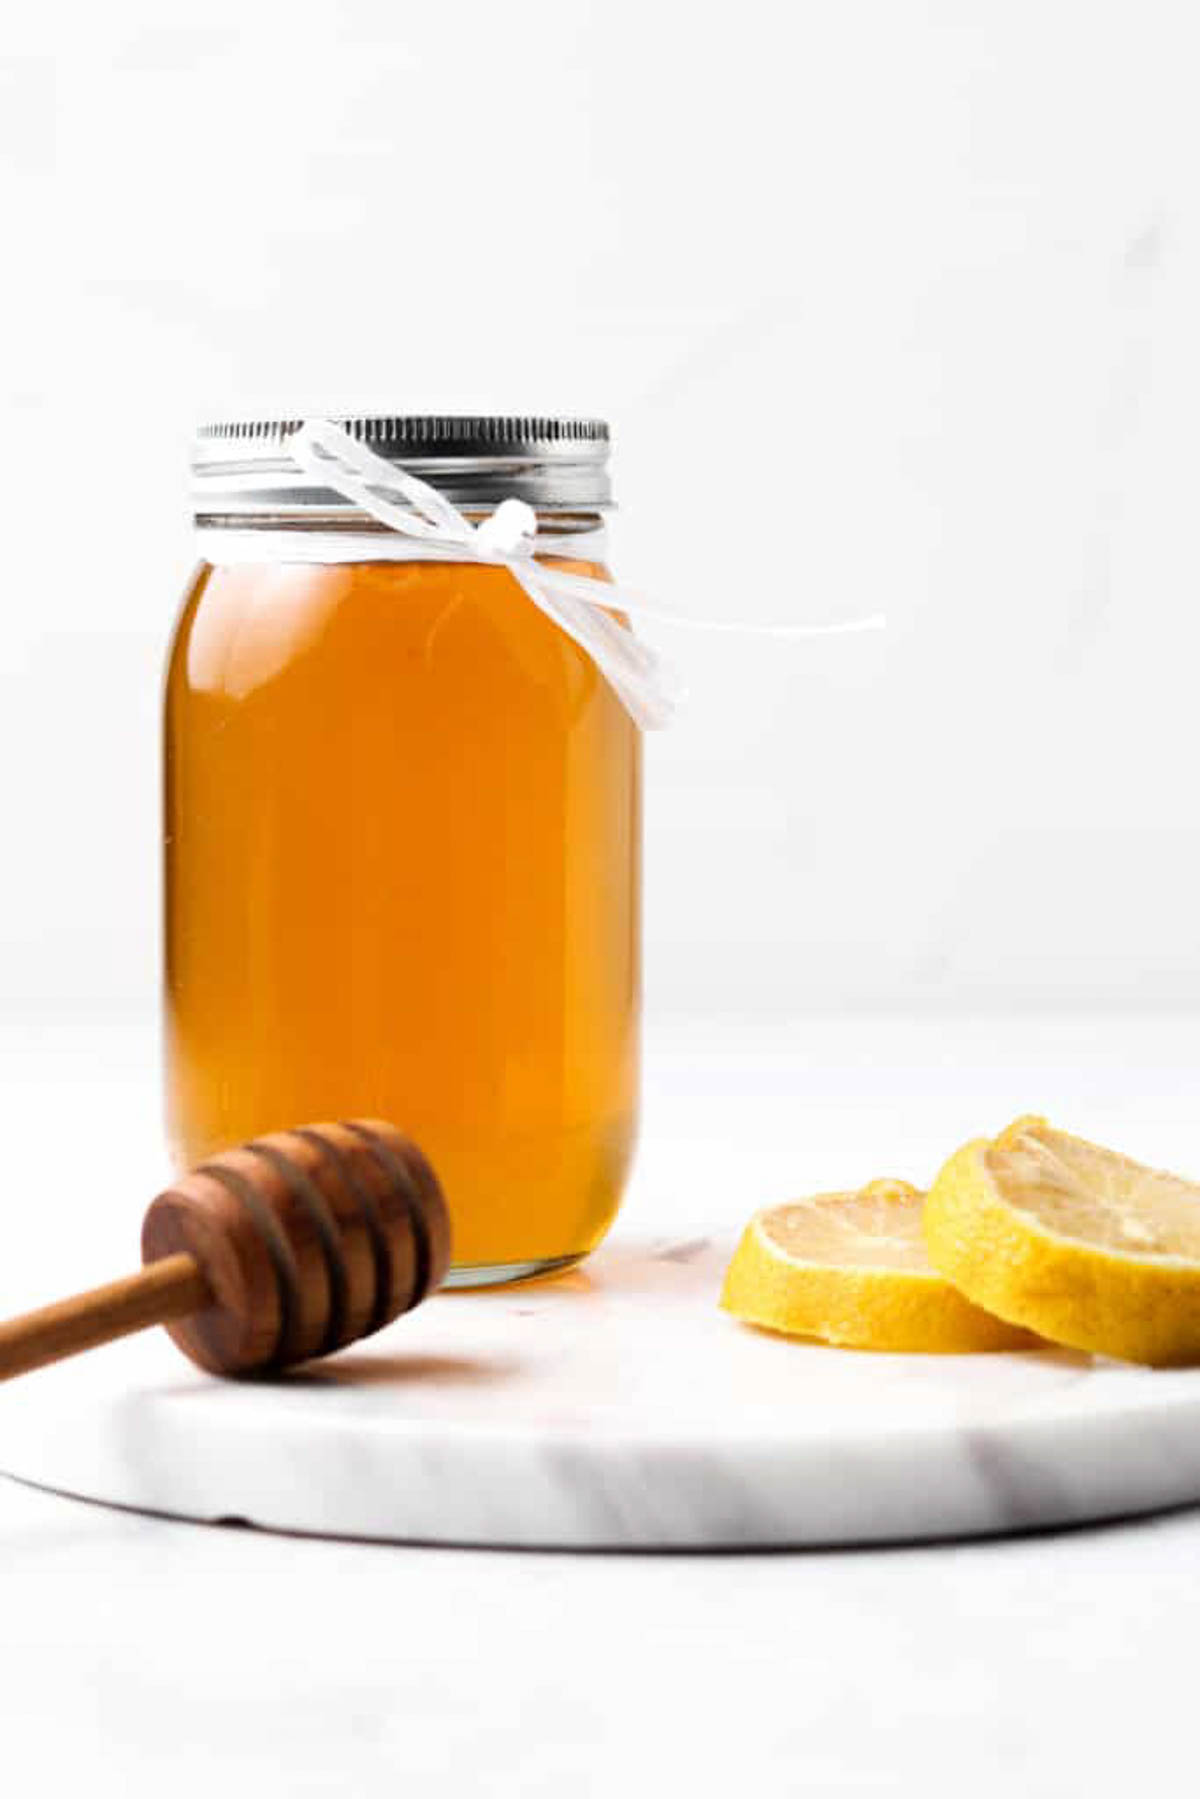
I suggest storing your simple syrup in an airtight container such as a mason jar or glass bottle in the refrigerator for up to 2 weeks. Be sure to allow the syrup enough time to cool before pouring it into the glass mason jar.
You can serve this simple syrup with a variety of drink mixtures, mocktail, or cocktail options. I recommend that prior to use to mix or shake up the simple syrup to ensure it is well mixed.
Absolutely! I love to use this simple syrup in hot tea or iced tea as my sweetener.

Other Alcohol Free Drink Recipes You Will Love
Are you interested in a list of my go to healthy alternatives?
Download your FREE guide below
Honey Simple Syrup
Equipment
- large pot
Ingredients
- 1 cup honey light colored is best
- 1 cup filtered water
Instructions
- Place all ingredients in saucepan on medium heat and bring to a boil for 2 minutes. Let the syrup cool before using.