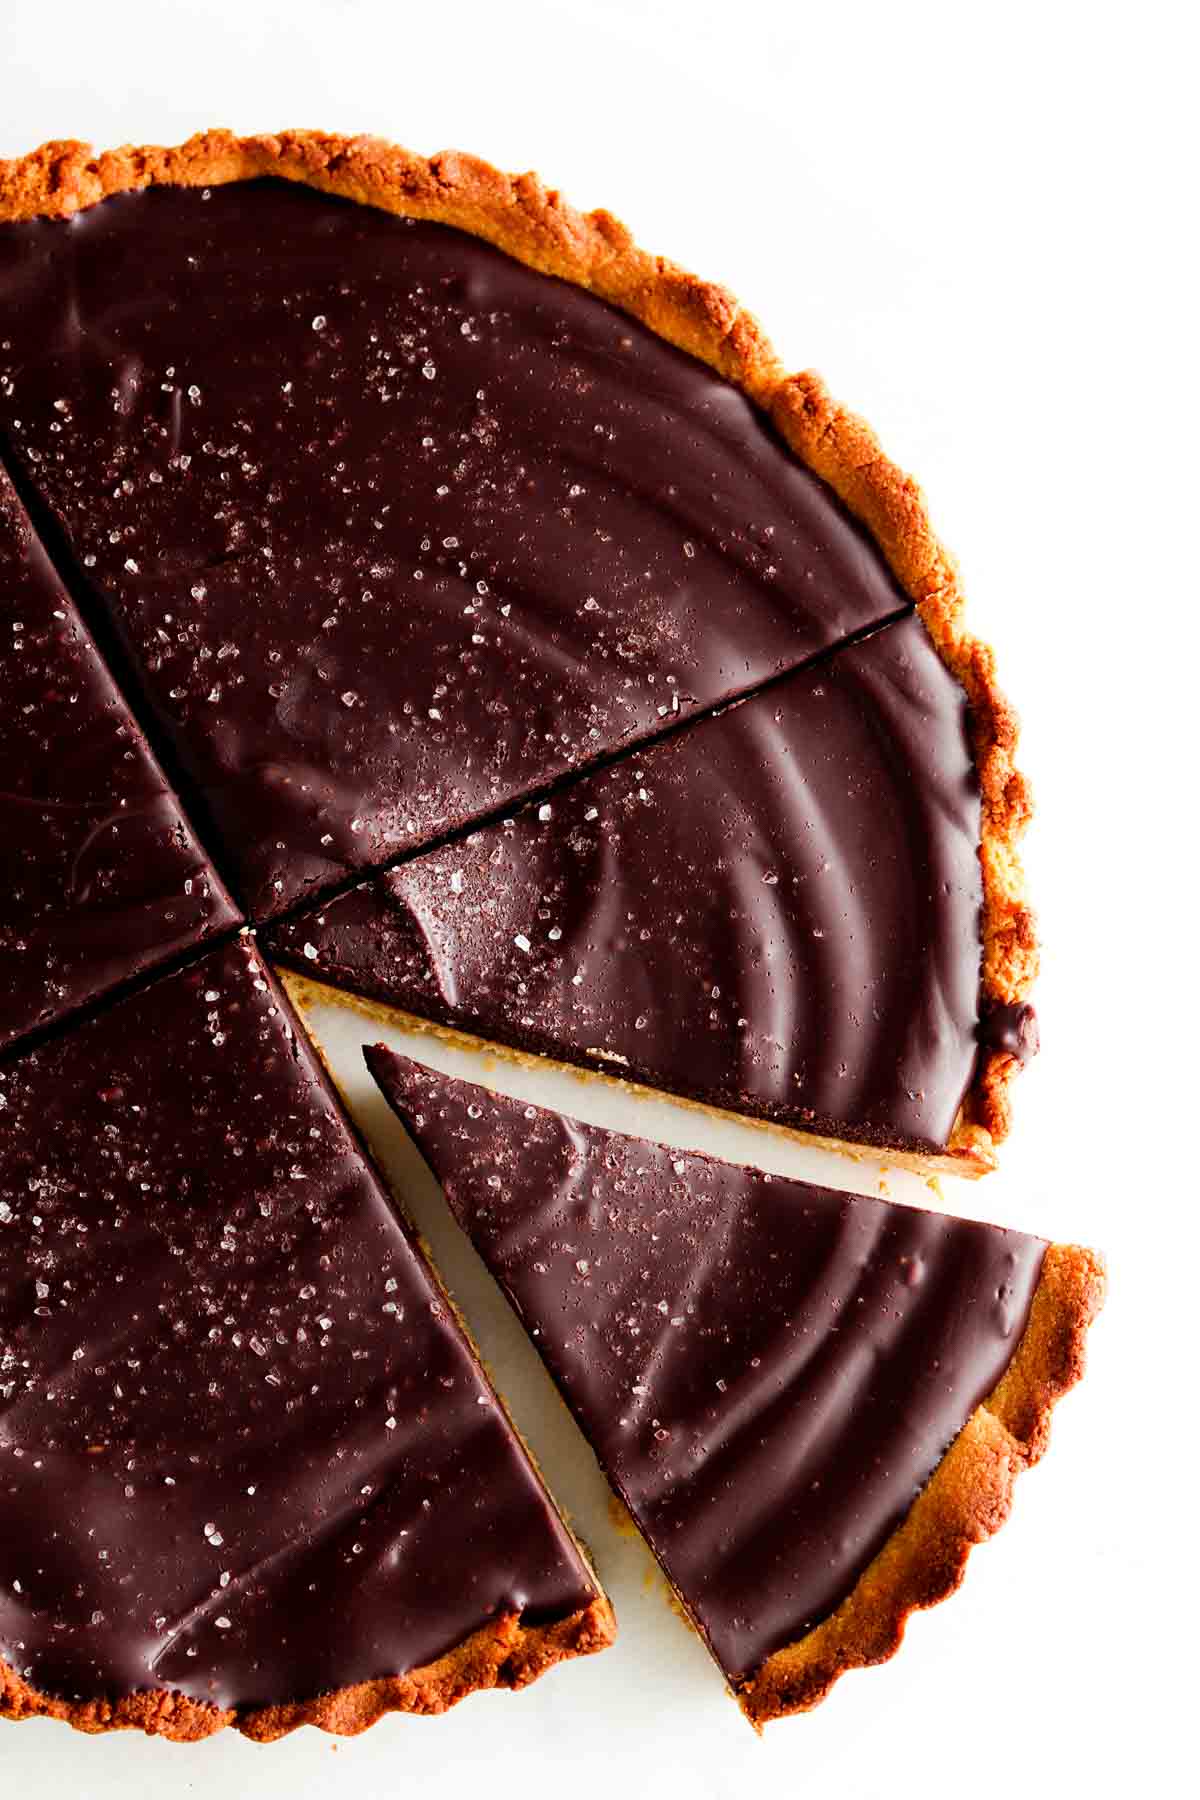
This easy yet fancy Gluten Free Tart Crust only takes minutes to prepare yet it is so delicious. This fancy treat will elevate any meal. This extra flaky gluten free crust combined with the silky chocolate tart filling topped off with fresh berries is to die for. This treat reminds me of something you would find in an European Bakery. This recipe requires only simple ingredients and less than 20 minutes of hands on time and is a great make ahead option!
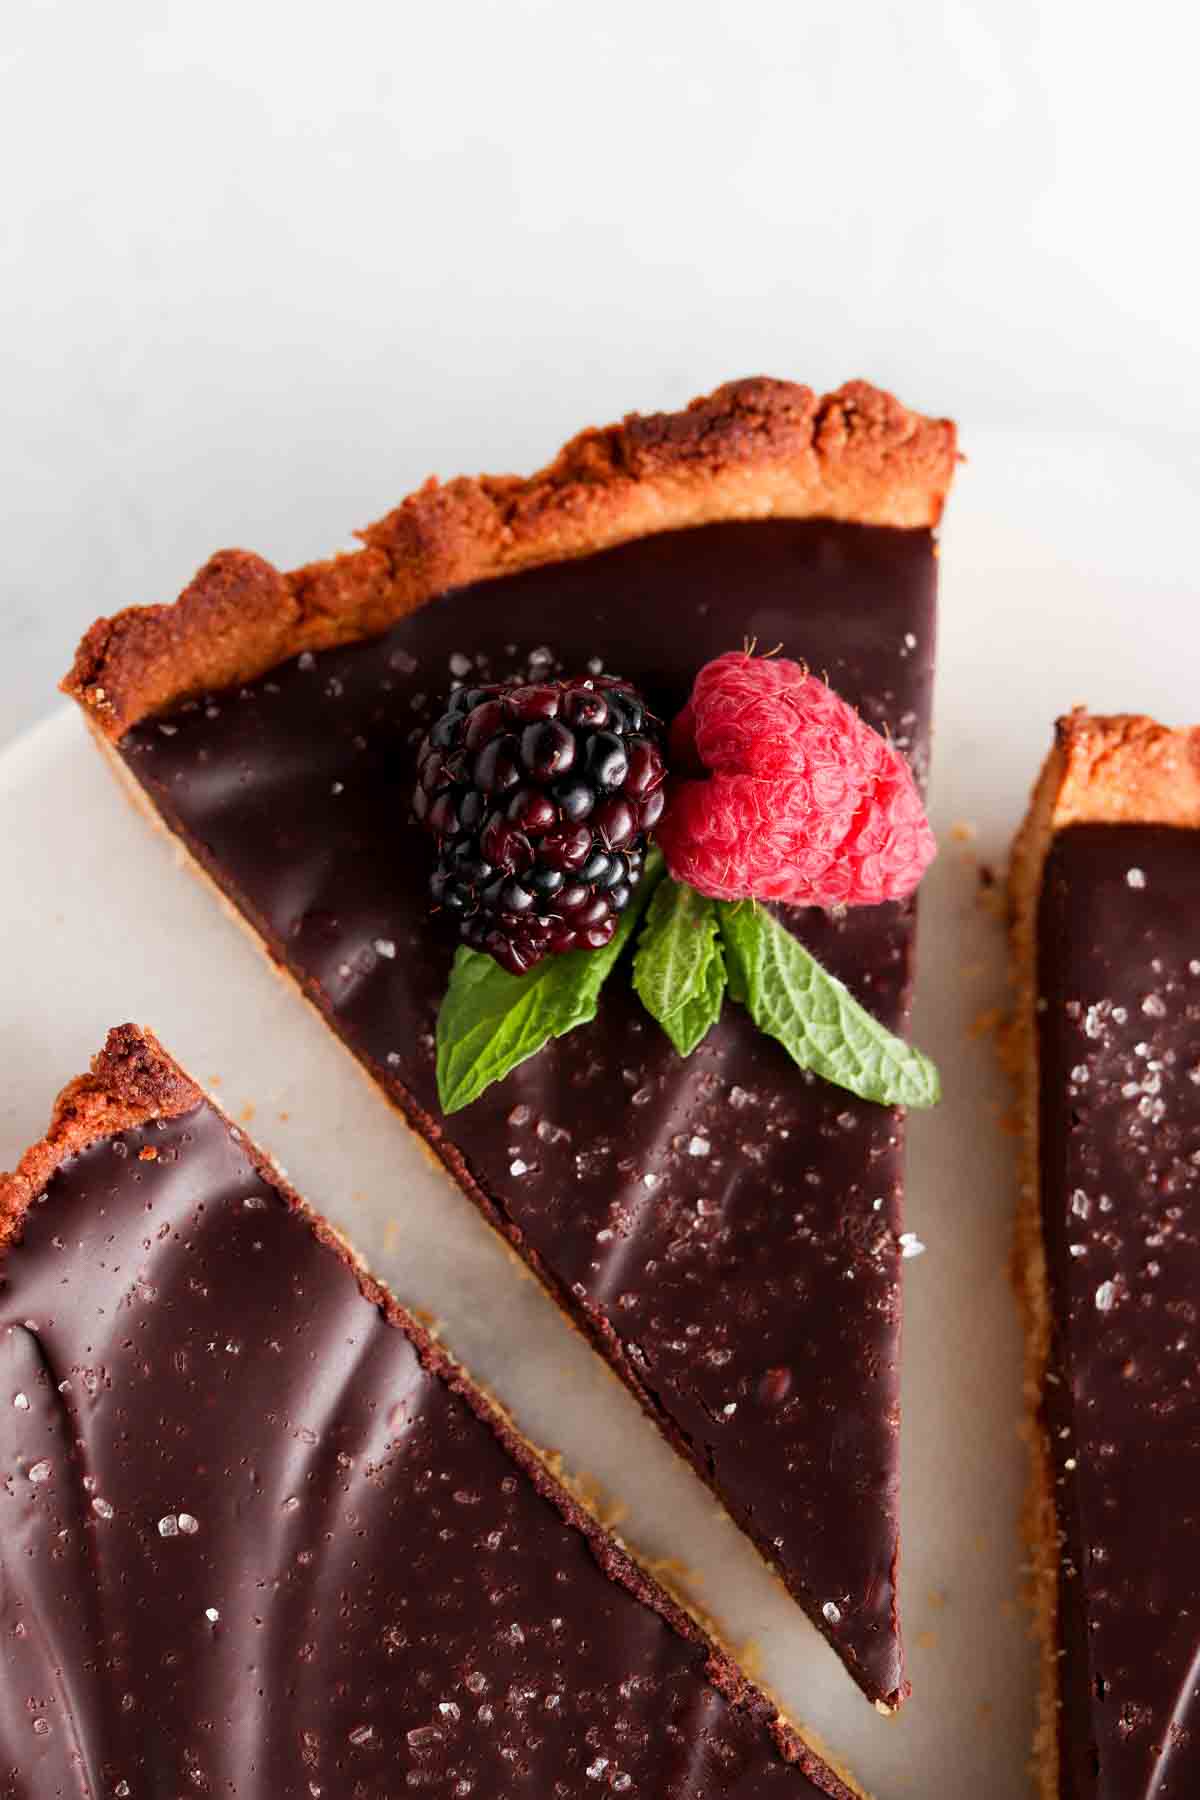
This recipe was inspired by a recent trip to Europe. I do not know about you, but there is just something special about European bakeries. The freshness, the energy, everything smells so good, not to mention the better quality ingredients there too. As someone who needs to eat gluten free for medical reasons, I know how difficult it can be find a treat that is safe for me to eat and does not disappoint. However, let me tell you this Homemade Gluten Free Tart will not disappoint. I have made it numerous times ever since my trip! If you are a big chocolate lover like me, you will want to check out my other delicious gluten free chocolate recipes on my blog like my No Bake Vegan Chocolate Truffles, Chocolate Covered Pecans, Vegan Buckeyes, and Vegan Reeces. I even have a dog treat recipe on my blog for your fur babies, check out my Liver Cake For Dogs Recipe on my blog. Dogs love this treat. I love making my dog a treat when I make us humans a treat too!
This recipe was originally published in May of 2020 and updated in March of 2024 to help with user experience.
Jump to:
Why I Love This Recipe
- This recipe is super easy to make!
- While the chocolate filling is my favorite filling, you can use a lot of other fillings too.
- This recipe requires minimal ingredients which means you will likely already have everything on hand.
- My recipe is naturally gluten free, dairy free, soy free, paleo and refined sugar free.
- This tart crust is a great base for any kind of homemade gluten free tart.
- No one will know this recipe is gluten free considering it tastes like your traditional tart crust.
- While this recipe is already fancy, you can really jazz it up many ways. I love adding fresh fruit on top!
Gluten Free Tart Crust Ingredients
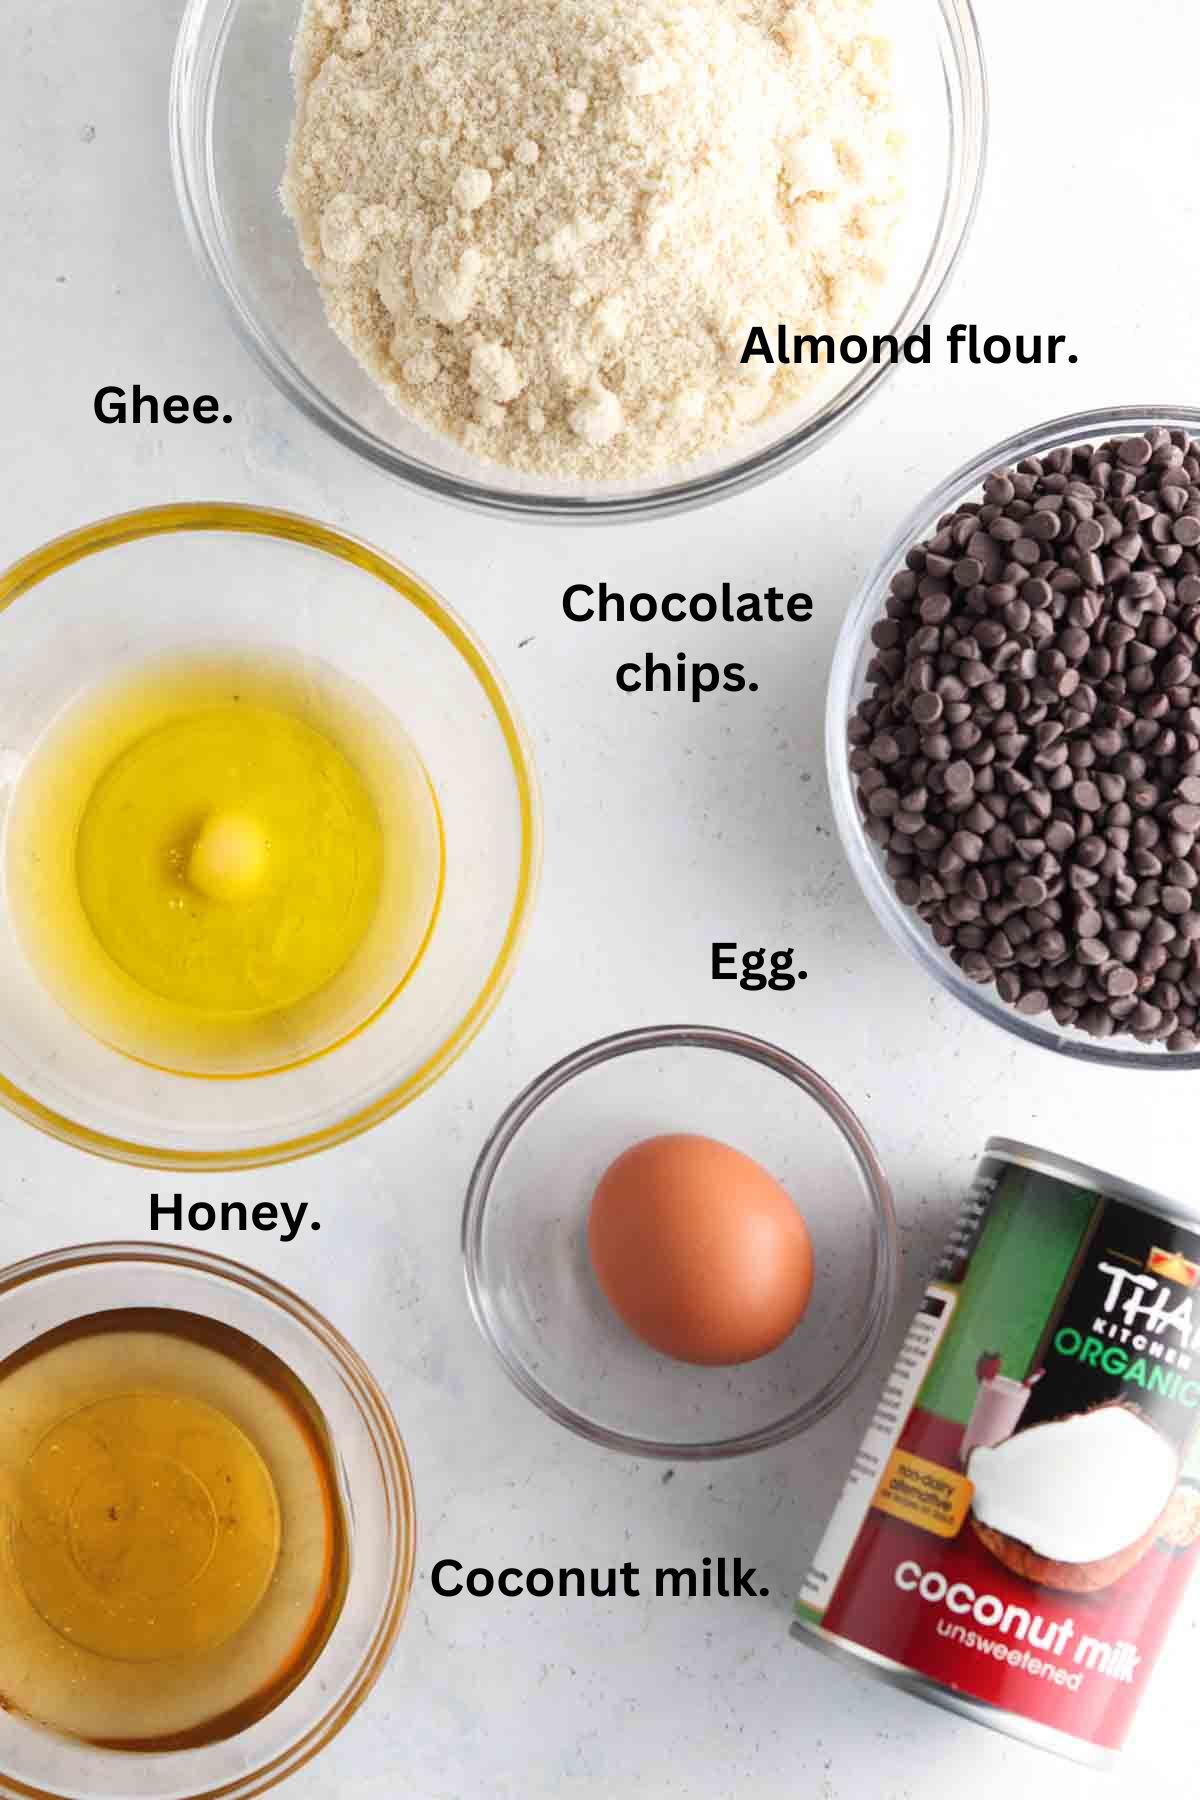
For the flaky crust:
- Almond flour-Almond flour is base flour for this Gluten-Free Tart Crust. This my go to gluten-free flour in most gluten free baking. I like using Bob’s Red Mill but any brand will work. I also love the Costco brand of almond flour.
- Honey-This acts as the sweetener in this tart crust. I like using raw honey.
- Ghee-this helps create the flaky buttery crust. I have a recipe on my blog for how to make your own Homemade Clarified Butter. You can save so much money by making your own.
- Egg yolk-This helps bind the crust together.
- Cooking oil spray-This is for the tart pan to ensure it does not stick. I like using Avocado Oil Spray but any kind of spray will work.
For the silky chocolate filling:
- Coconut cream-This is the firmer part of the canned coconut milk that is up at the top.
- Chocolate-I am dairy free so I like using dairy free chocolate. Hu and Enjoy Life are my two favorite brands.
See the recipe card below with a full list of ingredients and measurements.
Substitutions and Variations
- Almond four– While there are so many flours in the gluten free baking isle at the grocery store, It is important not to substitute this out for another gluten free flour like oat flour, coconut flour, gluten free all purpose flour or a gluten free flour blend as not all gluten free flours are equal.
- Honey-You can also use maple syrup or agave.
- Ghee-You can also use coconut oil, butter, olive oil, or vegan butter in this recipe.
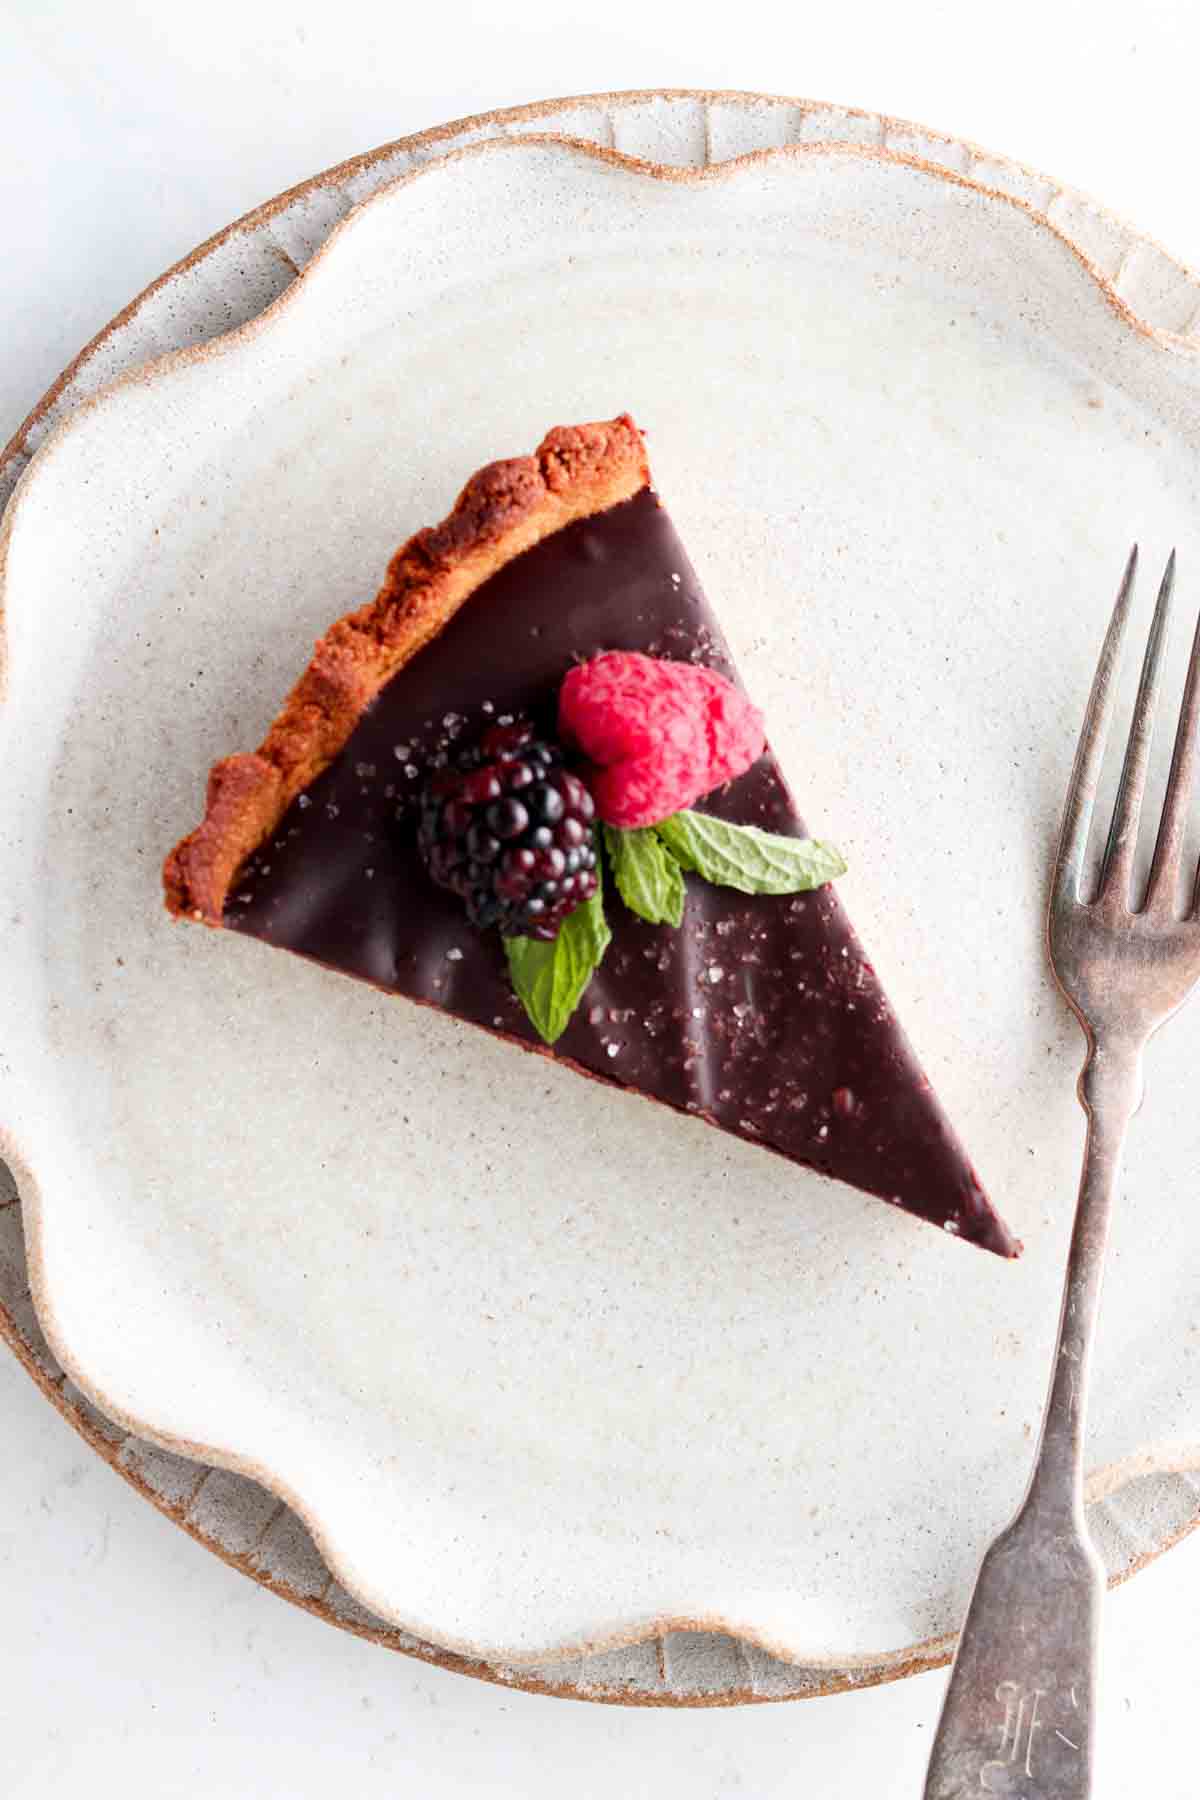
- You can jazz up your tart by adding some fun toppings like fresh fruit or nuts. I like adding fresh raspberries, lemon slices, strawberries and blackberries.
This recipe has not been tested with any other substitutions or variations. If you replace or add any ingredients, please let us know by leaving a comment below!
Step By Step Instructions
Bakers Tips
- Tip #1: Allow the tart crust to complete cool and harden prior to cutting into it.
- Tip #2: If you have excess dough or want to make make this recipe into an individual treat, you can use these mini tart pans to make minis, how fun!
- Tip #3: If you do not have a tart pan, you can make this into chocolate pie by using a pie pan.
Recipe Frequently Asked Questions
This prevents the crust from boiling up and getting too tall if you would say. It allows the crust to breathe.
Yes! You can prepare this treat in advance which I love. When you are hosting it is best to prep and make a bunch of stuff ahead of time as possible. Just allow this treat to cool then wrap it in plastic wrap to ensure freshness.
I love making this tart for special occasions like showers, birthdays and Mother’s Day. It pairs so well with my Gluten-Free Lemon Bars.
You can keep this recipe in the fridge covered with plastic wrap for up to 2 days. If you put it in an airtight container, it will last for up to 5 days in the fridge.
Yes! This tart crust would be great for gluten-free pies too!
Any sort of serving plate will work! I love using a 9-inch pie plate.
I like using this 9 inch tart pan with the removable bottom.
Other Gluten Free Dessert Recipes You Will Love
Looking for healthy swaps? Be sure to check out my FREE go to anti-inflammatory swap guide!

Gluten Free Tart Crust
Equipment
- 9 inch tart pan
Ingredients
For the silky chocolate filling:
- ½ cup coconut cream Or milk will work.
- 2 cups dairy free chocolate I like this brand
Crust:
- 2 3/4 cups almond flour
- 3 tbsp honey
- ¼ cup ghee or coconut oil You can also use butter or vegan butter. This should be somewhat melted and not hard.
- 1 egg
- Cooking spray oil I like avocado oil. This is used to prevent the tart from sticking.
Optional toppings:
- Stawberries
- Almond slivers
- Blueberries
- Pomegranate
Instructions
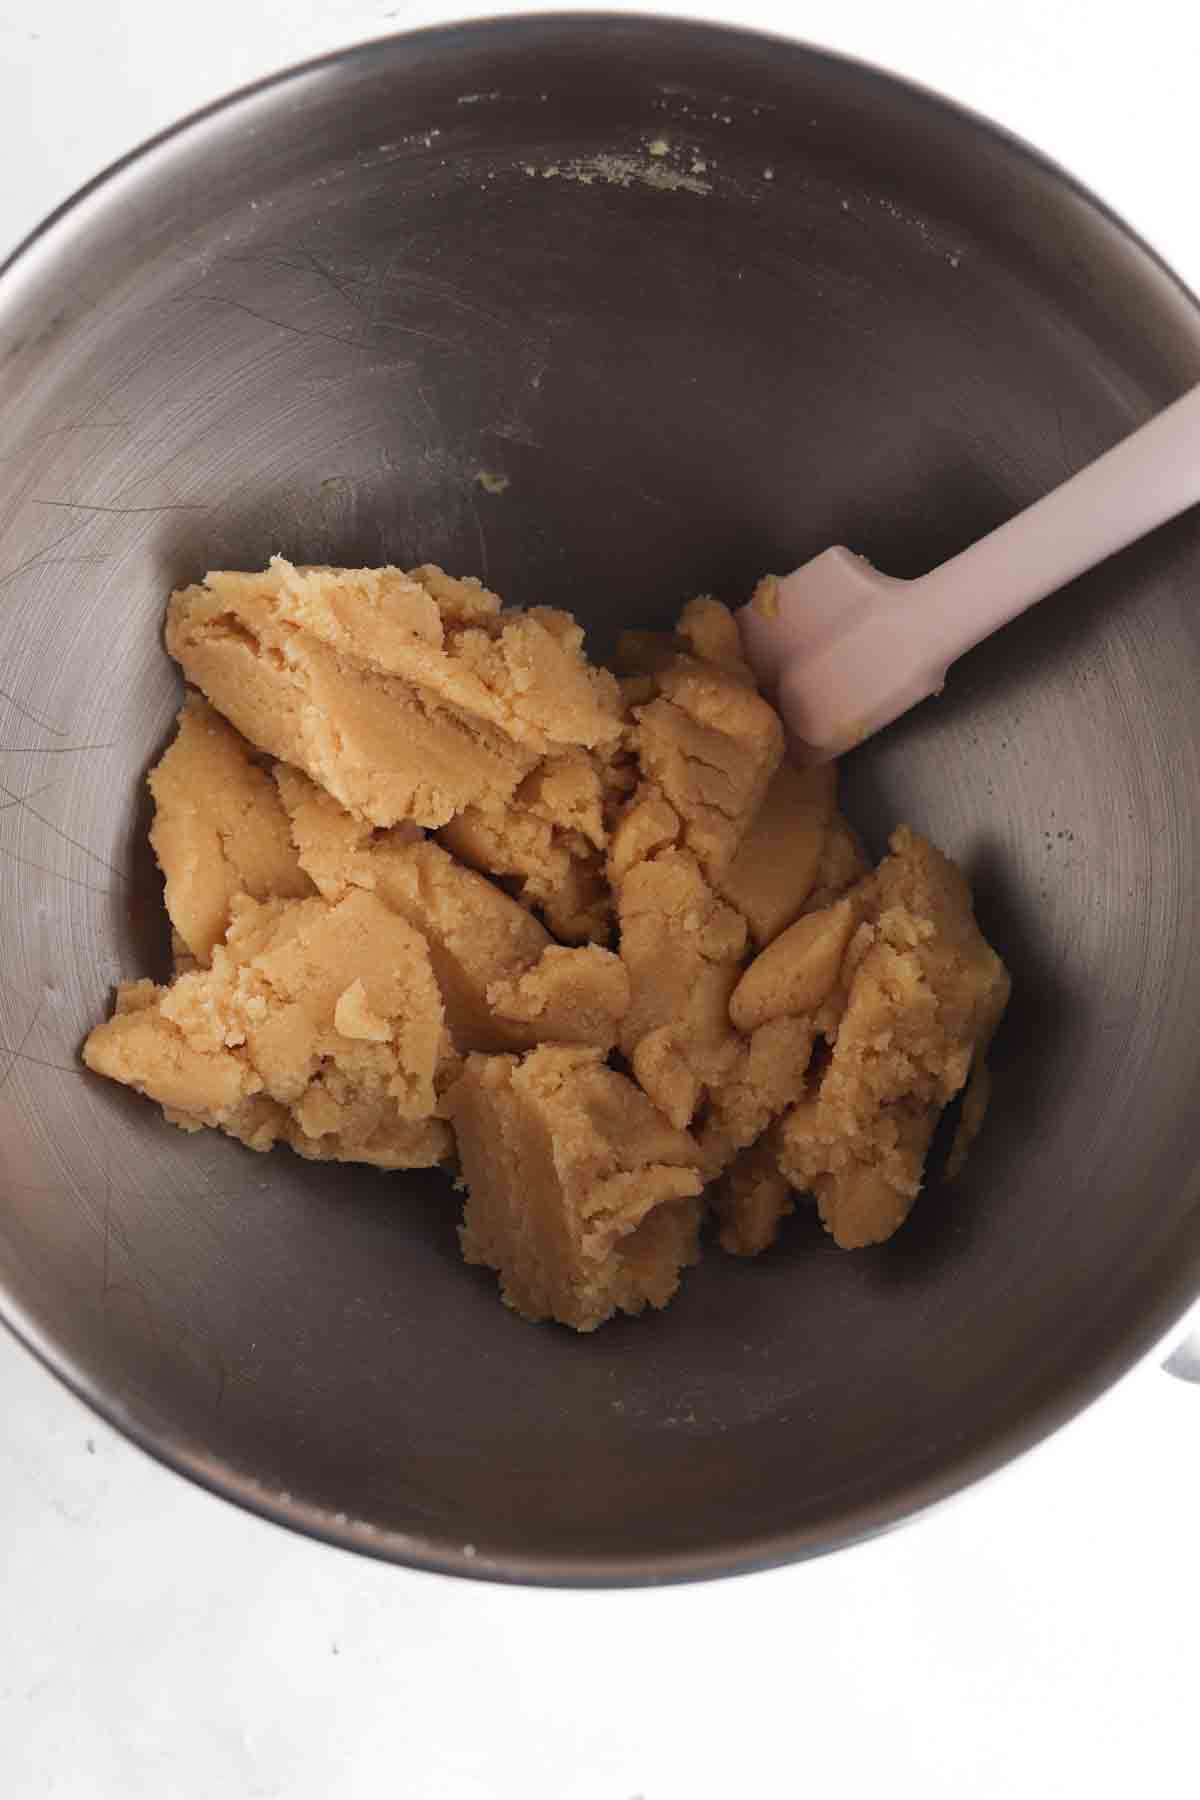
- Preheat the oven to 350. Mix all of the tart ingredients in a bowl or using your food mixer until well mixed. Spray the tart pan to prevnt the tart from sticking.
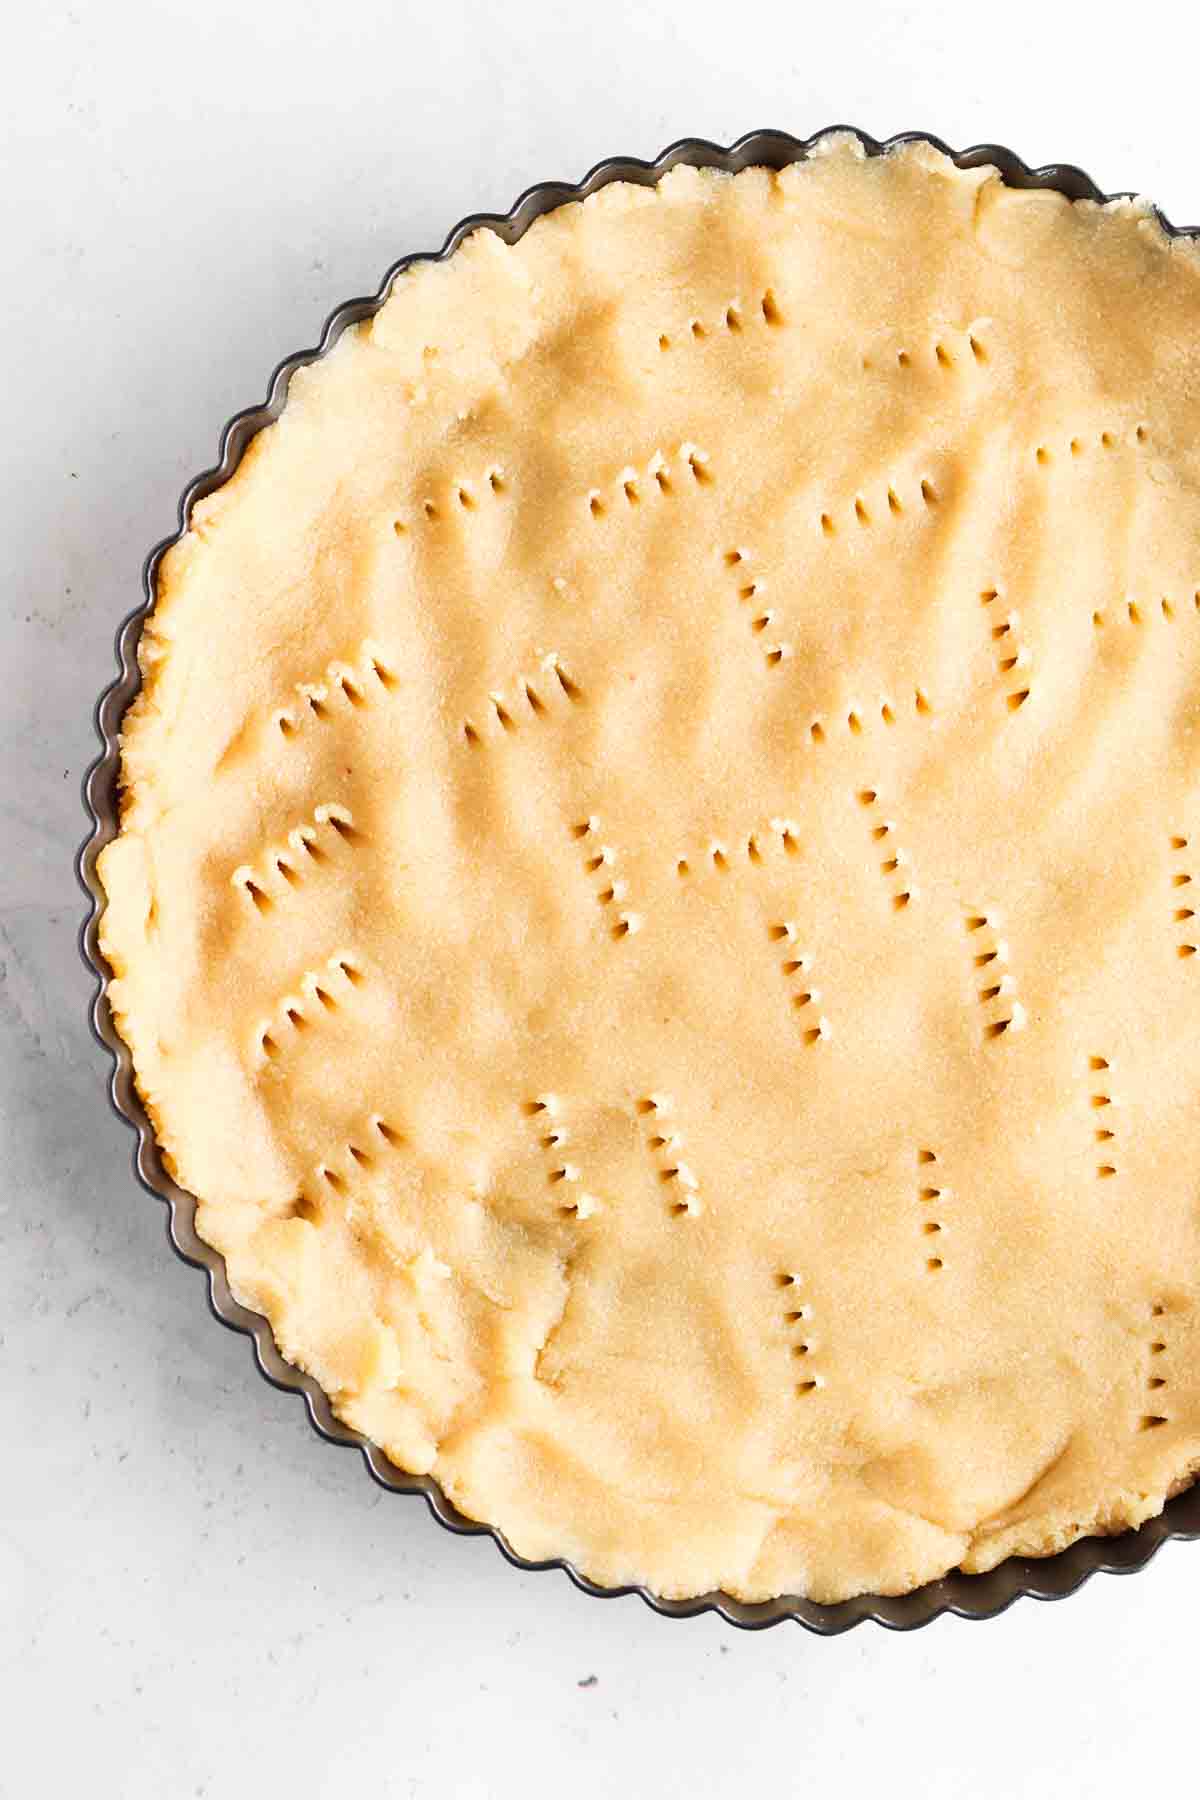
- Add the mixture to your oiled tart pan. Evenly spread it out making sure the dough gets in the corners. Pinch the corners so it adheres to the ruffle shape.
- With a fork, poke holes in the tart crust to prevent the crust from puffing up while baking. Bake in the oven for 18-20 minutes or until the crust is slightly golden brown.
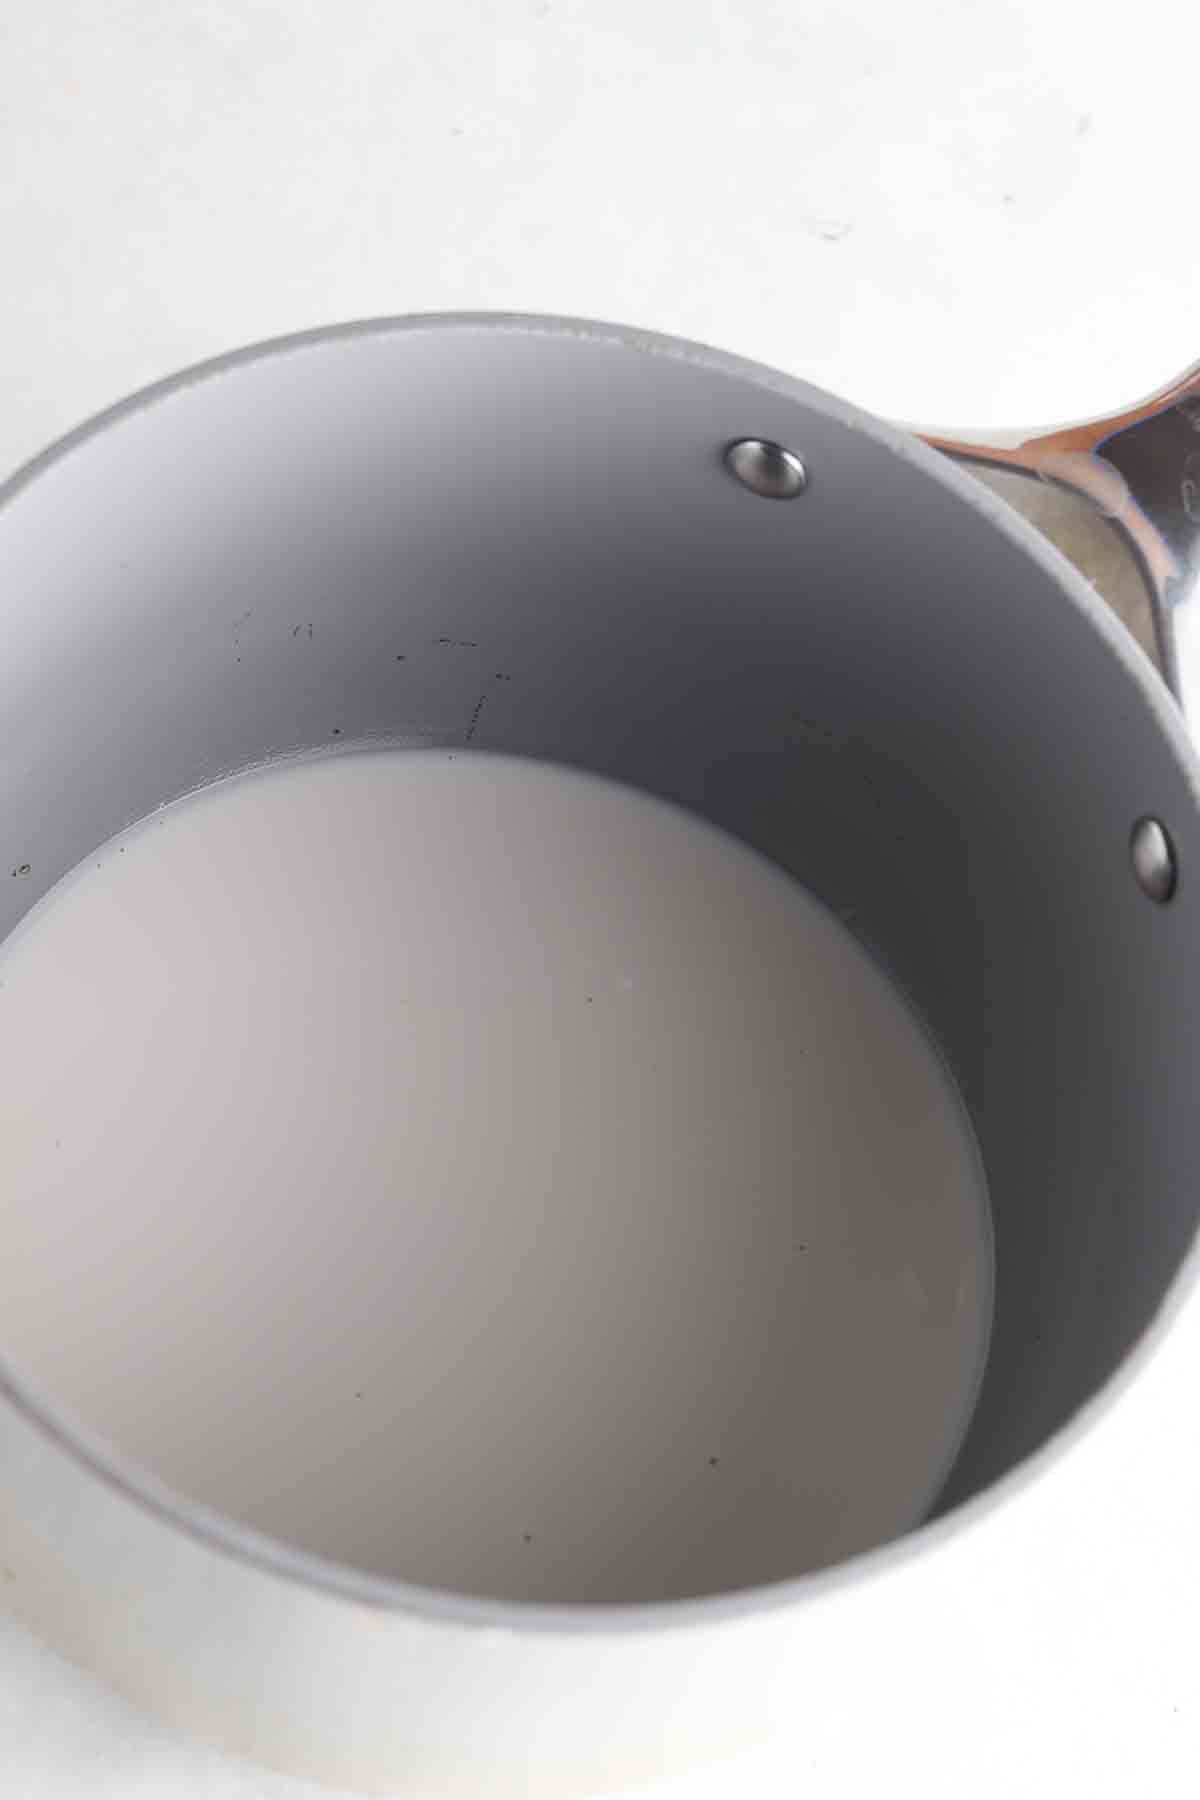
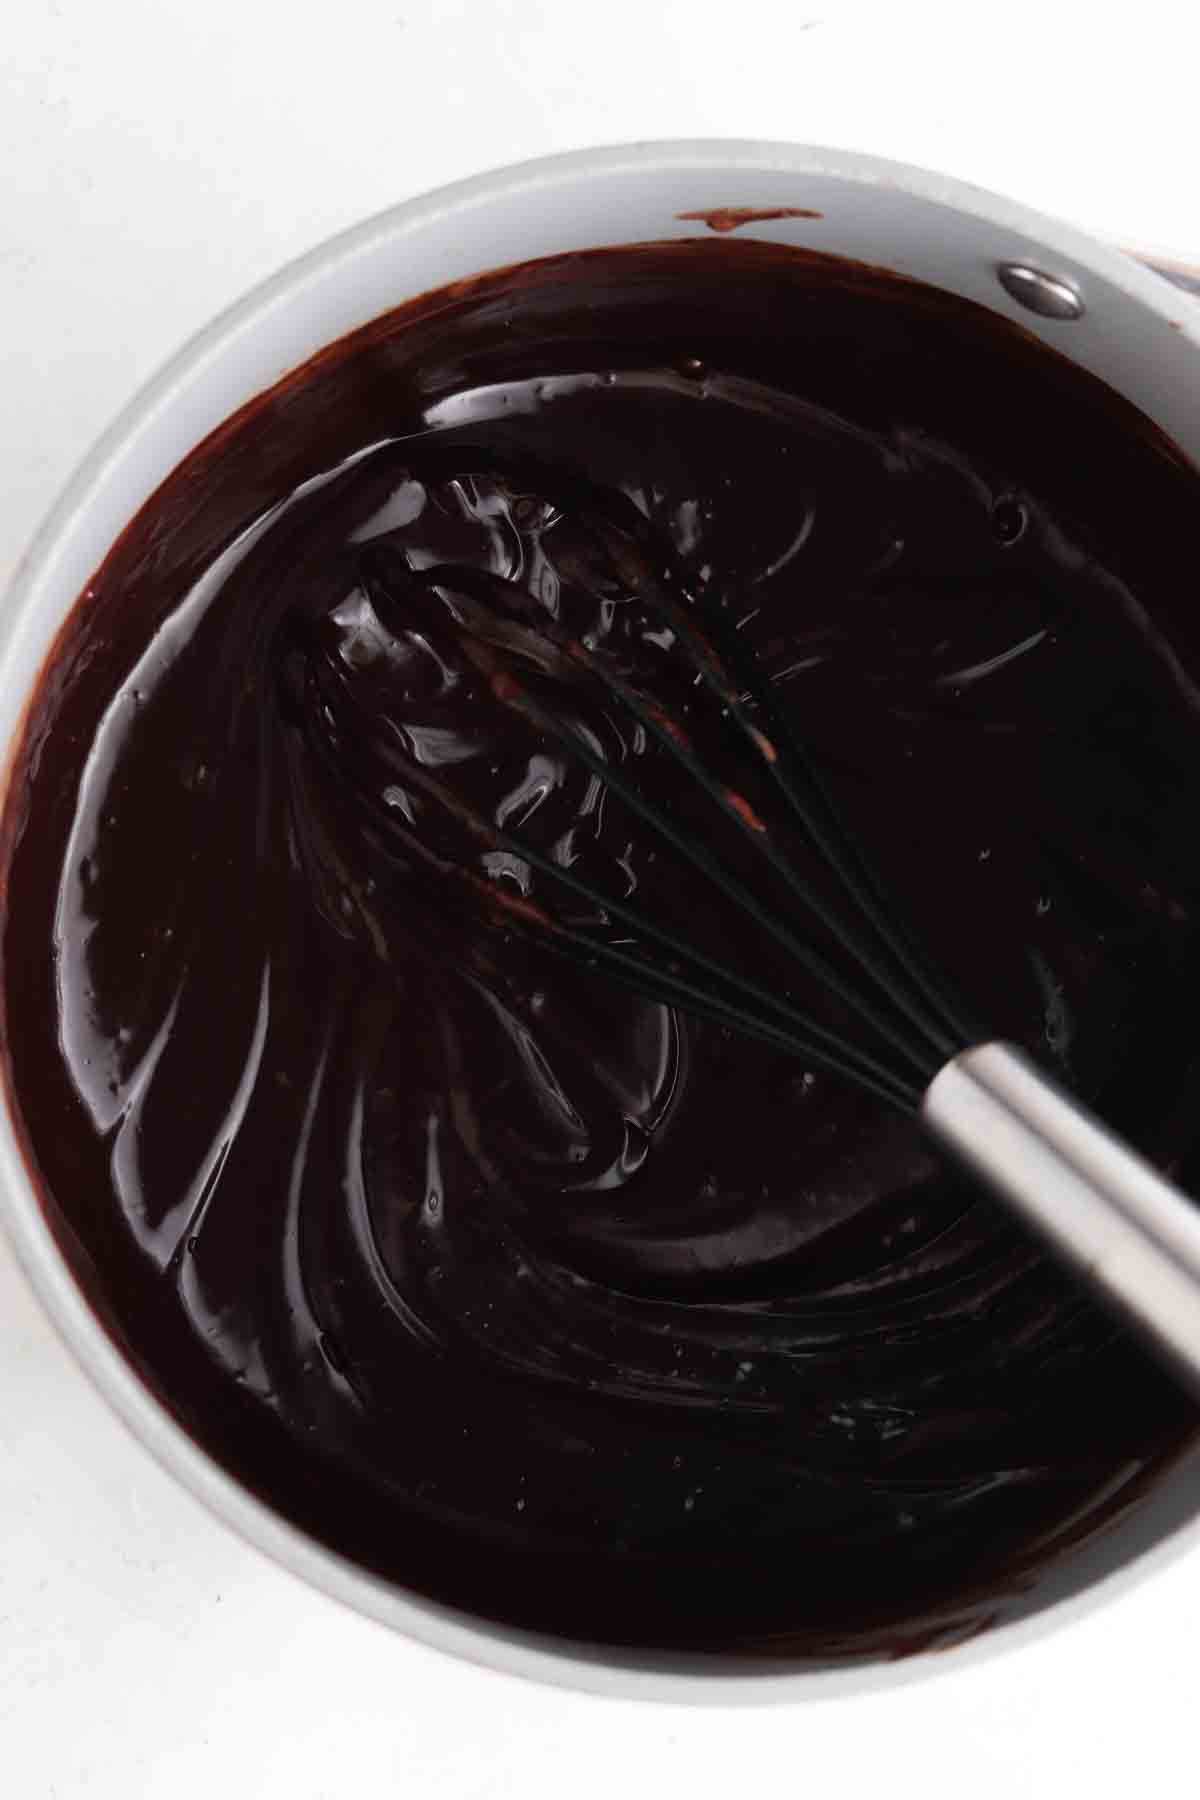
- Once the tarts are done, allow it to cool while keeping it in the pan. While the tart is cooling, add the coconut milk to a sauce pan on medium heat. Once it boils, remove from the heat and add in the chocolate chips making sure you are whisking non stop or it will burn. Make sure you whisk it until the milk disappears.
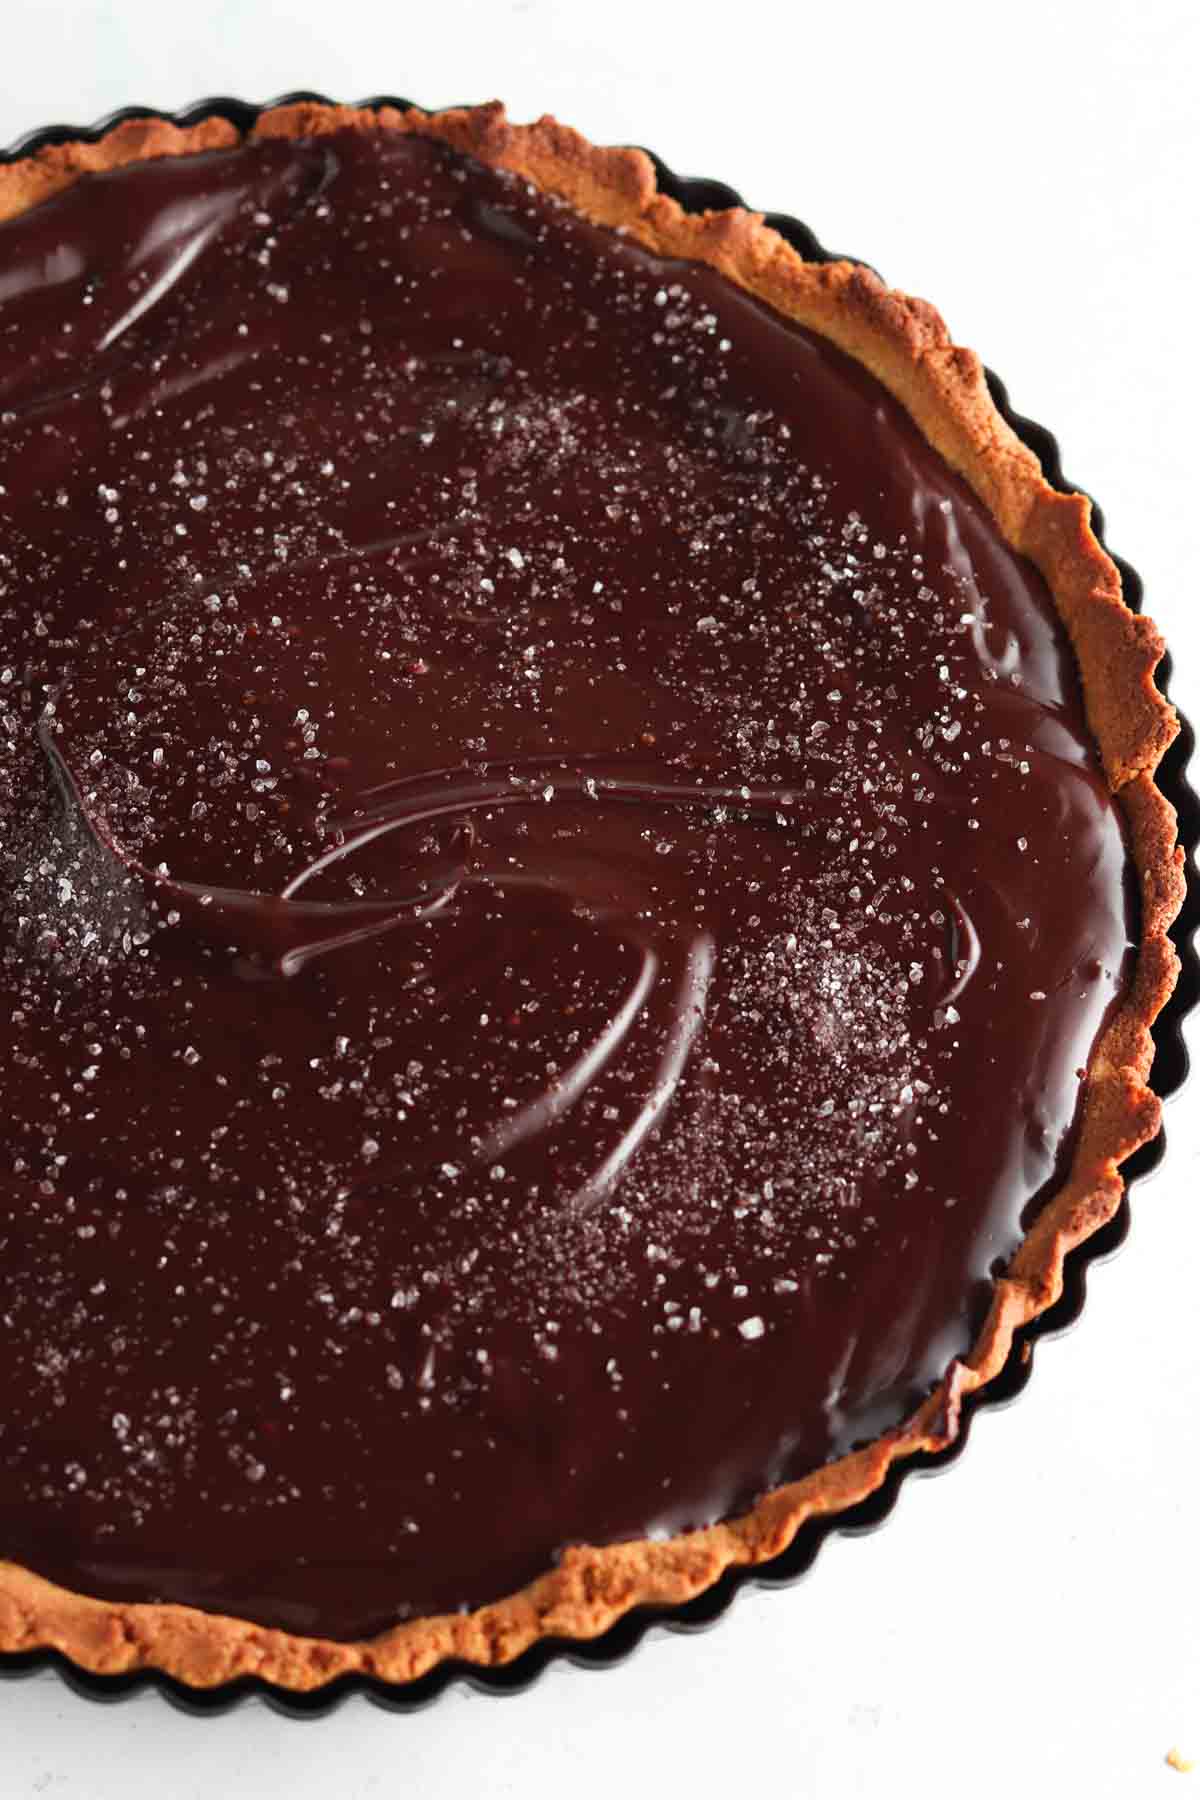
- Once the silky chocolate sauce is formed, pour it over the tart crust and evenly spread it out. Place in the fridge for at least 2 hours so it can set prior to cutting.
Notes

Lori says
Delicious and beautiful! This is great to bring to a party!
Allianna Moximchalk says
Thanks!