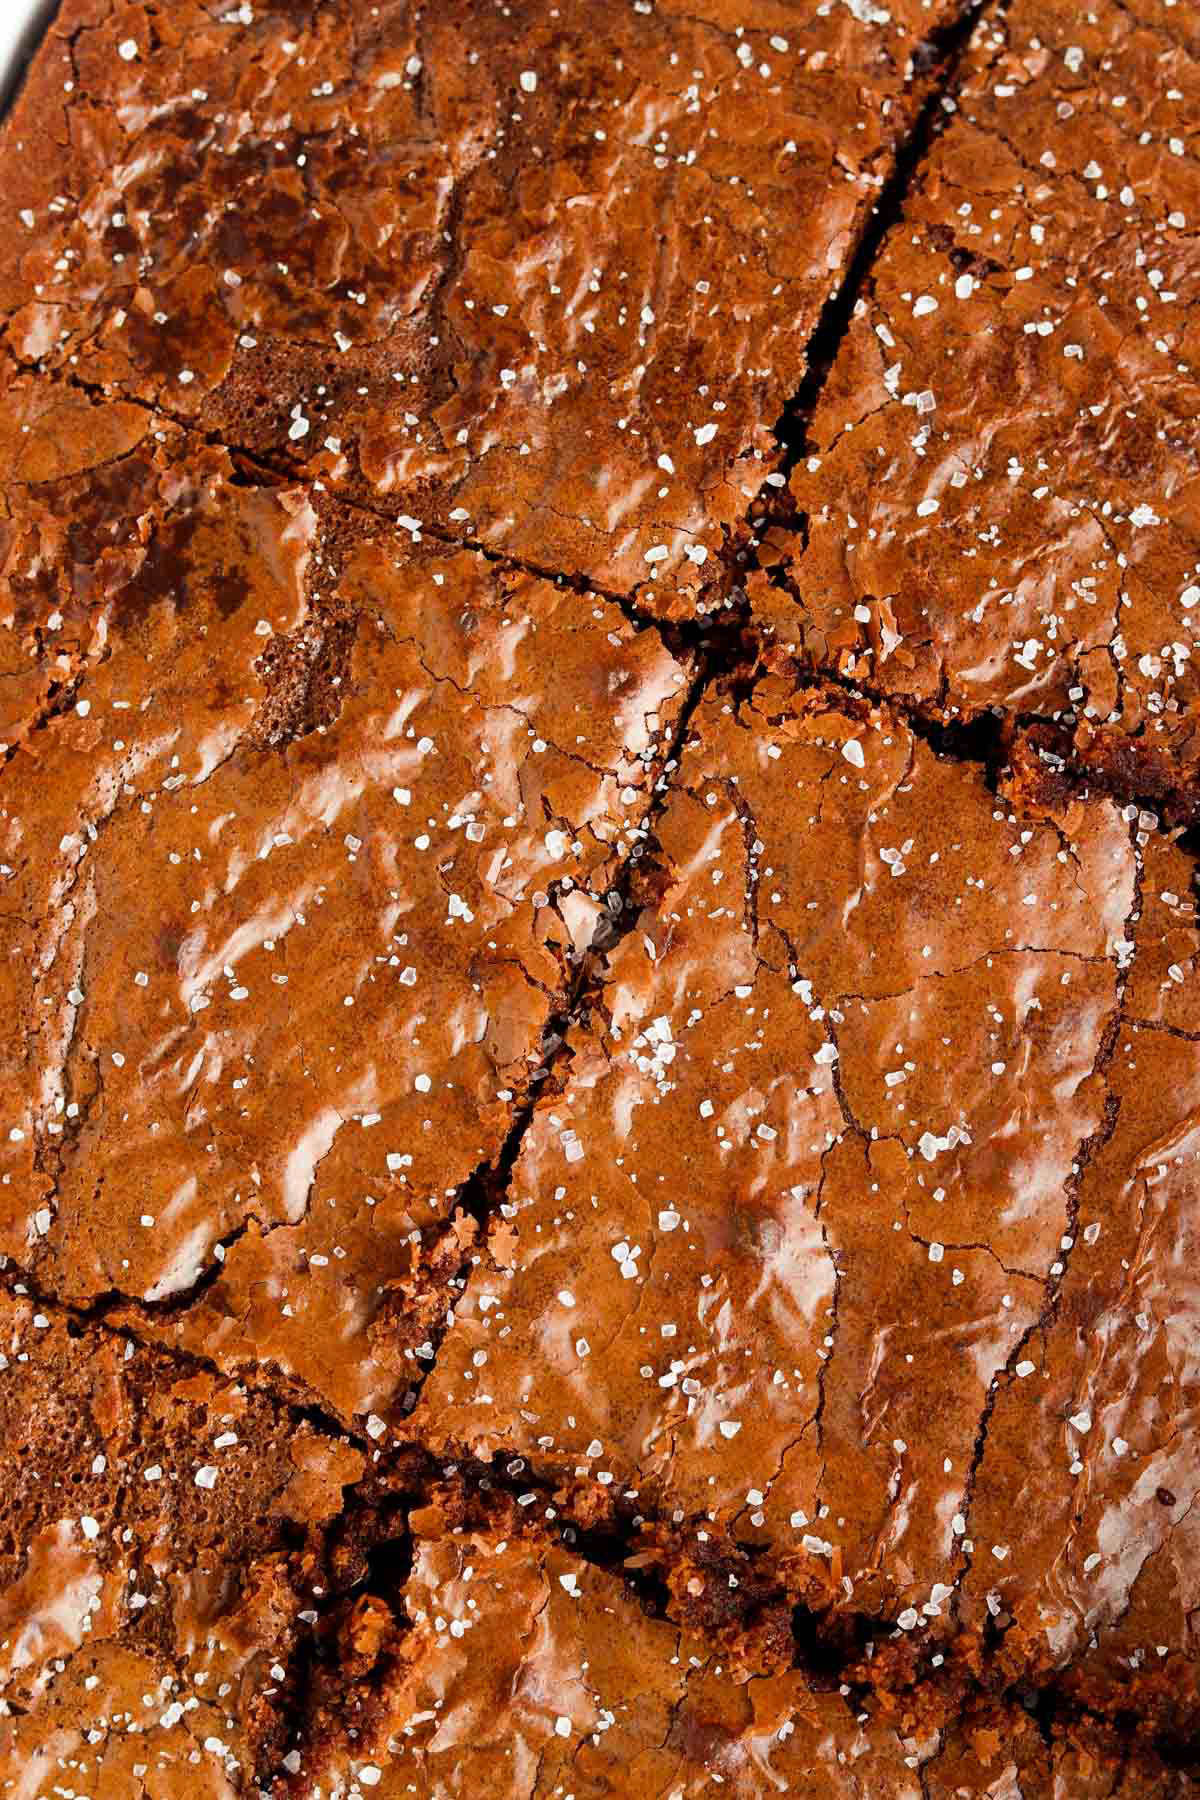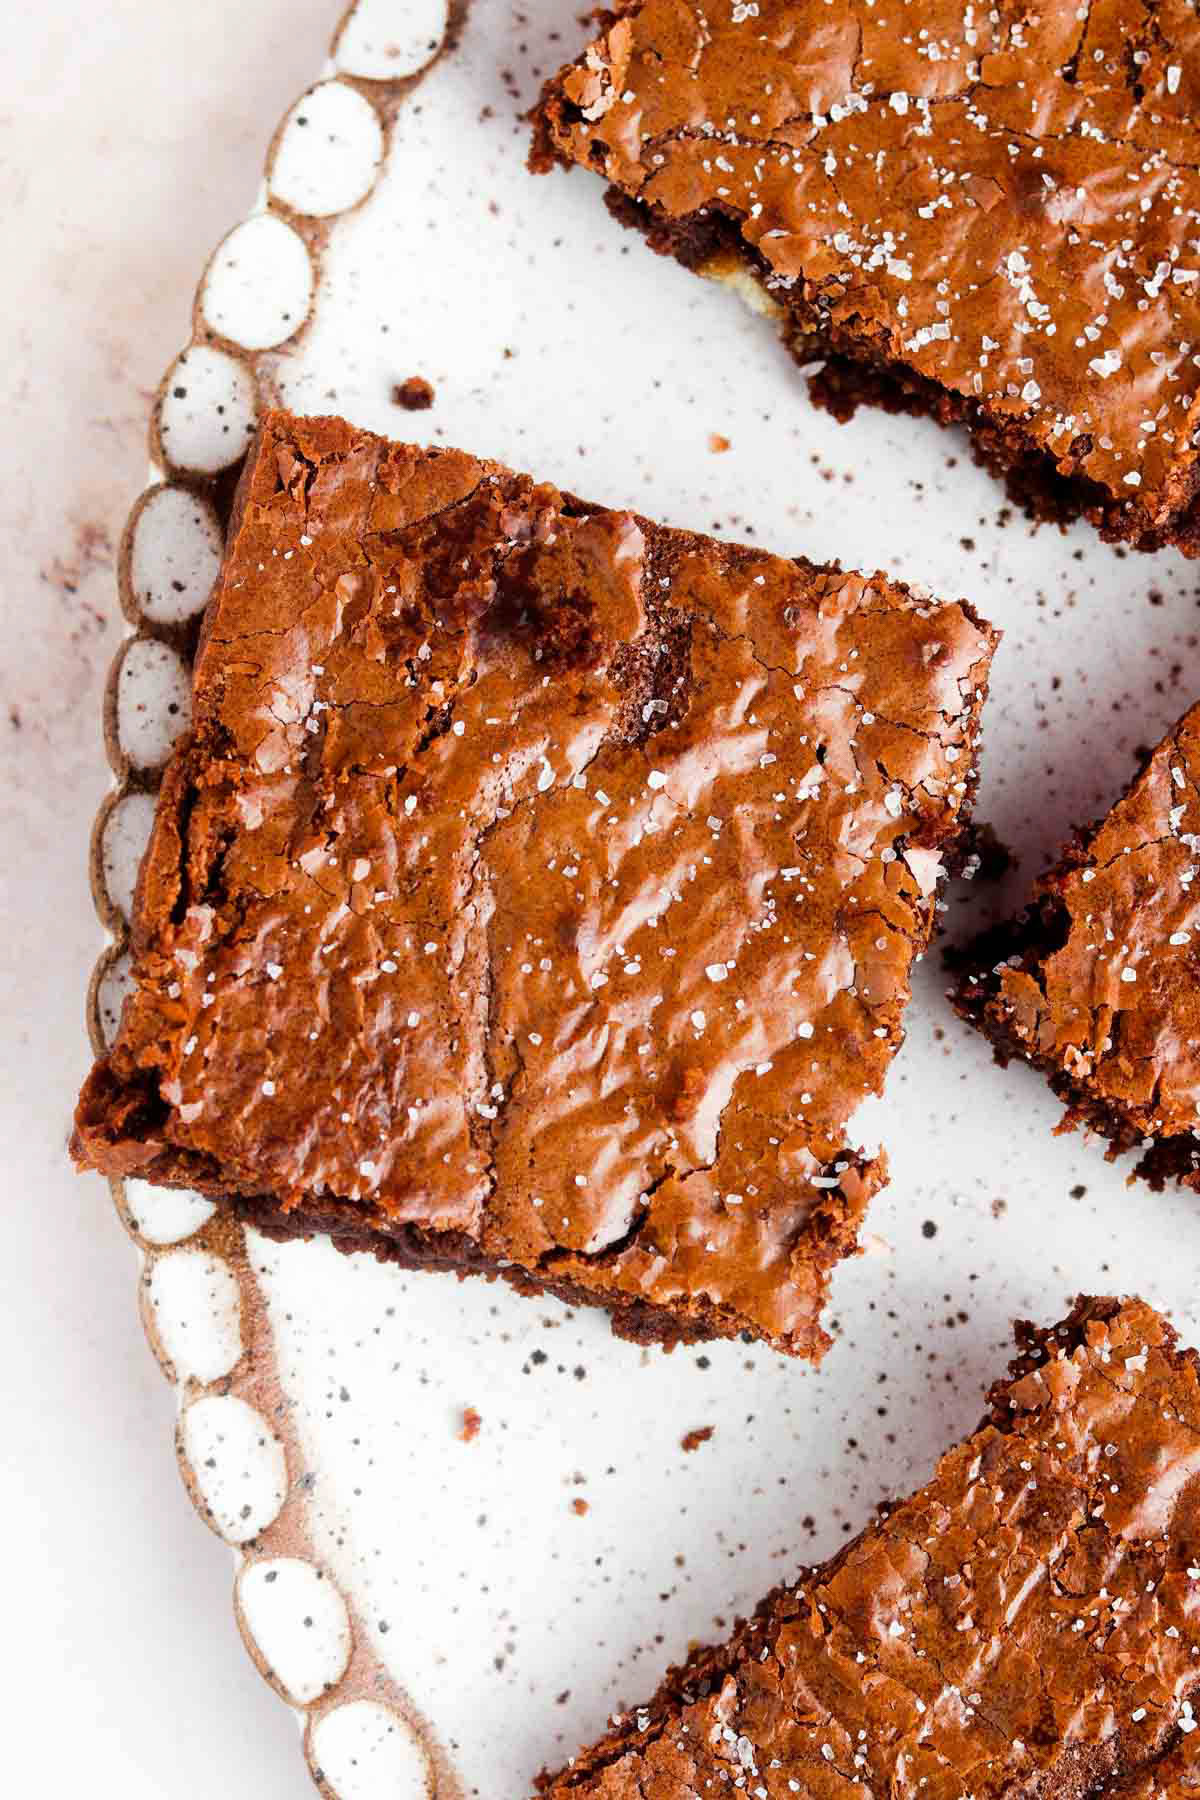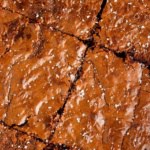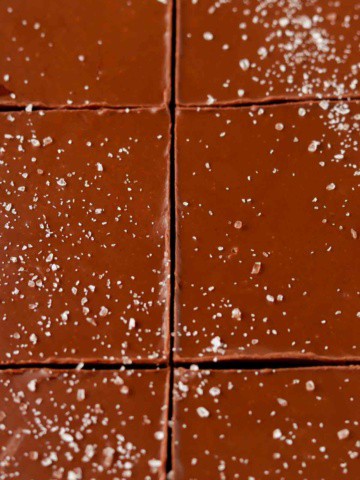
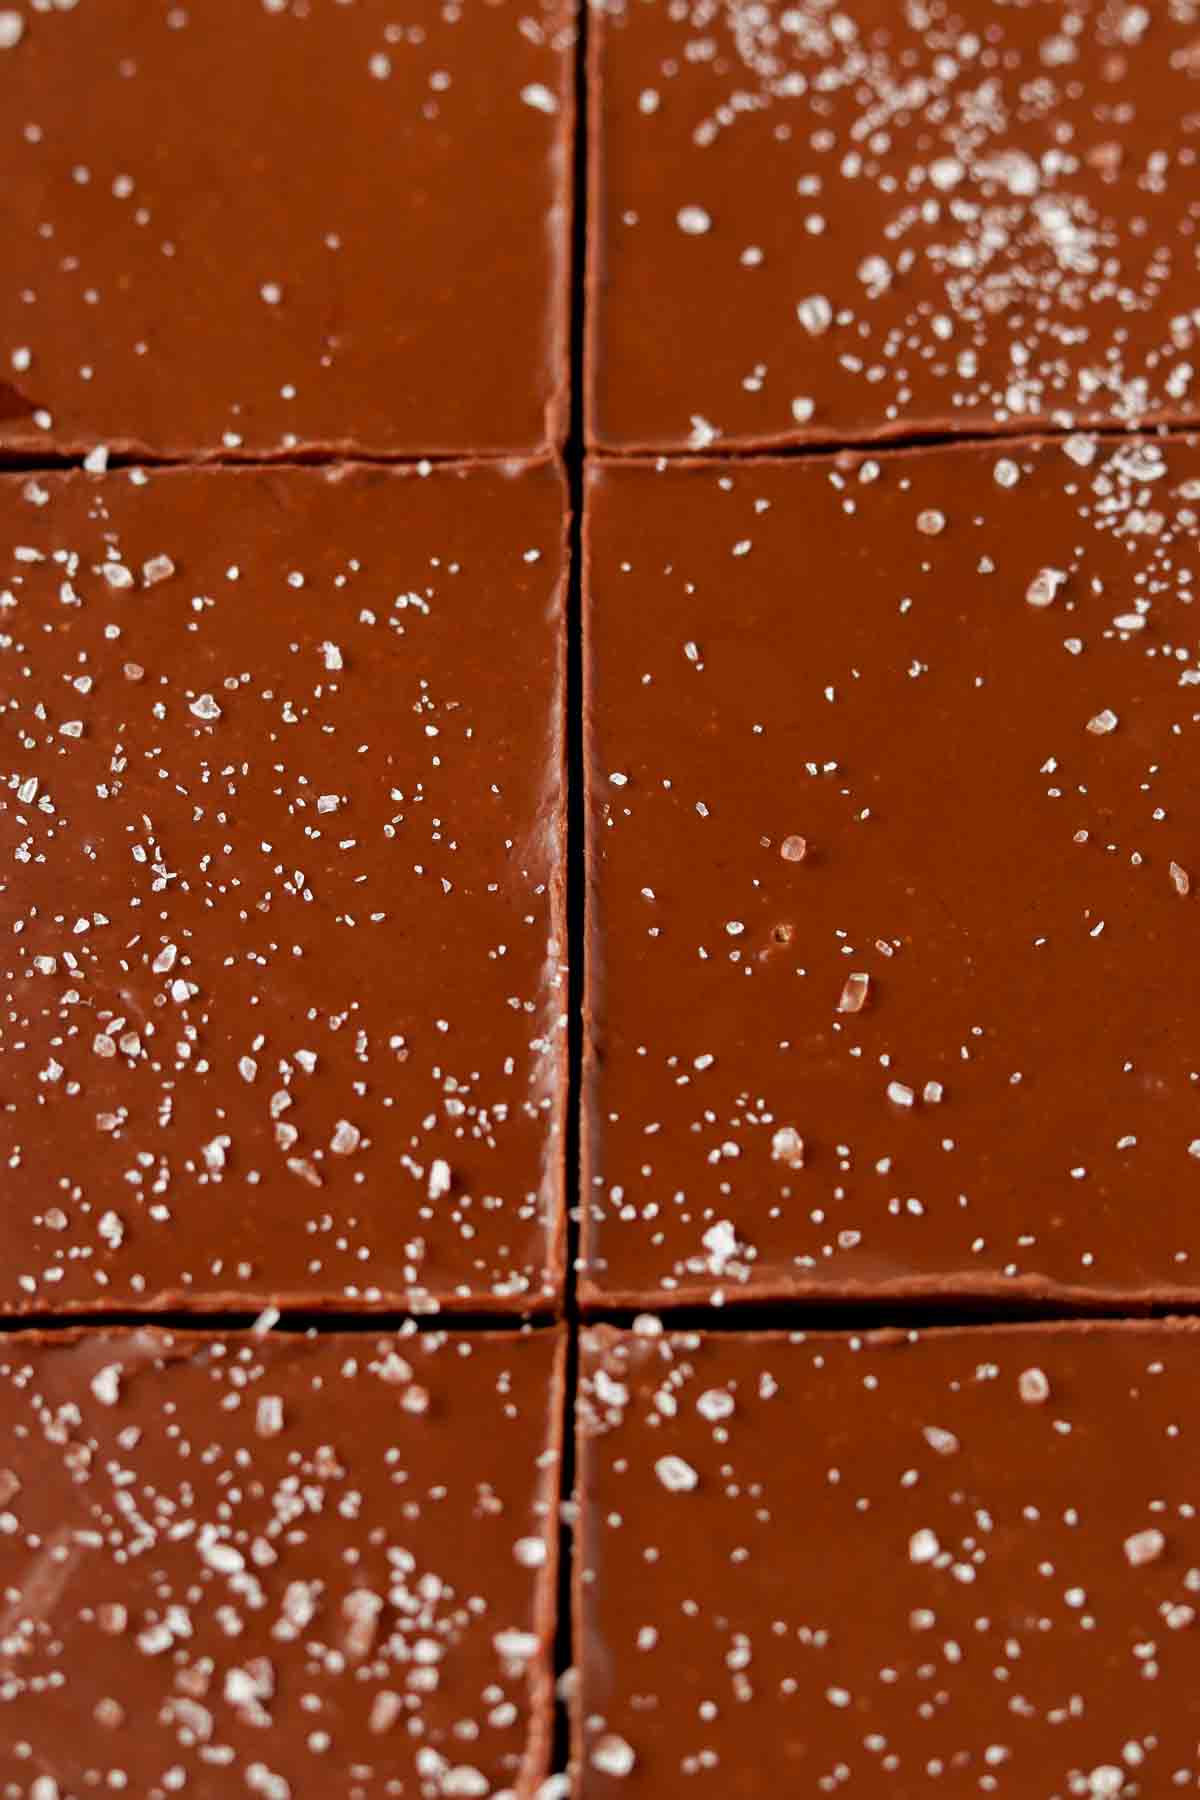
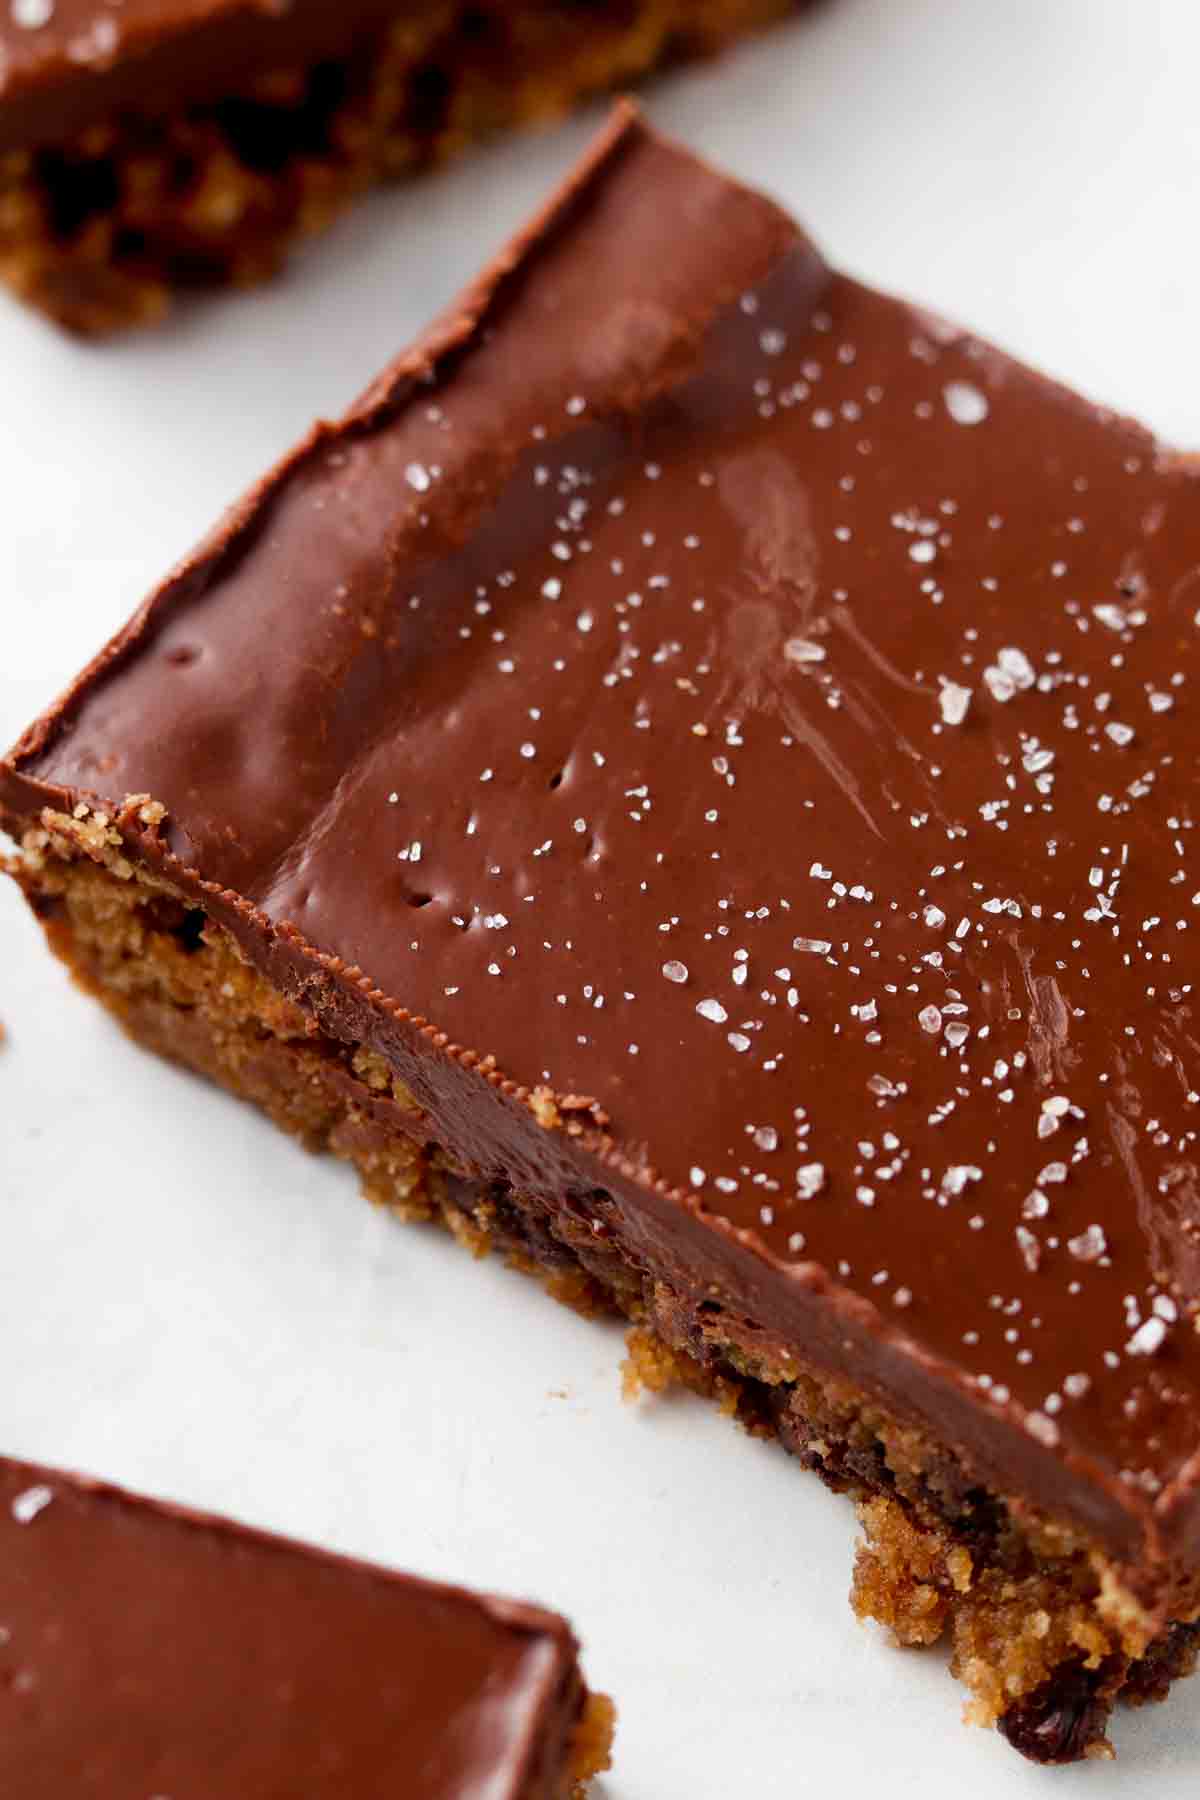
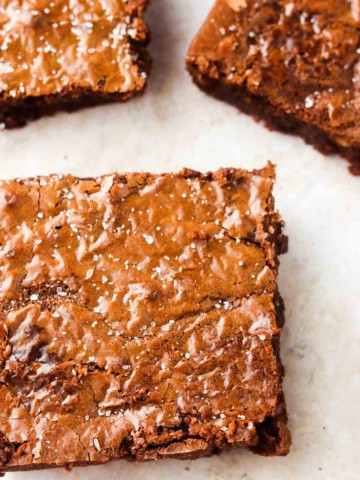
This Gluten Free Cookie Cake recipe reminds me of my favorite childhood dessert. I can’t wait for you to try this because you cannot even tell that it is gluten free AND dairy free. The soft, chewy cookie layer combined with the silky, smooth, fudge layer is almost too good to be true!
My cookie cake has now become a go to for all of birthday parties, I have yet to meet someone that does not like it! Plus, you can make it ahead of time so you do not have to be in a rush the day of. If you love this recipe, you will also love my Gluten and Dairy Free Cake , Christmas Pretzel Crack, and my Gluten Free Orange Cake.
I even have a dog treat recipe on my blog for your fur babies, check out my Liver Cake For Dogs Recipe on my blog. Dogs love this treat. I love making my dog a treat when I make us humans a treat too!
[feast_advanced_jump_to]Why This Recipe Works
- This homemade dessert is oh so chewy and soft!
- Only requiring 15 minutes of hands-on time, this dessert can be made in a time crunch.
- This recipe is naturally paleo, gluten free, dairy free, grain free, and soy free.
- This dessert will be a hit with everyone, whether or not they are gluten free.
- Gluten Free Cookie Cake was inspired by my Skillet Cookie – another delicious treat to try!
- If you are local to Pittsburgh, check out my weekly meal prep menu. We feature new desserts every week that are delivered right to your door.
- You can prepare this recipe prior to your big event. It lasts for up to 5 days in the fridge!
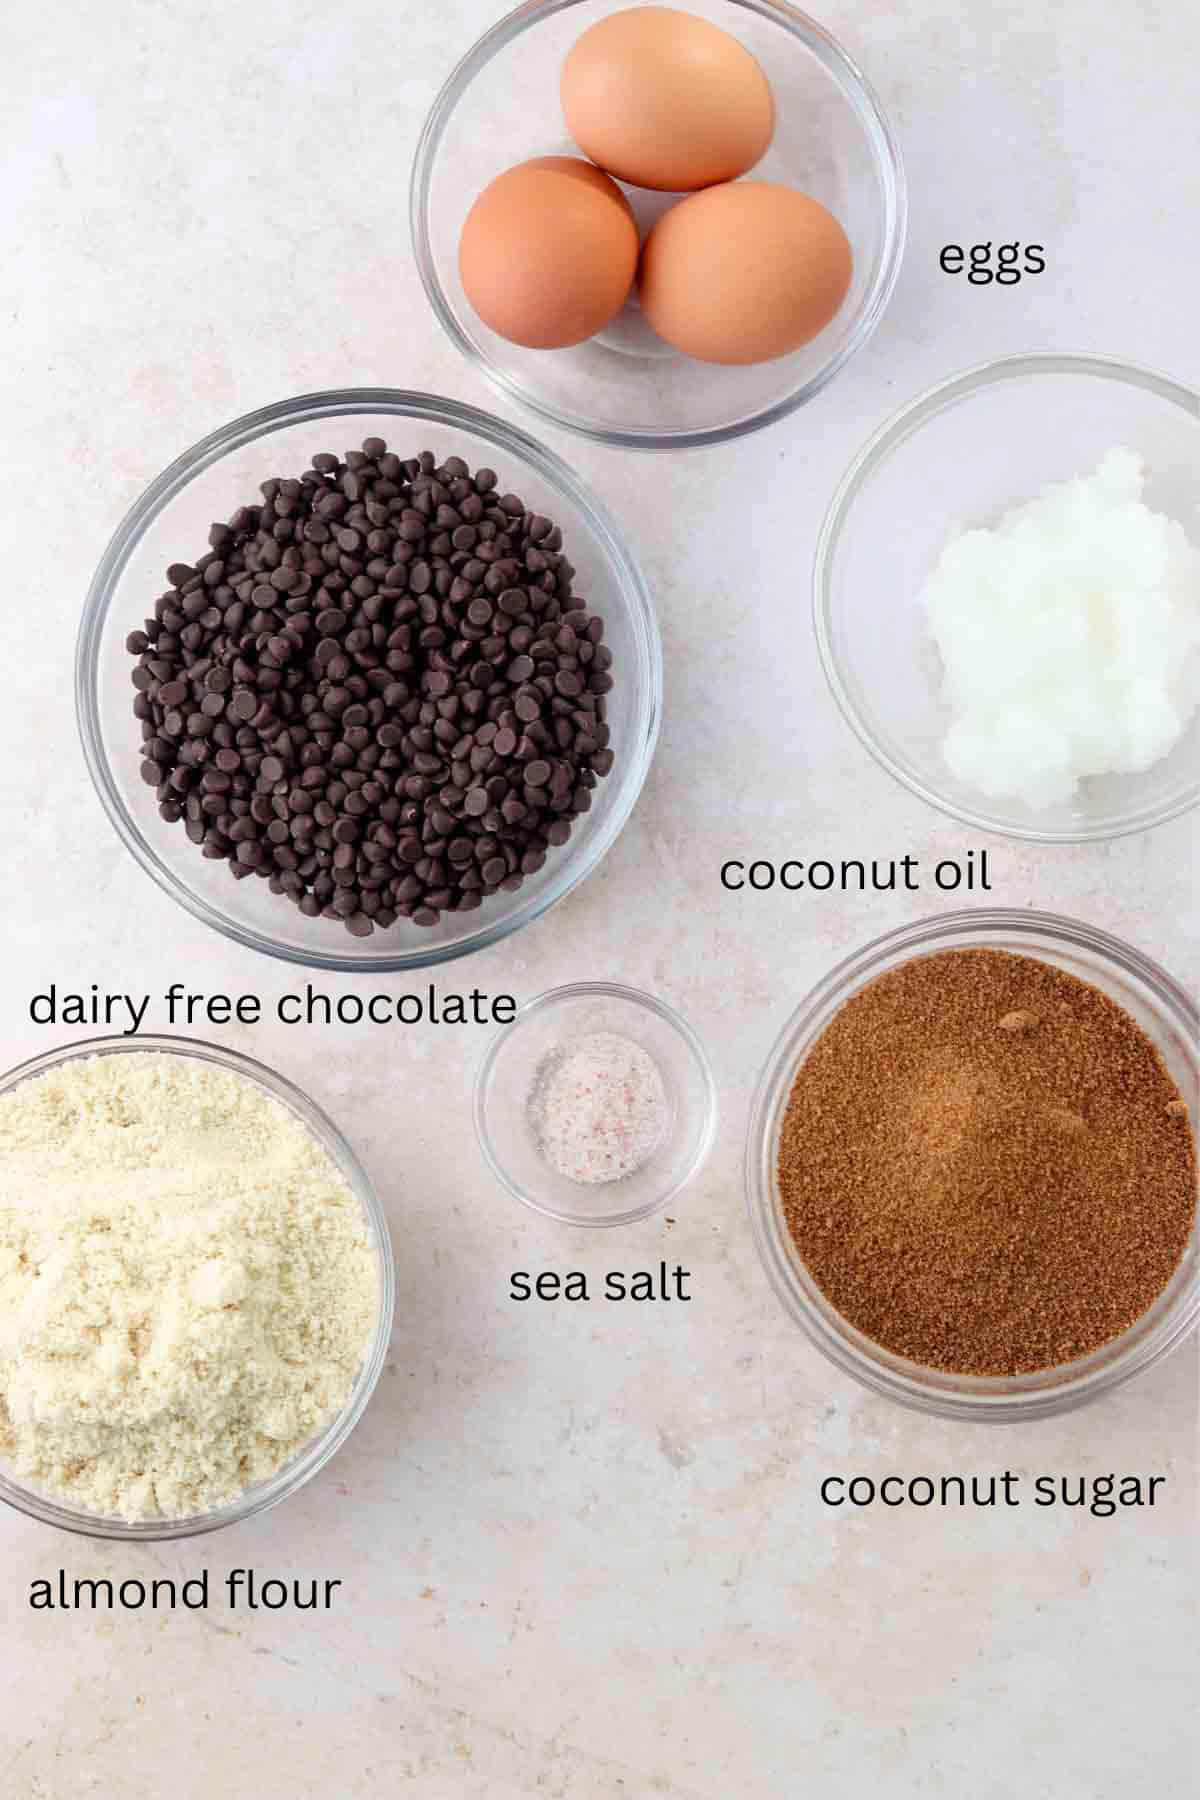
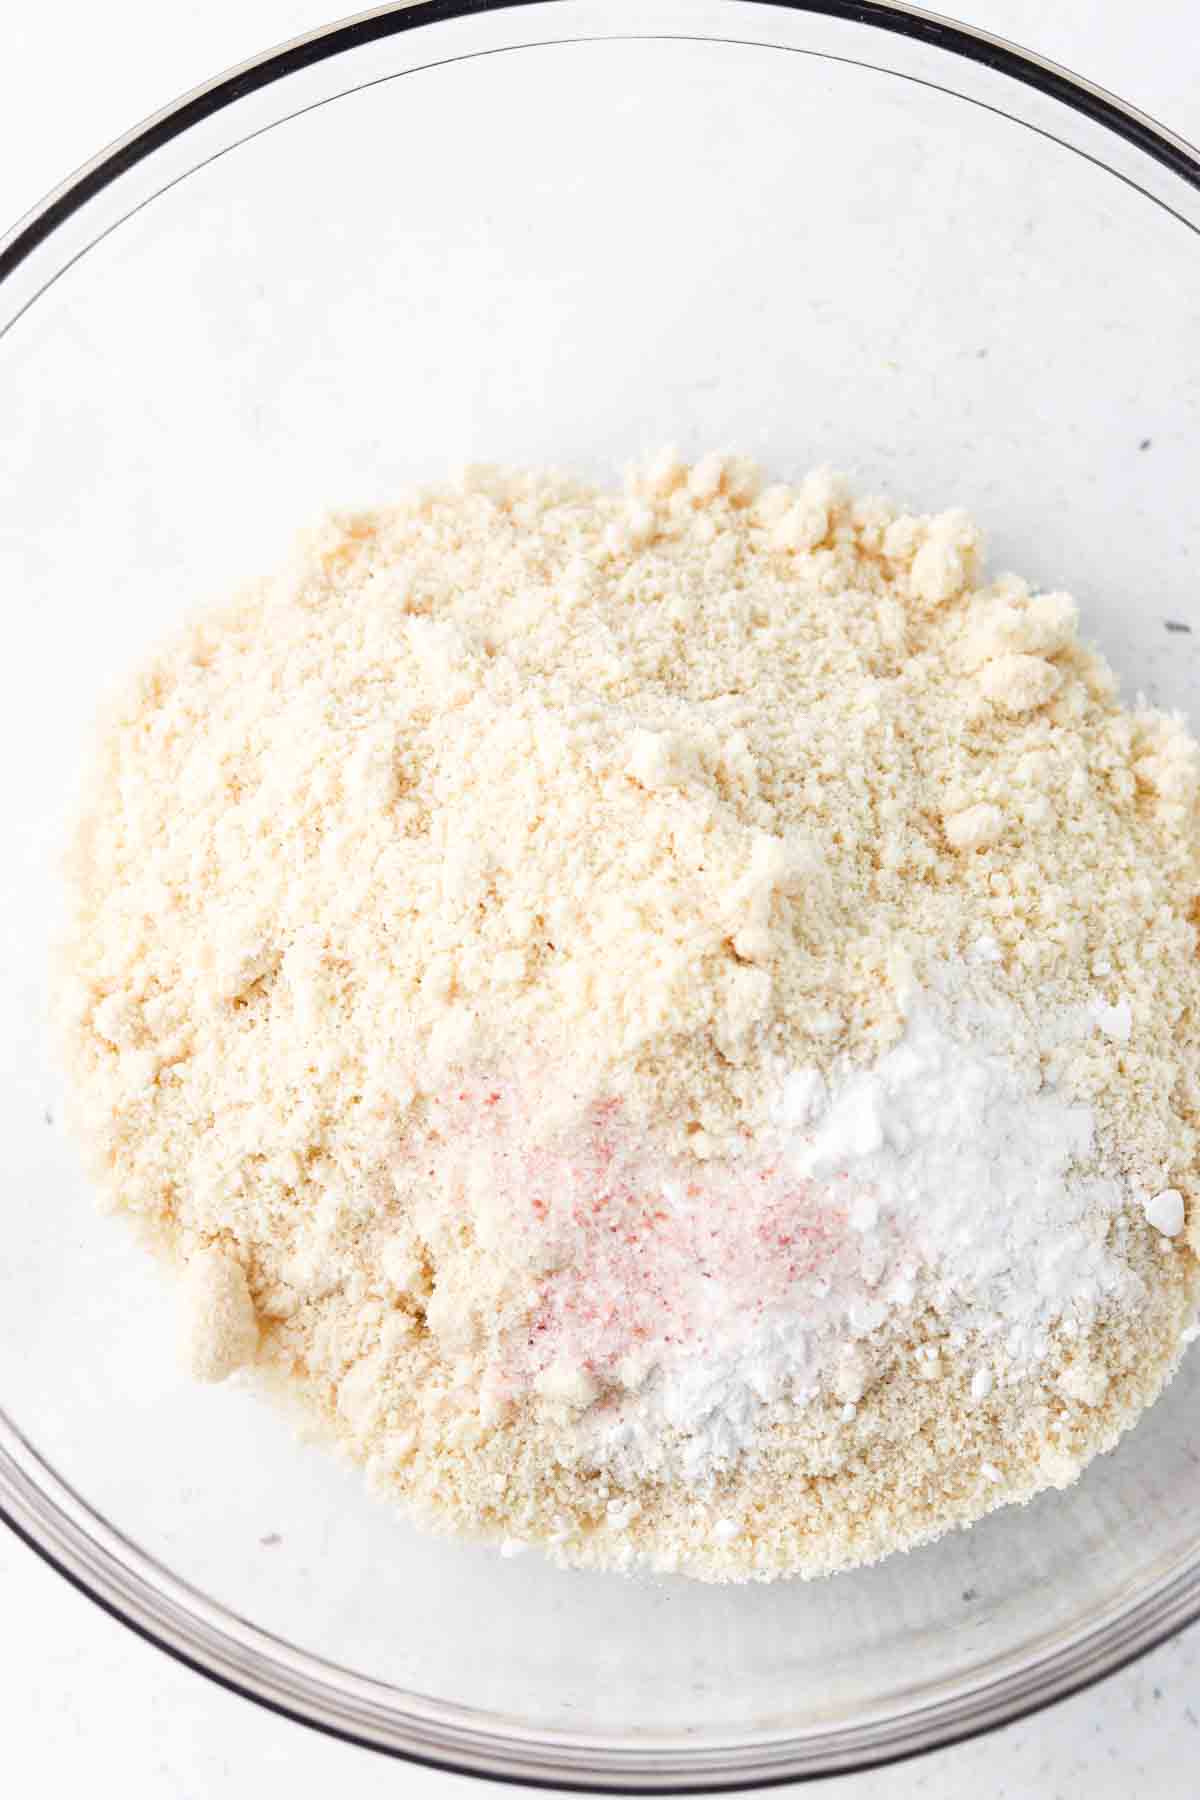
Ingredients
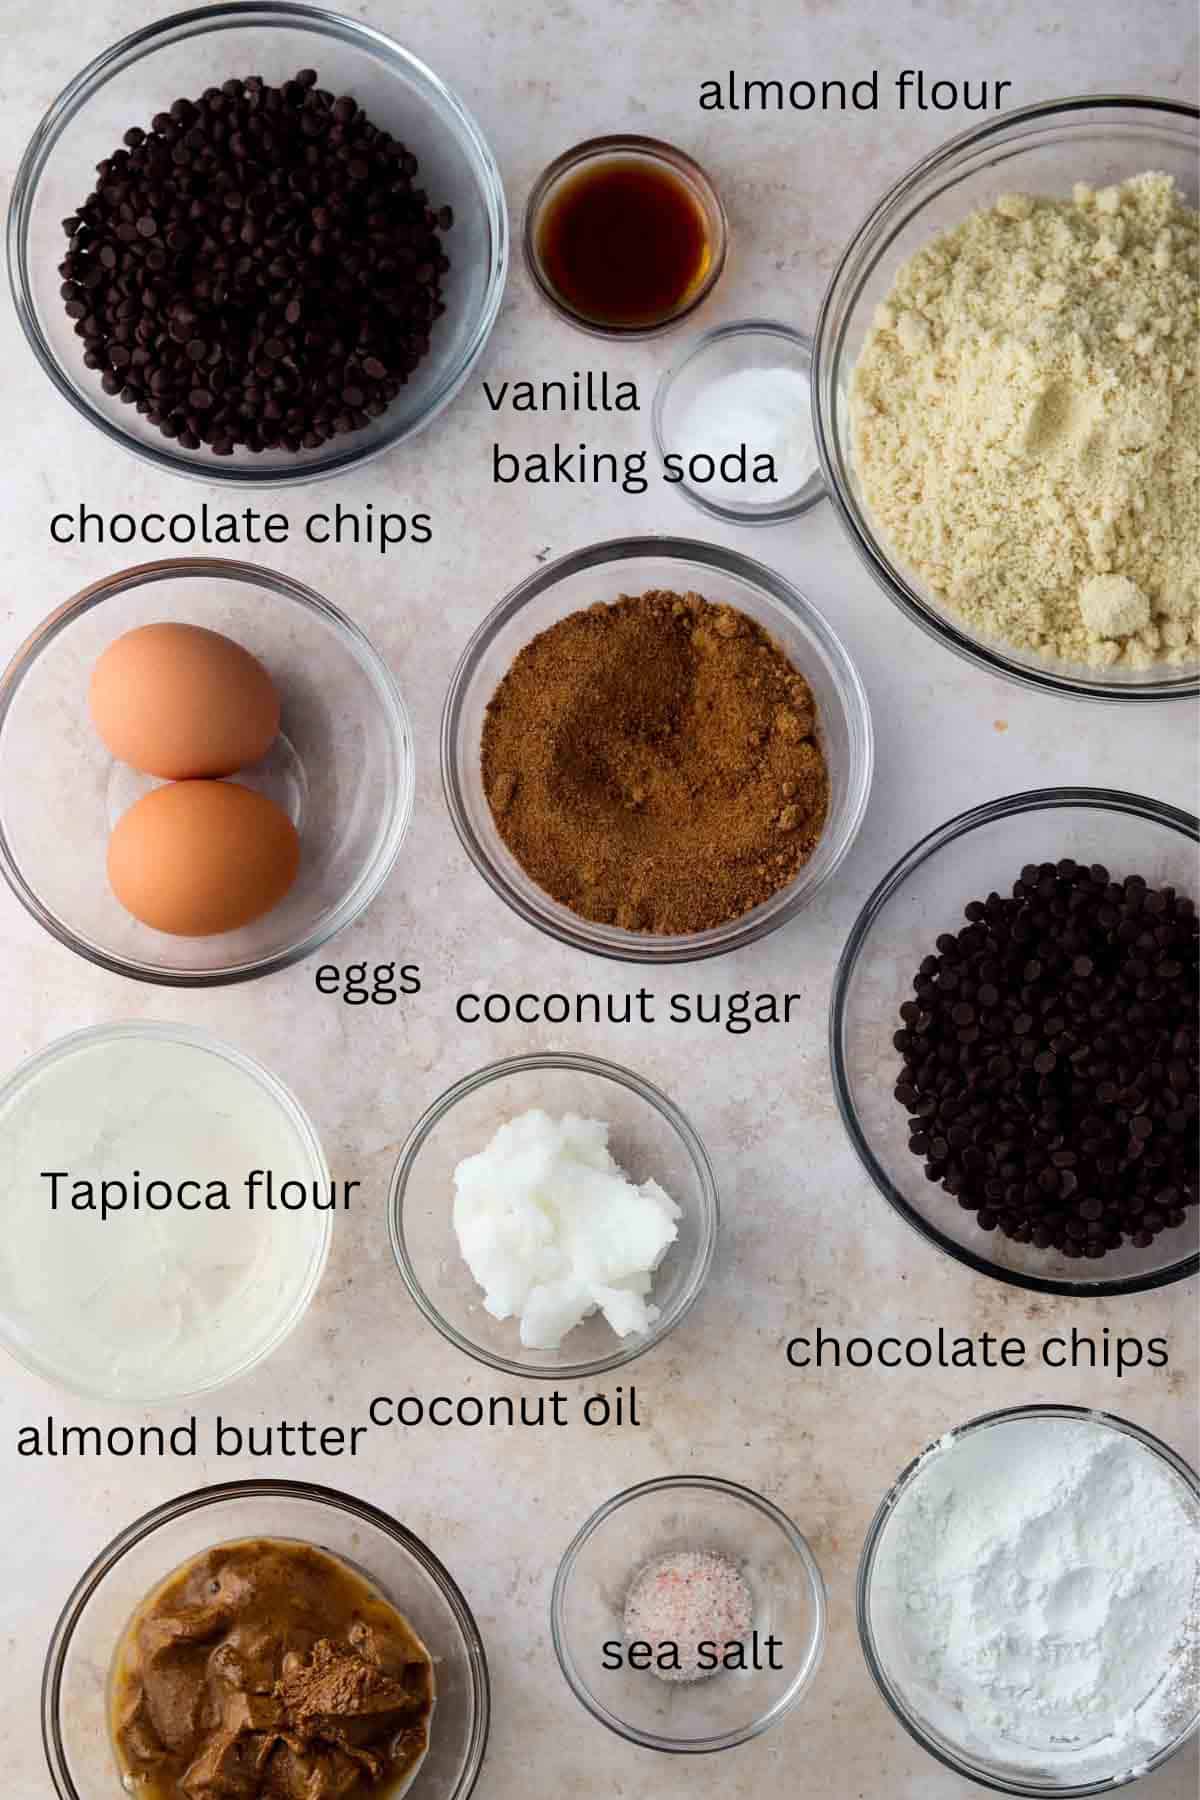
- Egg– Bind all the ingredients together.
- Coconut oil– A common substitute for butter in dairy free baking.
- Almond flour-The base flour in this recipe. I like the Costco brand.
- Tapioca flour– Tapioca flour is similar to corn starch in the sense that it thickens the batter.
- Baking soda- For rising and expansion while baking.
- Coconut sugar, vanilla extract, sea salt- Enhance flavor.
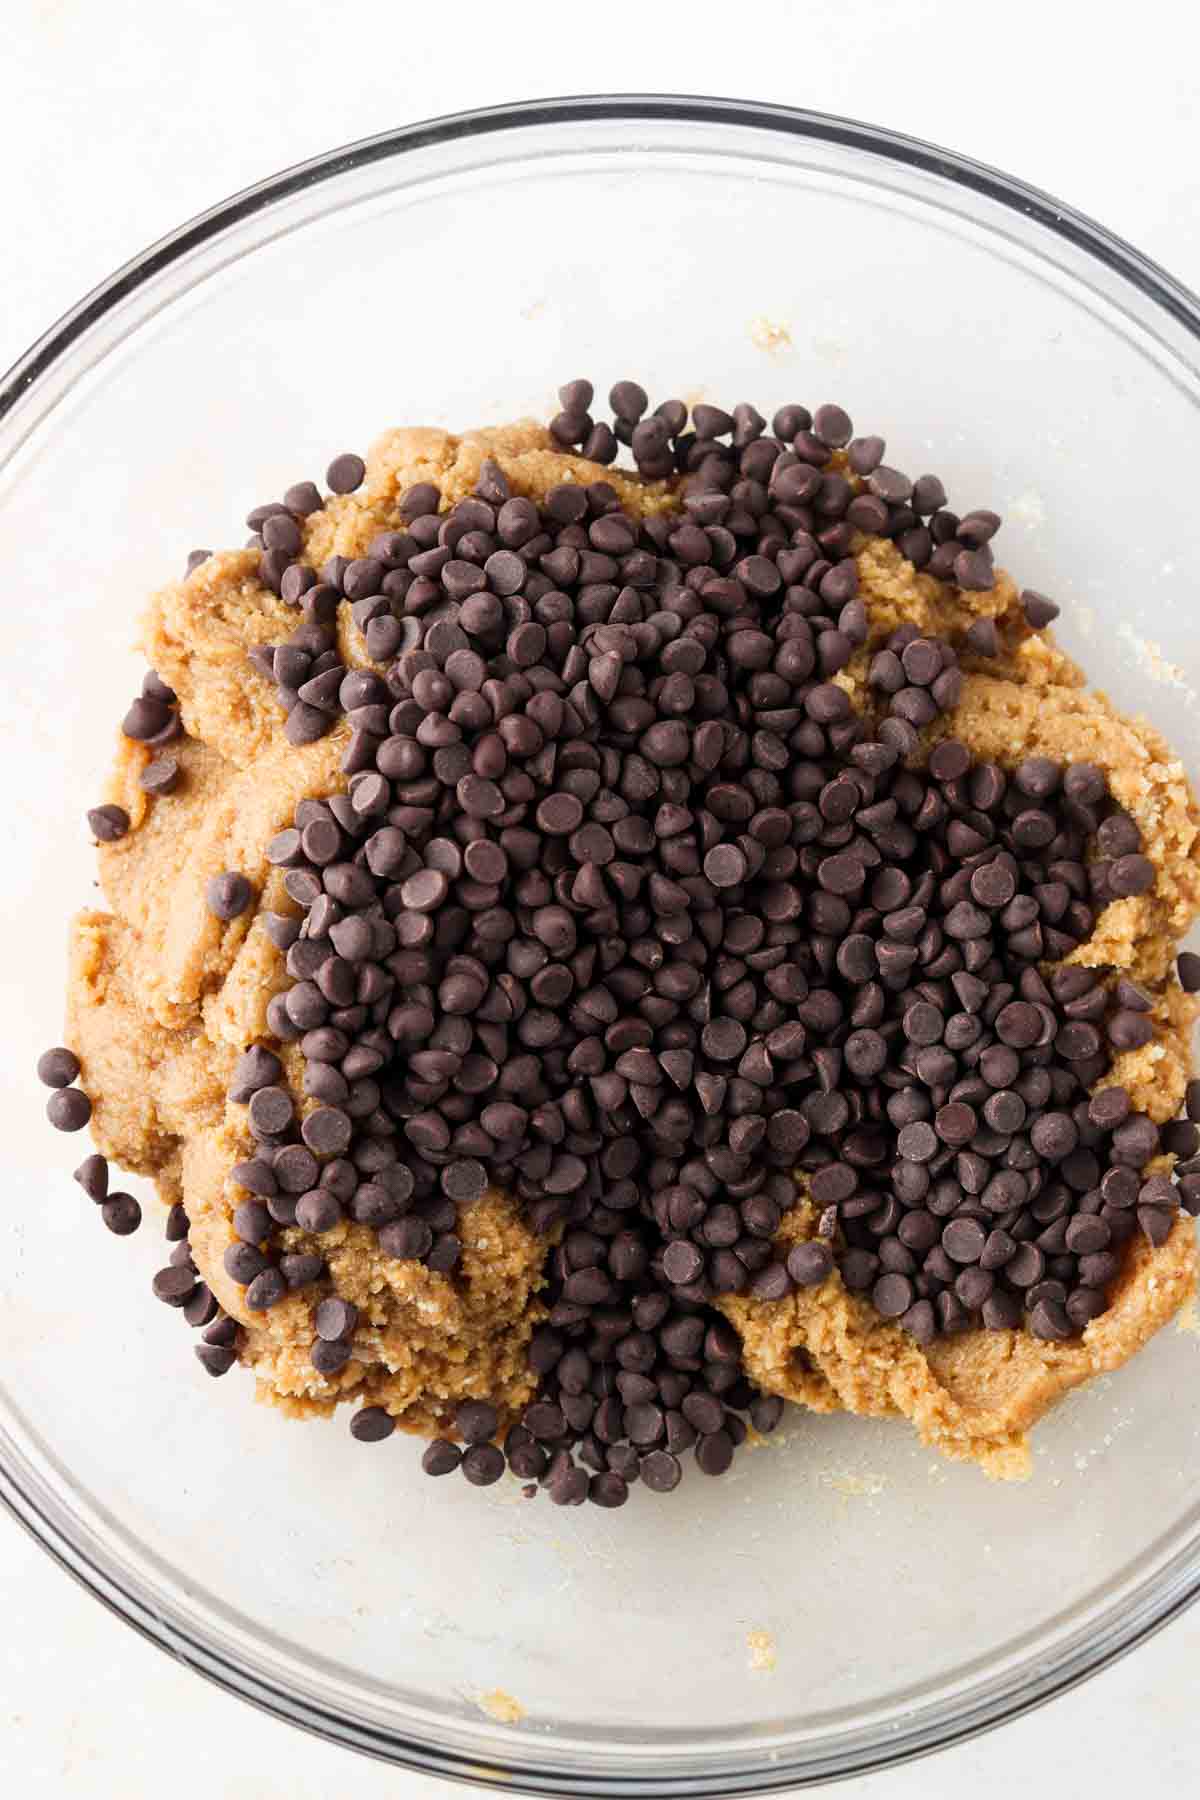
- Chocolate chips– For the cookie cake layer and fudge layer. I prefer milk chocolate for this recipe.
- Almond butter-This adds a thickness to the fudge.
- Maple syrup-This makes the fudge nice and sweet and also silky.
See the recipe card below for a full list of ingredients and measurements.
Substitutions And Variations
- For the gluten free flours-Do not substitute! Not all gluten free flours are created equal.
- Maple syrup-You can also use honey. Just note that honey has a milder taste to it and it will not be as sweet.
- Coconut sugar-This is my go to sweetener, however maple sugar will also work too!
- Chocolate chips-If you are dairy free like me, you can use dairy free chocolate. I like the Hu and Enjoy Life brand.
This recipe has not been tested with any other substitutions or variations. If you replace or add any of the ingredients, please let us know how it turned out in the comments below!
Step By Step Instructions

Equipment Needed
Expert Tips
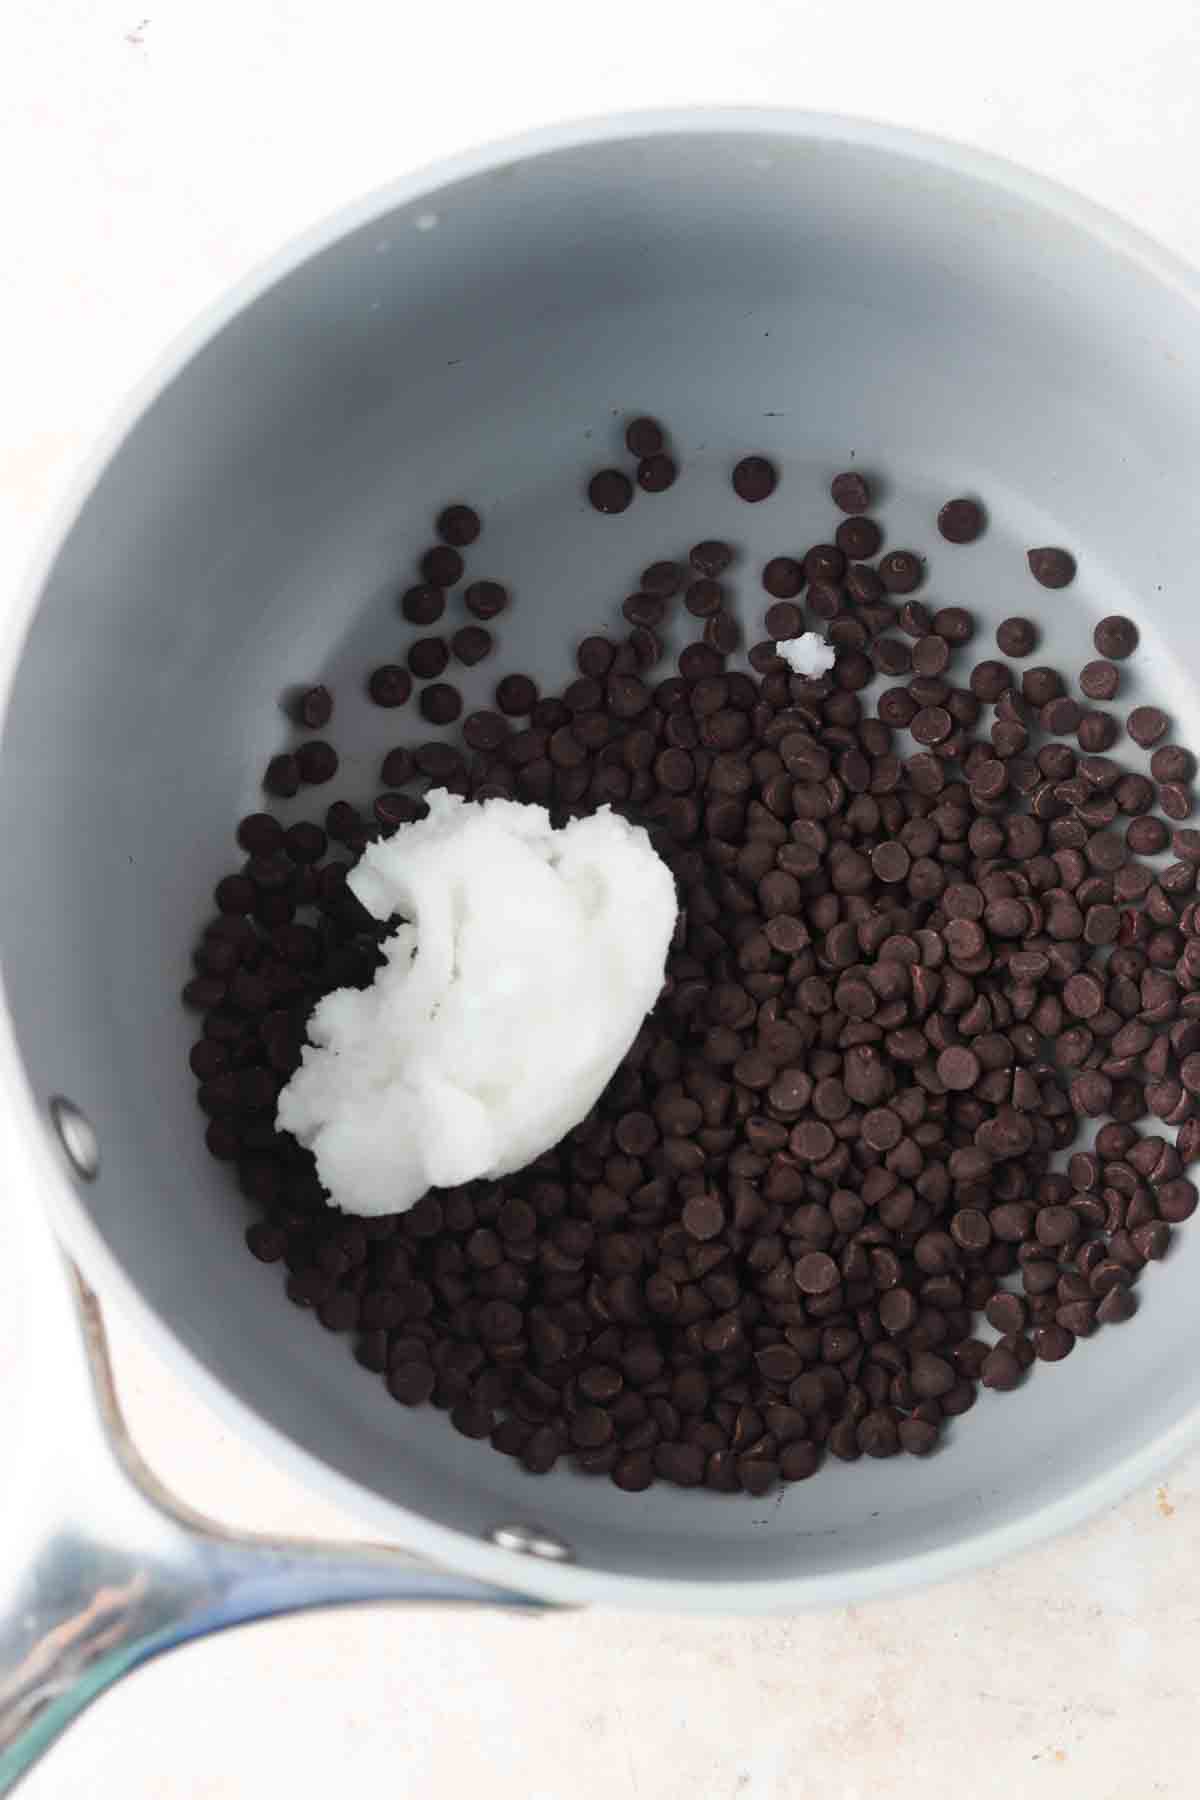
- Tips #1: When melting the chocolate chips and coconut oil, be sure to stir frequently on very low heat. Stirring frequently is the key to not burning the chocolate.
- Tip #2: Once finished, allow the cookie cake to cool in the fridge for several hours to solidify the fudge layer.
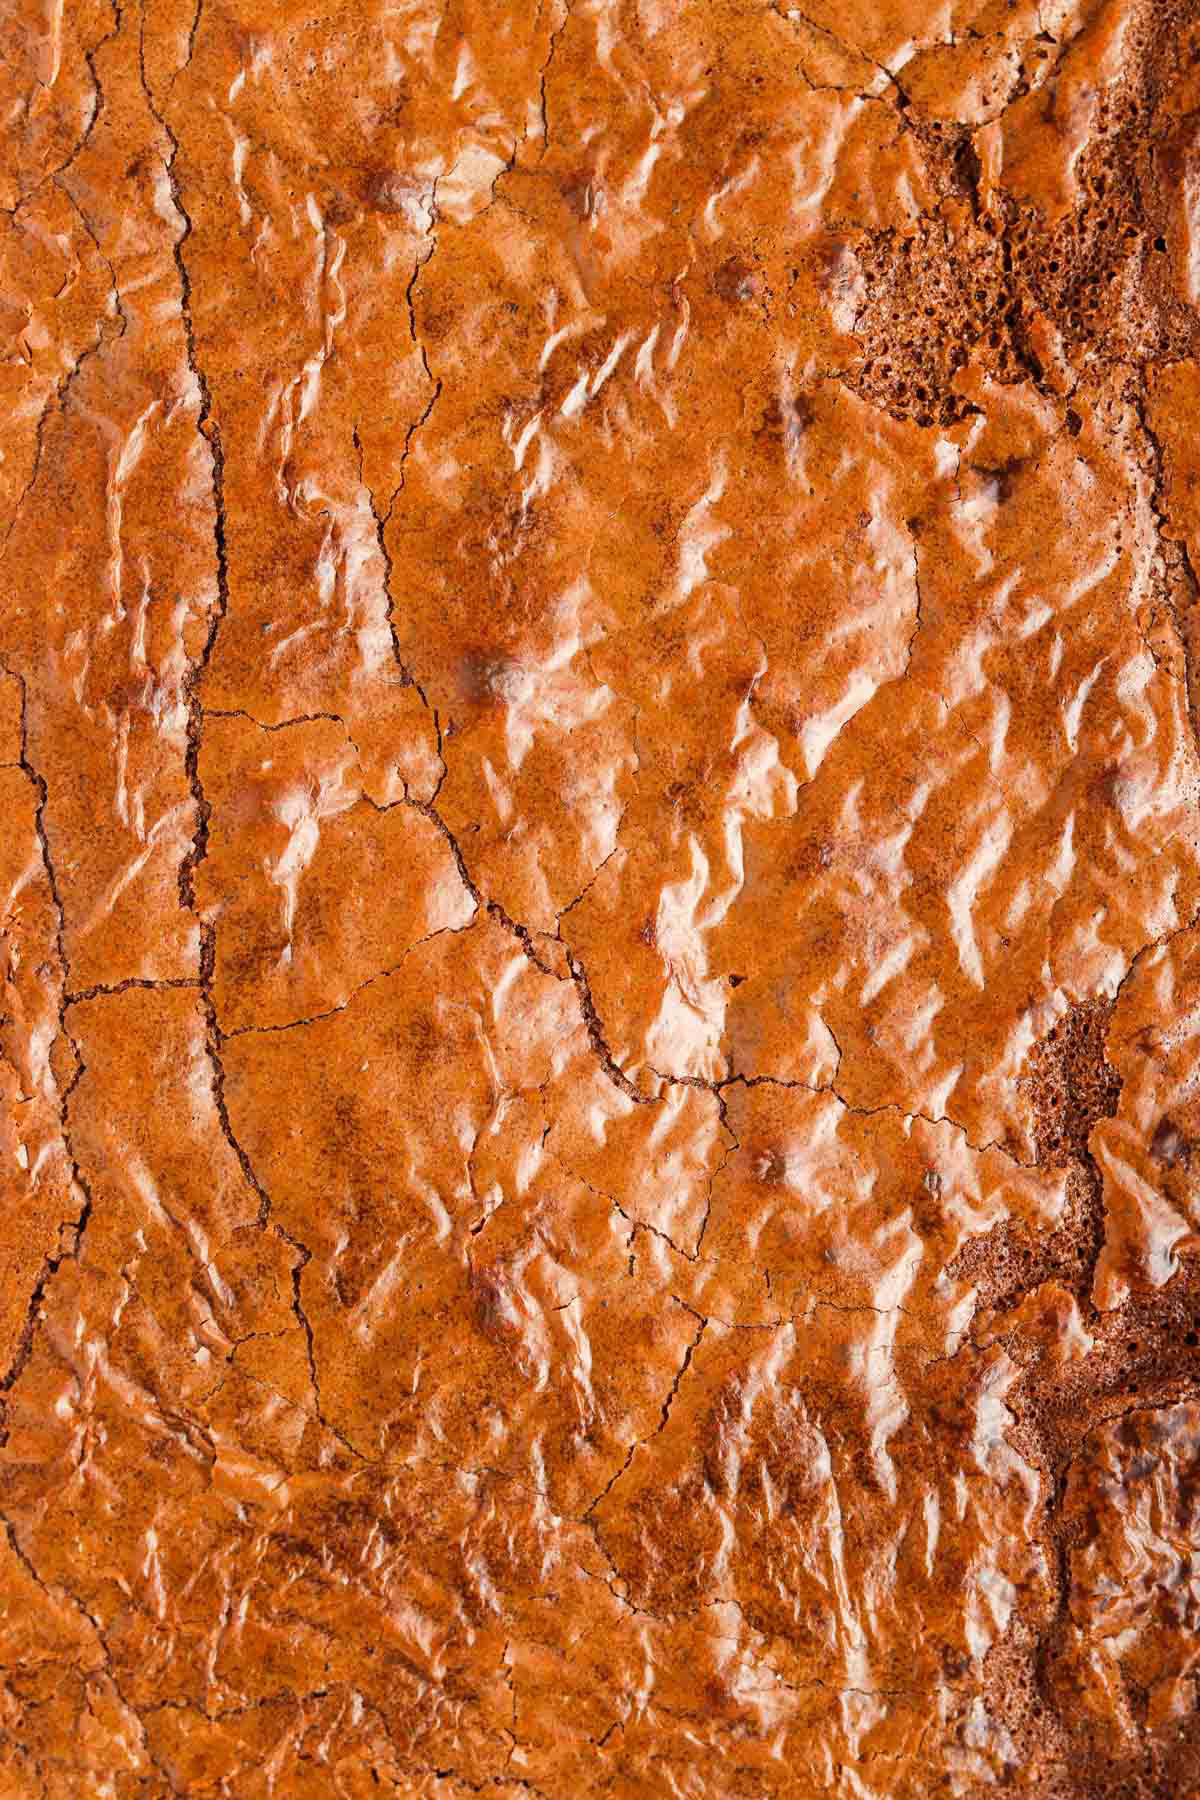
If you can stick a fork in and pull it out without any crumbs, it is done!
Absolutely not, however it makes this cookie cake 100% times better!
I absolutely love this recipe as is, but you can also serve it with ice cream and/or chocolate syrup!
Storage Instructions
- You can store this recipe in the fridge in a sealed container for up to 5 days.
Other Gluten Free Desserts You Will Love
Did you like this recipe?
Leave a rating and review below!
Gluten Free Cookie Cake
Equipment
- 2 mixing bowls
- Small saucepan
- cake pan
Ingredients
Cookie Cake Layer
- 1 whole egg
- 1 egg yolk
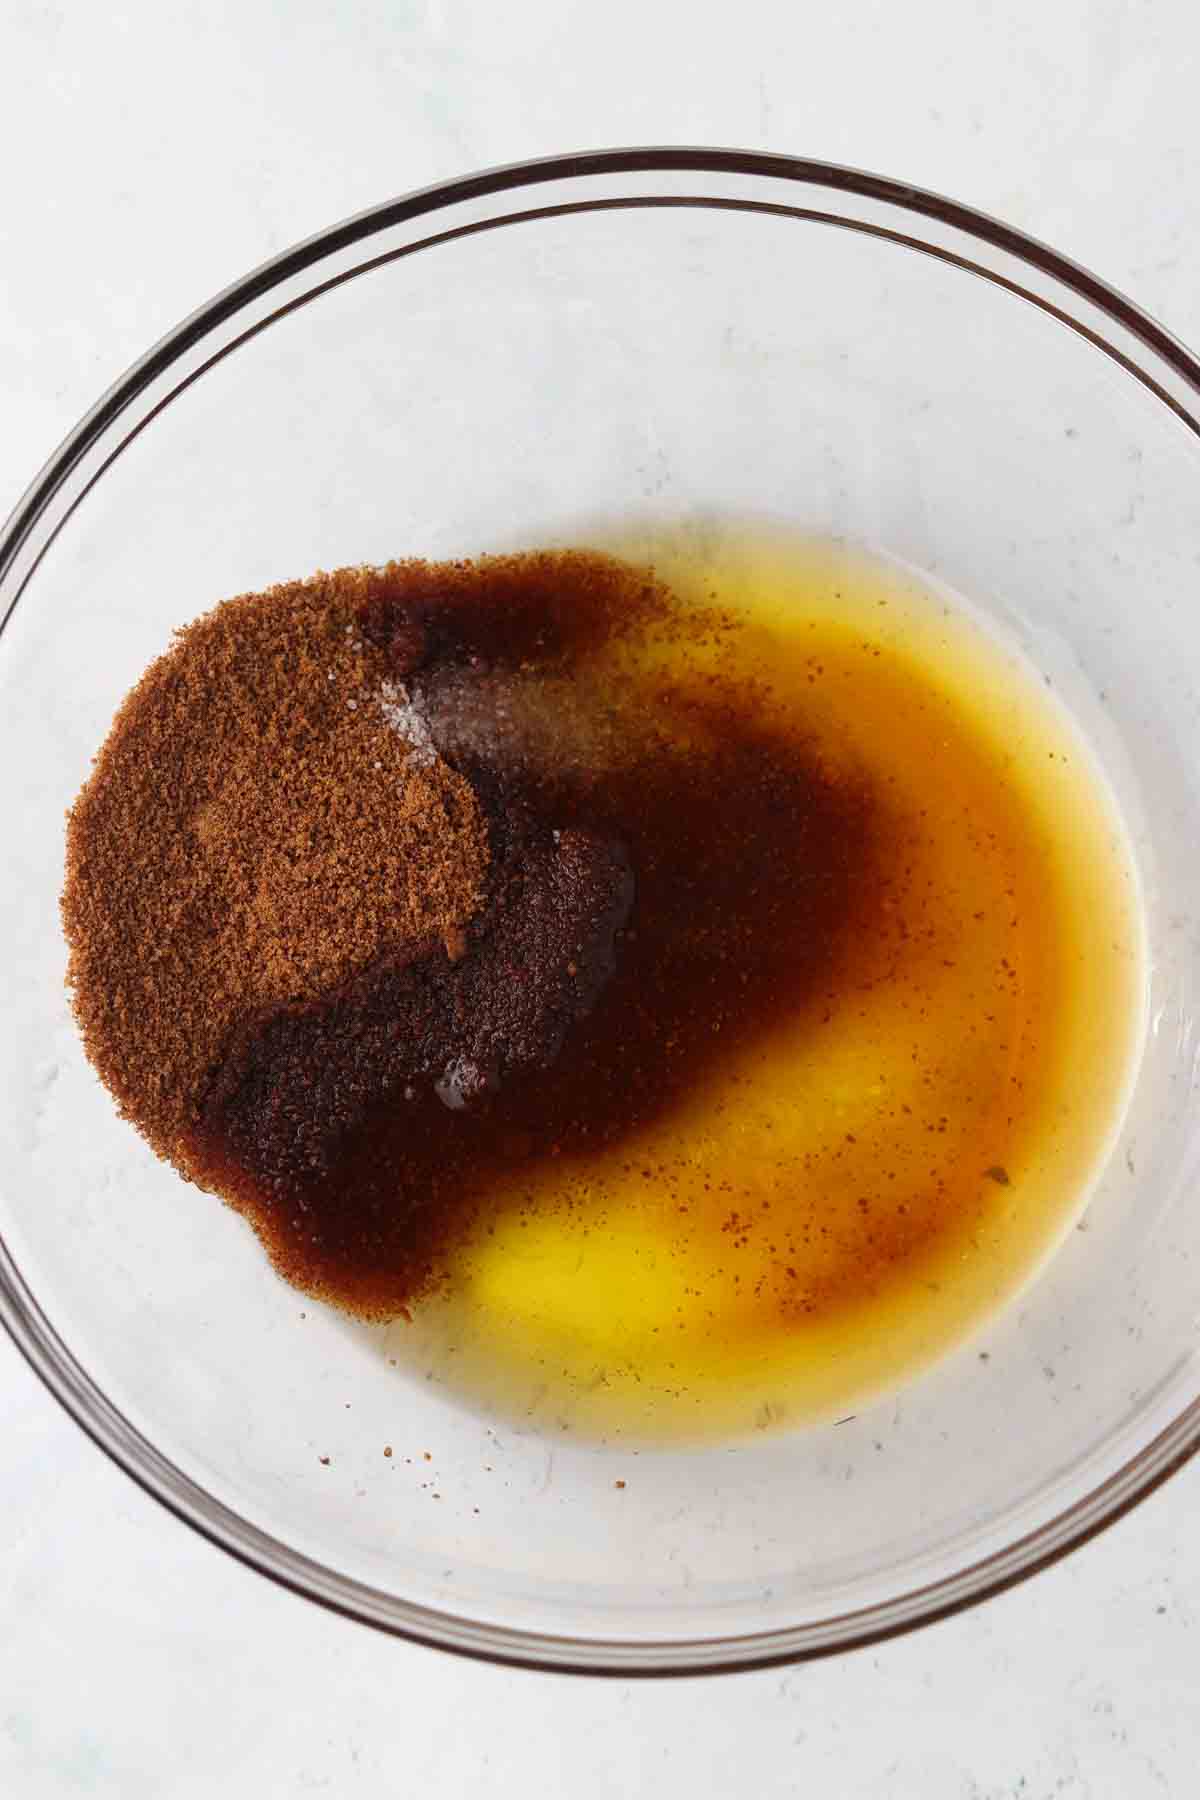
- ½ cup coconut oil melted & cooled
- ½ cup coconut sugar
- 2 tsp vanilla extract
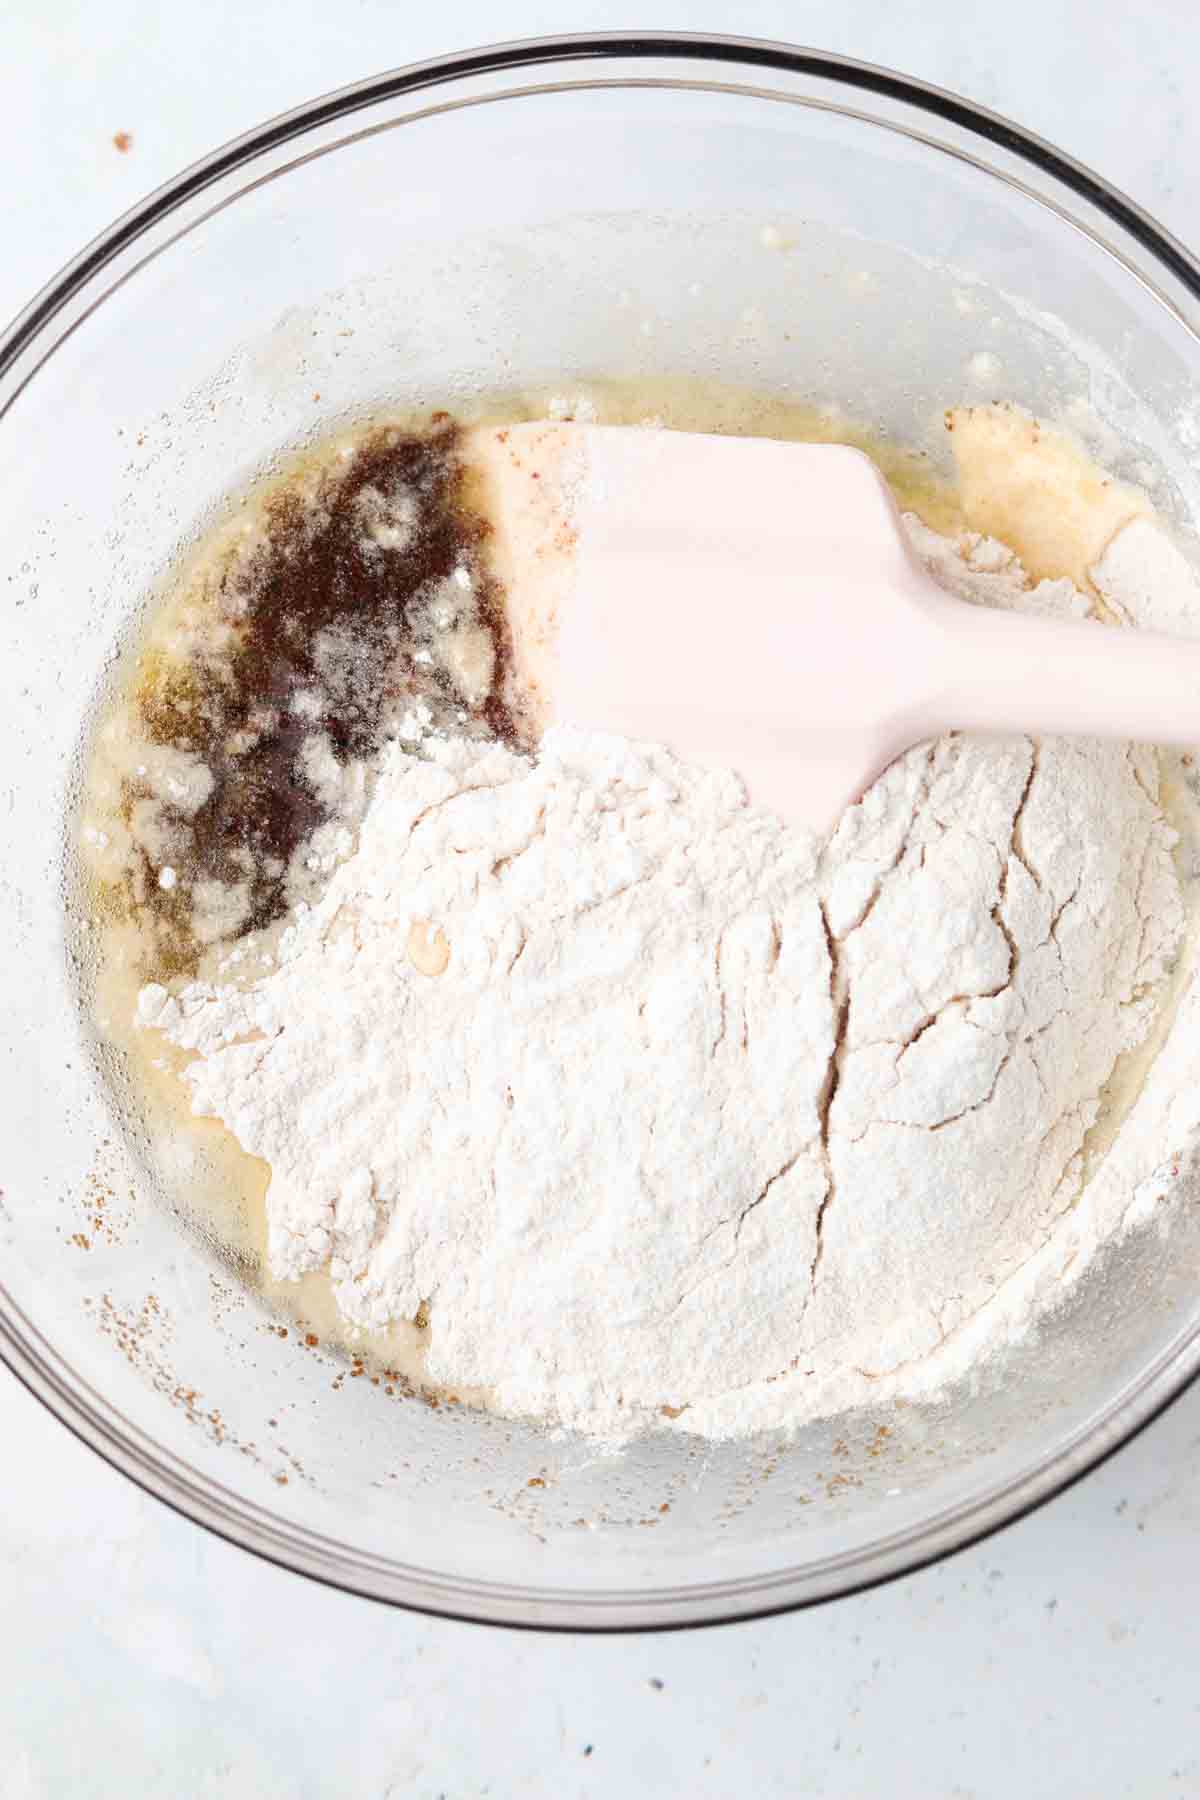
- 2 cups blanched almond flour
- ¼ cup tapioca flour
- 1 tsp baking soda
- ⅛ tsp sea salt
- ⅔ cup dairy free chocolate chips
Fudge Layer
- ¾ cup dairy free chocolate chips
- 2 tbsp coconut oil
- ¼ cup almond butter
- 1 tsp maple syrup optional
Instructions
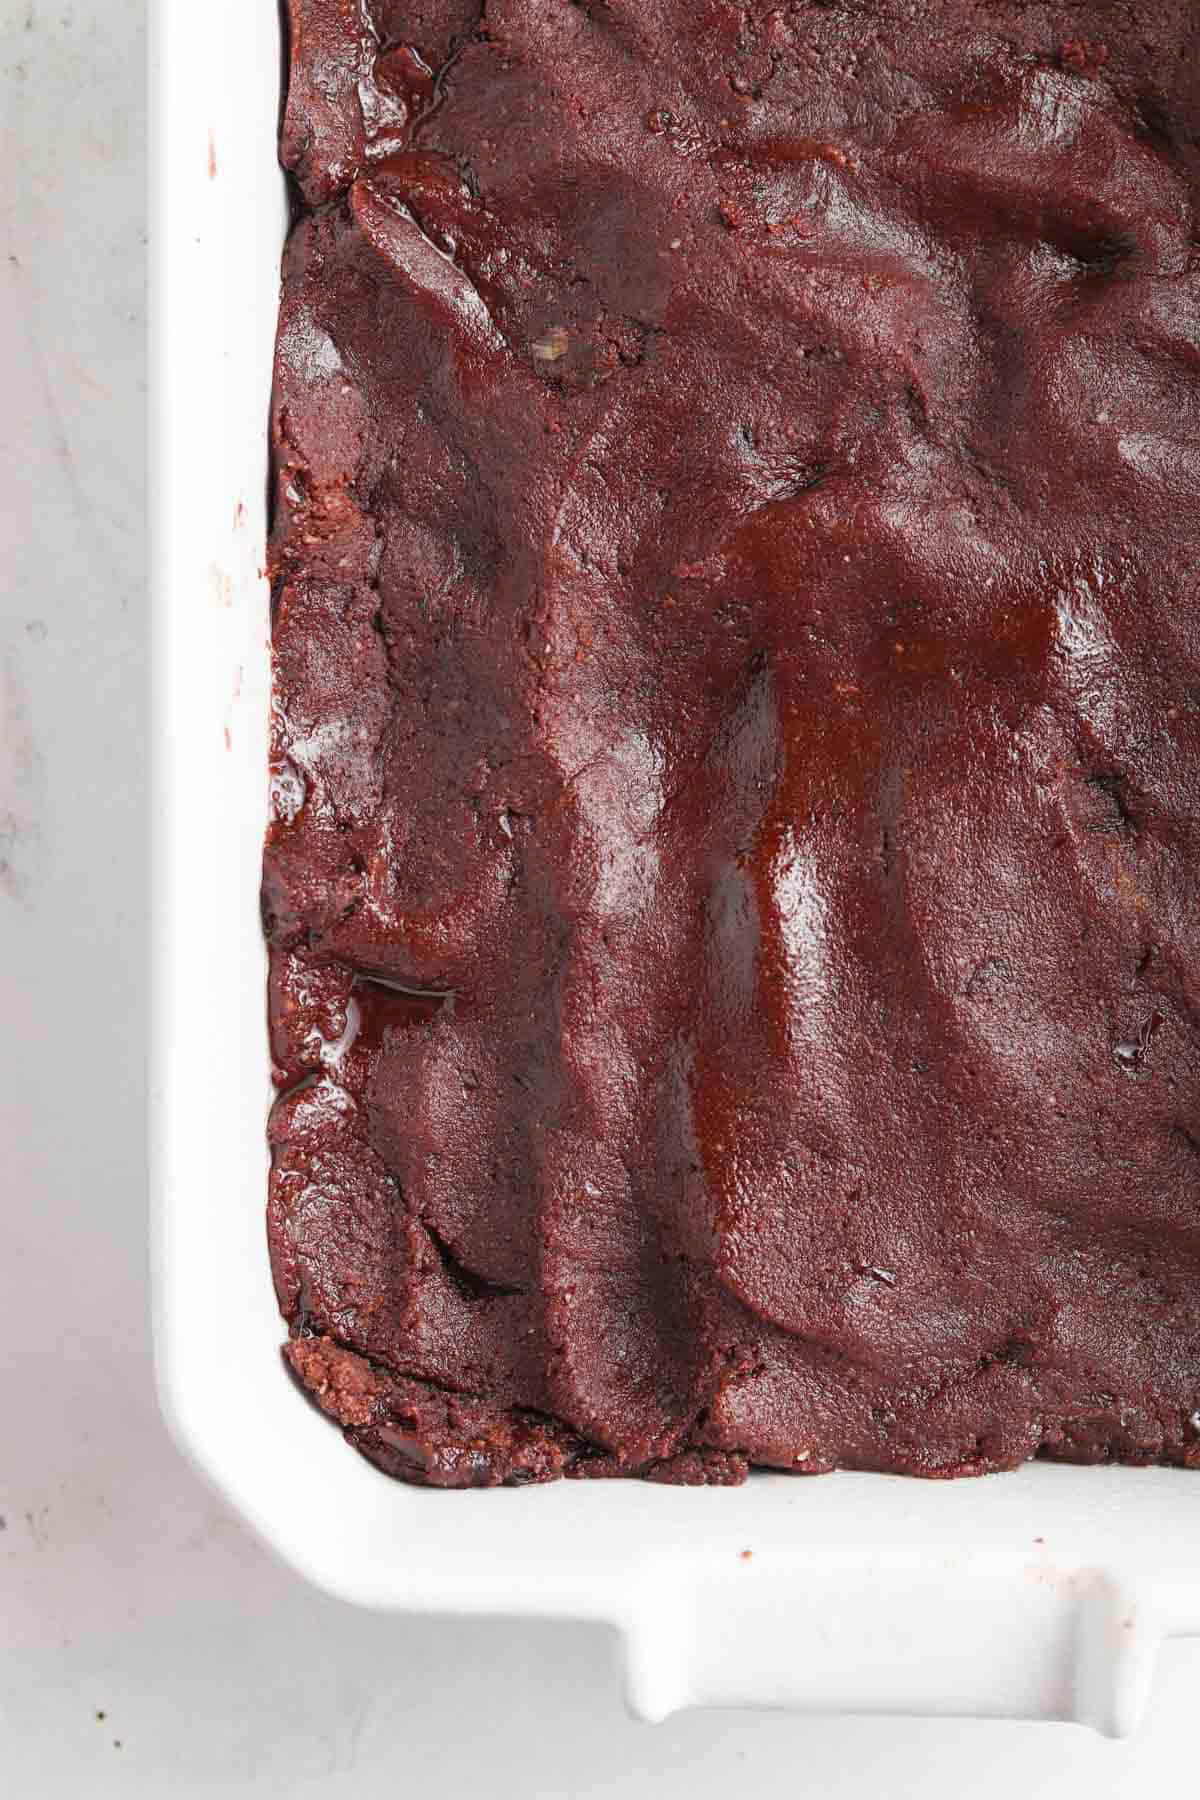
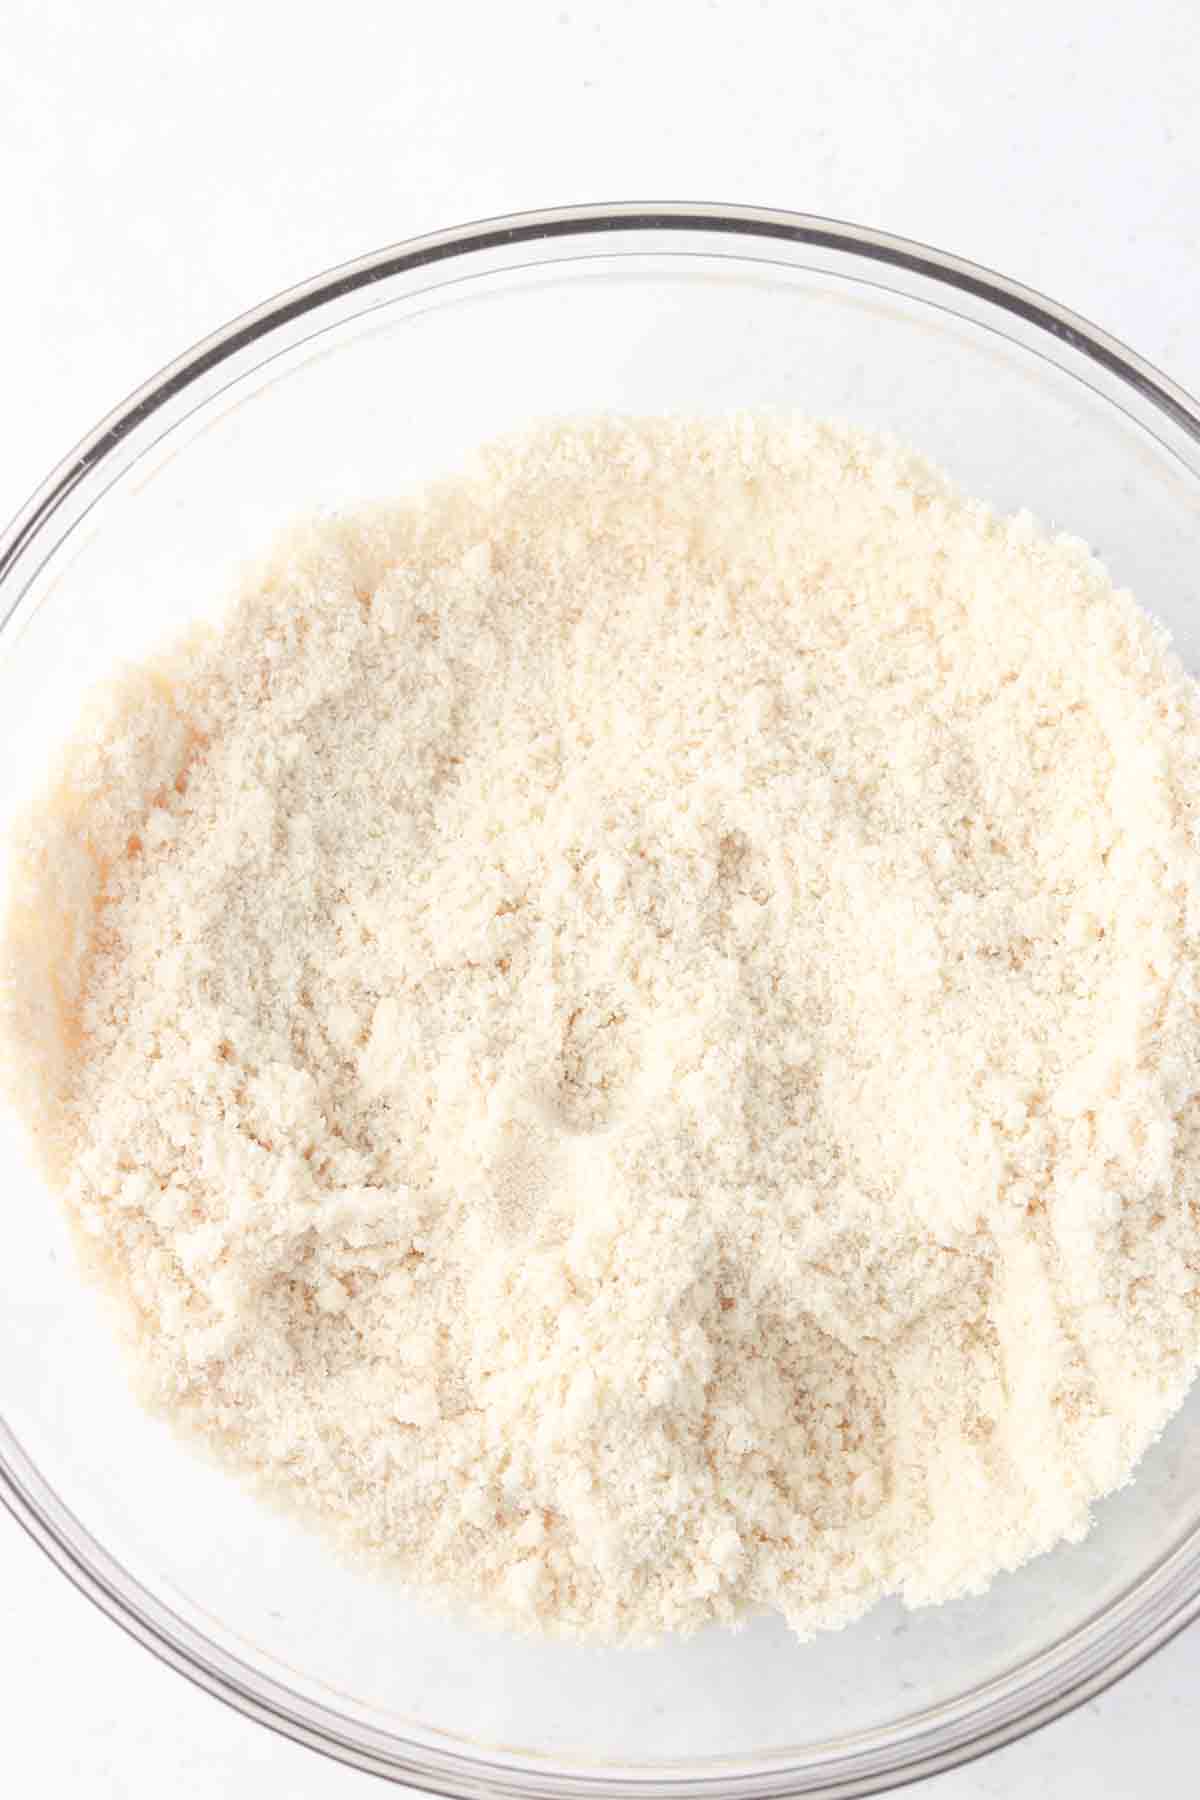
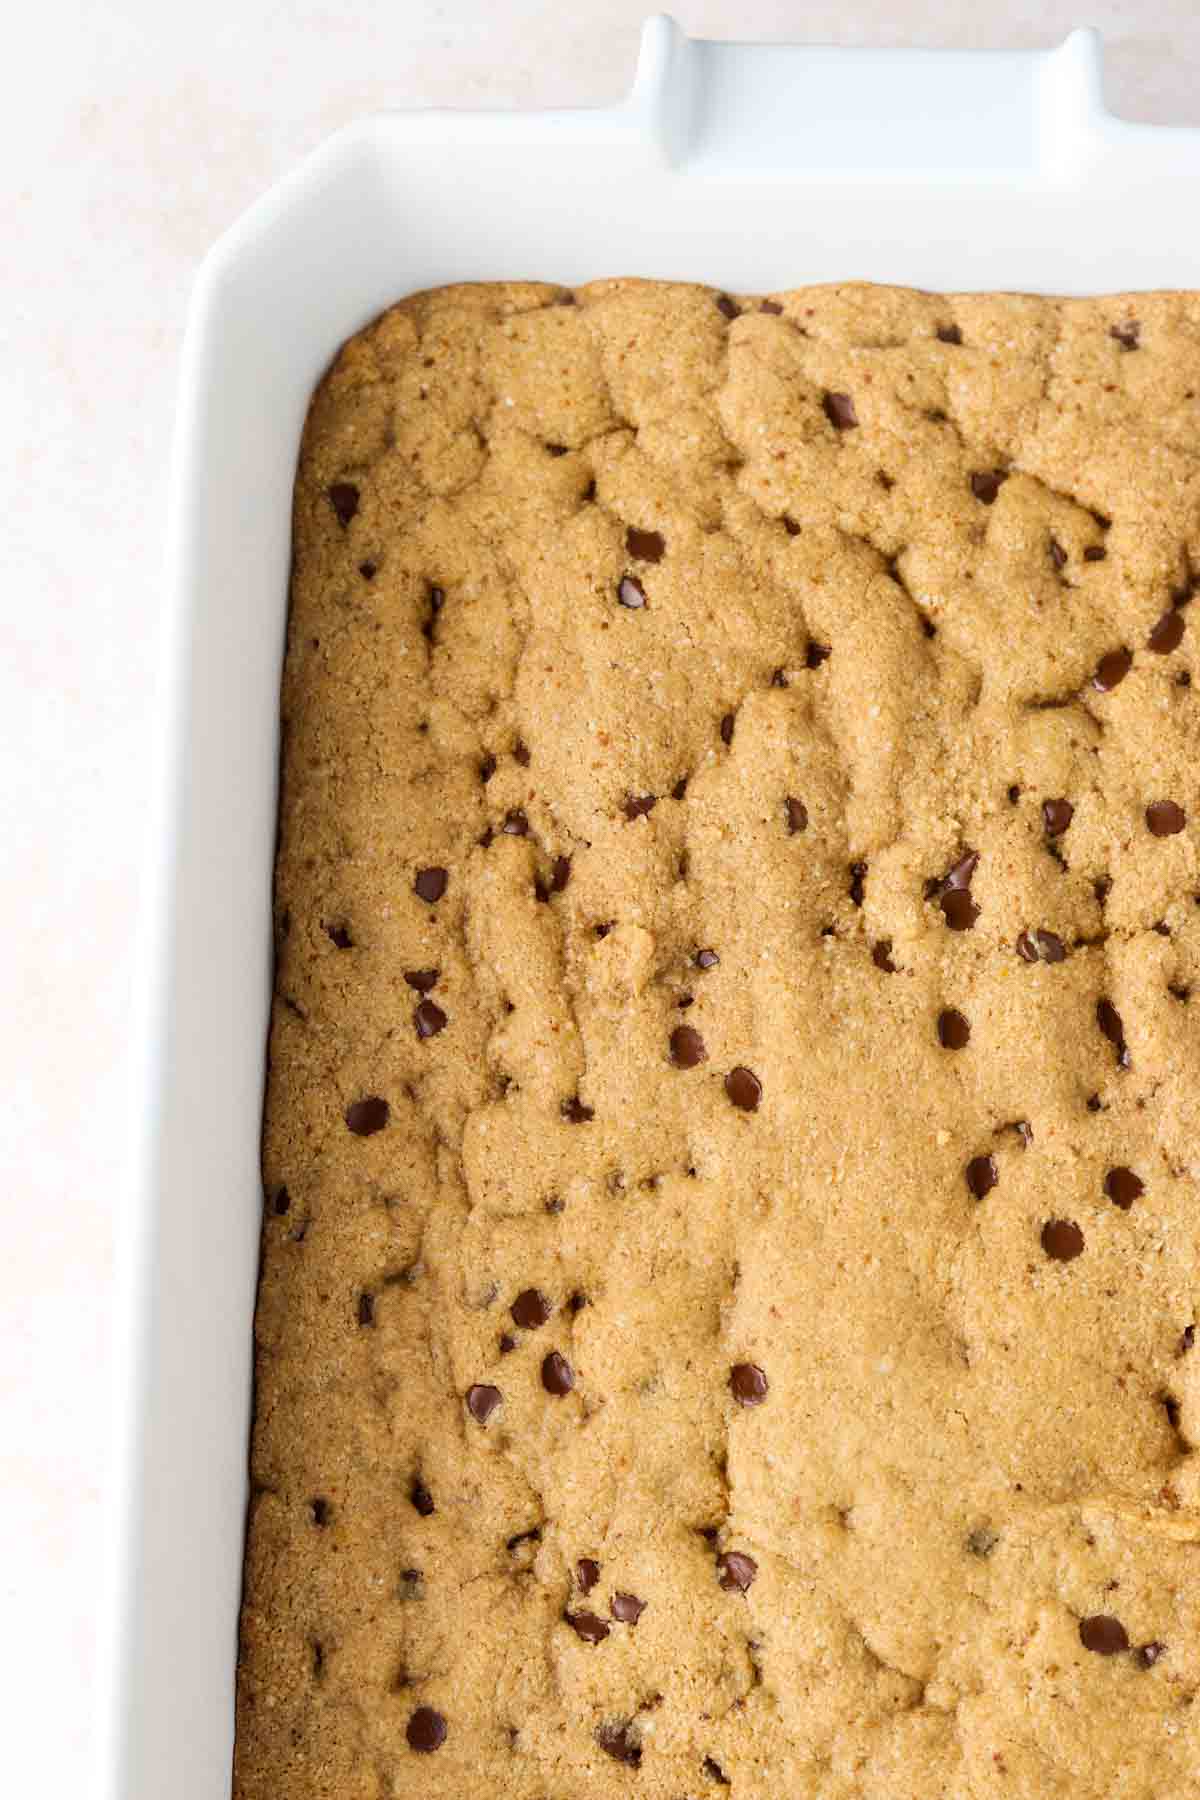
- Preheat oven to 350 degrees F. Make the cookie cake layer.
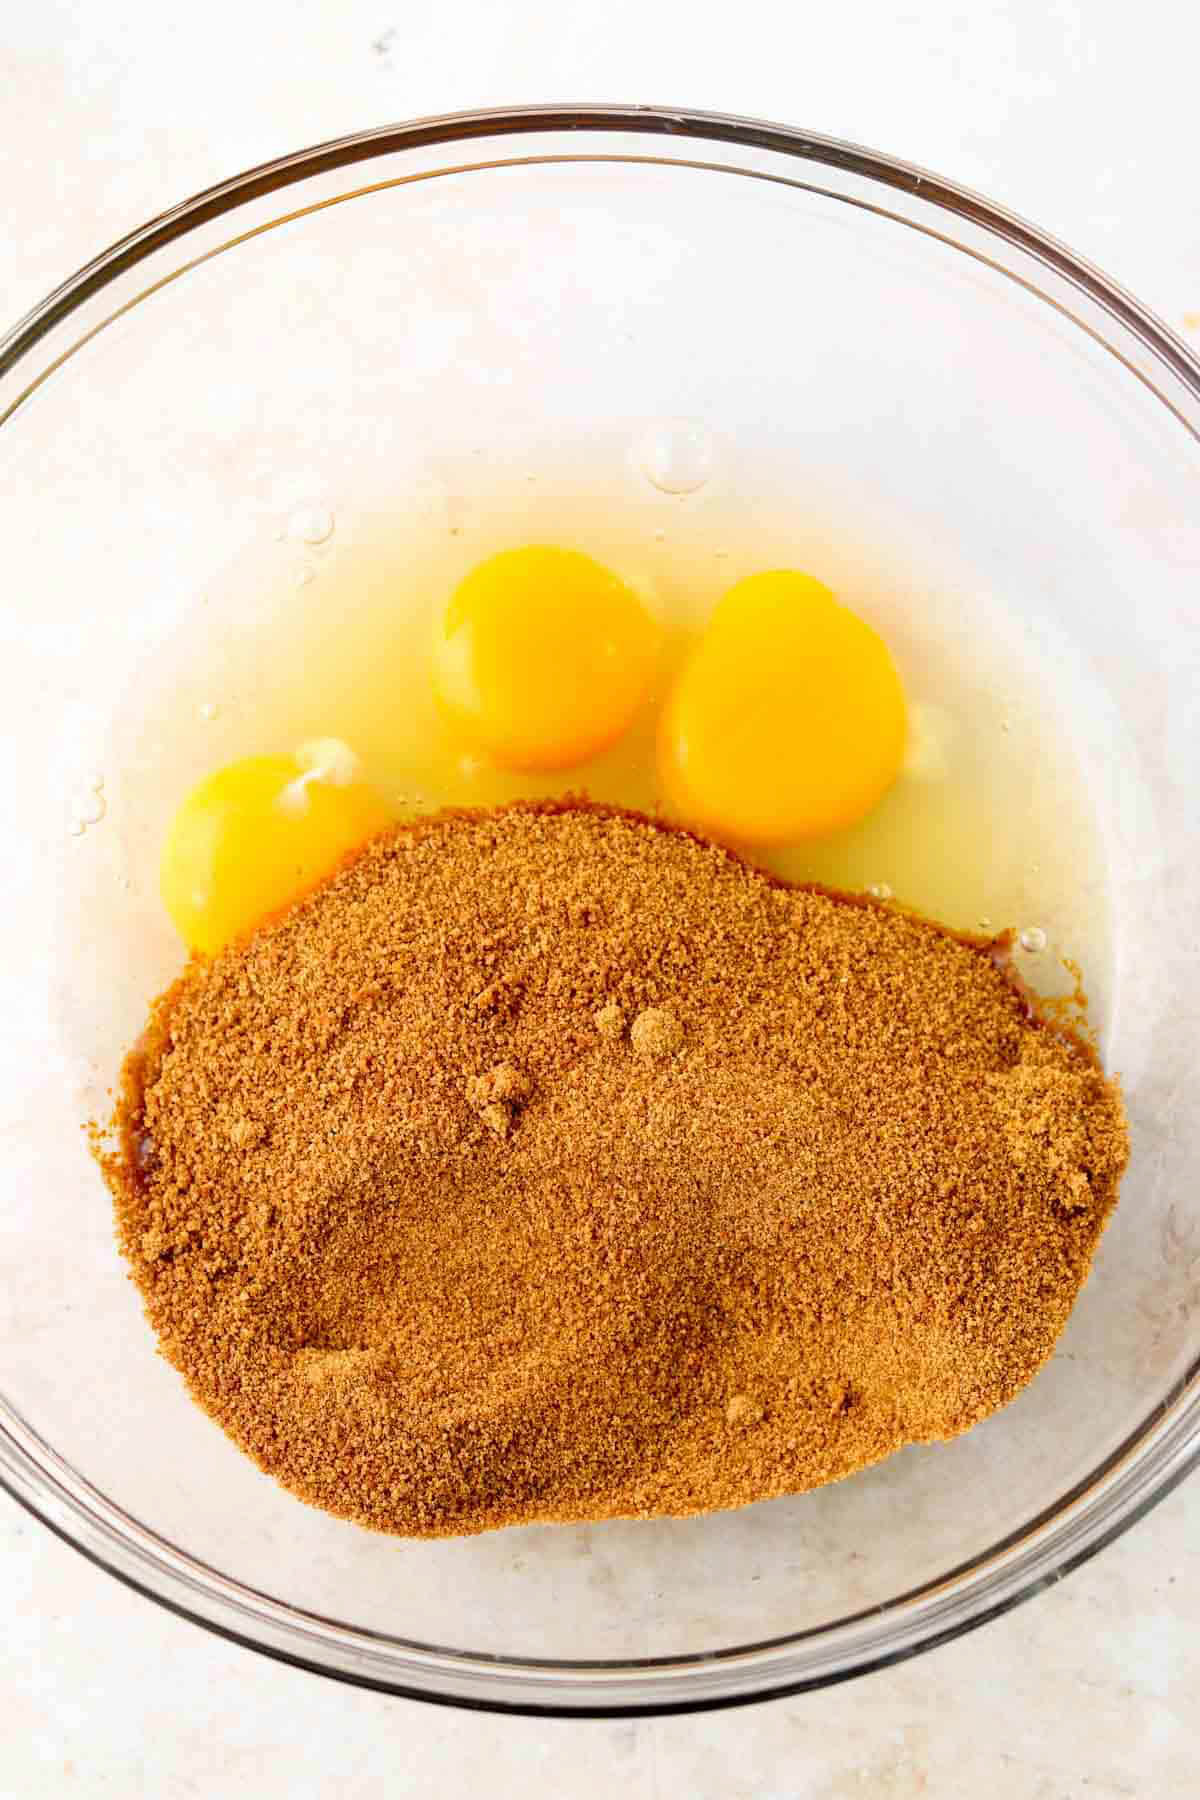
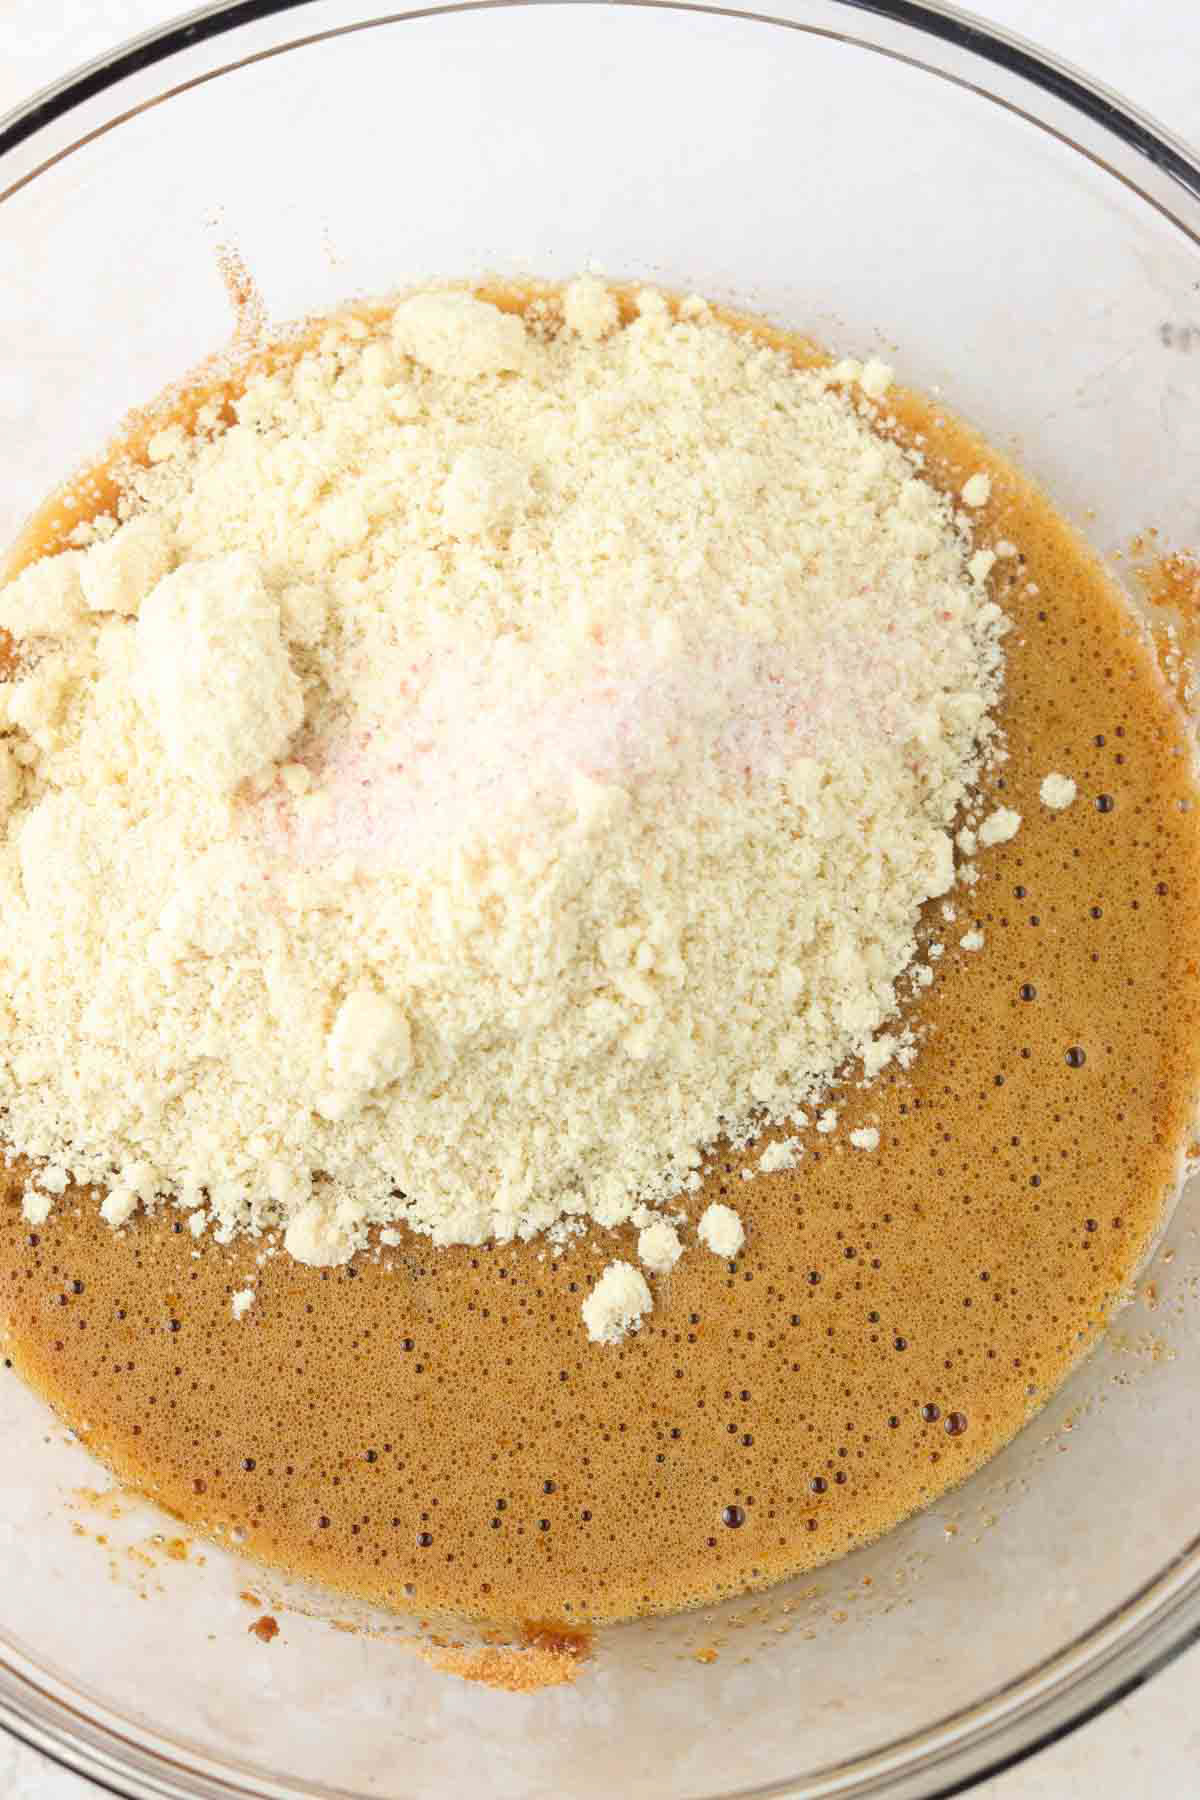
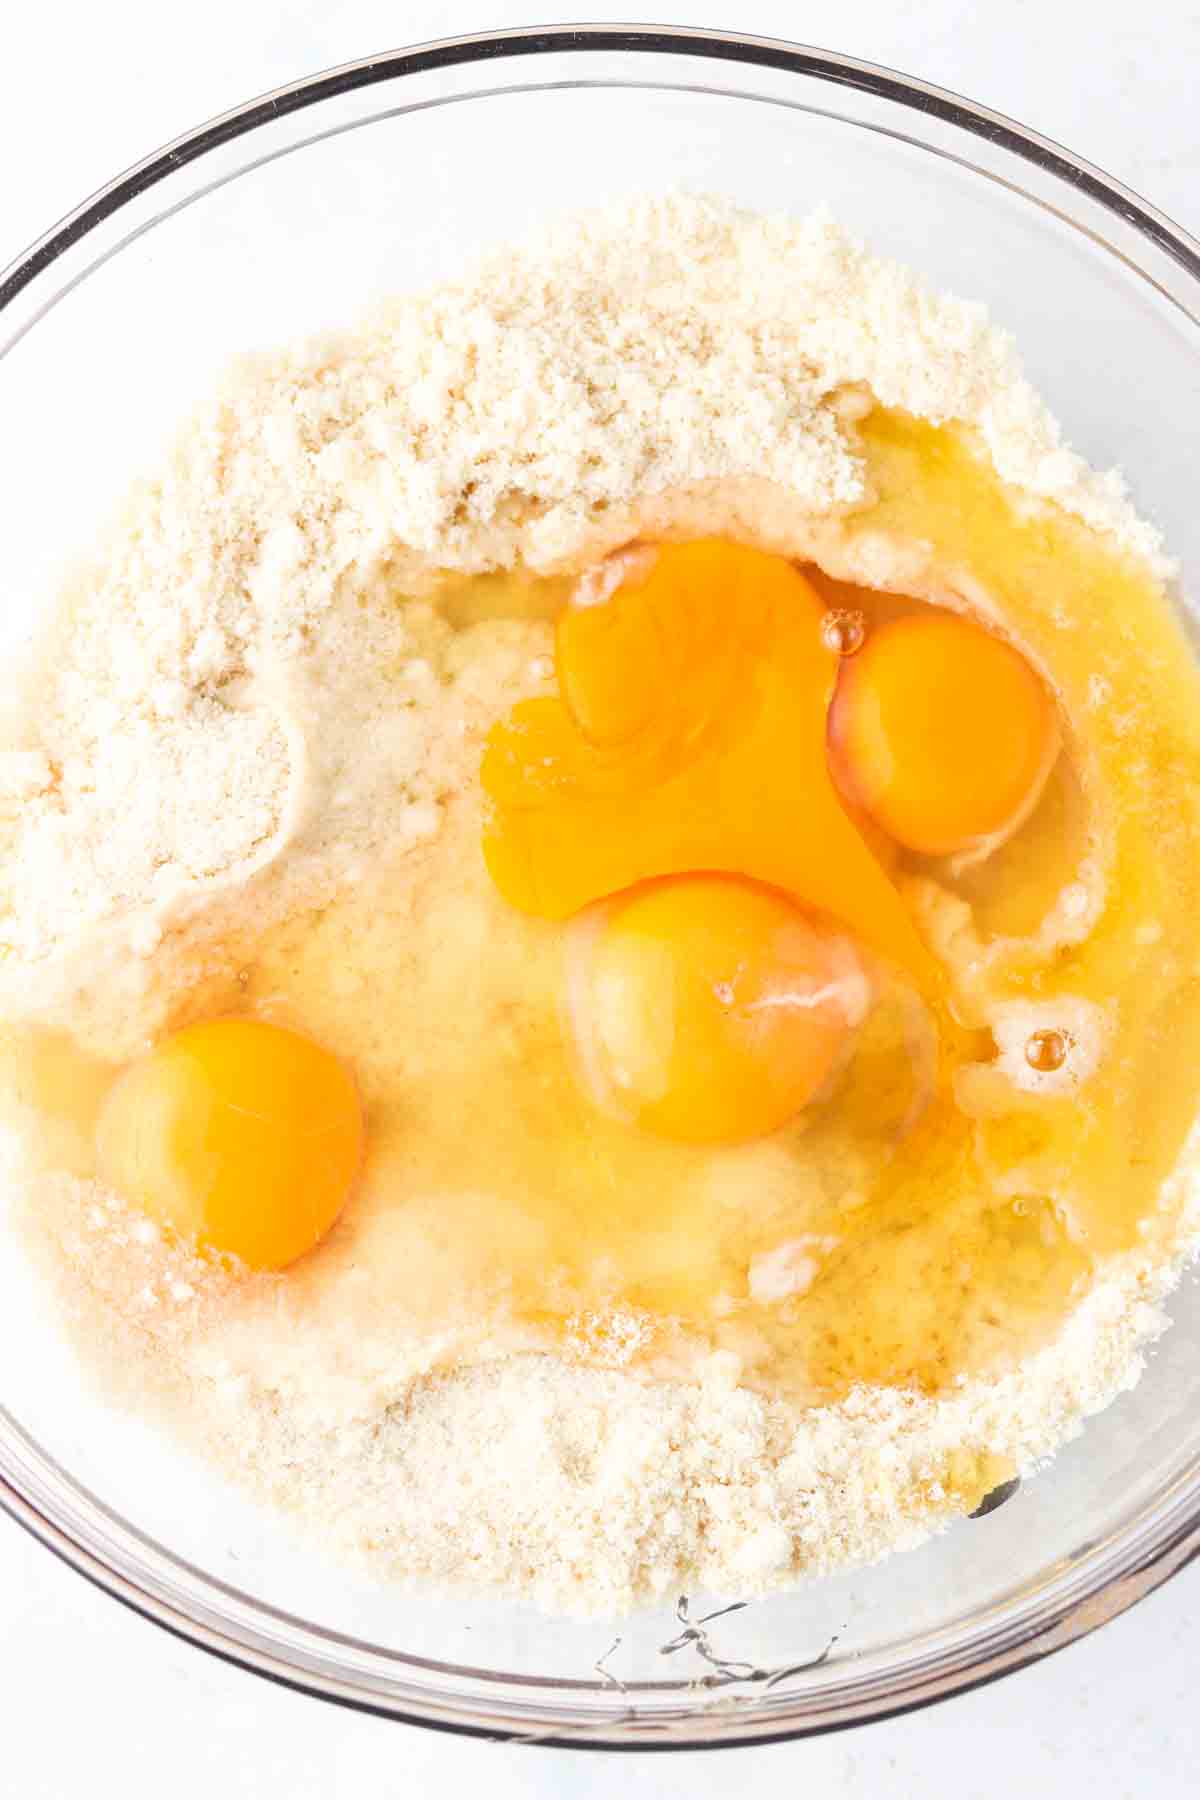
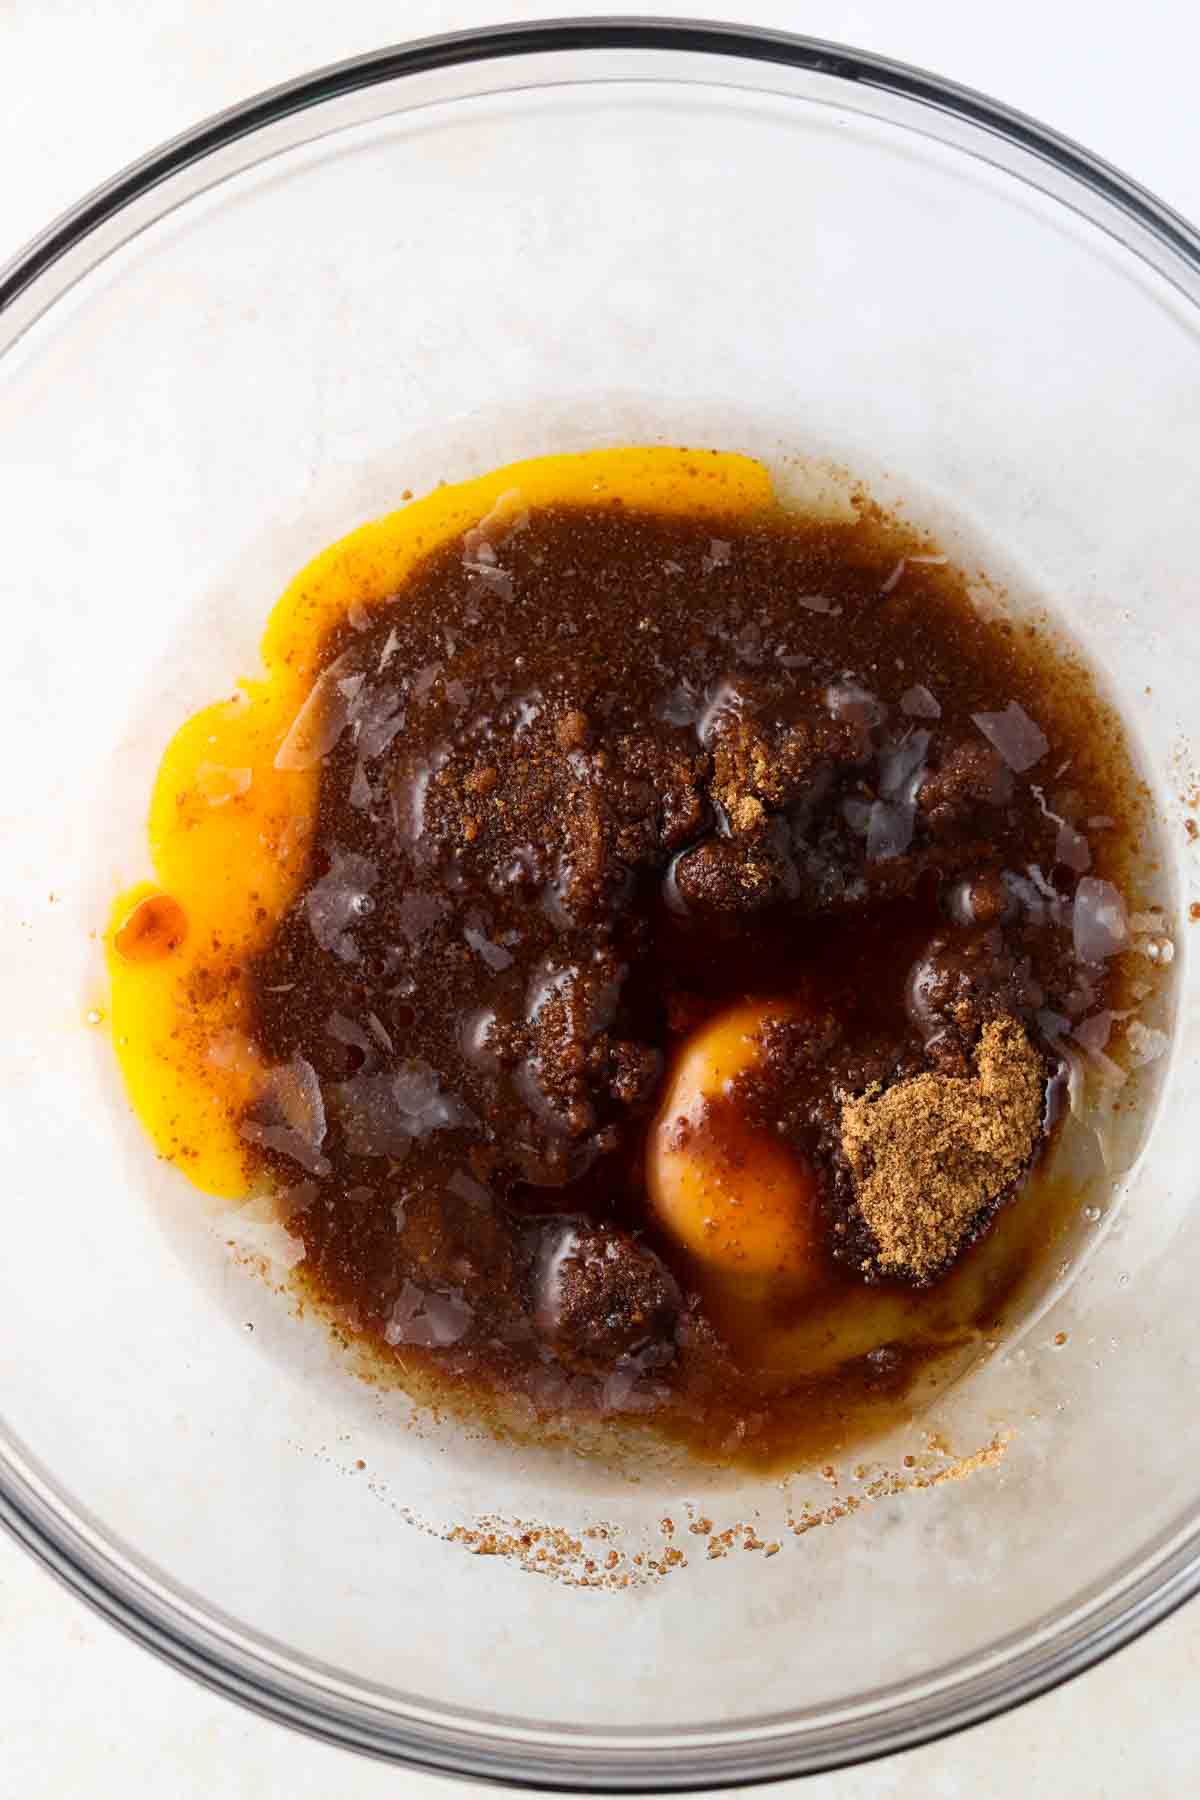
- Combine the eggs, coconut sugar, coconut oil, and vanilla. Beat until smooth.
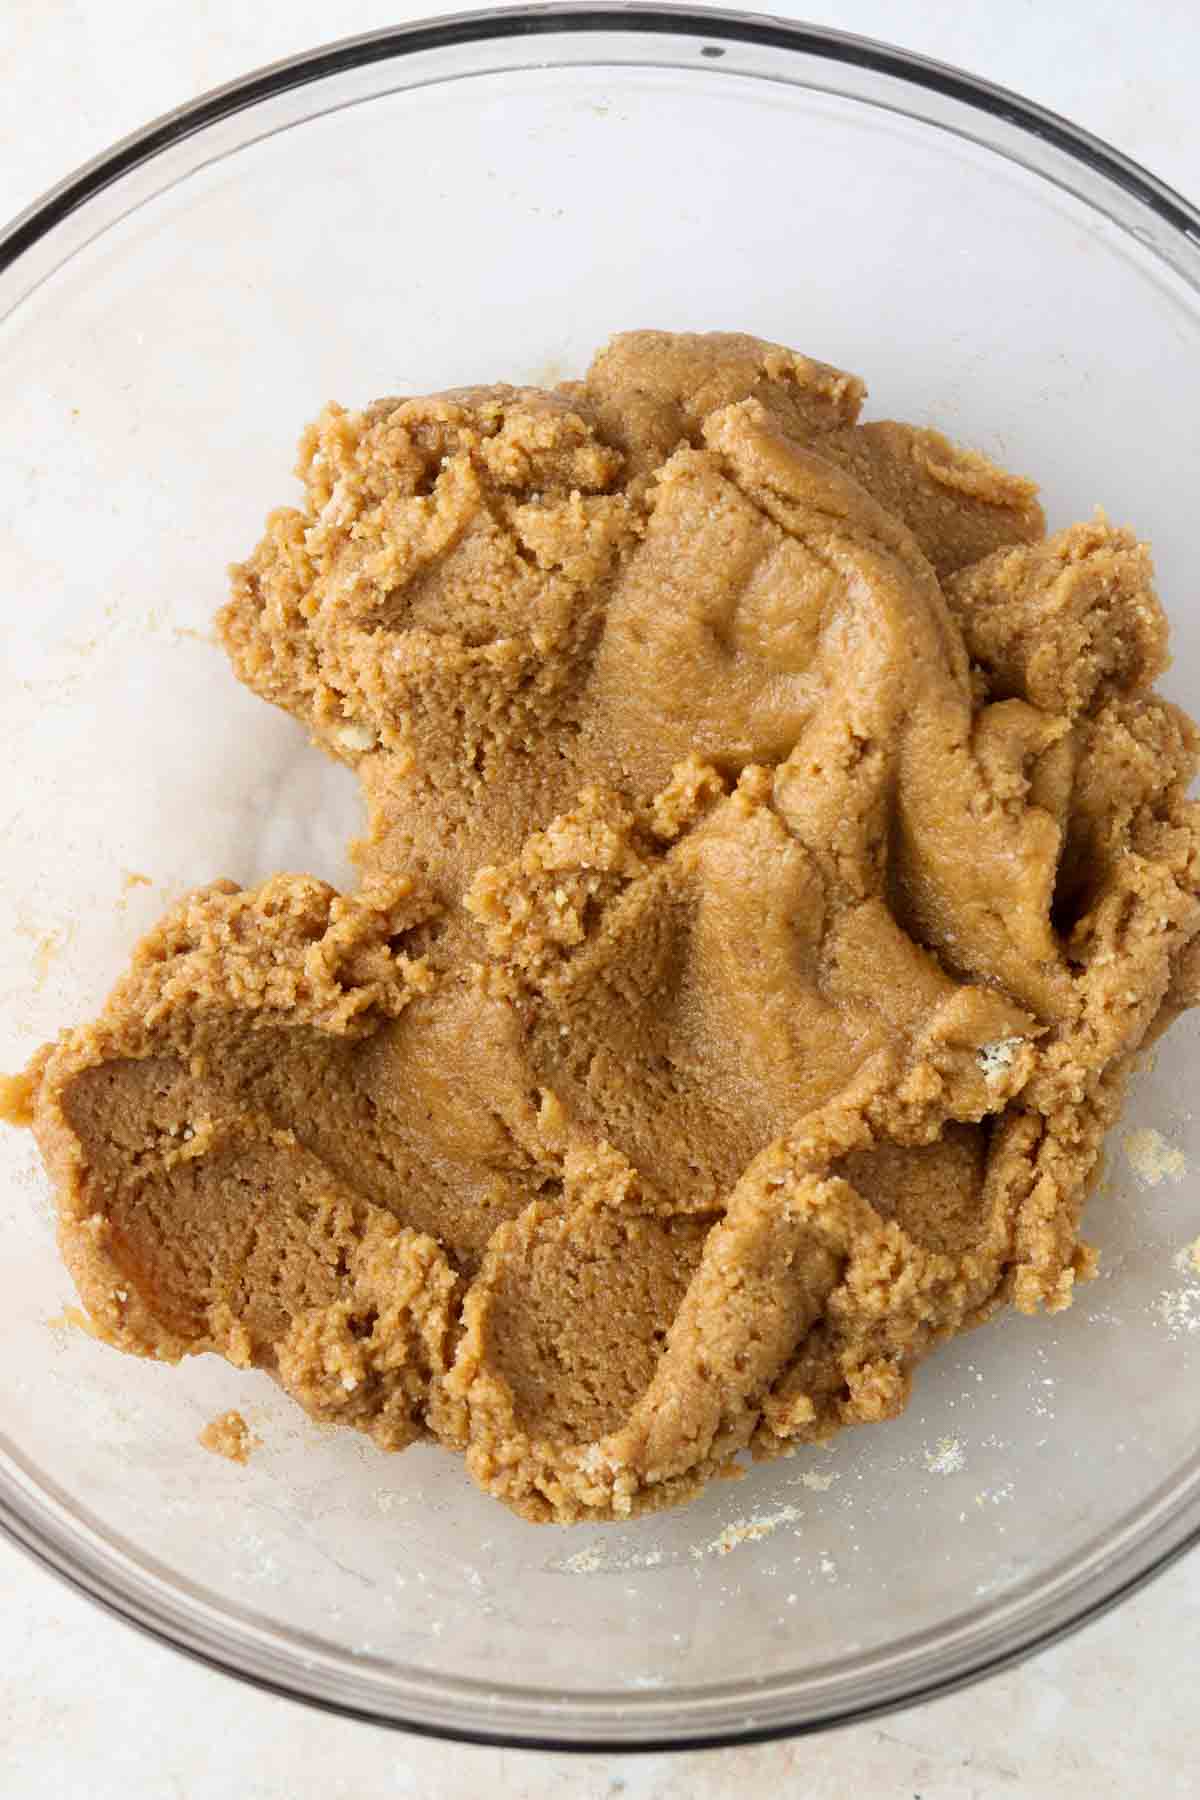
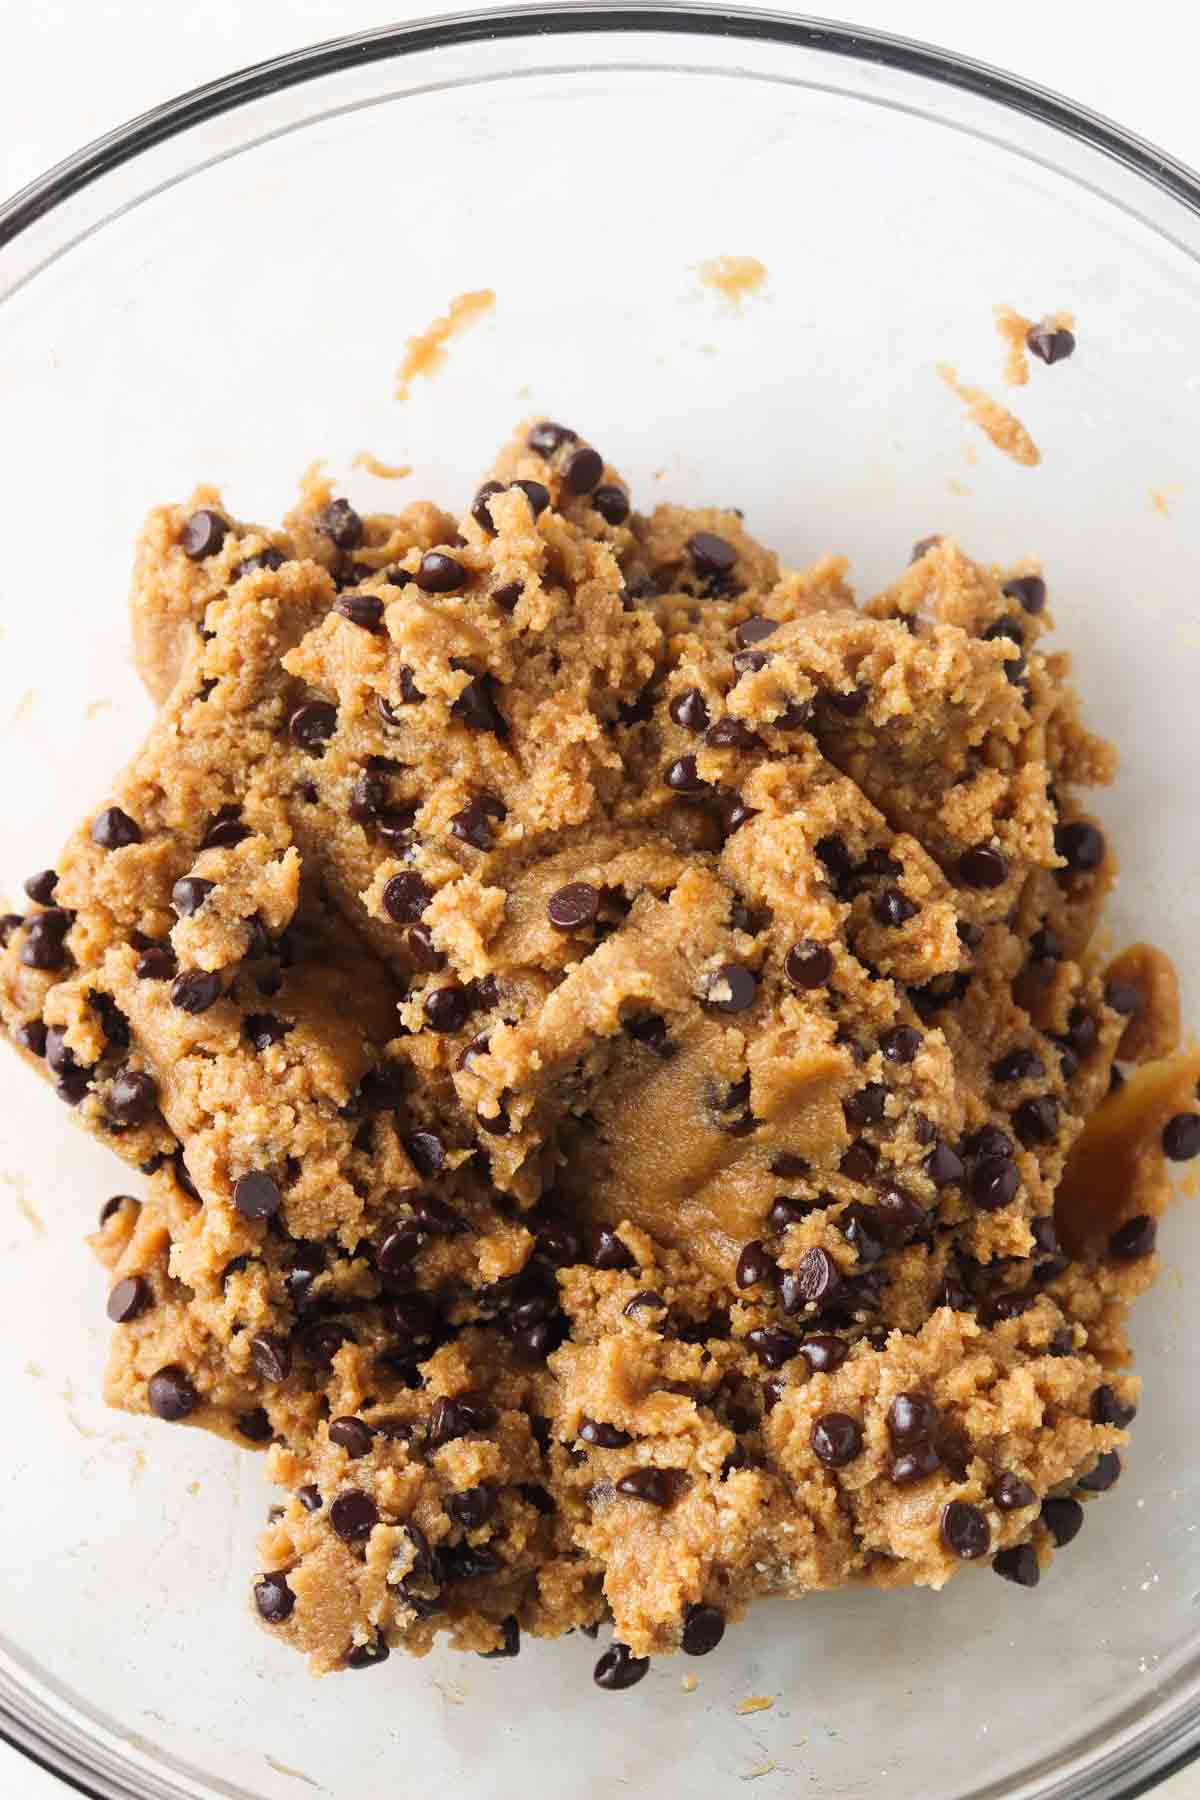
- In a separate bowl, combine the dry ingredients. Slowly beat into the wet ingredients. This will form a sticky dough.
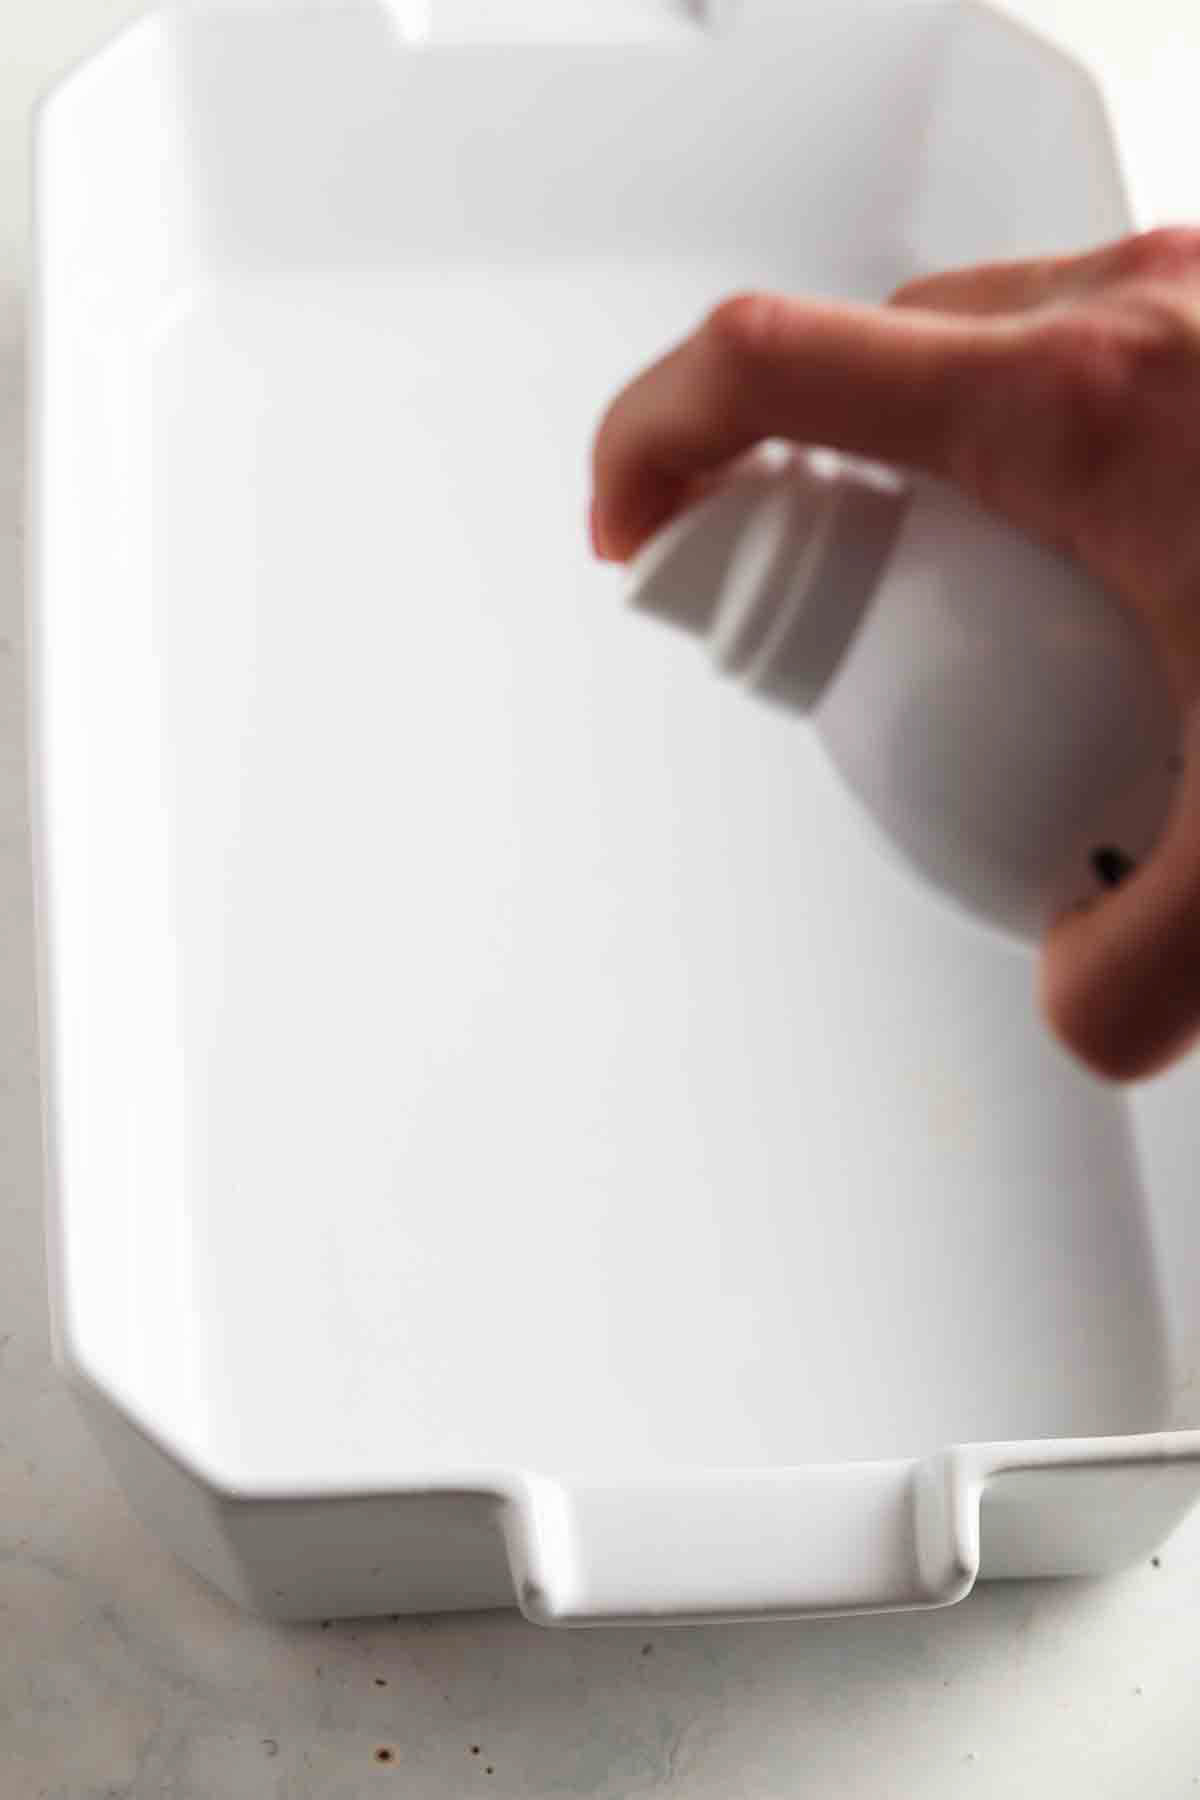
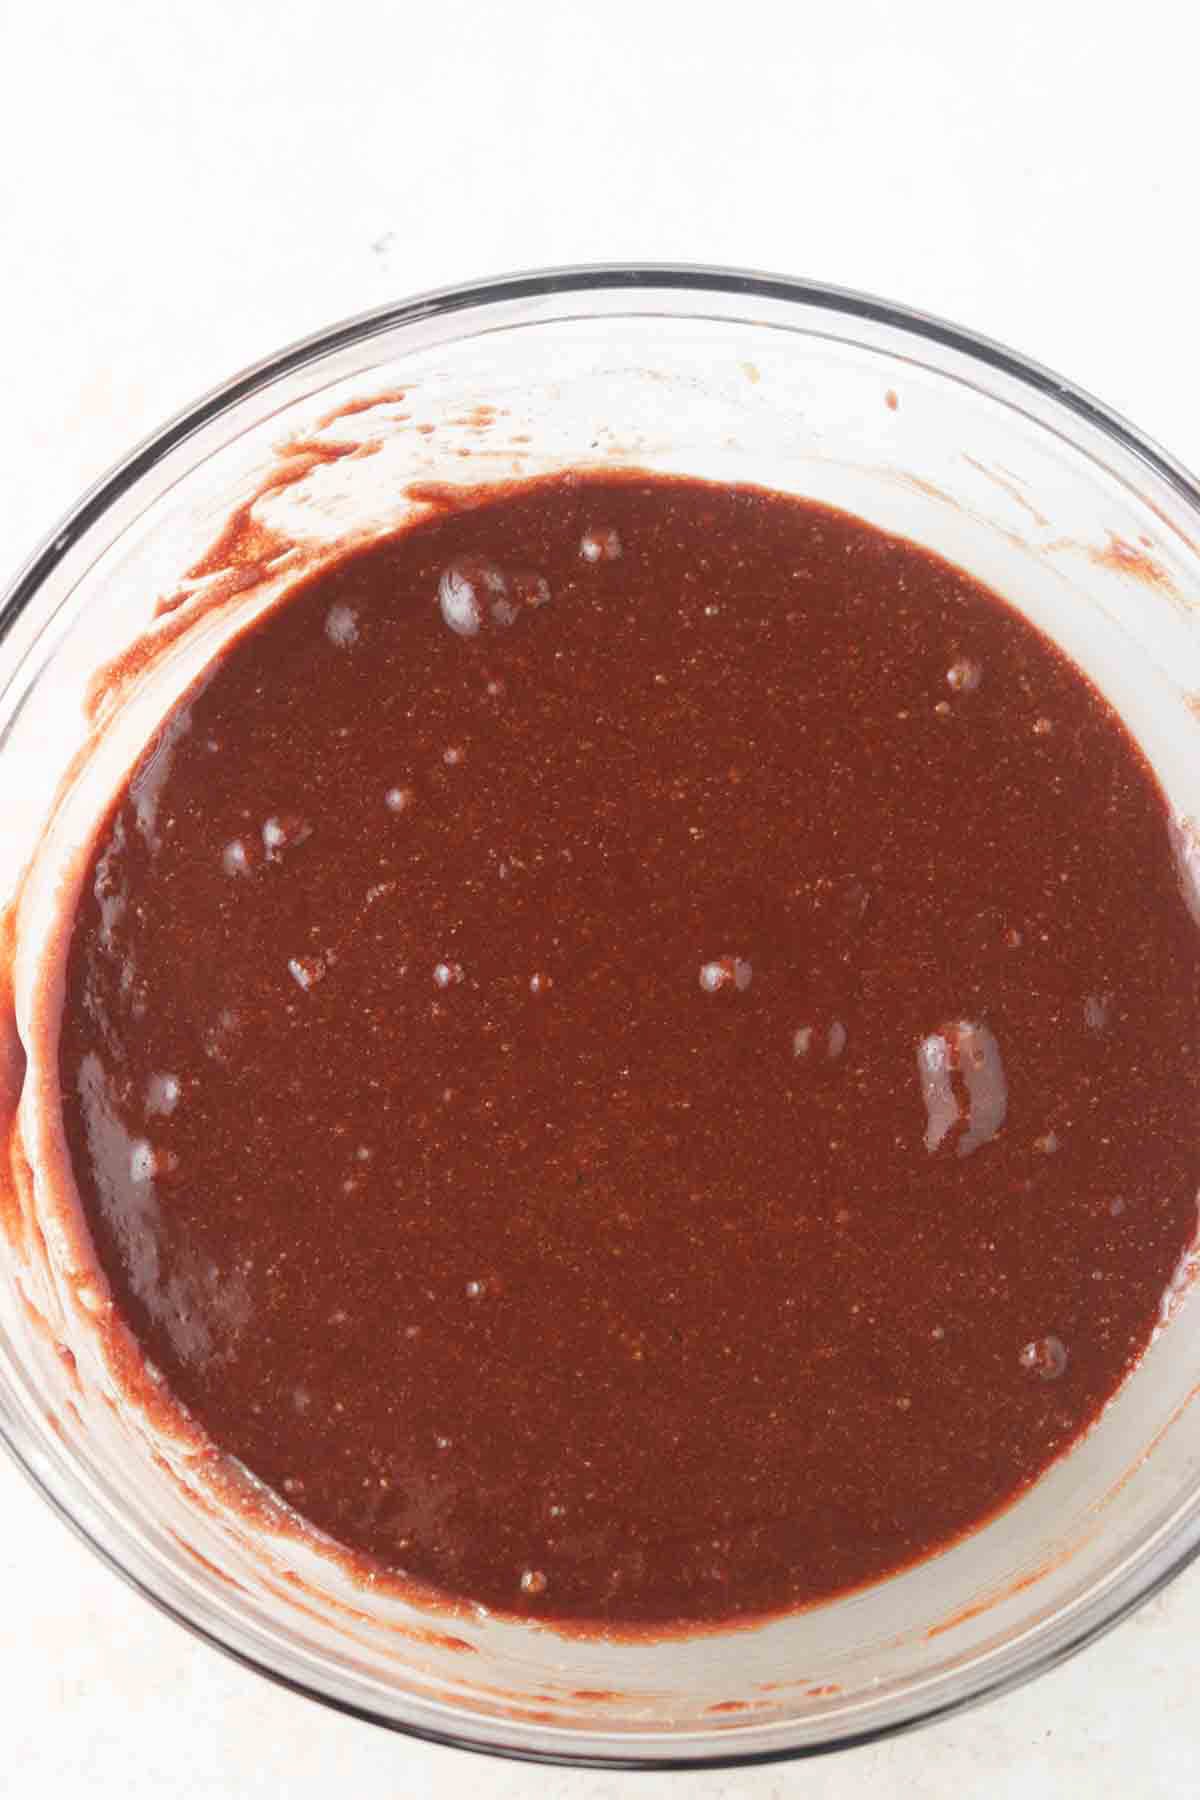
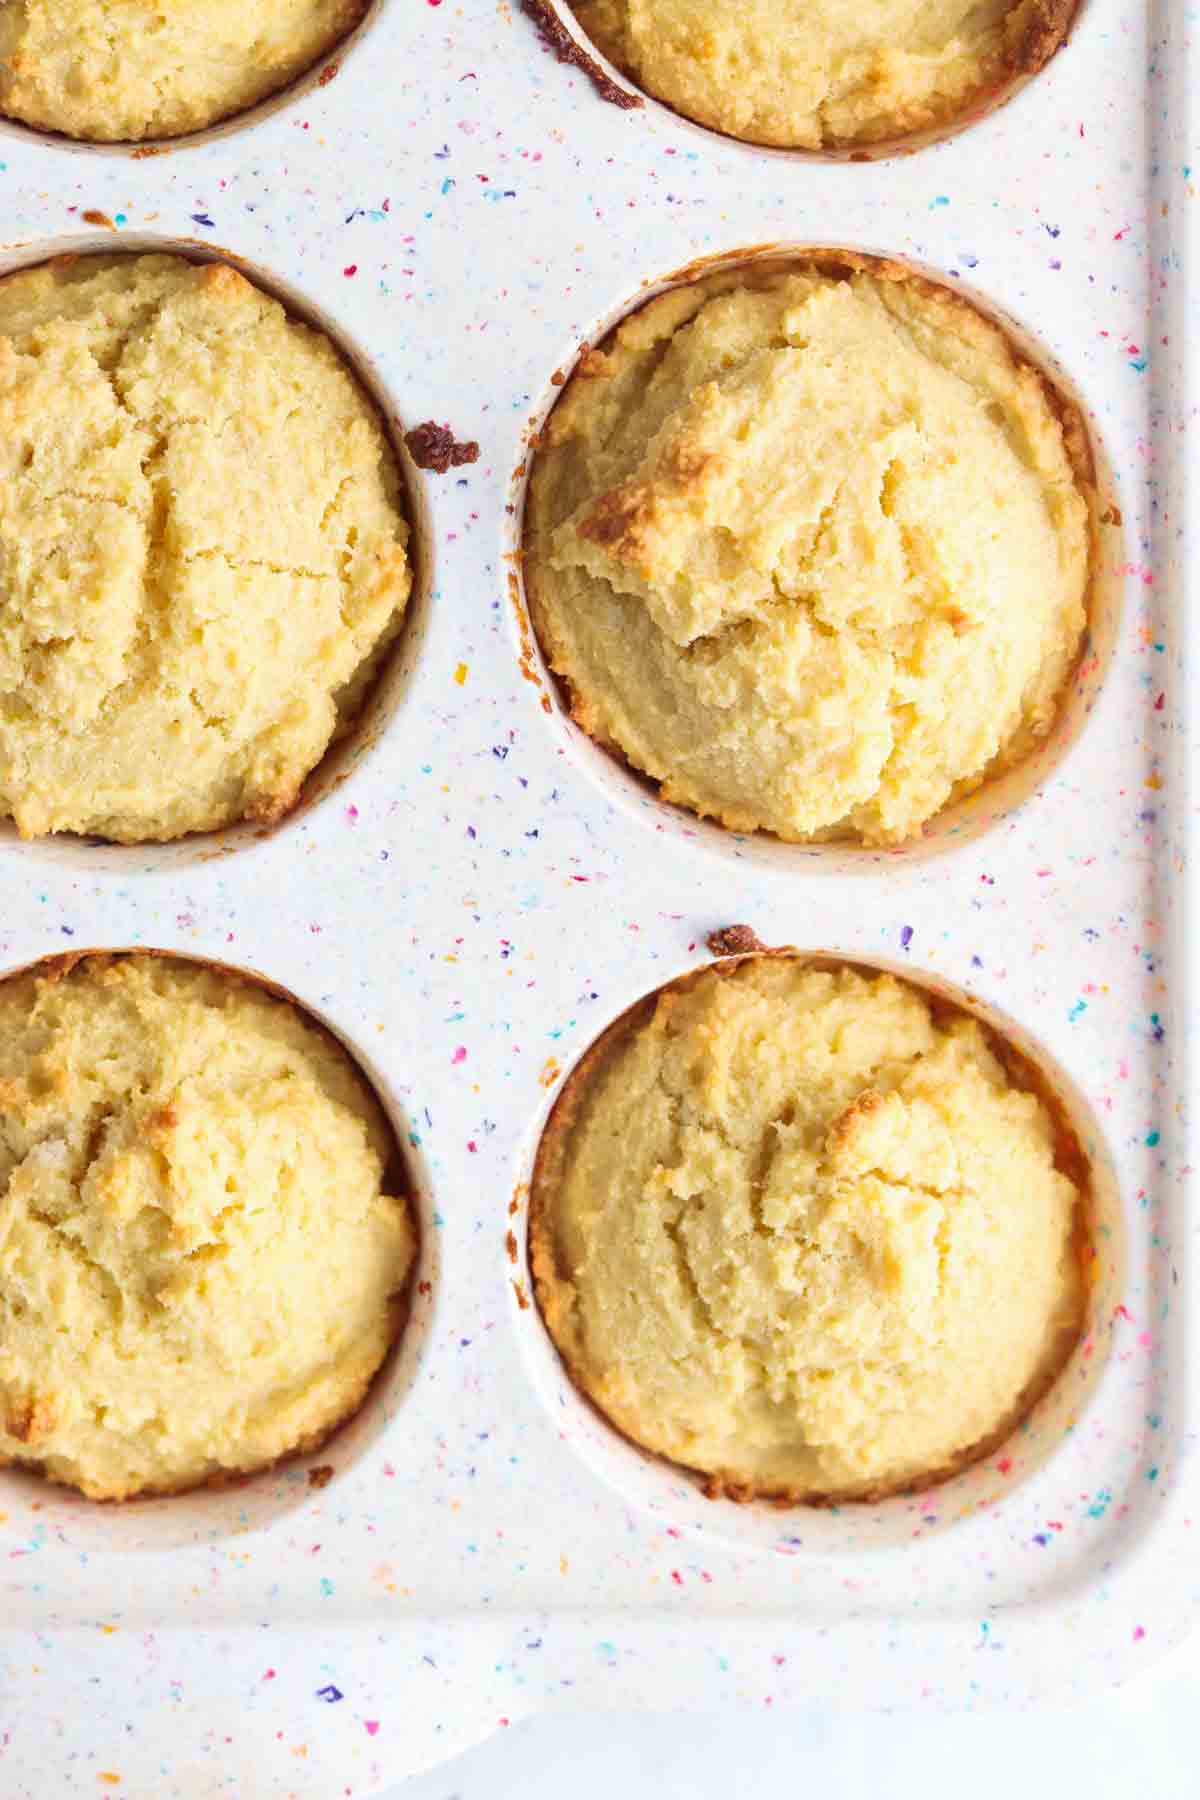
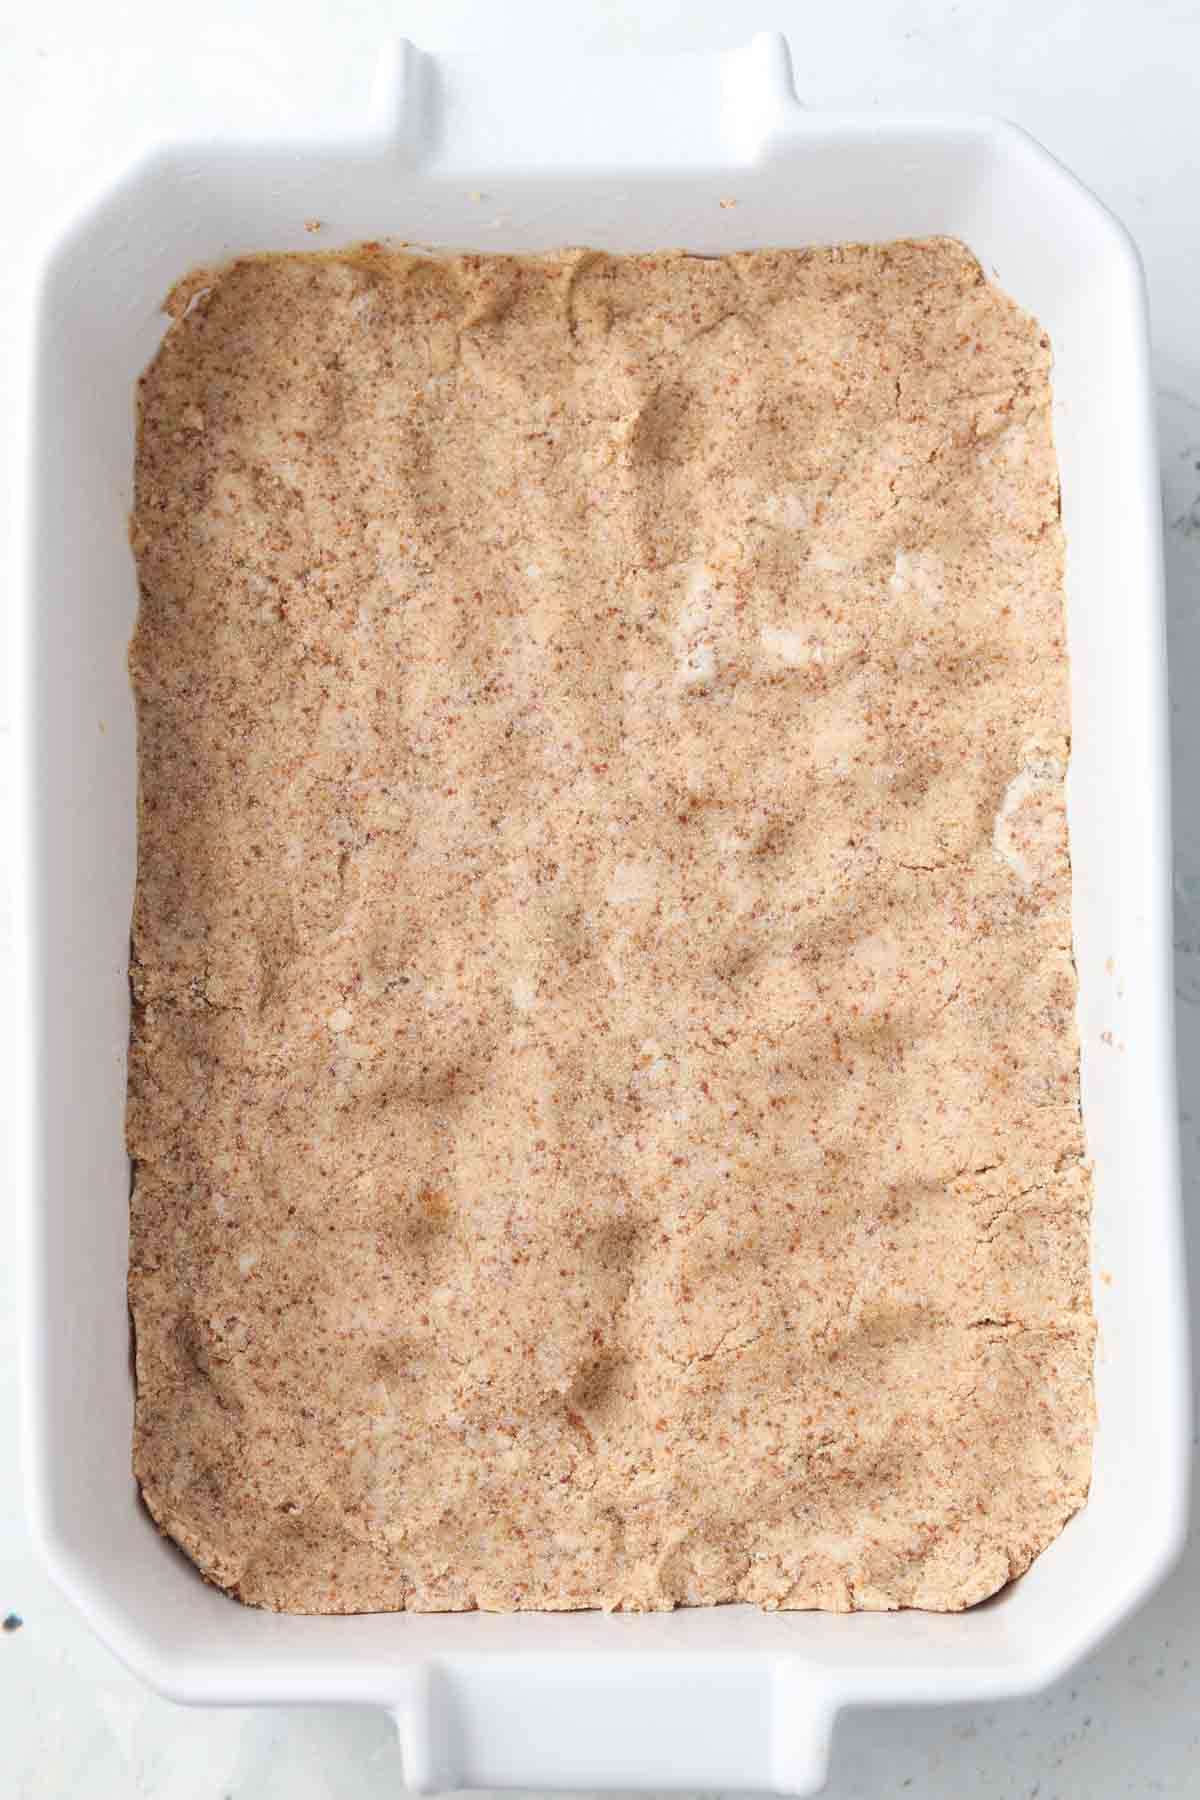
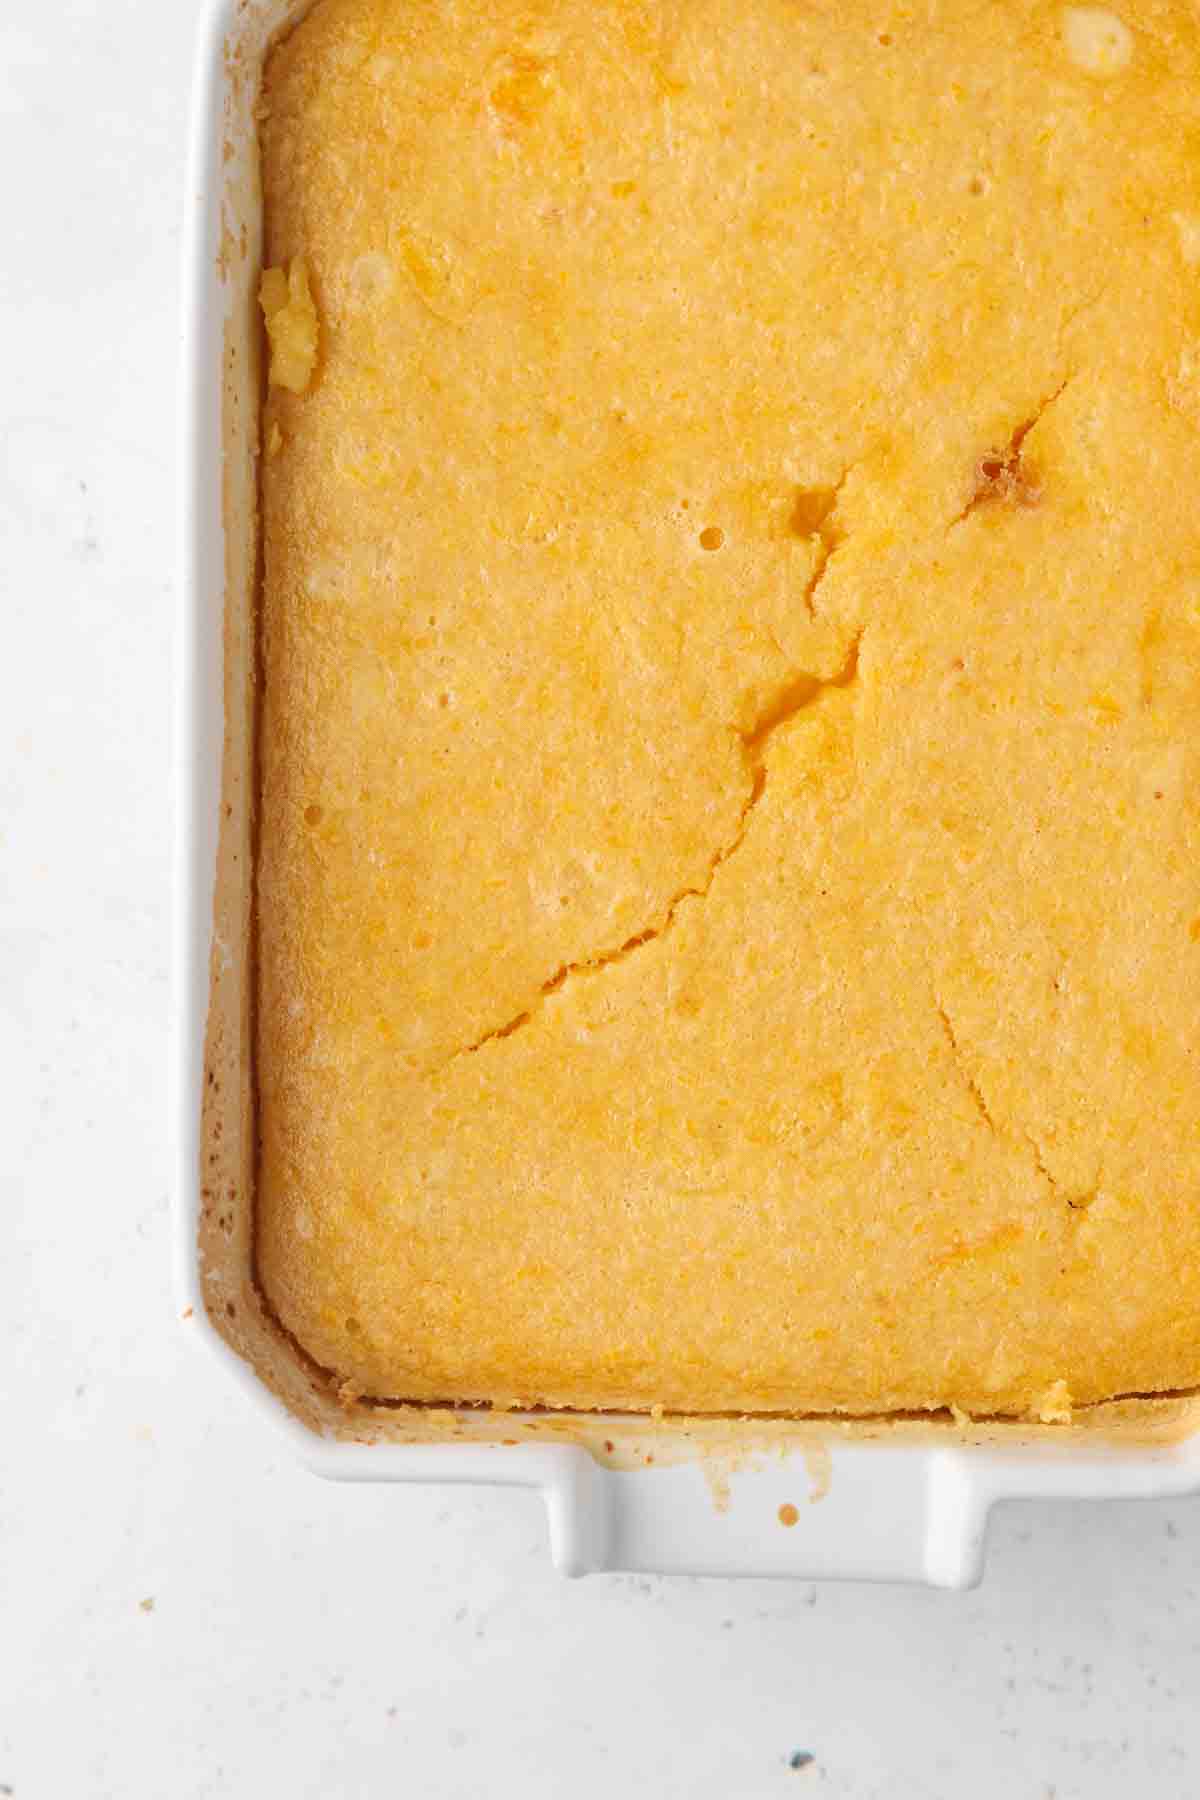
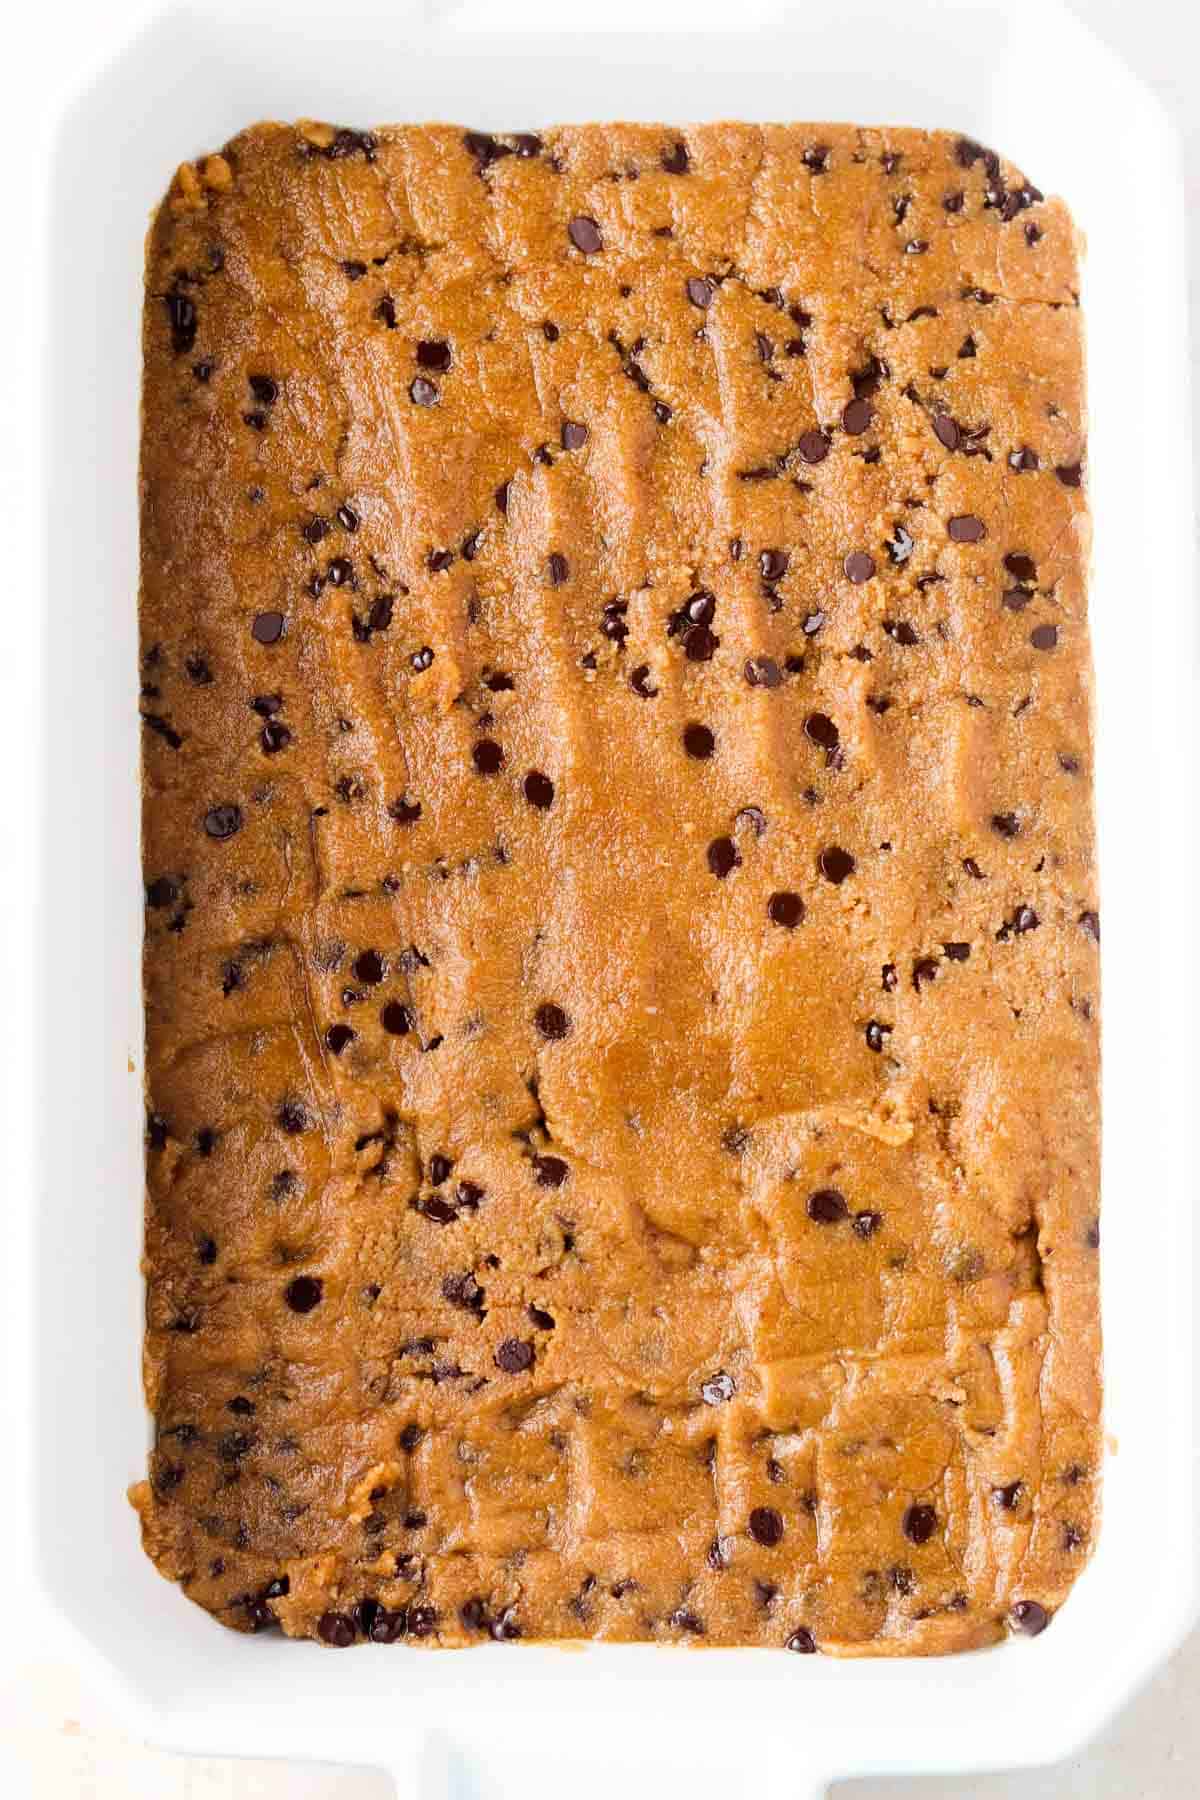
- Stir in the chocolate chips and transfer the dough to a greased cake pan. Bake in the oven for 15 minutes. Then, remove from oven and let cool.
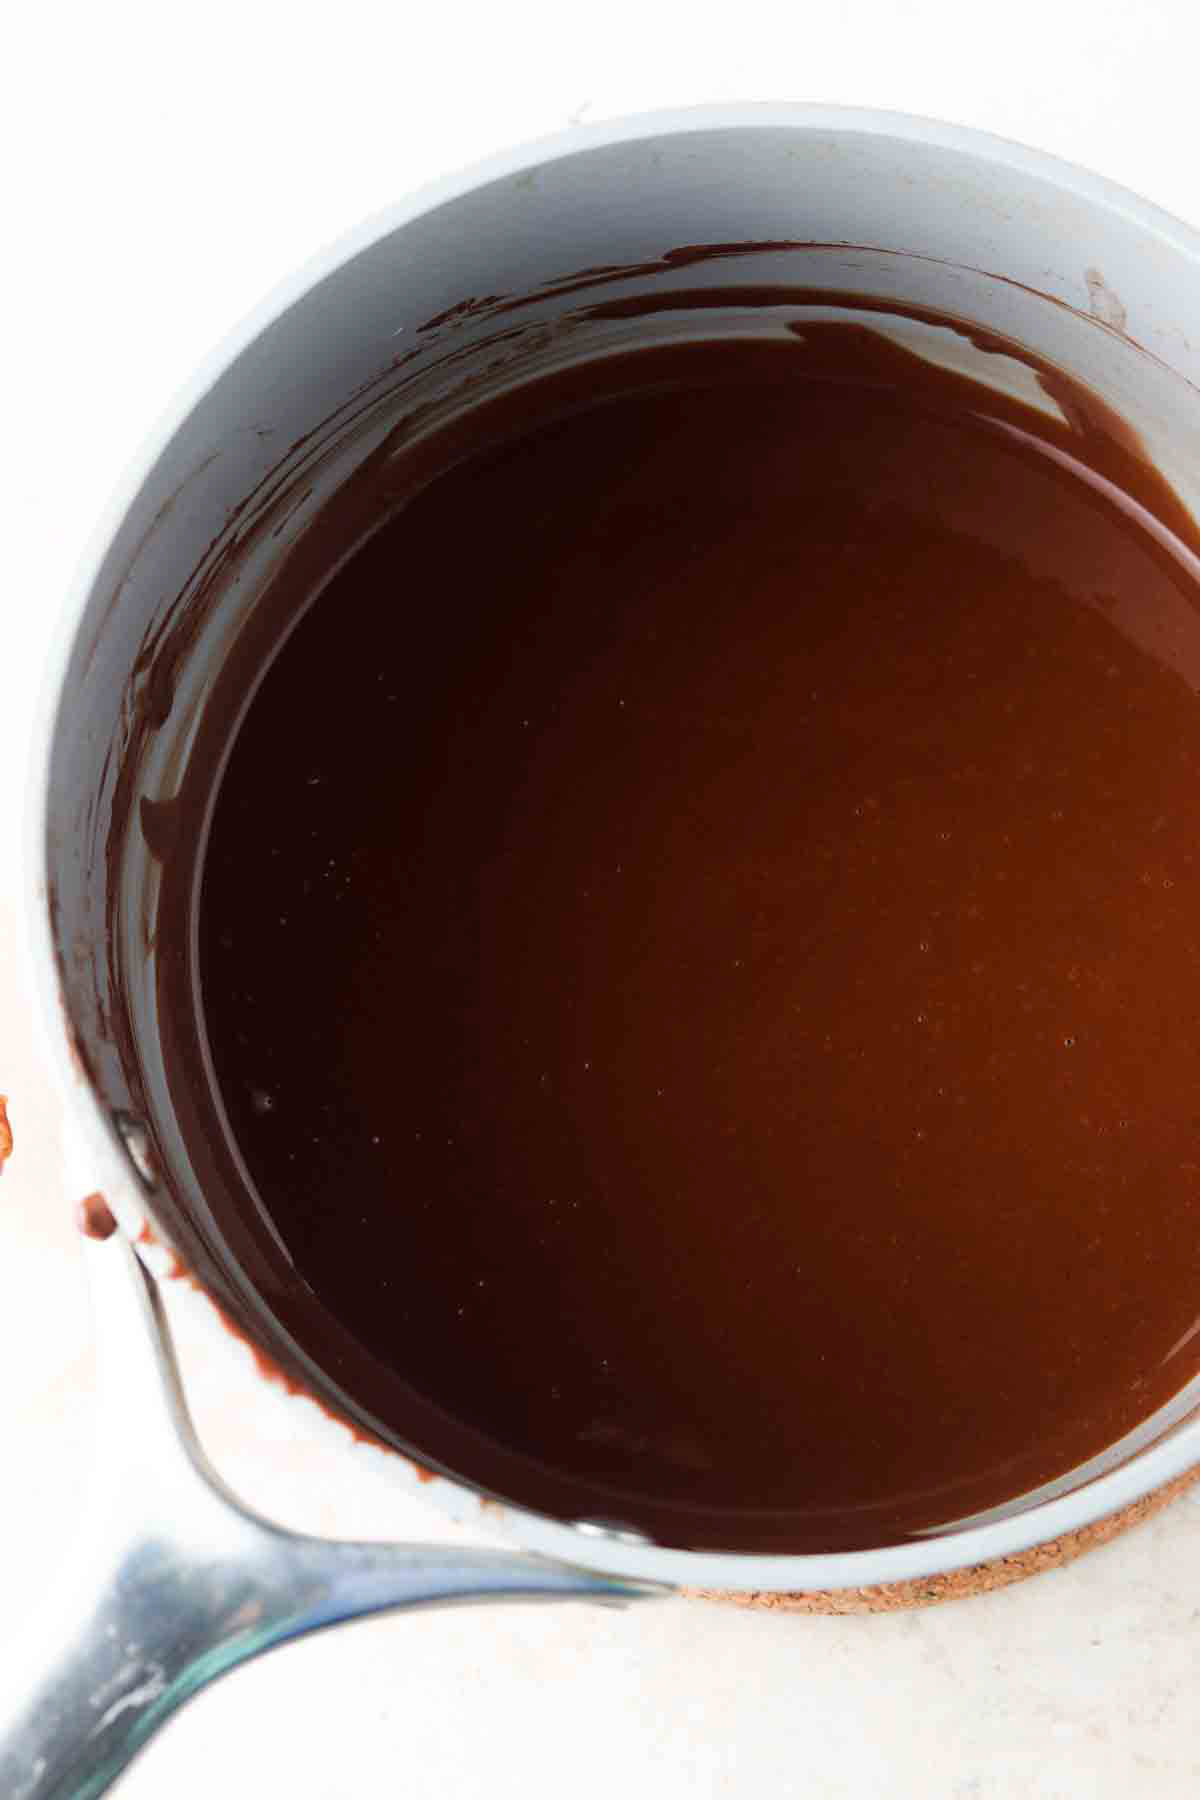
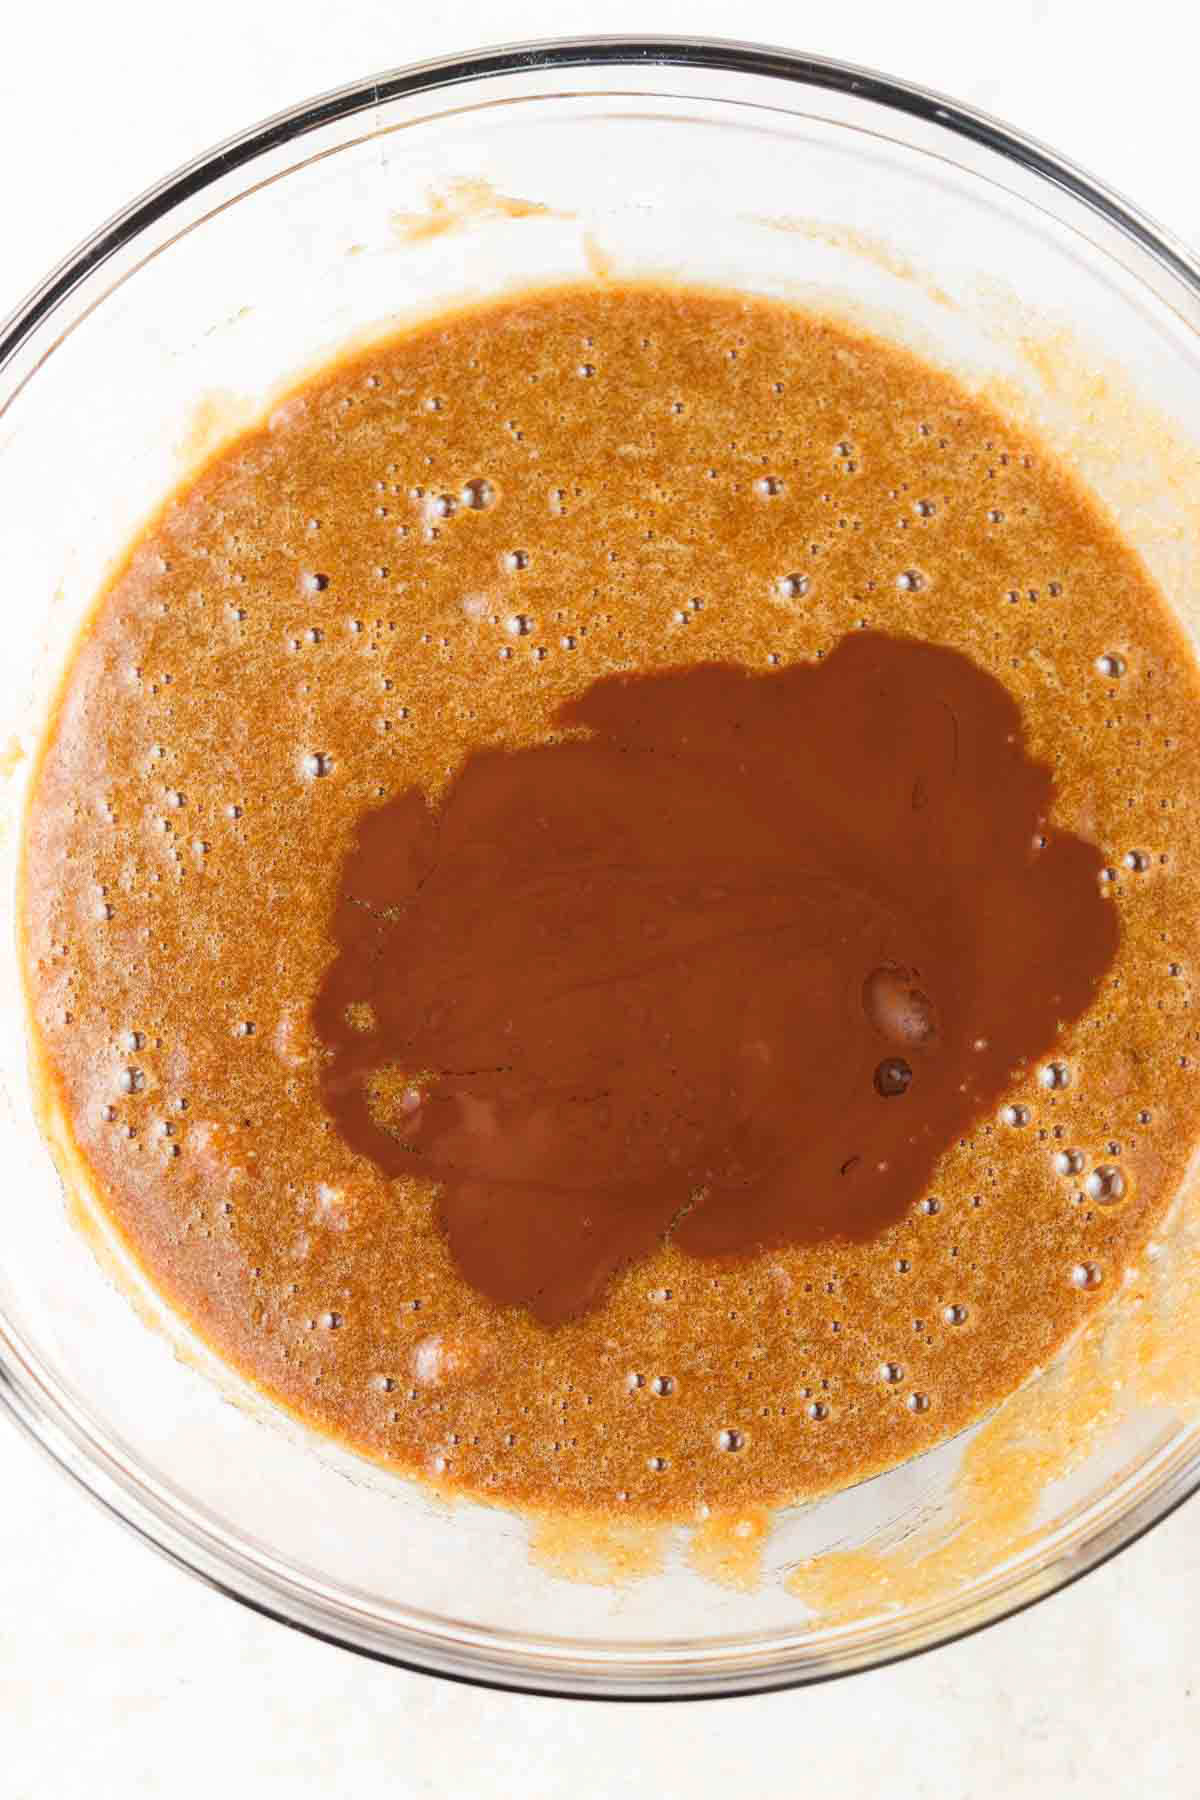
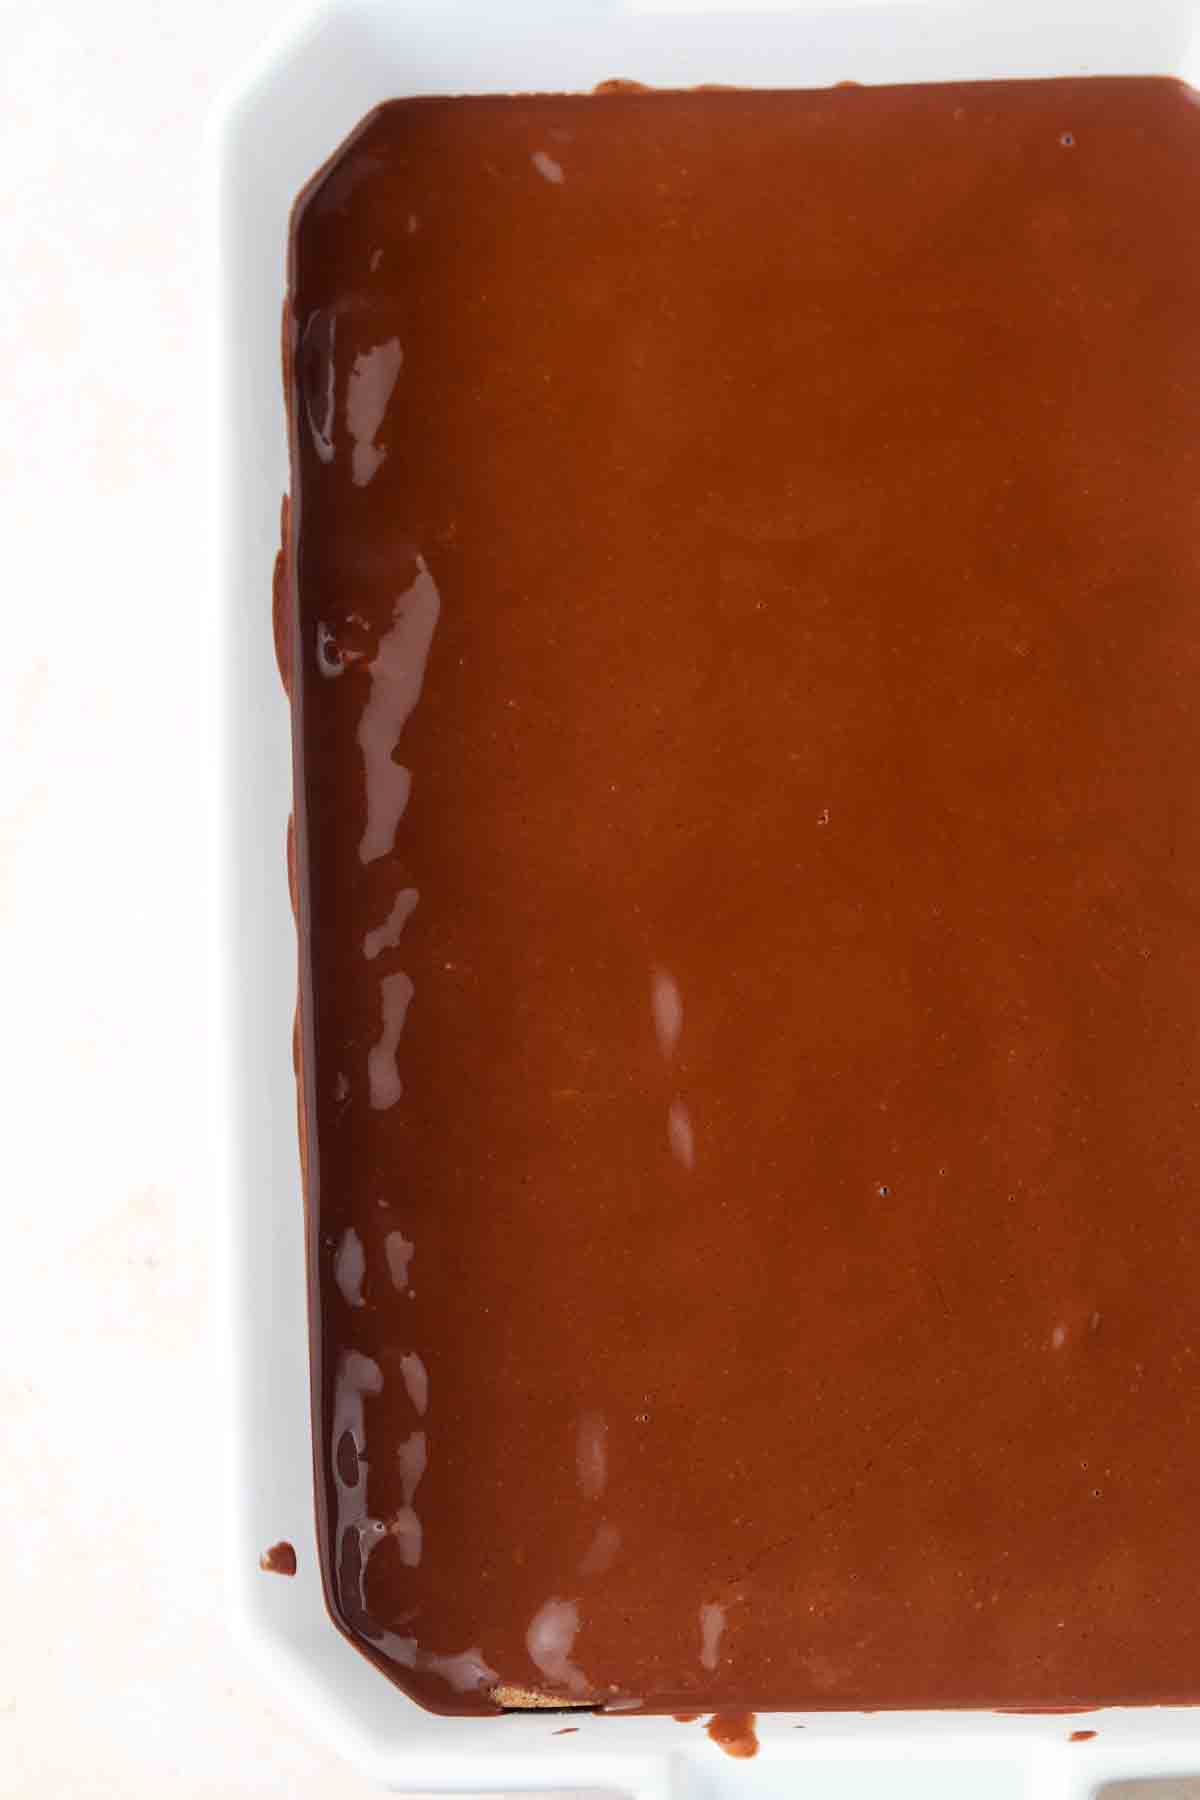
- Make the fudge layer. In a small saucepan, over low heat, stir and melt chocolate chips and coconut oil until silky smooth.
- Remove from heat and stir in almond butter and optional maple syrup. Set aside to cool.
- Once the cookie cake is cooled, spread the fudge over top. Refrigerate for 1-2 hours to set.