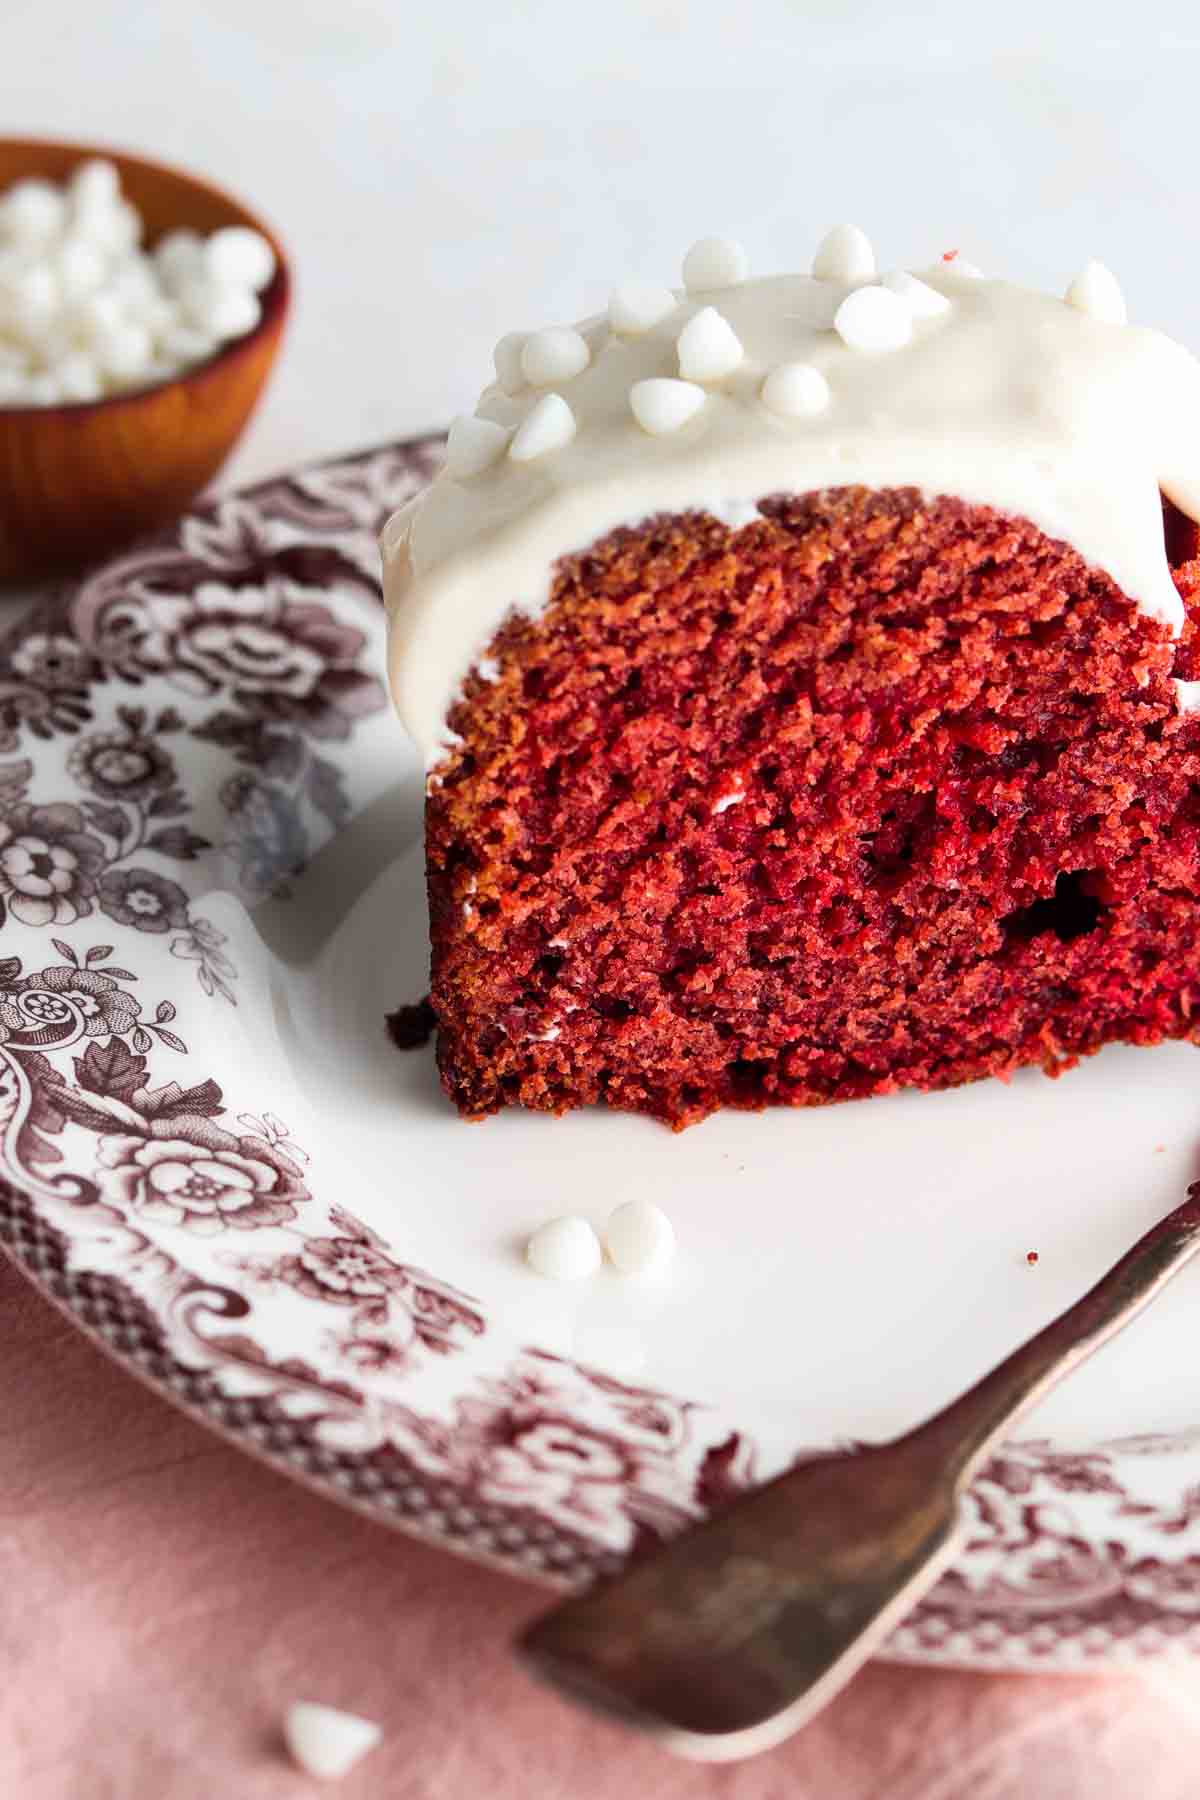
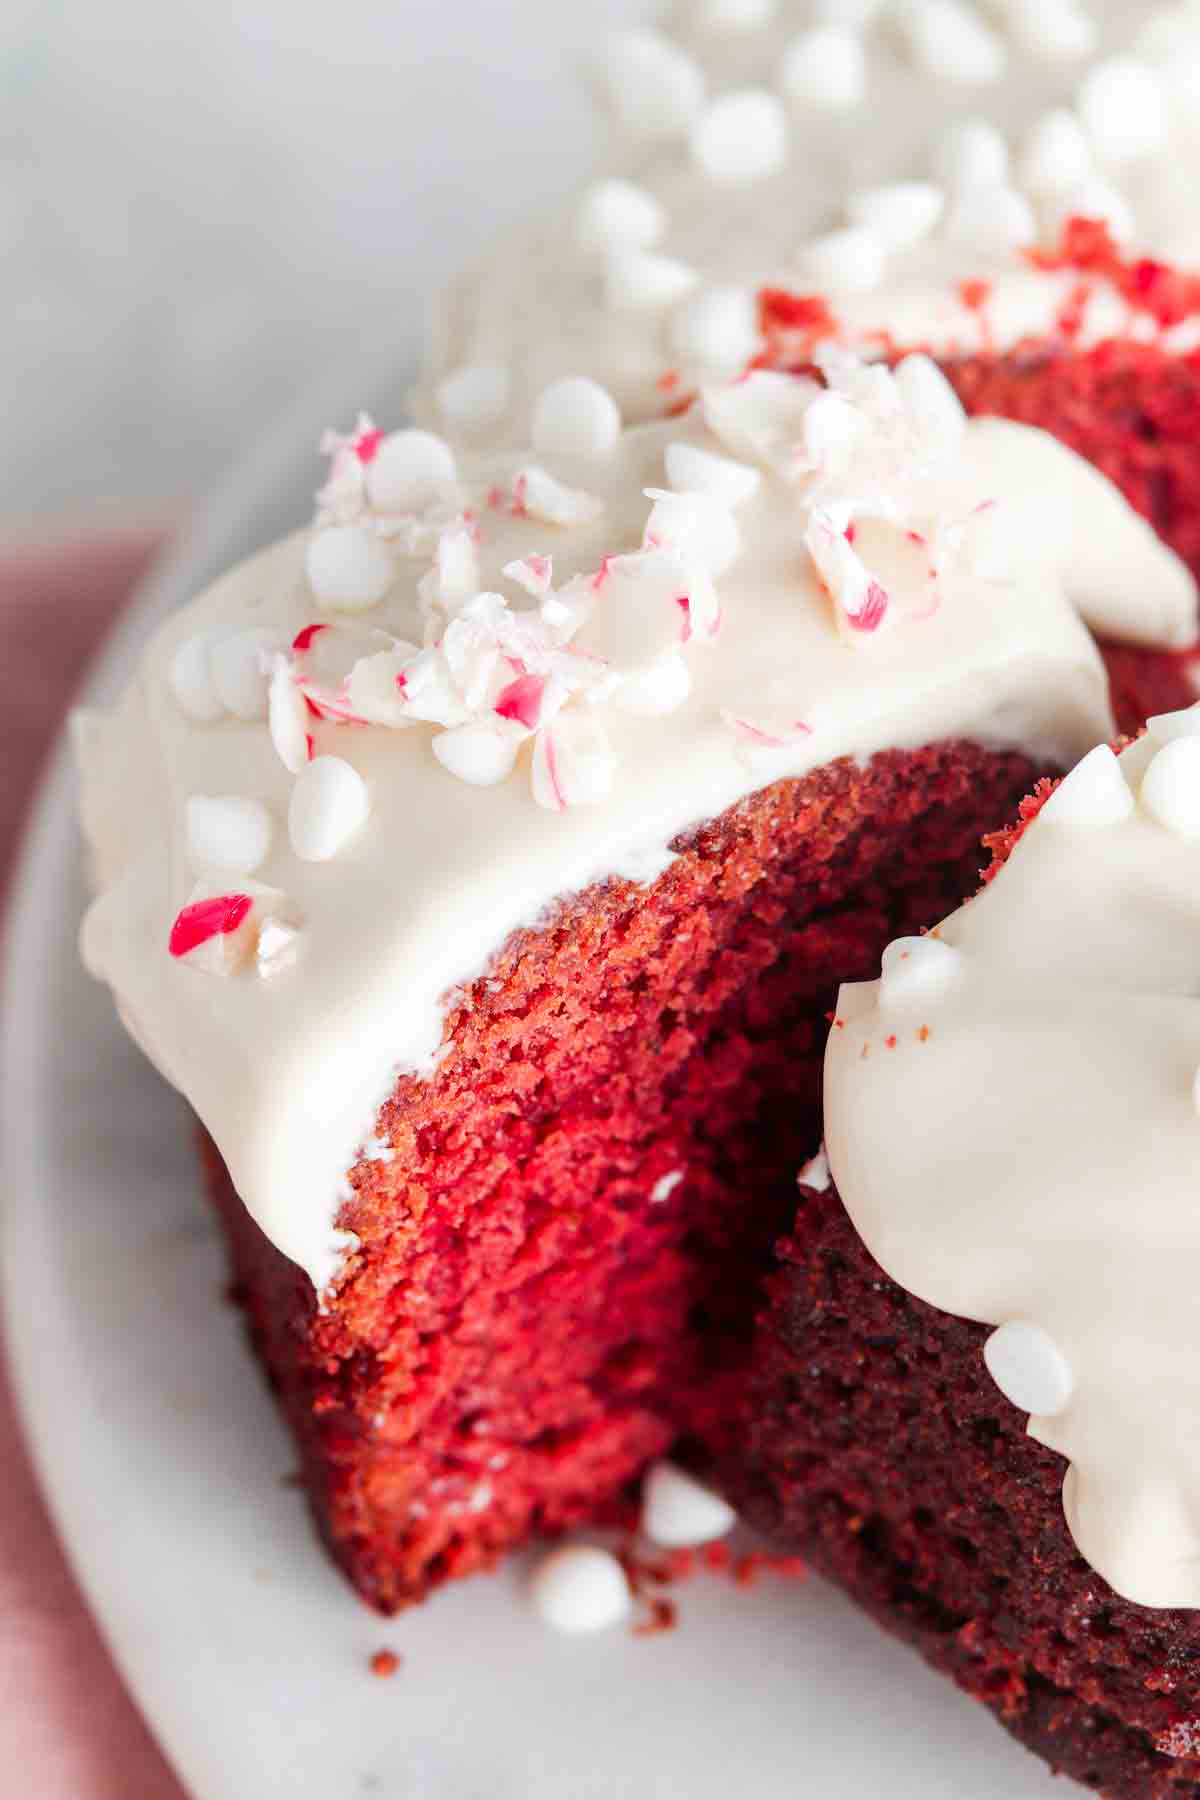
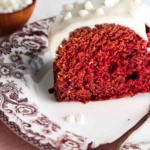
This Gluten Free Red Velvet Cake Recipe is super easy to make and is one of my go to’s for hosting! While this cake is my go to for Valentine’s Day, it is perfect for any special occasion. The velvety crumb combined with the classic cream cheese frosting is oh so delicious. This recipe only requires 15 minutes of hands on time and can be prepared and made in advance.
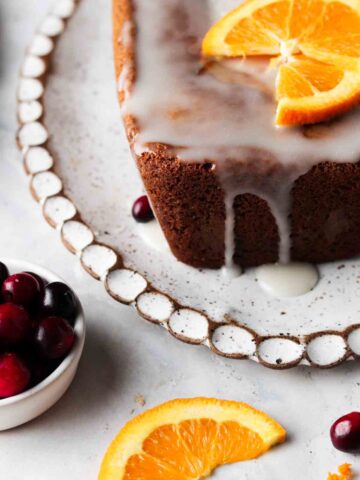
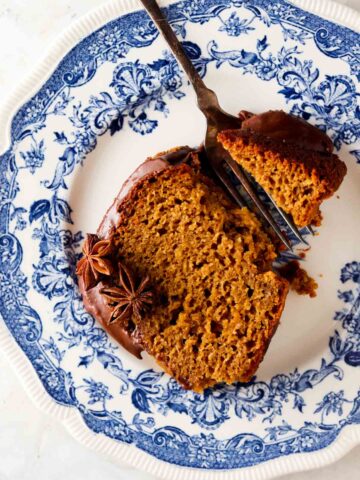
This easy red velvet cake recipe has become a staple in our home along with a few of my other favorite gluten-free cakes on my blog like my Gluten Free Apple Cake, Gluten Free Banana Cake, Gluten Free Carrot Cake, Gluten Free Orange Cake, Mini Dairy Free Chocolate Cakes, and my Gluten Free Pumpkin Cake. I often turn this into a gluten-free birthday cake every year for my one friend because she loves all things red velvet! If you are making this recipe for the holidays it pairs so well with my Pretzel Christmas Crack.
Jump to:
Why I Love This Recipe
- This recipe is naturally gluten free, soy free, grain free and refined sugar free. It can also be made dairy free too by using vegan cream cheese frosting!
- You can make this recipe in advance to your gathering or celebration so you are not running around the day of.
- You can make this homemade gluten-free cake into red velvet cupcakes too!
- This gluten-free cake recipe is also grain free too!
- The tender crumb sets this cake apart from just about any other treat.
- Unlike a lot of baking recipes, this recipe is super easy to make and follow!
- I love red velvet cakes because they are the perfect mix between a chocolate cake and a vanilla cake!
Simple Ingredients
For the cake-
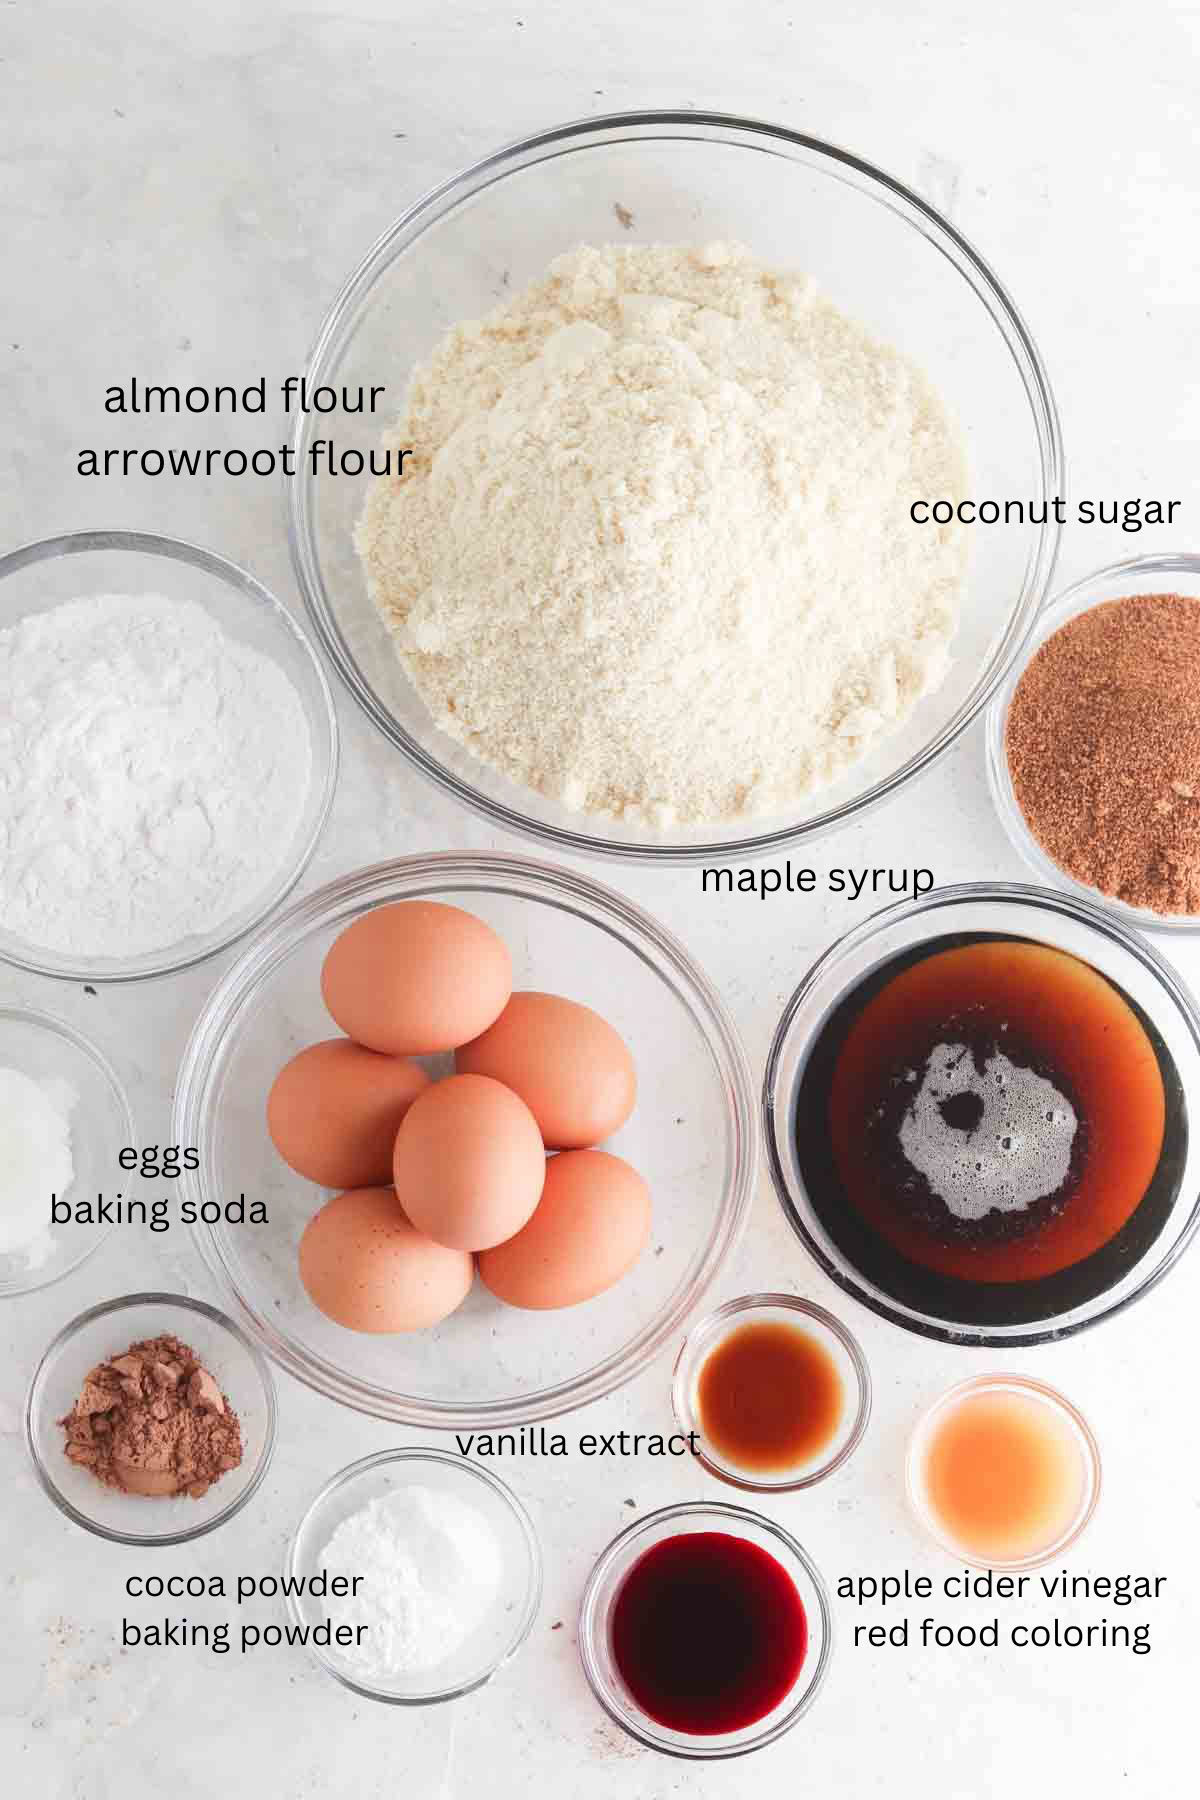
- Red food coloring-This gives the red velvet cake its color.
- Almond flour-This is the base flour in this recipe. This tends to be my go to gluten-free flour when it comes to baking! I like Bob’s red mill or the Coscto brand!
- Arrowroot powder-This acts as the cornstarch in this recipe. For people like me who are gluten free often times cannot tolerate corn which is why arrowroot is a go to in my recipes. This also helps act as the gum in the recipe. I cannot tolerate xanthan gum, which is why I always go for arrowroot instead of corn starch or gums!
- Baking powder & baking soda-This helps the cake rise and expand.
- Coconut sugar-This is my go to sweetener for this recipe.
- Maple syrup-This helps sweeten this recipe as well as keep it moist.
- Apple cider vinegar-This combined with the baking soda and baking powder helps things rise.
- Coconut oil-My go to fat for this recipe.
- Egg-To help bind everything together.
- Vanilla extract and cocoa powder-For flavor.
- Cooking oil spray-This will prevent the cake from sticking to the pan.
For the frosting–
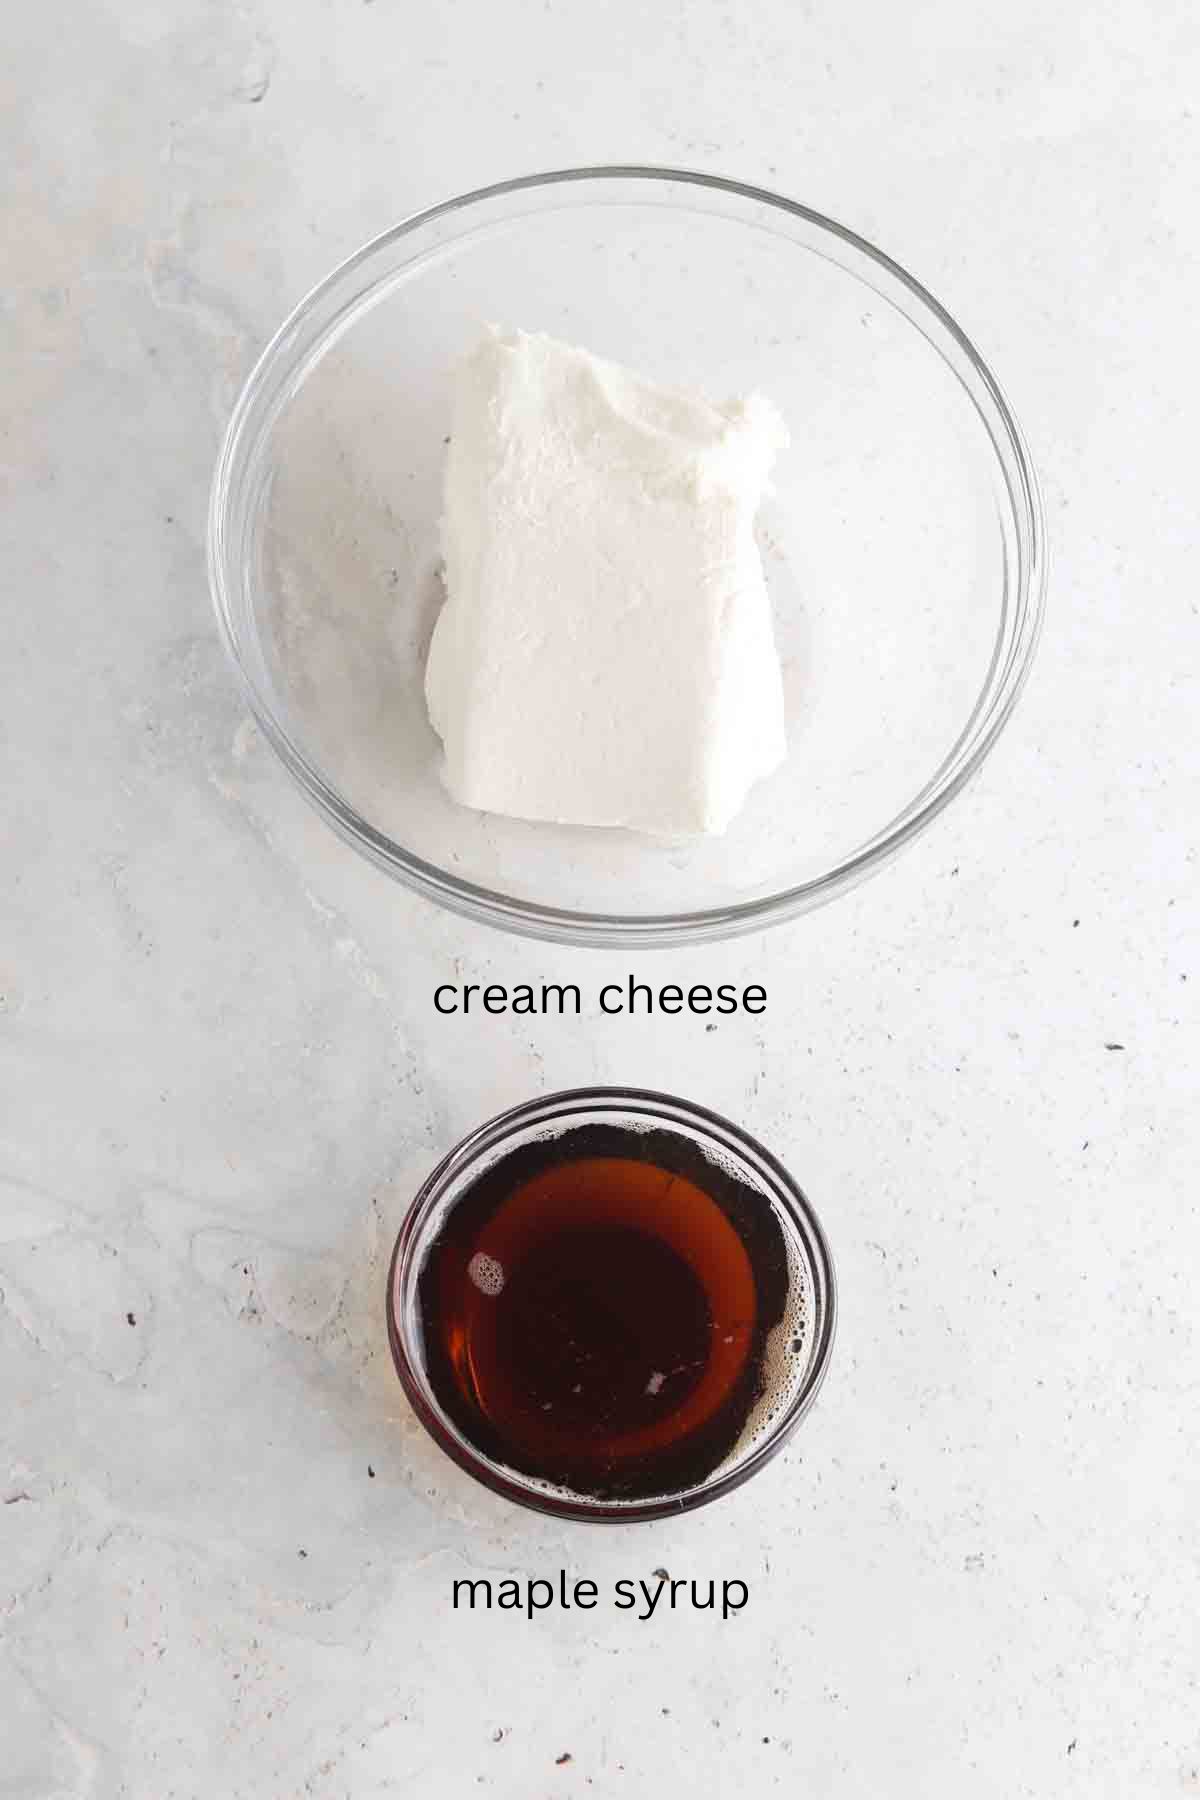
- Cream cheese-This is the base of the frosting.
- Maple syrup-This makes for the perfect frosting sweetener. It makes the frosting sweet but not too sweet.
See the recipe card below with a full list of ingredients and measurements.
Recipe Substitutions
- Red food coloring-If you are like me and are sensitive to food dyes, you can also use beet powder or beet juice to give this cake its red color.
- Coconut sugar-You can also use maple sugar or brown sugar.
- Oil-While coconut oil is my go to, you can use vegetable oil, canola oil or even avocado oil if you would like.
- Cream cheese-If you are dairy free like myself, you can also use dairy free cream cheese. I like the Kite Hill brand for the dairy-free option!
- Maple syrup for the frosting-You can also use powdered sugar if you would prefer that. I try to eat a refined sugar free diet so I like prefer sweeteners like honey, maple syrup and coconut sugar more!
This recipe has not been tested with any other substitutions or variations. If you try something else out please let me know how it turns out in the comments below!
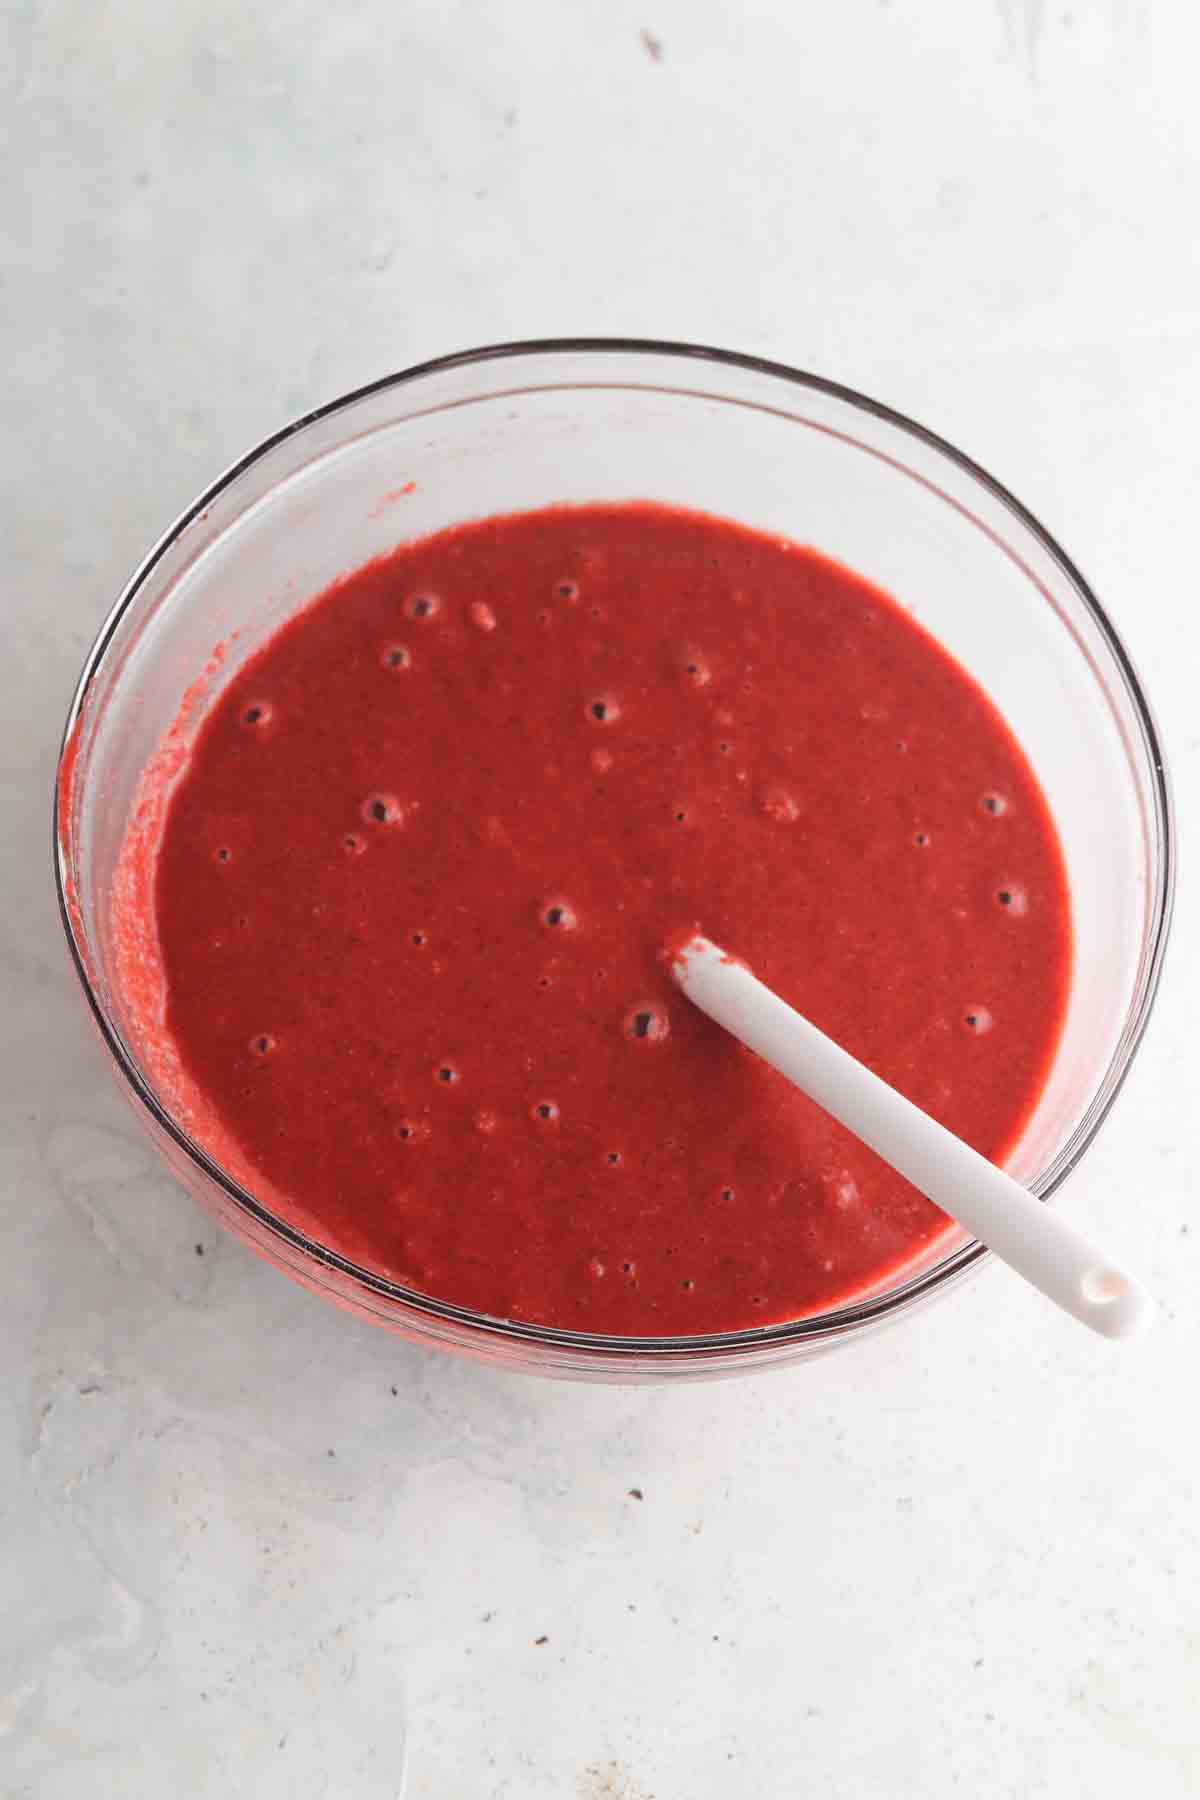
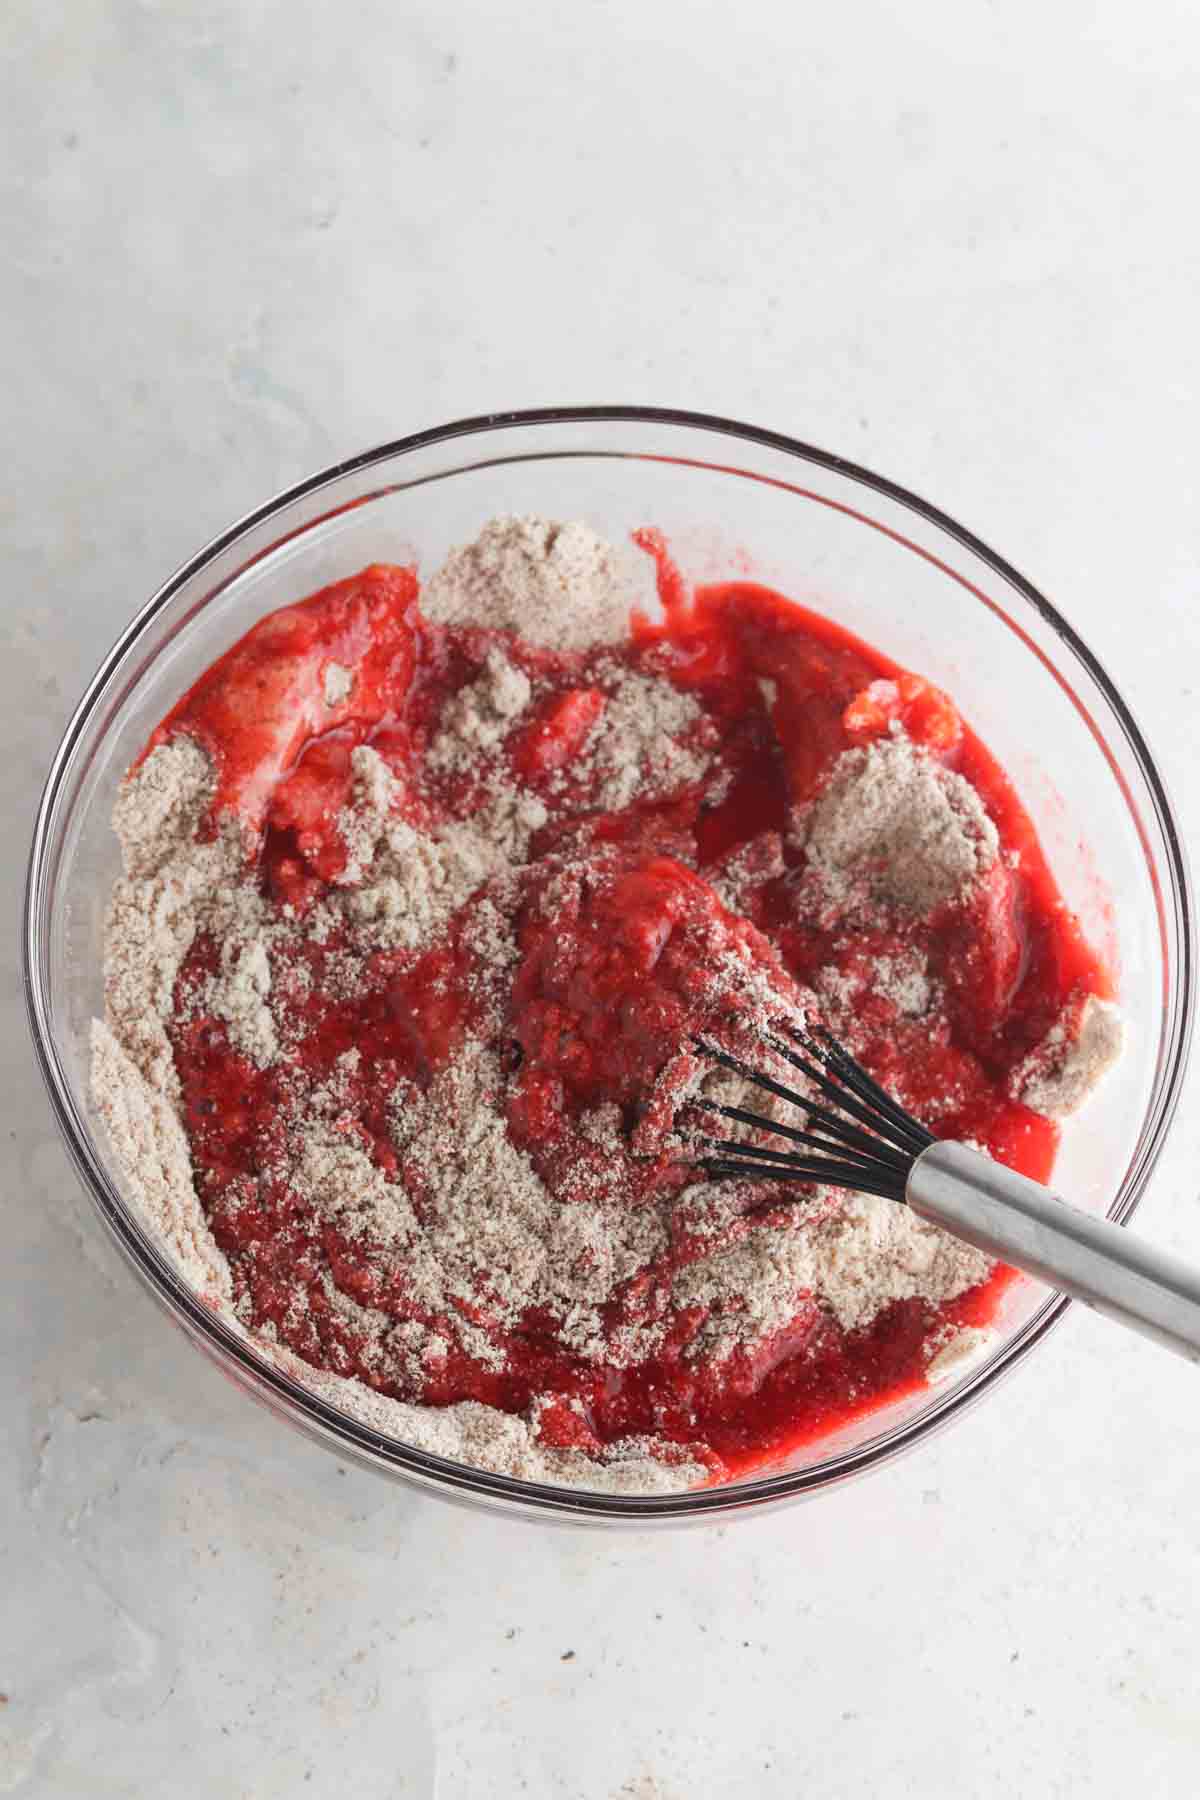
Step-By-Step Photos
Bakers Tips
- Tip #1: Stick a fork in the center of the cake to ensure it is done prior to pulling it out of the oven.
- Tip #2: Allow the cake to fully cool prior to frosting it. I like setting it on a wire rack to help it cool faster.
- Tip #3: Use a silicone baking pan. They are so much easier to clean. I use a bundt cake pan and love it!
Recipe FAQs
Yes! Absolutely! Just note, the baking time will beed adjusted a little bit. You will likely only need to cook the cupcakes for half of the time. You will know the cupcakes are done by sticking a fork in them and pulling the fork out and it coming out clean.
Yes! Depending on the size of the cake you are trying to make, you make need to double the recipe. You will want to prepare you cake pans and fill them separately for however many layers you would like. The baking time will need adjusted based off of how thin or trick you make your cake. The best way to figure out if your cake is done is by sticking a fork in the middle and seeing if it comes out clean.
You can store it in the fridge for up to 5 days in an airtight container.
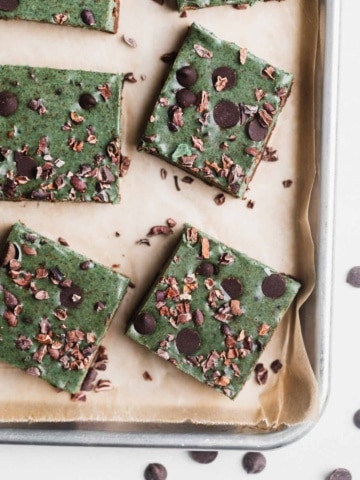
Other Gluten Free Desserts

Are you interested in a guide of my go to healthy alternatives?
Download your FREE guide below.
Gluten Free Red Velvet Cake
Equipment
- mixing bowls
- electric mixer
- spatula
- 9 inch bundt cake mold I love the silicone ones!
- sheet pan (to place mold on)
- cutting board or large plate (for flipping cake)
- frosting piping bag or spoon
Ingredients
- 3 3/4 cup almond flour
- 3/4 cup arrowroot flour or tapioca flour Either can be used interchangeably for the sake of this recipe.
- 1 1/2 tsp baking powder
- 3/4 tsp baking soda
- 1 tbsp cocoa powder
- 3/4 cup coconut sugar
- 3/4 cup maple syrup
- 1 tbsp apple cider vinegar
- 2 tbsp coconut oil
- 6 whole eggs
- 1 tsp vanilla
- 0.5 fluid oz Red food coloring You can use a plant based dye free food coloring, but just note that the color may not be as bright.
- olive oil (for spraying bundt cake mold) I love Trader Joes Extra Virgin Spanish Olive oil spray! Any kind of cooking oil spray will work.
For the cream cheese frosting:
- 8 ounces cream cheese If you are dairy free, you can use dairy free cream cheese.
- 1/4 cup pure maple syrup
Optional cake toppings:
- Crushed candy canes
- White chocolate chips
Instructions
- Preheat oven to 350 F and spray the silicone baking mold with olive oil spray or your nonstick spray of choice.
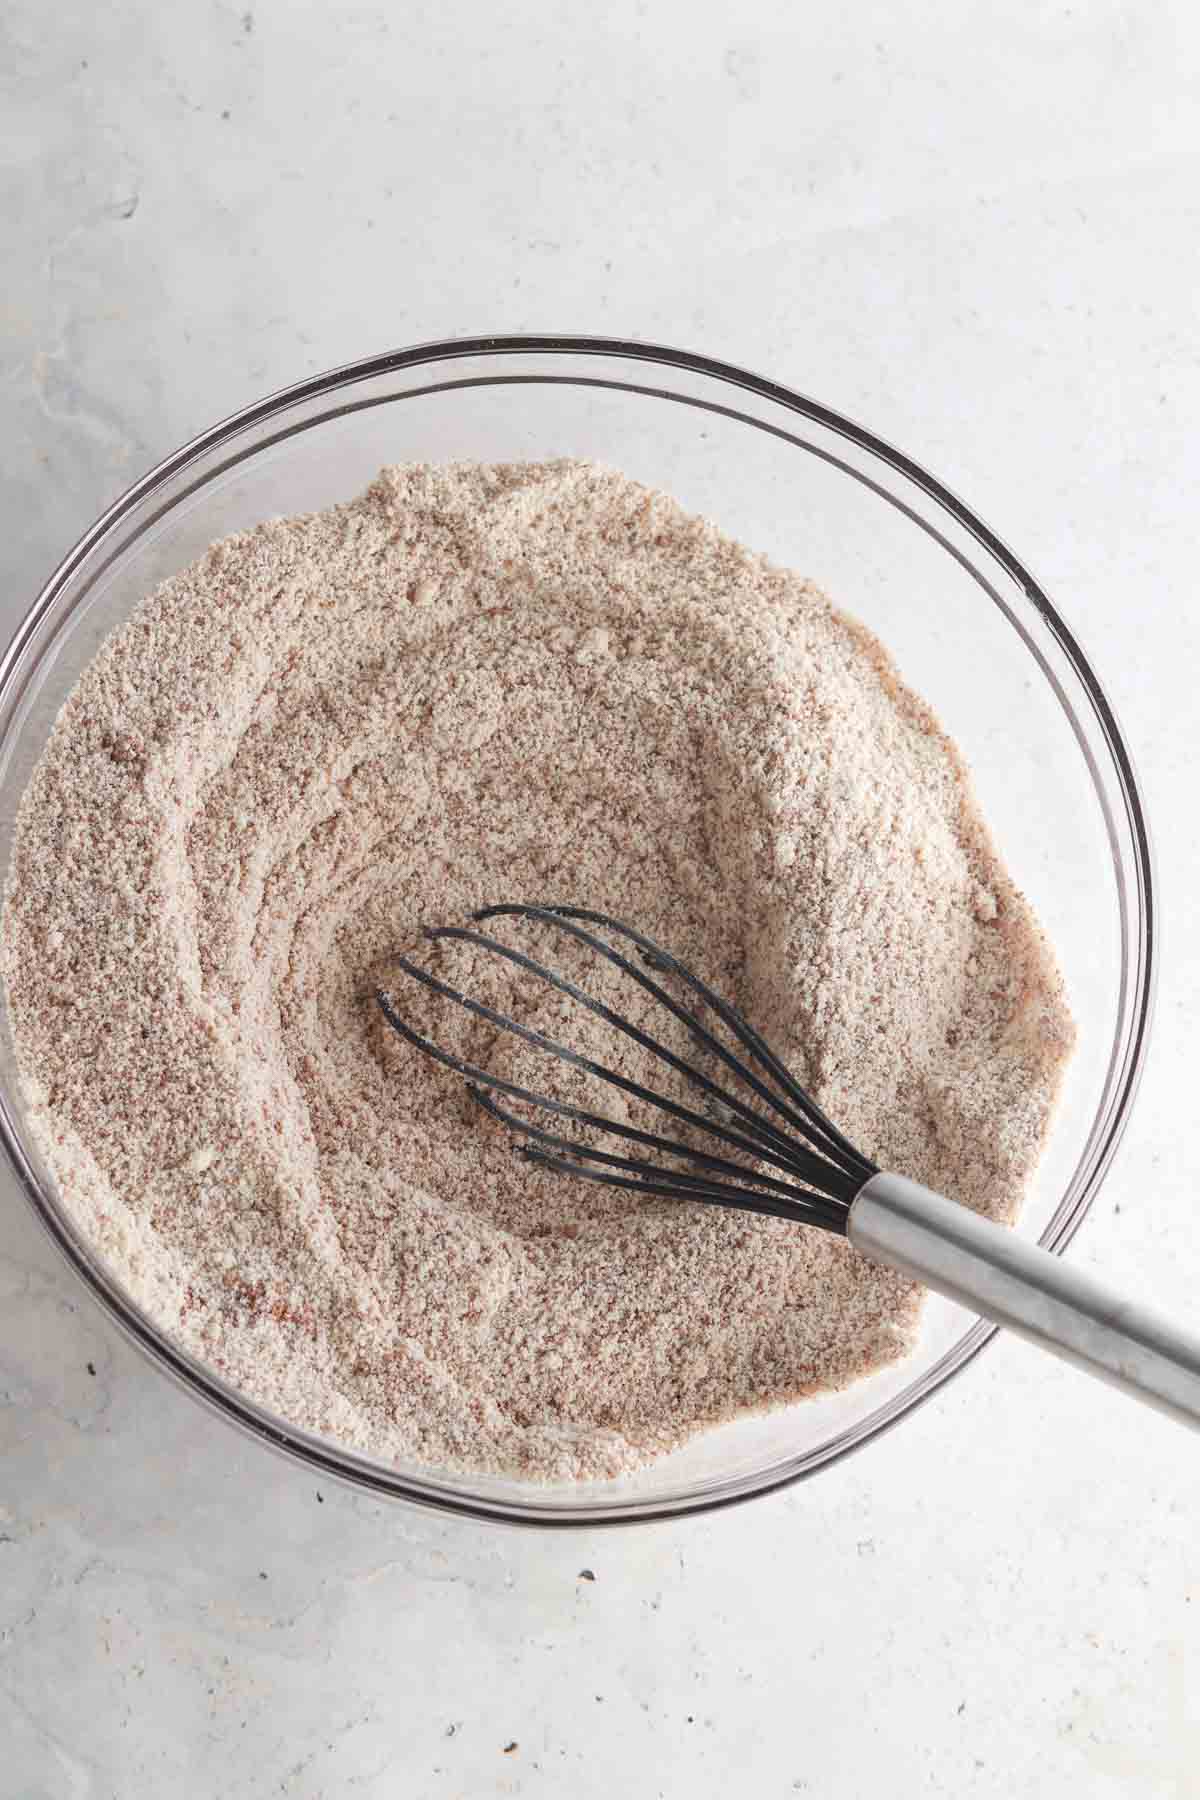
- In a large mixing bowl, mix all of the dry ingredients. In a separate bowl mix the wet ingredients, then combine gently.
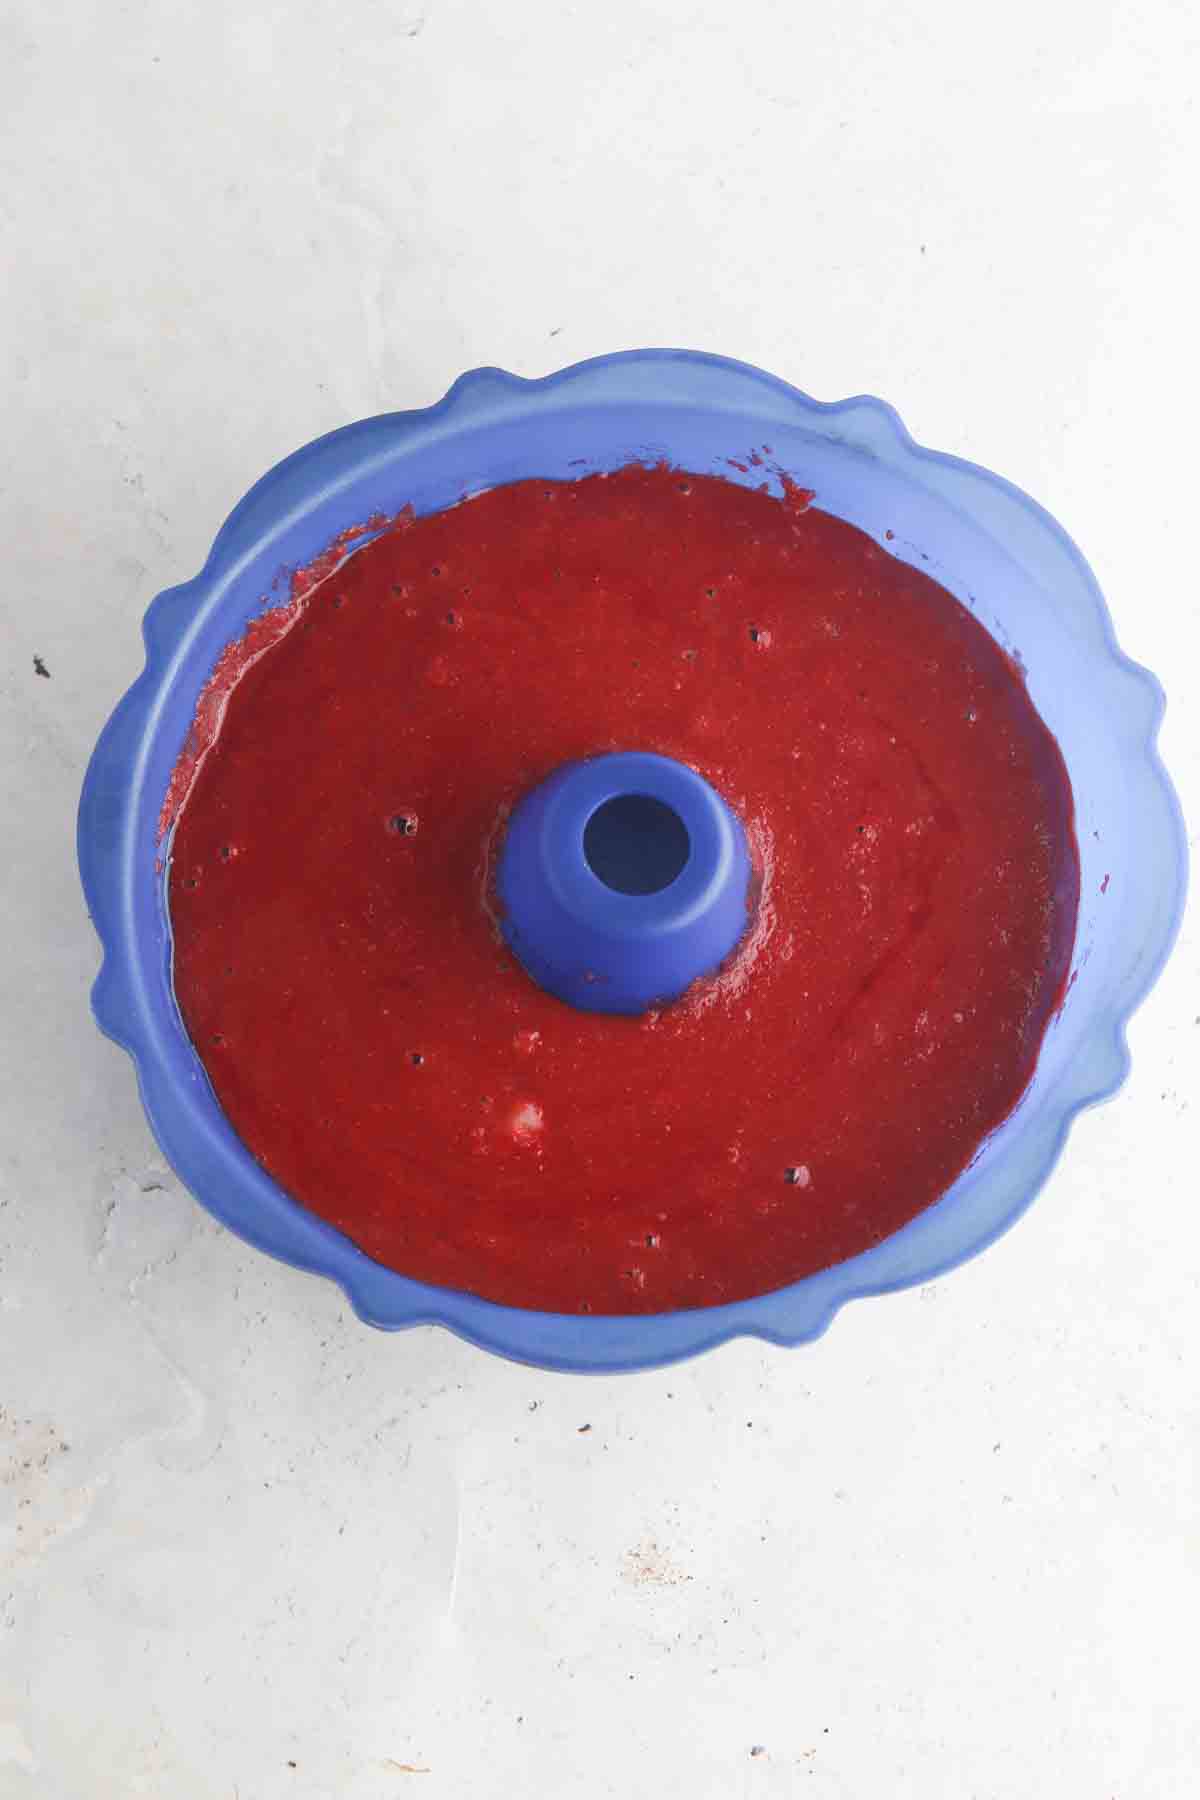
- Place the bundt mold on a sheet pan for support prior to pouring any batter in. Slowly and evenly pour the batter into the mold.
- Place in the oven and bake for 55 minutes.
- Upon removing from the oven, allow the cake to sit for 20 minutes to set.
- Place a cutting board or large plate on top of the silicone mold and flip the cake over, allowing it to separate from the mold.
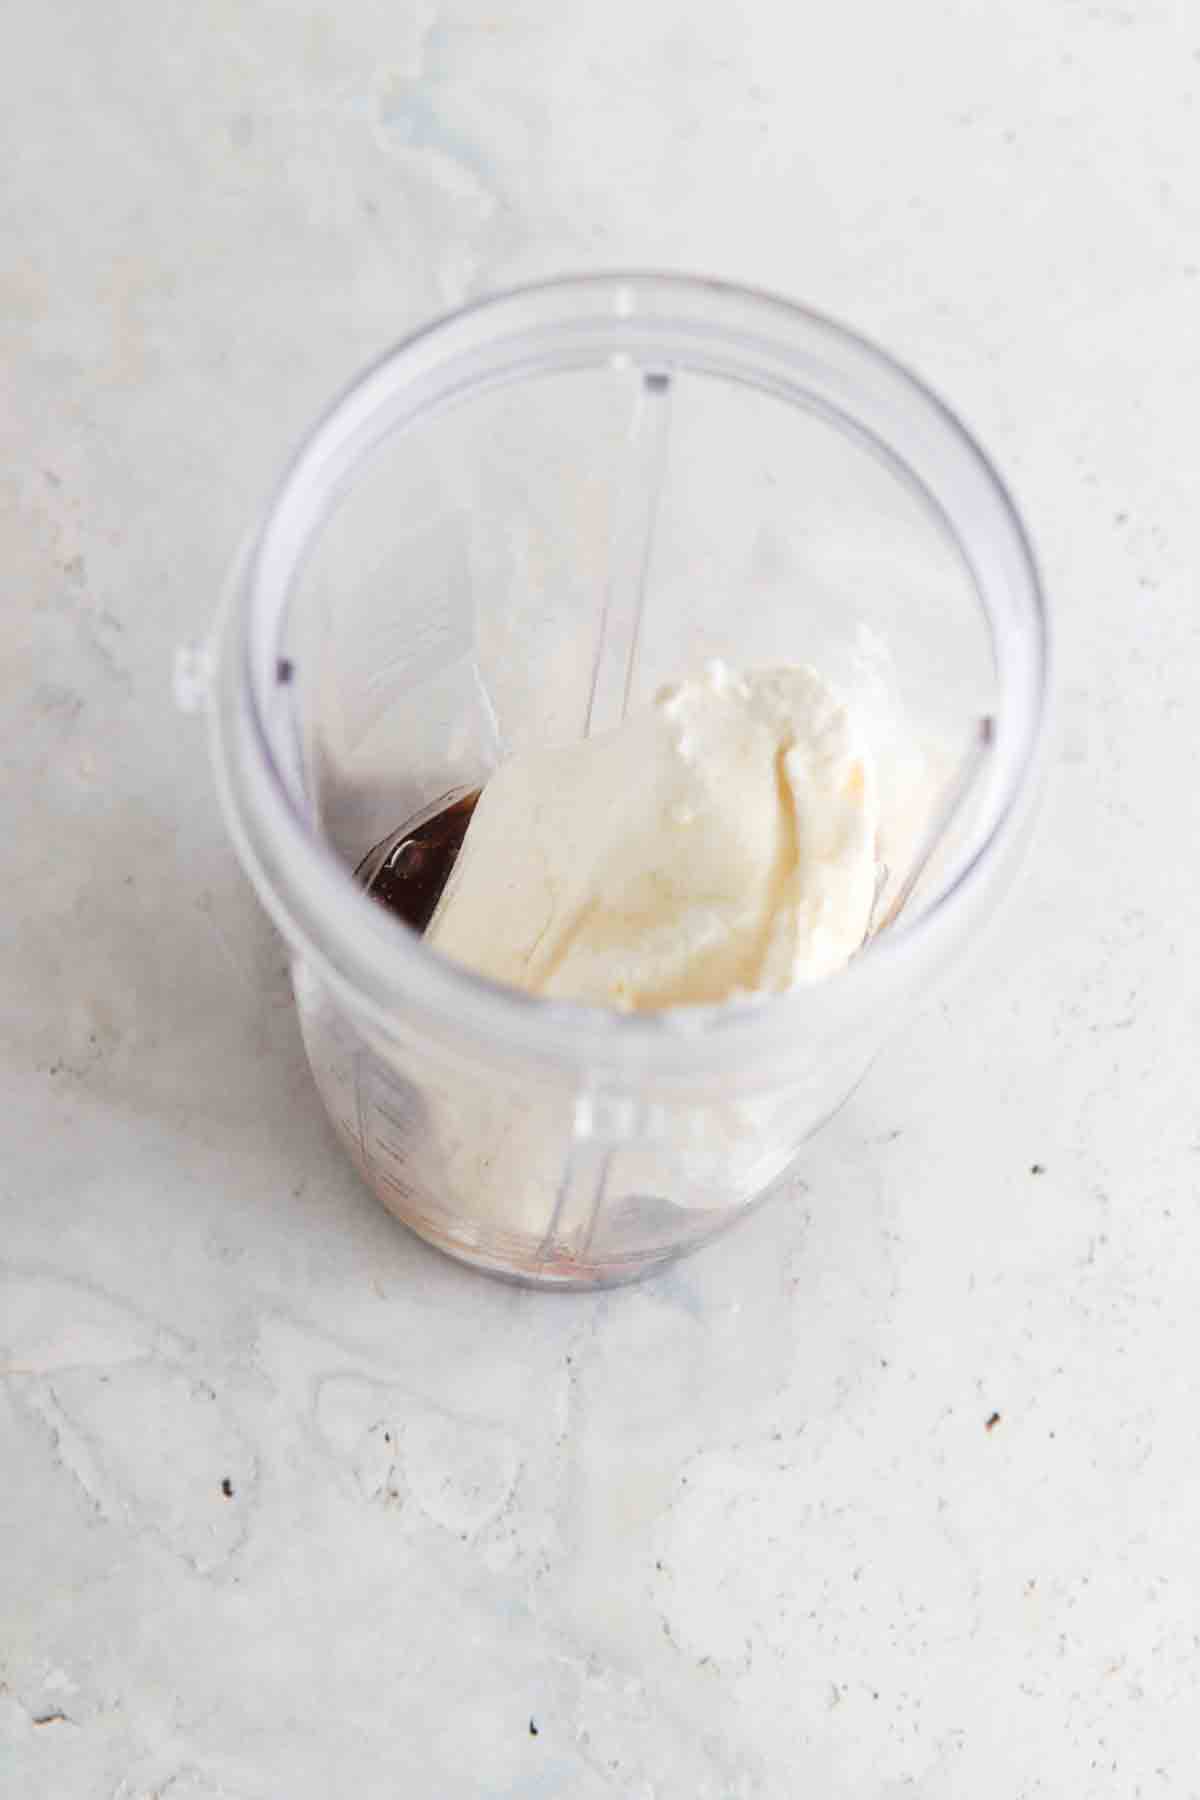
For the frosting:
- Add the ingredients in a bowl and mix with a hand mixer until well mixed throughout. Put the frosting in a piping bag and drizzle over the cake. If you do not have a pipping bag you can use a spoon.
Marge says
Would the baking times change if using a metal bundt pan, as that’s all I have? Freezing the cake…with or without the frosting?
Great question! It should still be around the same time. I would stick a form in to test to see if it is done in the middle of it prior to taking it out of the oven. If you are freezing the cake I would wait to frost it until you serve it!
Jill Diamond says
If I wanted to do round cake pans, how many cake pans what I mean?
Allianna Moximchalk says
It would depend how big they are!
Lori says
Not only is it SO good, it turns out so beautiful too!
Allianna Moximchalk says
So glad you enjoyed this recipe!