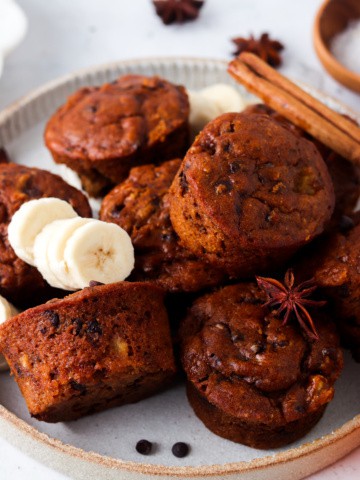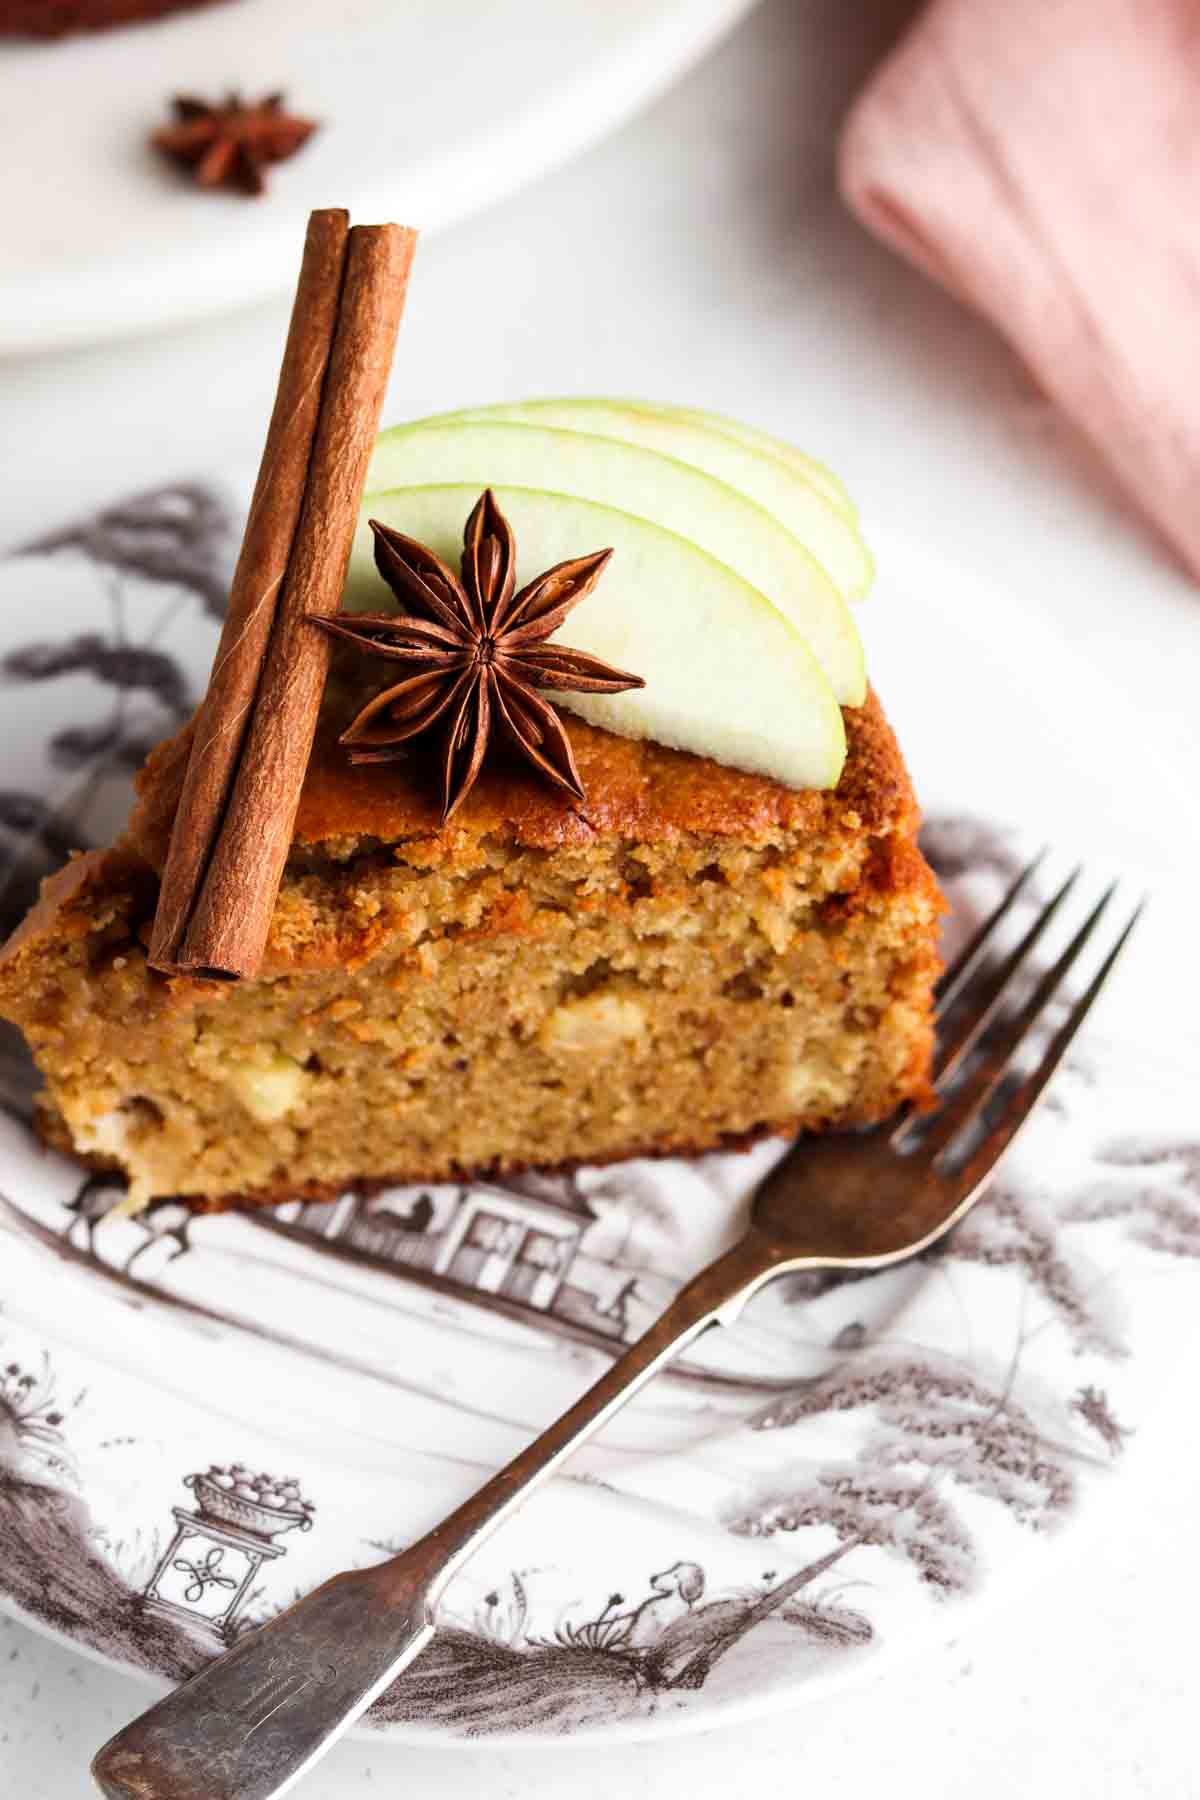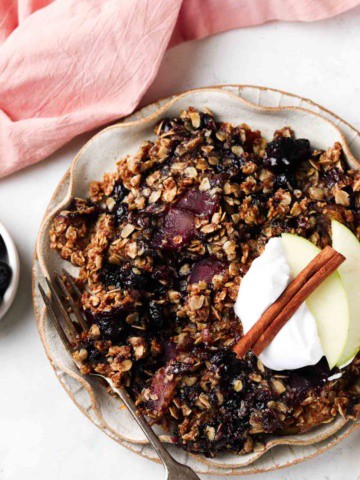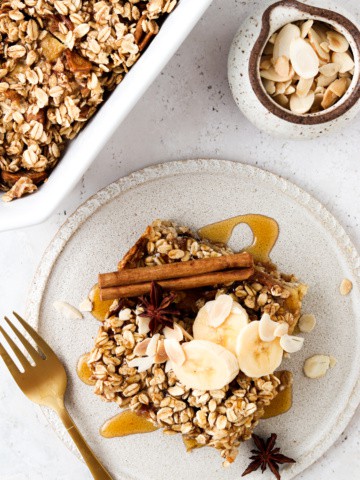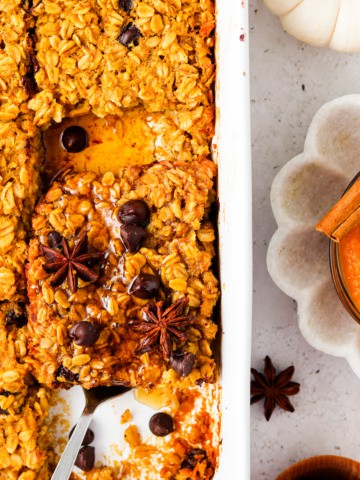
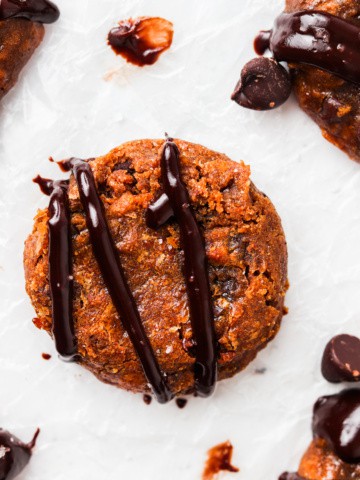
This gluten free Pumpkin Baked Oatmeal are super simple to make and perfect for fall! This recipe is naturally dairy free, soy free and something the whole family can enjoy! They are truly the perfect way to start any fall morning. The pumpkin flavor paired with the chocolate chips are the ideal combination.
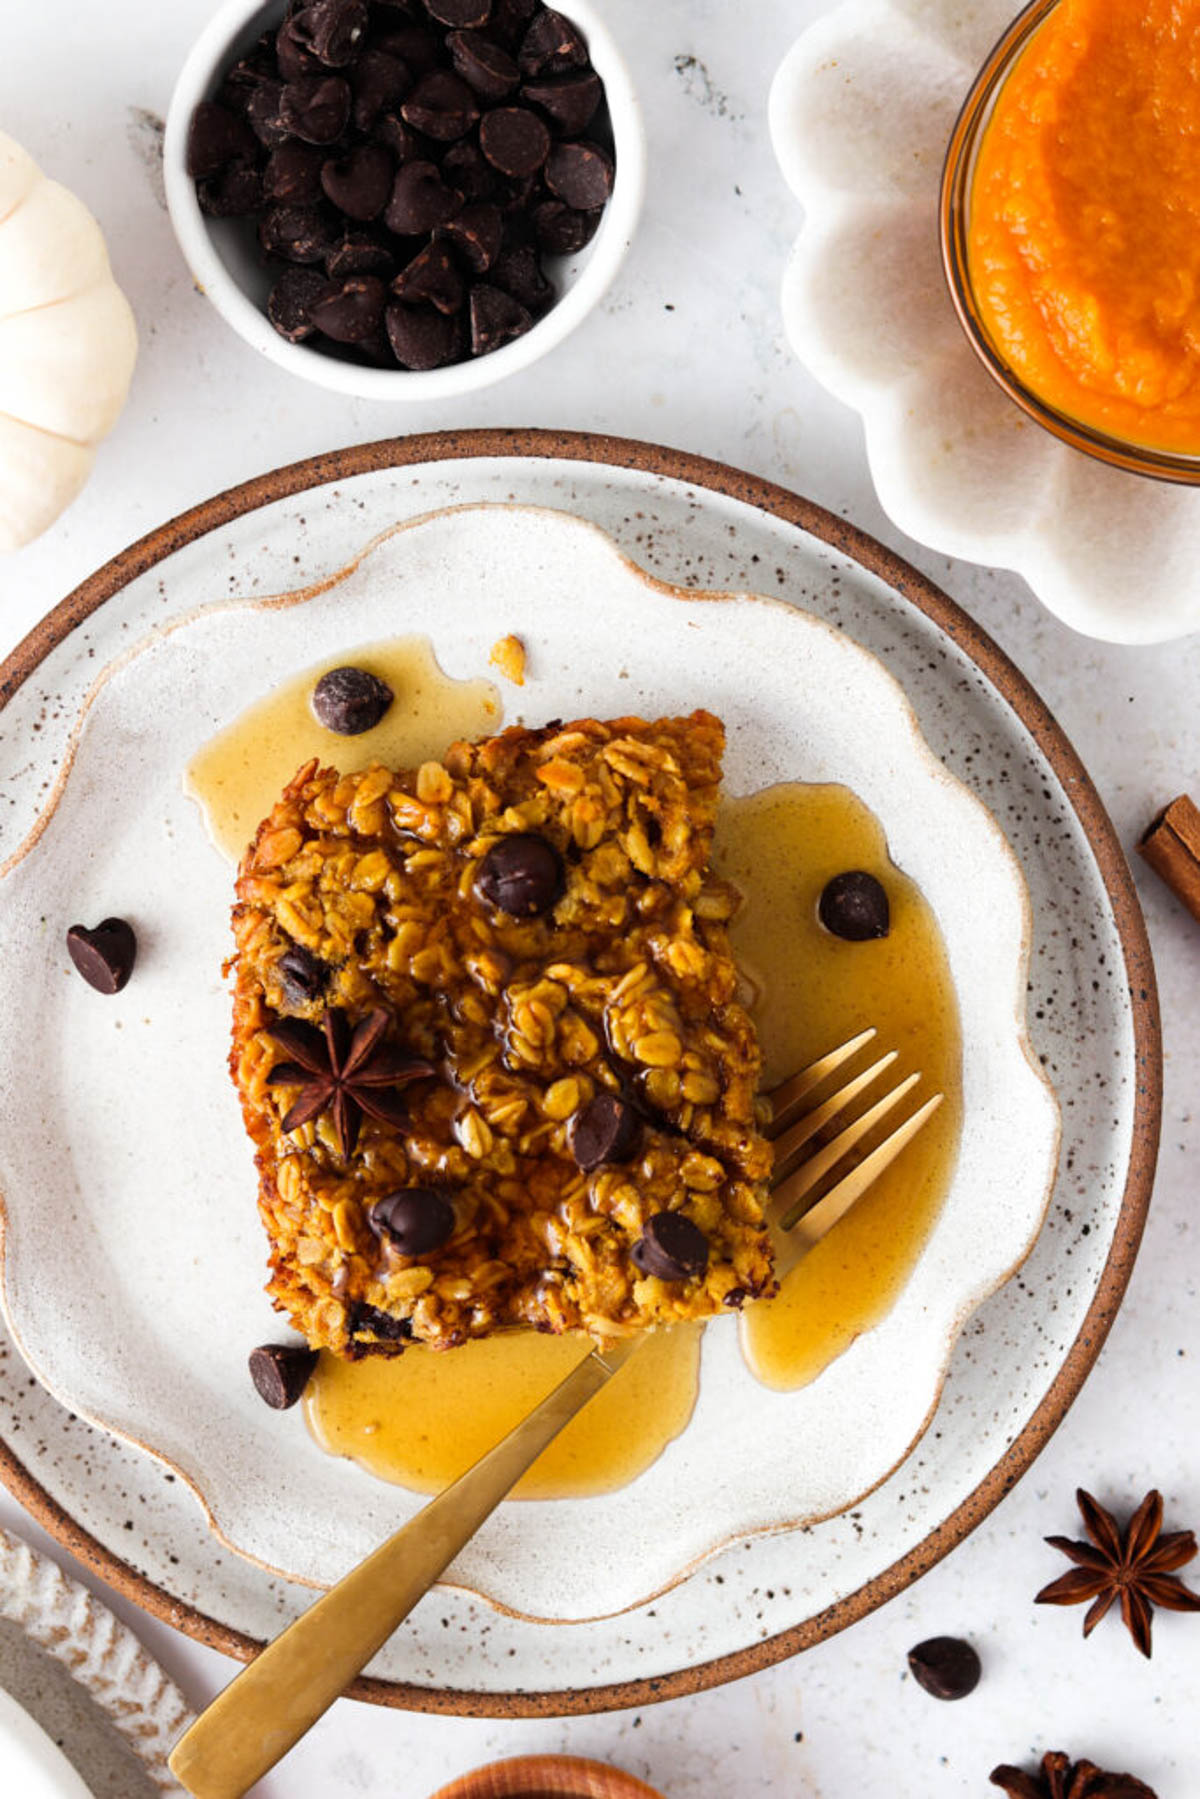
This pumpkin baked oatmeal is great not just for breakfast but is the perfect snack or dessert. The delicious pumpkin puree and pumpkin spice ensure all of the delicious spices and flavors of fall are present. Chocolate can make any dish even better! I’m a chocolate fan so it makes these even more delicious.
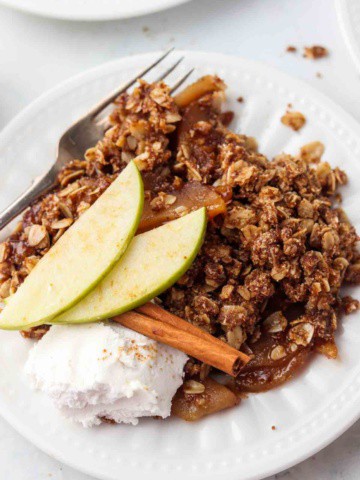
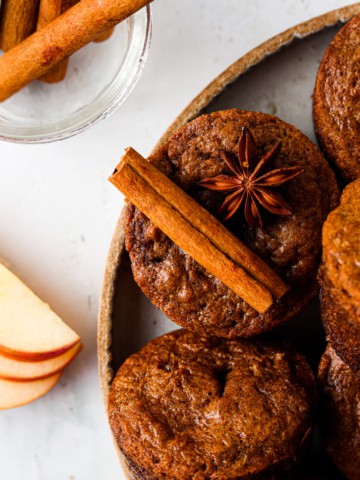
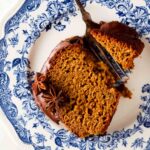
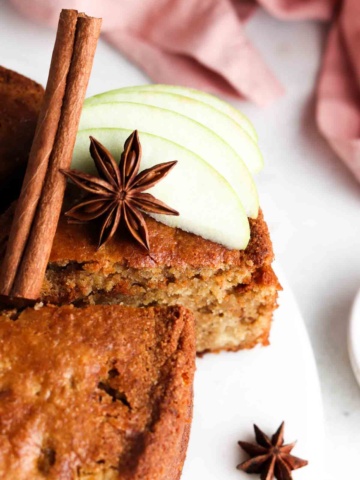
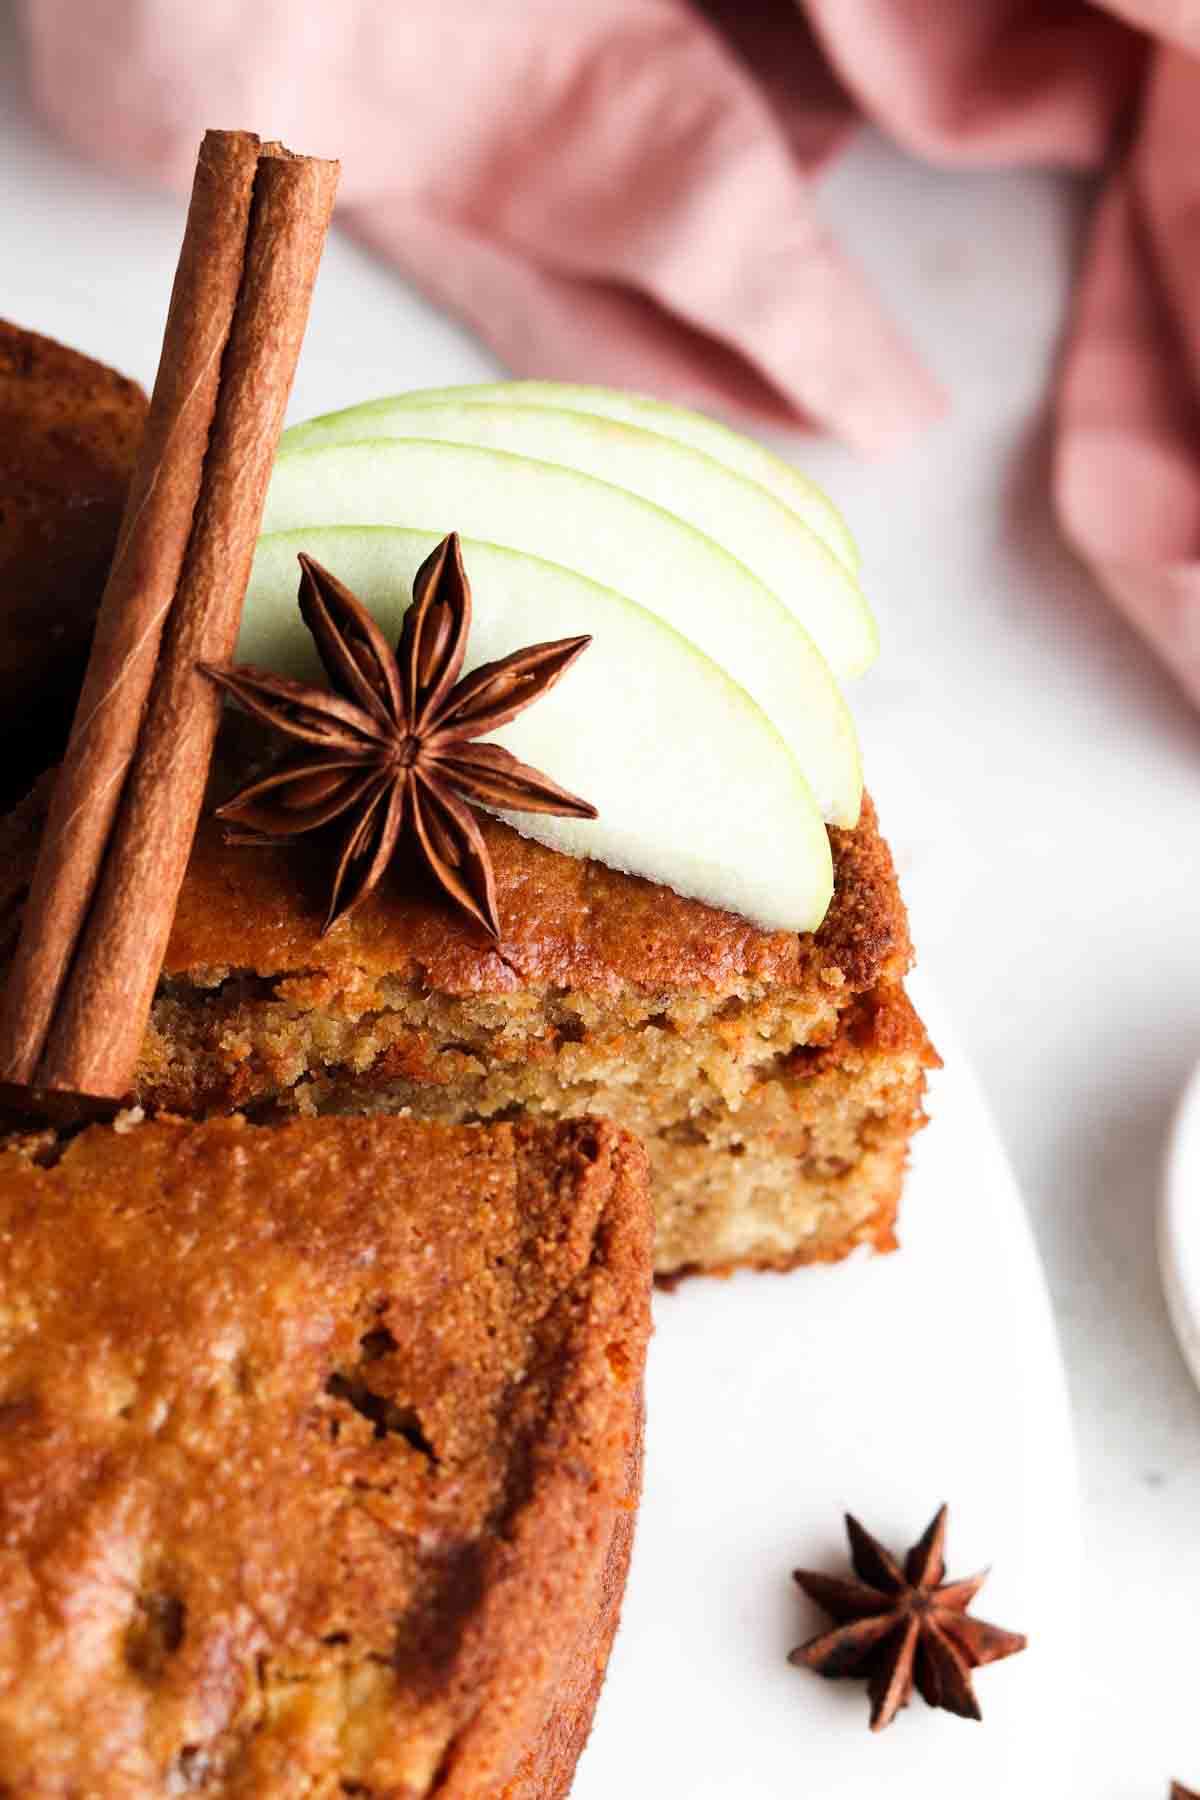
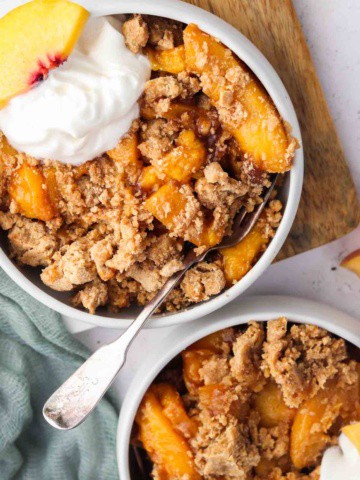
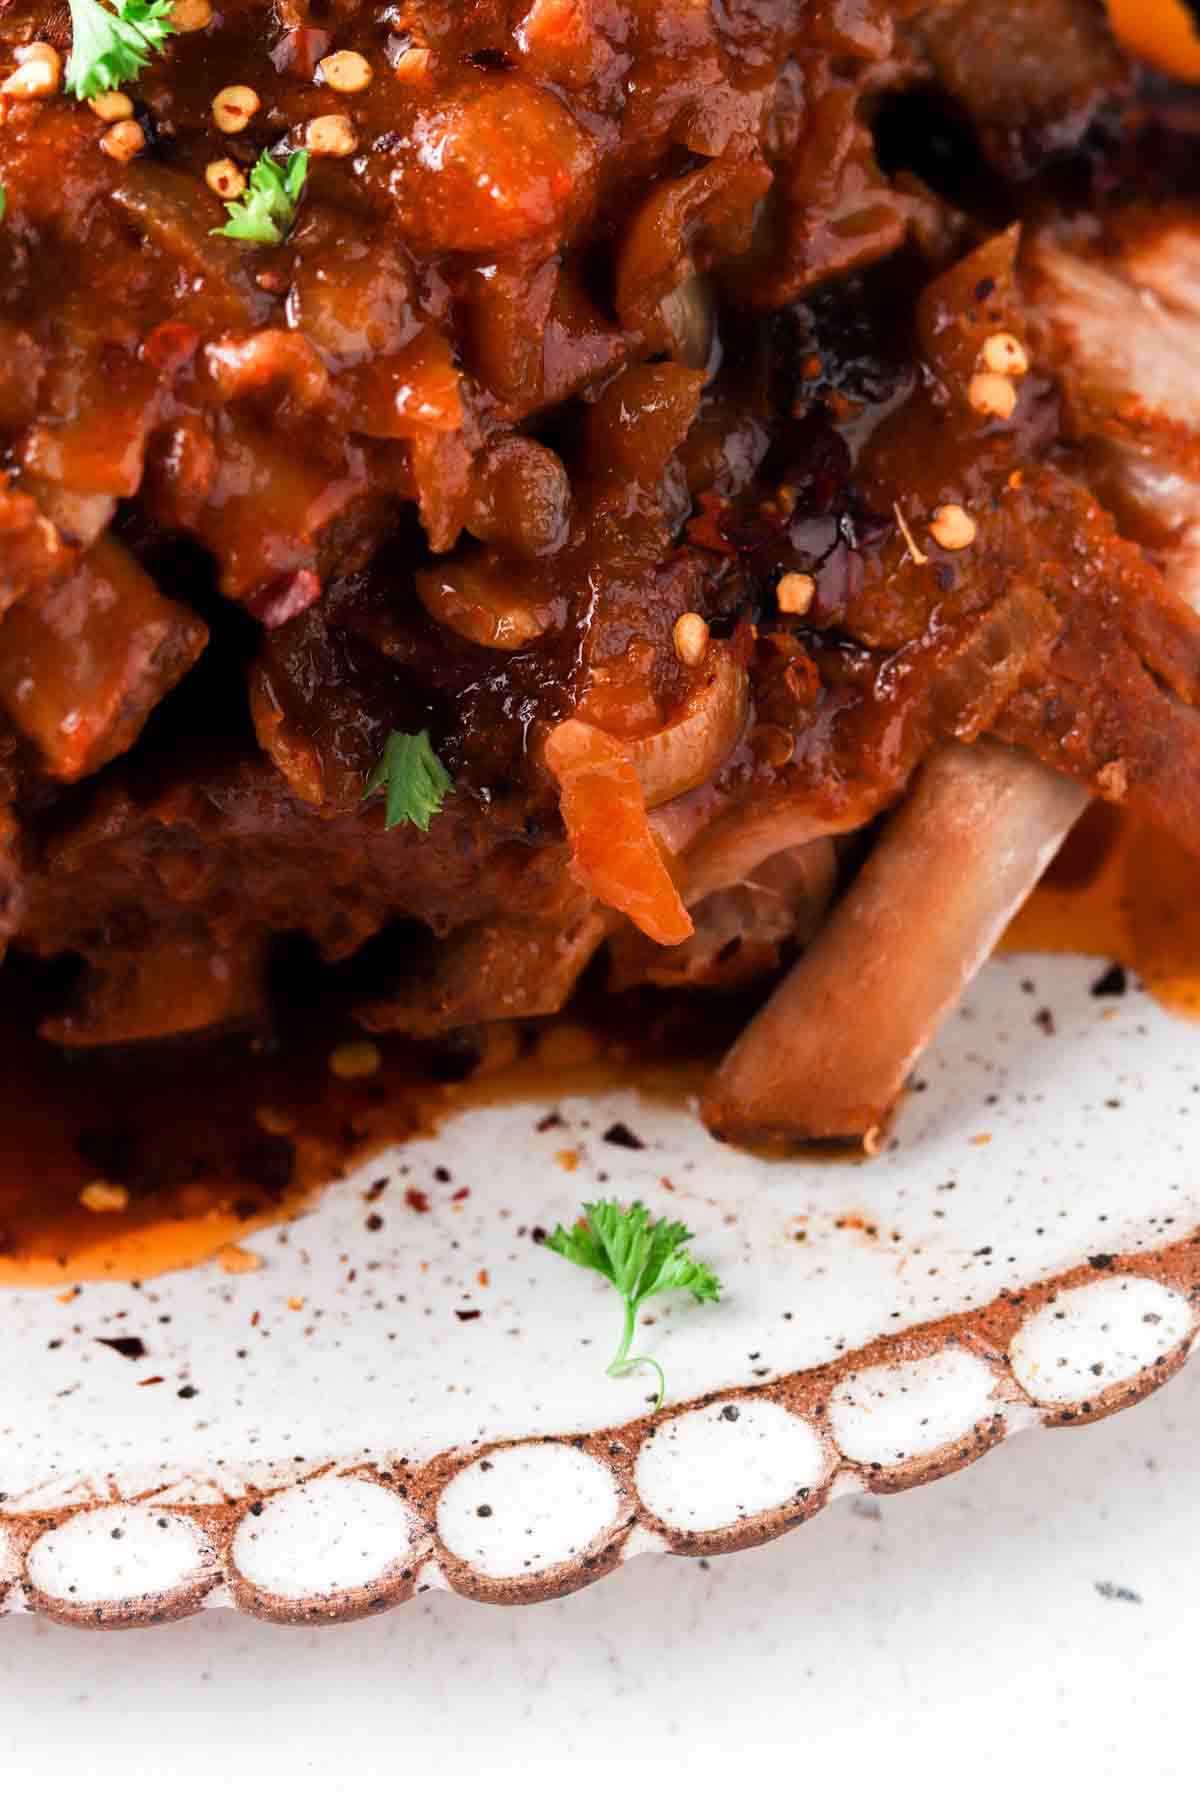
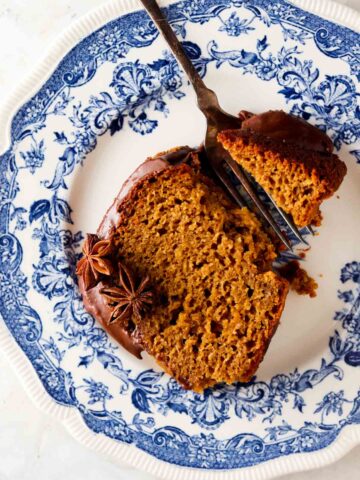
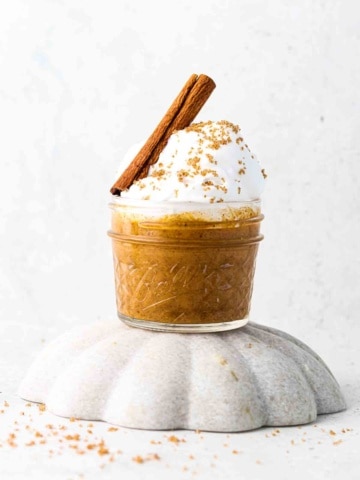
If you love all things Fall, you have to check out my other favorite Fall treats, like my Homemade Gluten Free Apple Cake. I am a huge fan of all fall flavors and spices so have spent time developing numerous delicious fall recipes. I recommend starting with: Gluten Free Pumpkin Muffins, Oat Flour Pumpkin Muffins, Gluten Free Apple Crisp, Slow Cooker Pumpkin Soup, Vegan Pumpkin Mousse, Gluten Free Apple Muffins, Gluten Free Tart with Chocolate Filling, Gluten Free Pumpkin Cookies, Gluten Free Pumpkin Cake, Gluten Free Pumpkin Bread, Dairy Free Pumpkin Spice Smoothie, and Apple Oatmeal Bake.
[feast_advanced_jump_to]Why You Will Love This Recipe
- It is so simple! There is little hands on time before it is baking away.
- This recipe is naturally gluten free, dairy free, soy free, refined sugar free, and nut free.
- Kids will love this recipe as well!
- The combination of pumpkin spices and chocolate is one of my favorites.
- This is one of my favorite fall baked oatmeal recipes along with my apple oatmeal bake.
- If you are local to the Pittsburgh area, we feature different seasonal treats on my weekly meal prep menu that delivers right to your door.
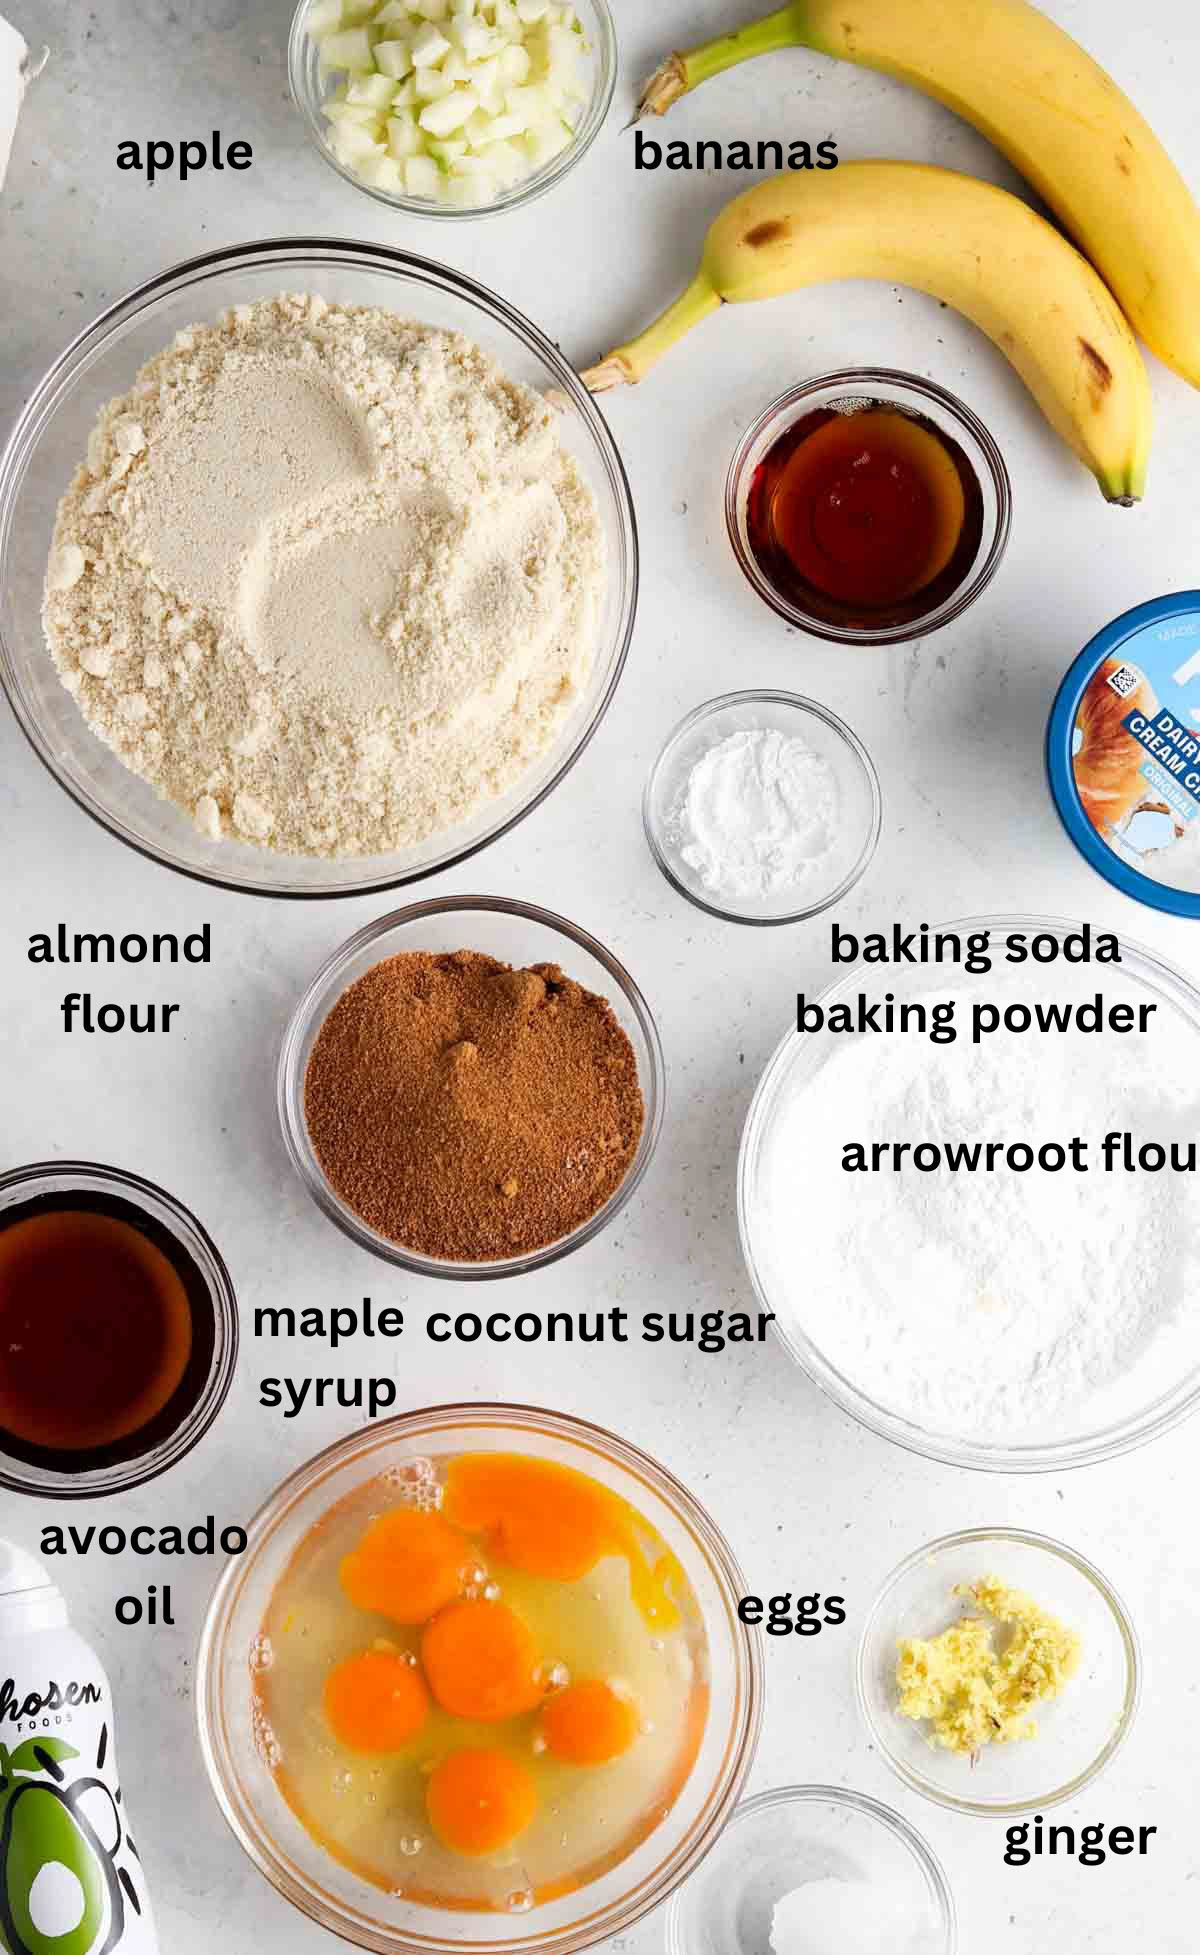
Ingredients
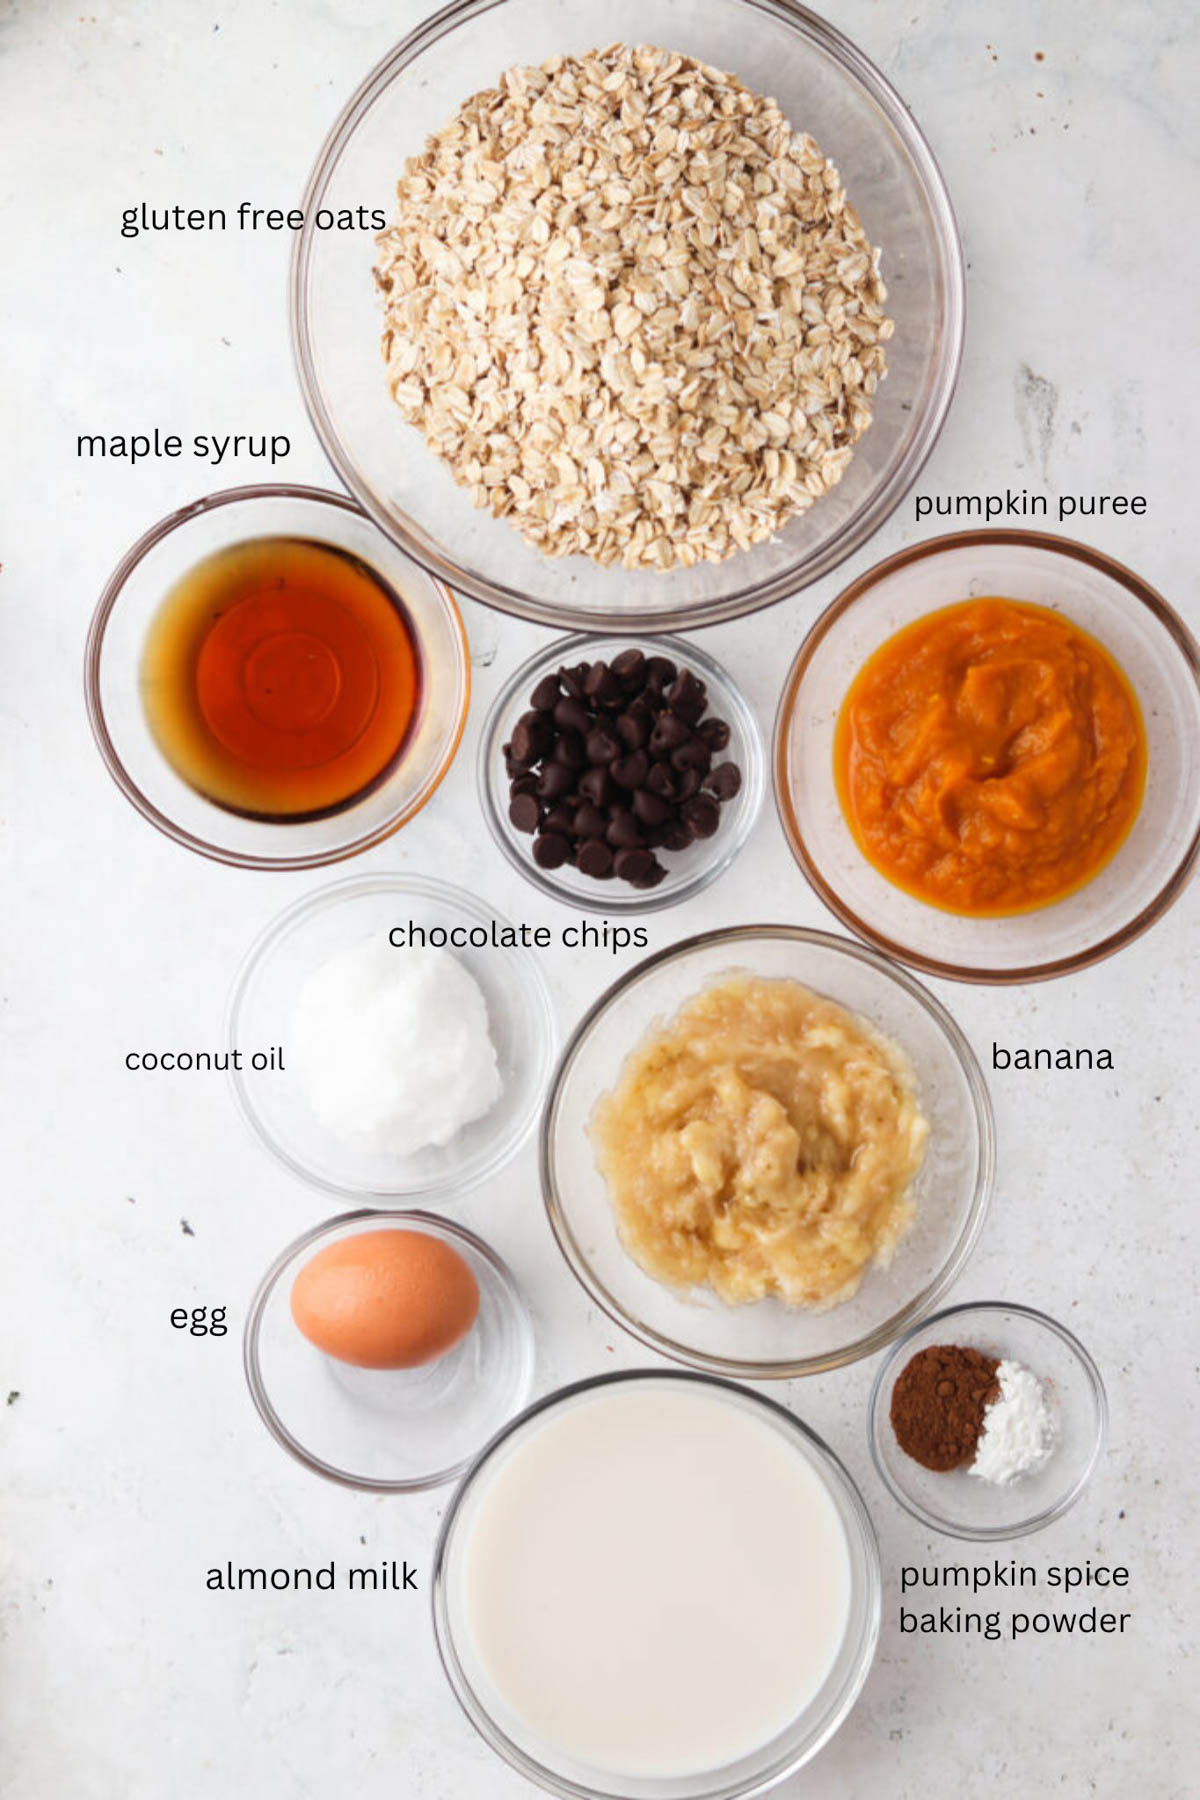
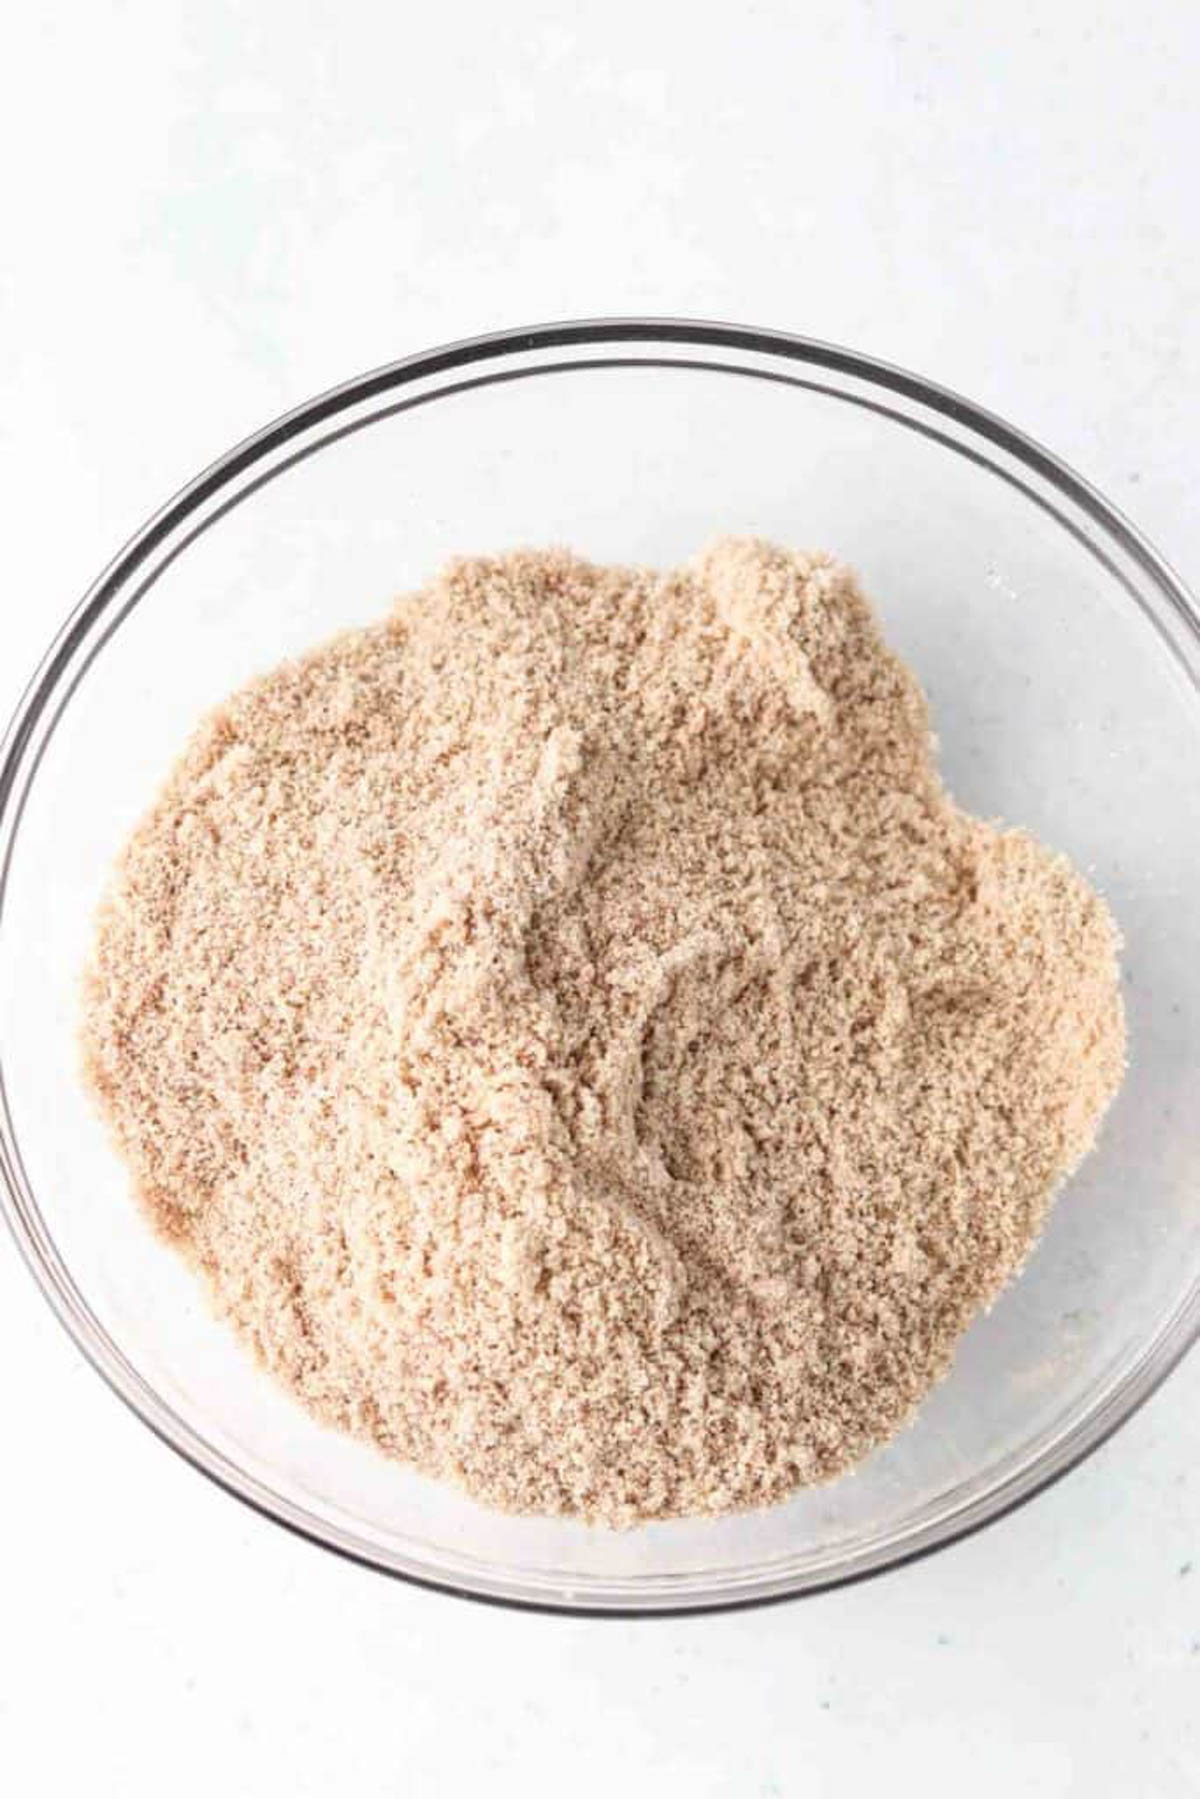
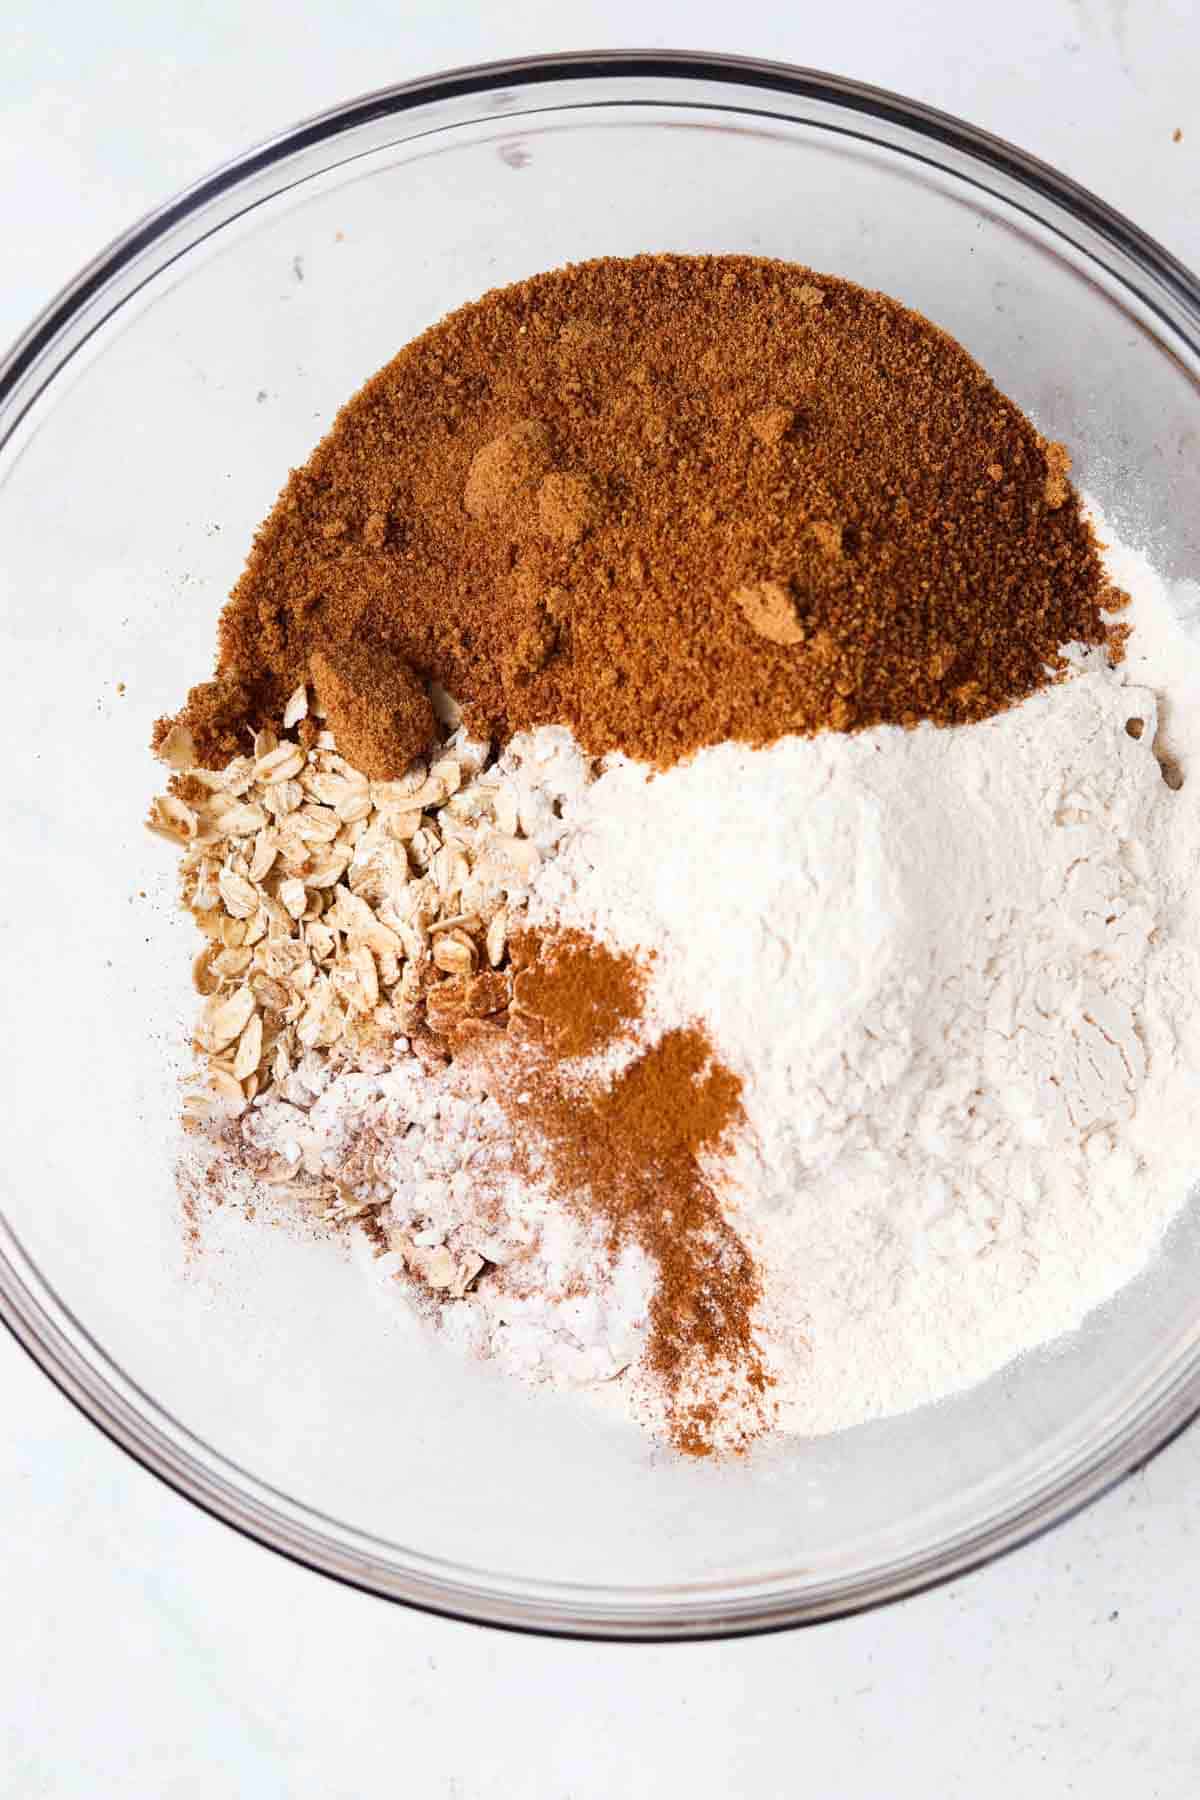
- Sprouted oats-sprouted oats are easier to digest. Make sure they are gluten free!
- Almond milk-Any kind of milk will work. I like almond or coconut milk.
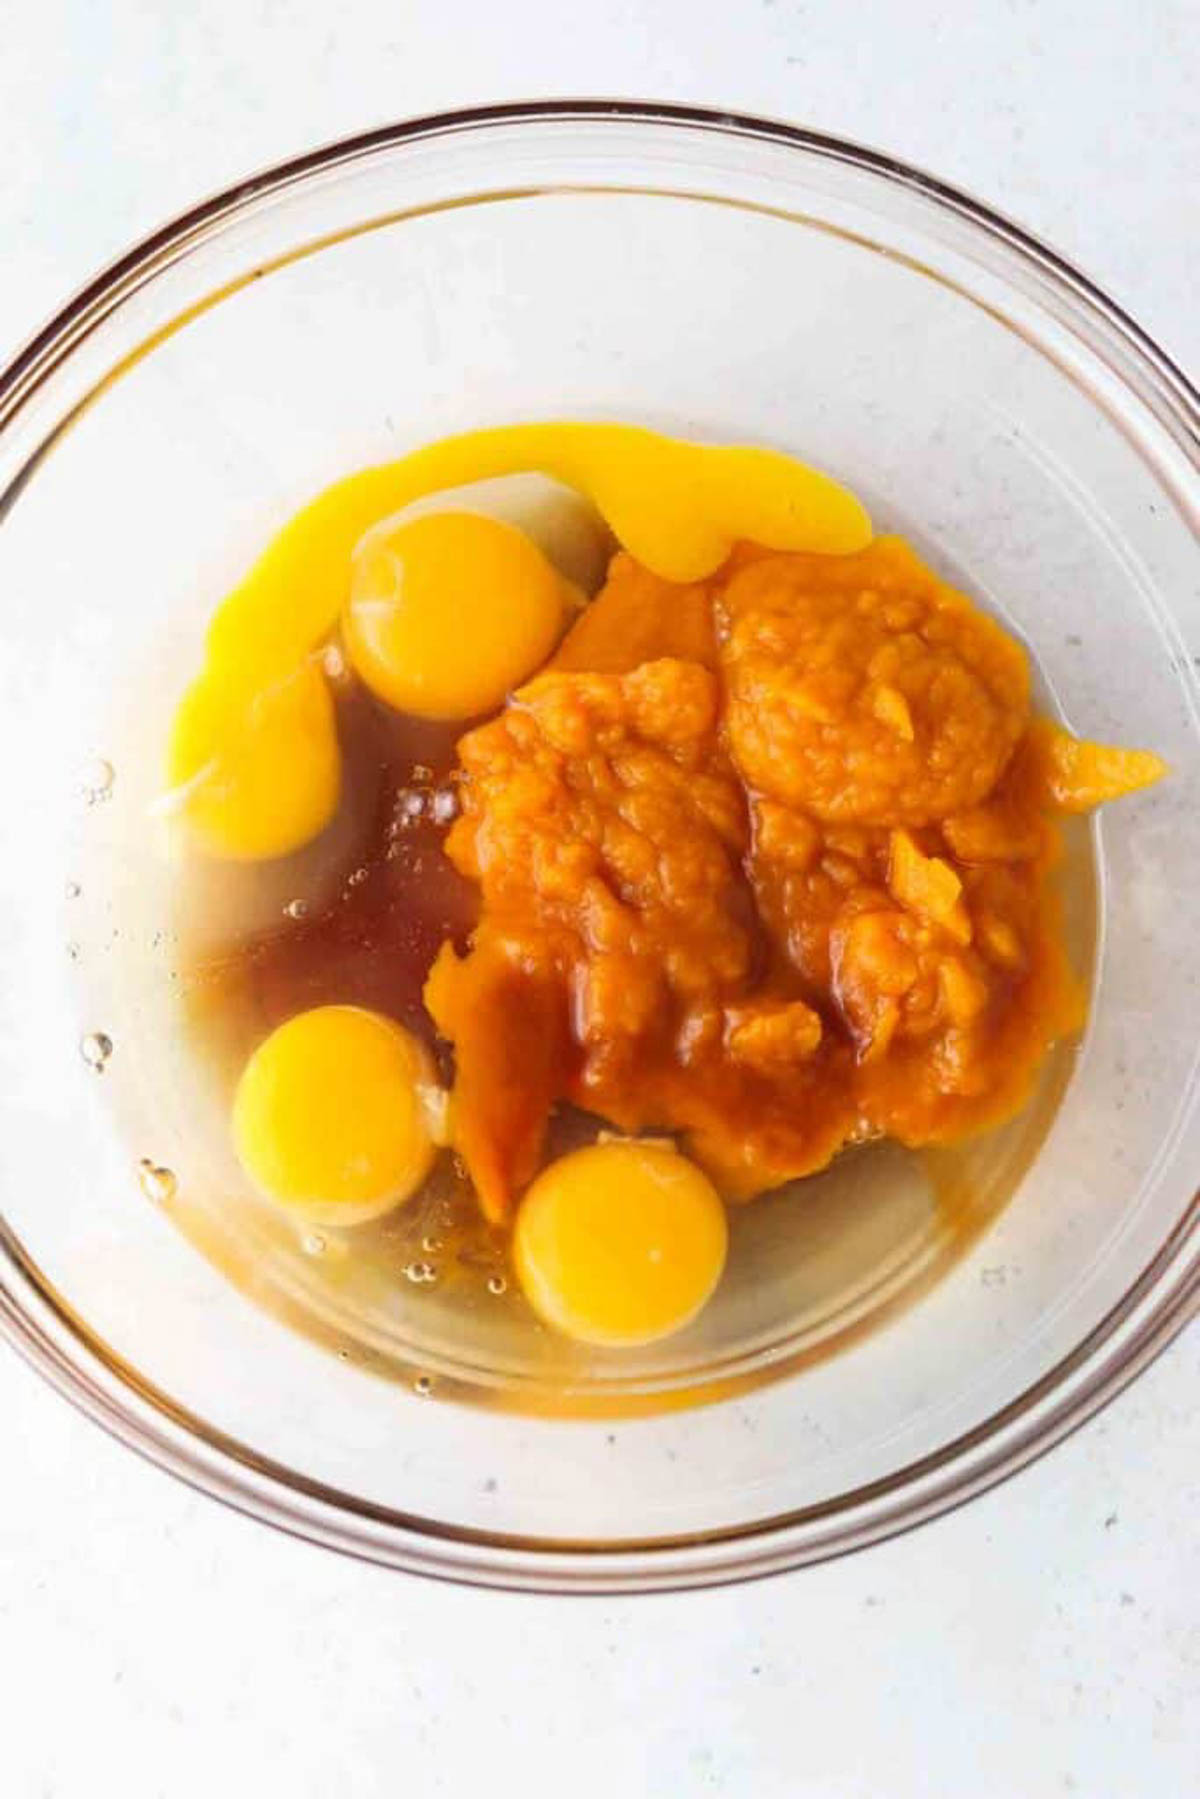
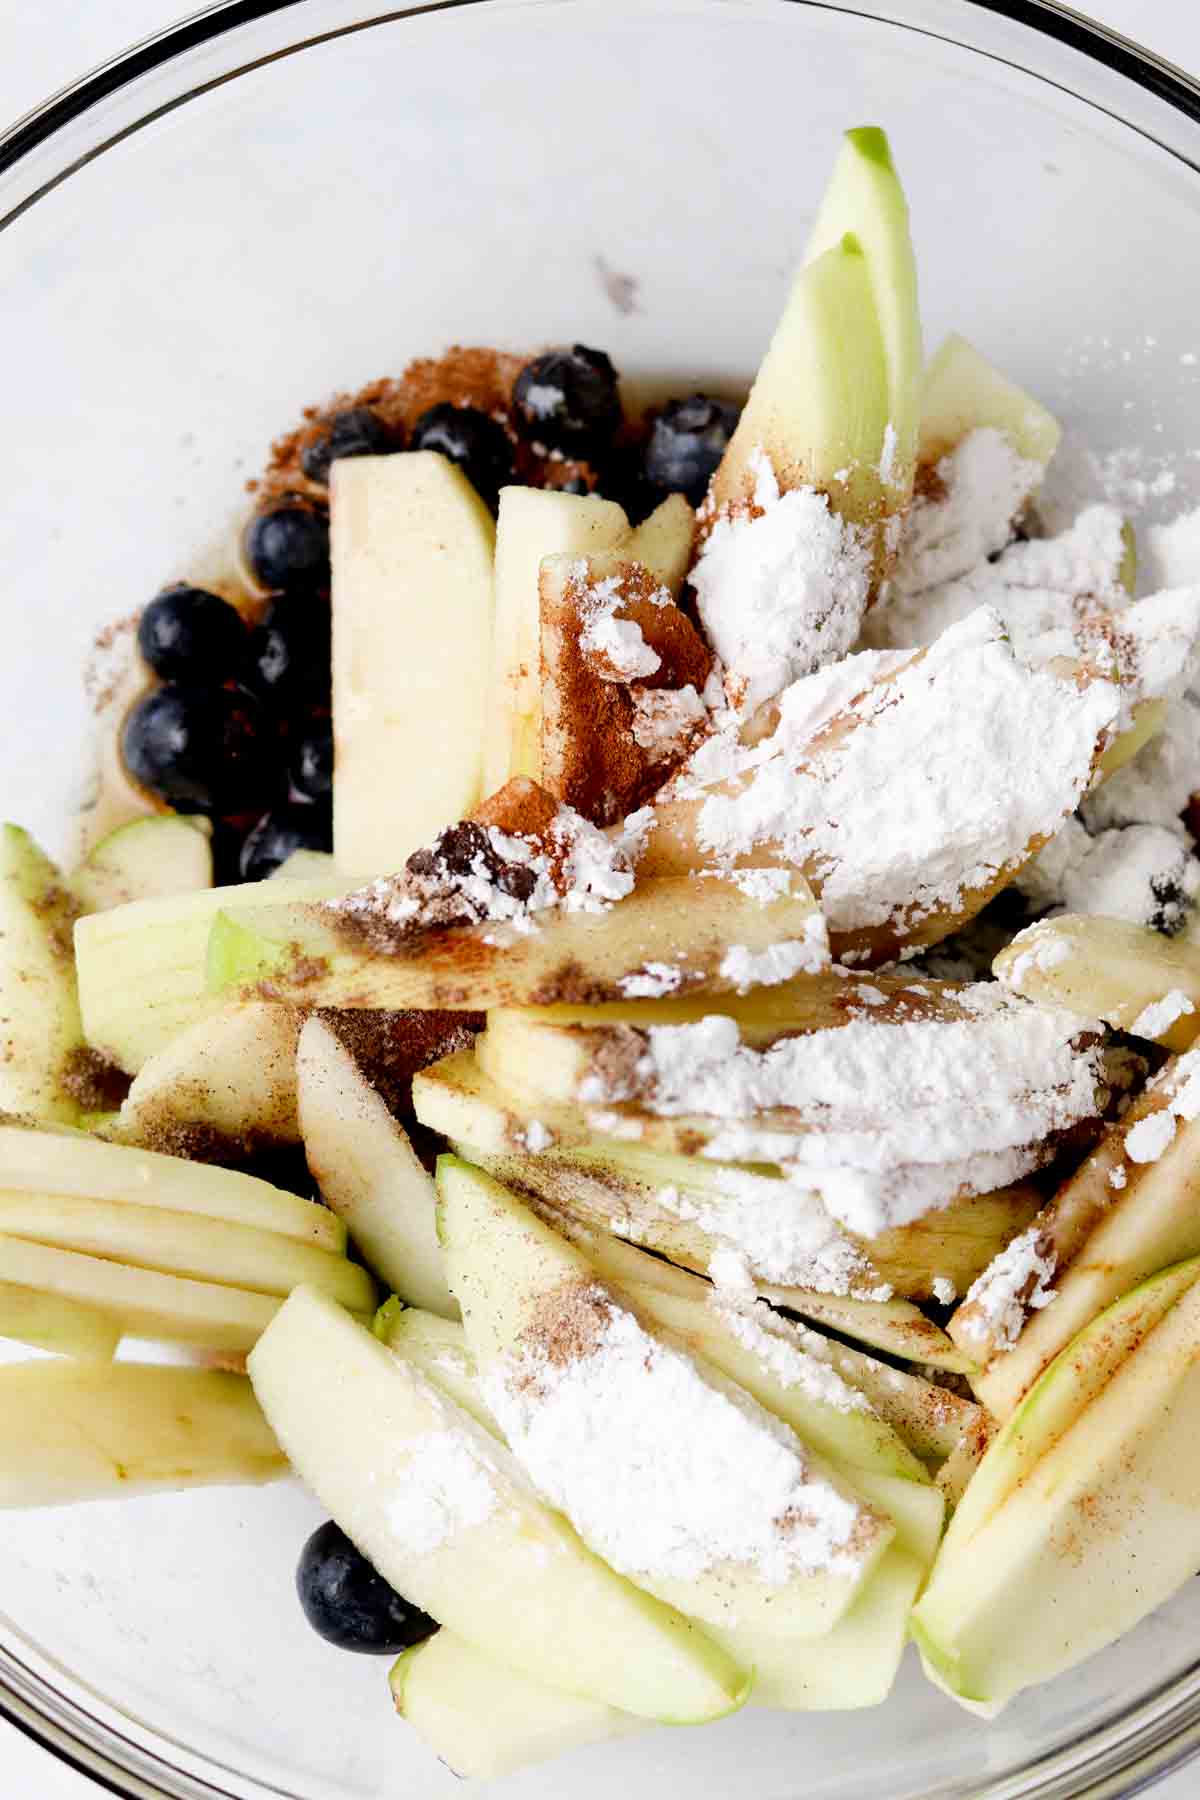
- Pumpkin puree-Make sure it is pumpkin puree rather than pumpkin filling! They are different. Pumpkin filling contains other ingredients. We want just pure pumpkin puree!
- Pumpkin spice-To taste.
- Maple syrup-To sweeten. You can also substitute raw honey.
- Coconut oil-To prevent the oatmeal bake from drying out.
- Egg-To bind everything together.
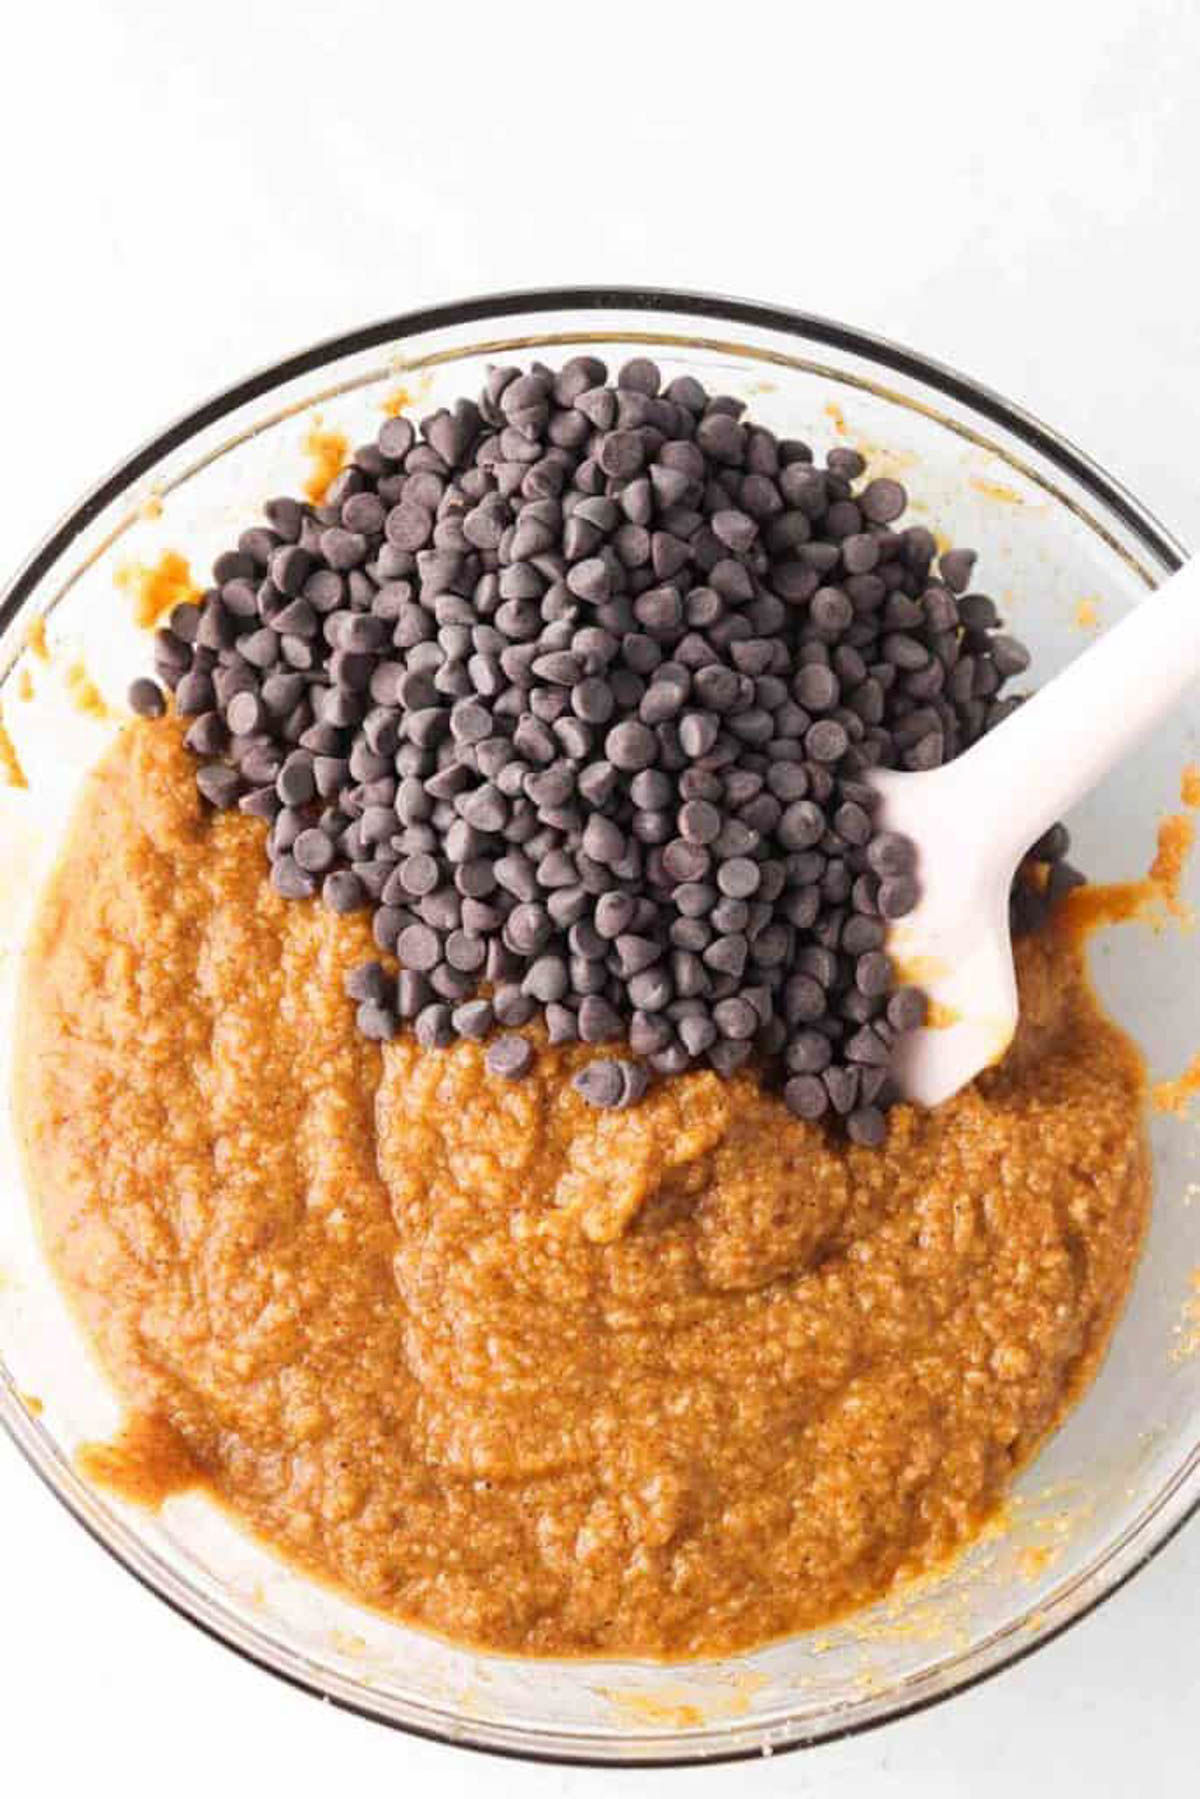
- Chocolate chips-I like enjoy life dairy free brand.
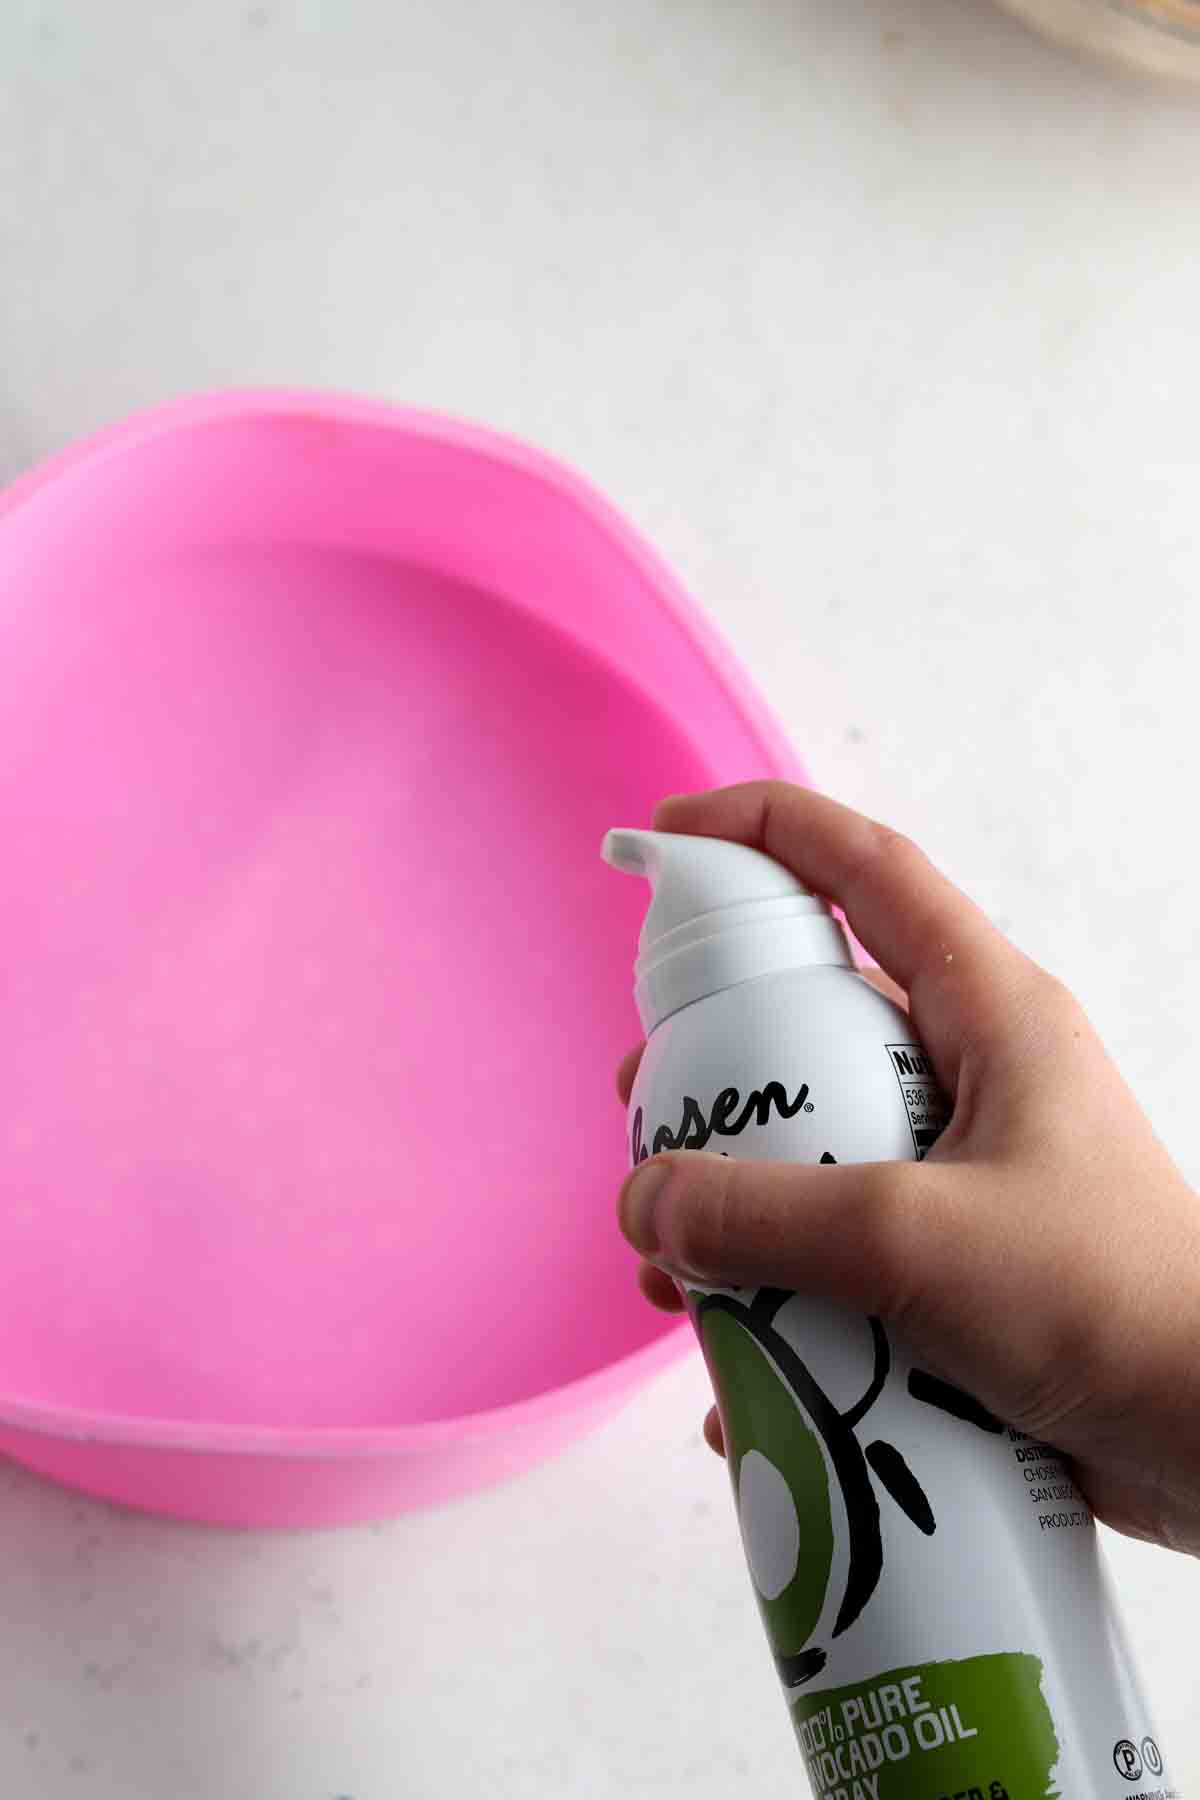
- Cooking oil spray-I like avocado oil spray from costco.
See the recipe card below for a full list of ingredients and measurements.
Substitutions and Variaions
- If you do not like baking with maple syrup, you can choose a different natural sweetener such as agave.
- You can exclude the chocolate chips if you prefer your oat bars to be less sweet.
This recipe has not been tested with other substitutions or variations. If you replace or add any ingredients, please let us know how it turns out in the comments below.
Step by Step Instructions
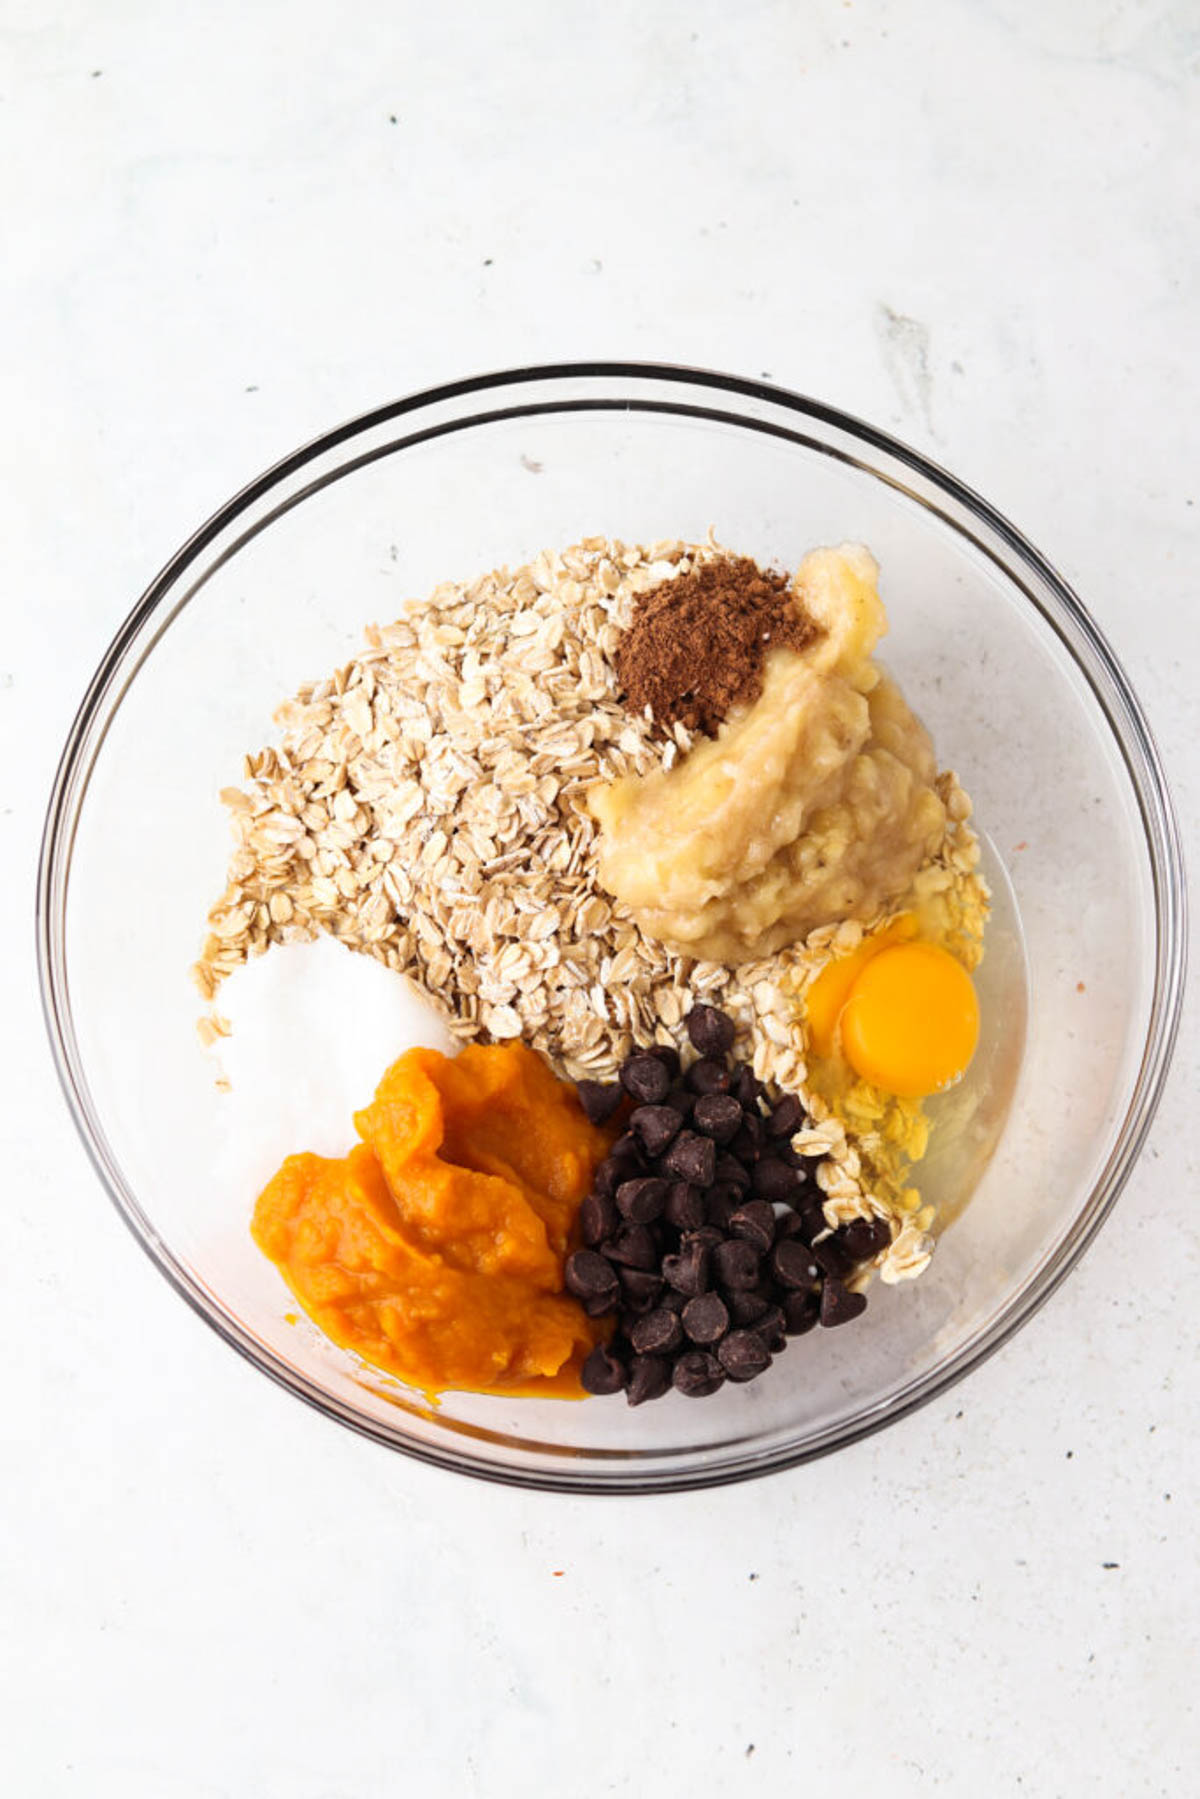
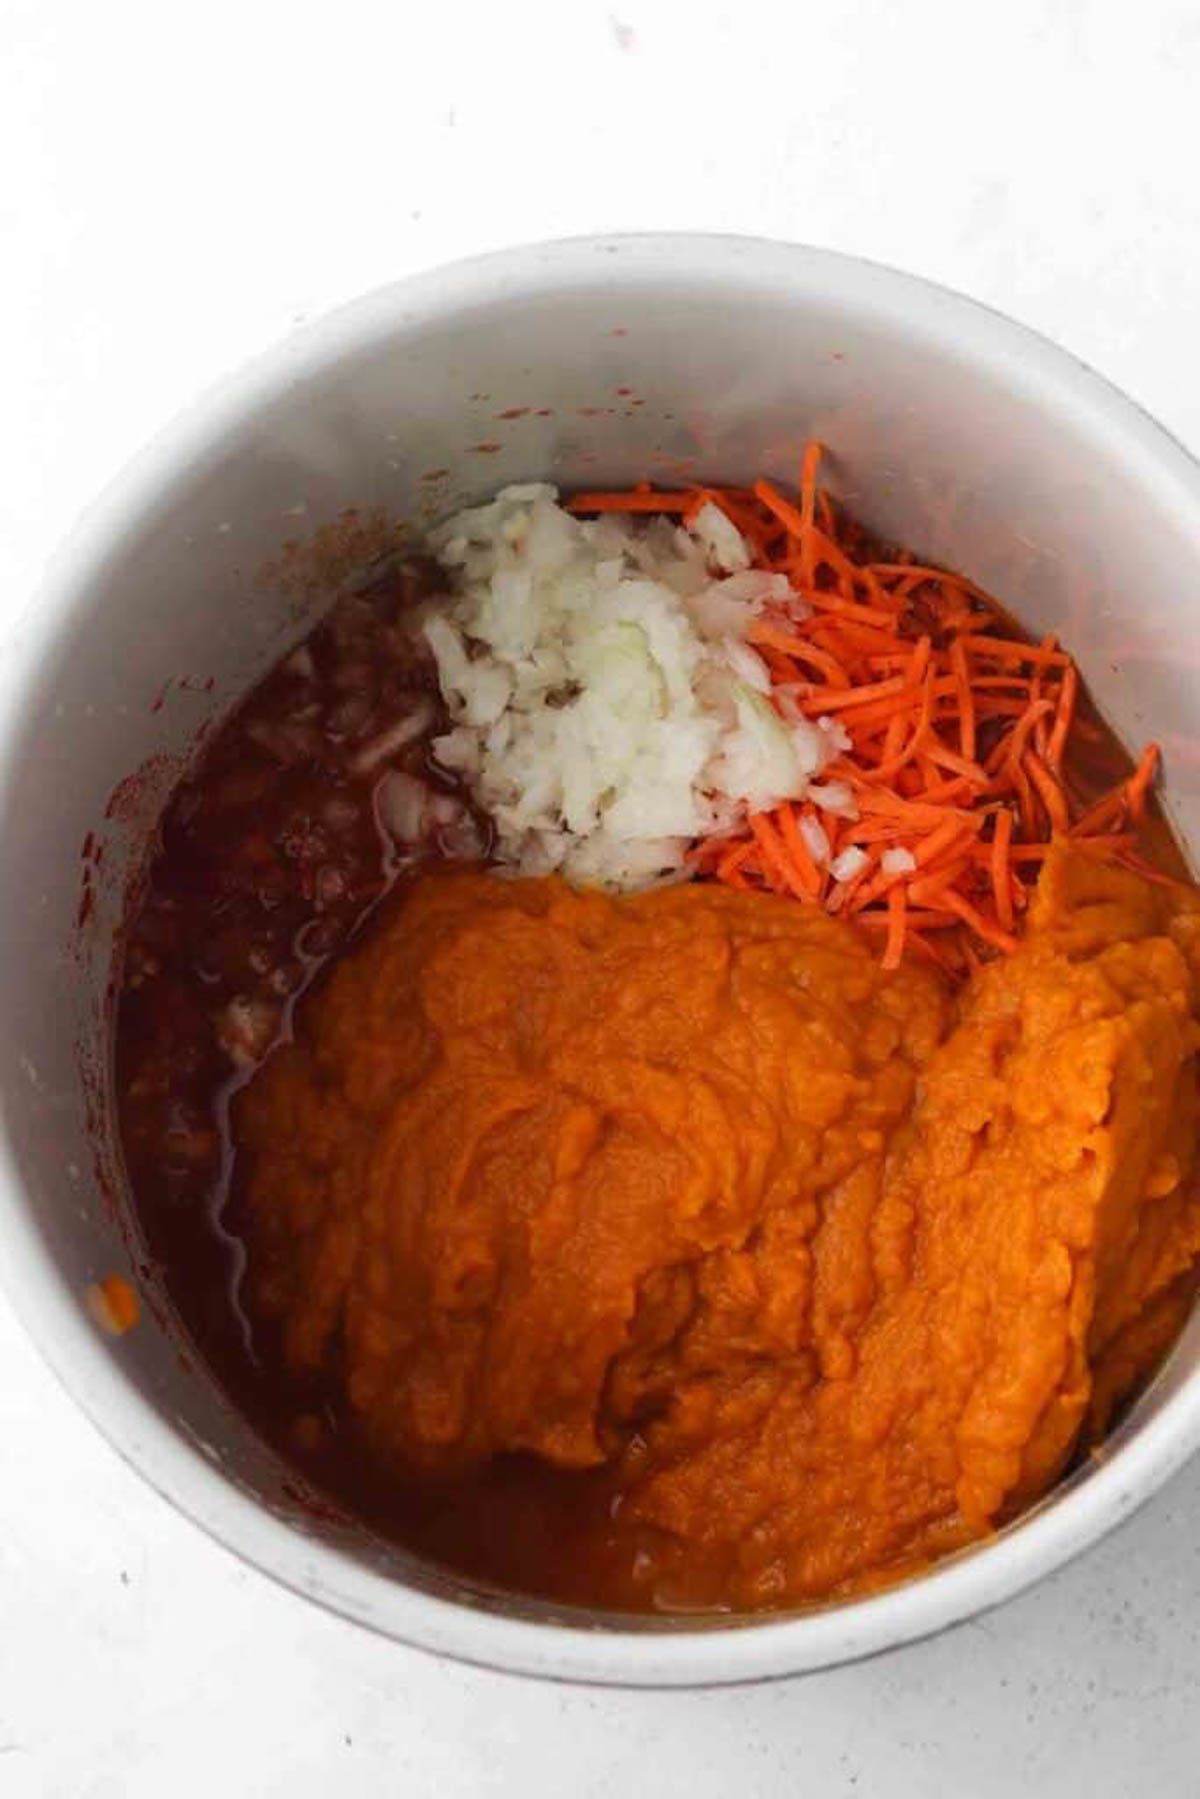
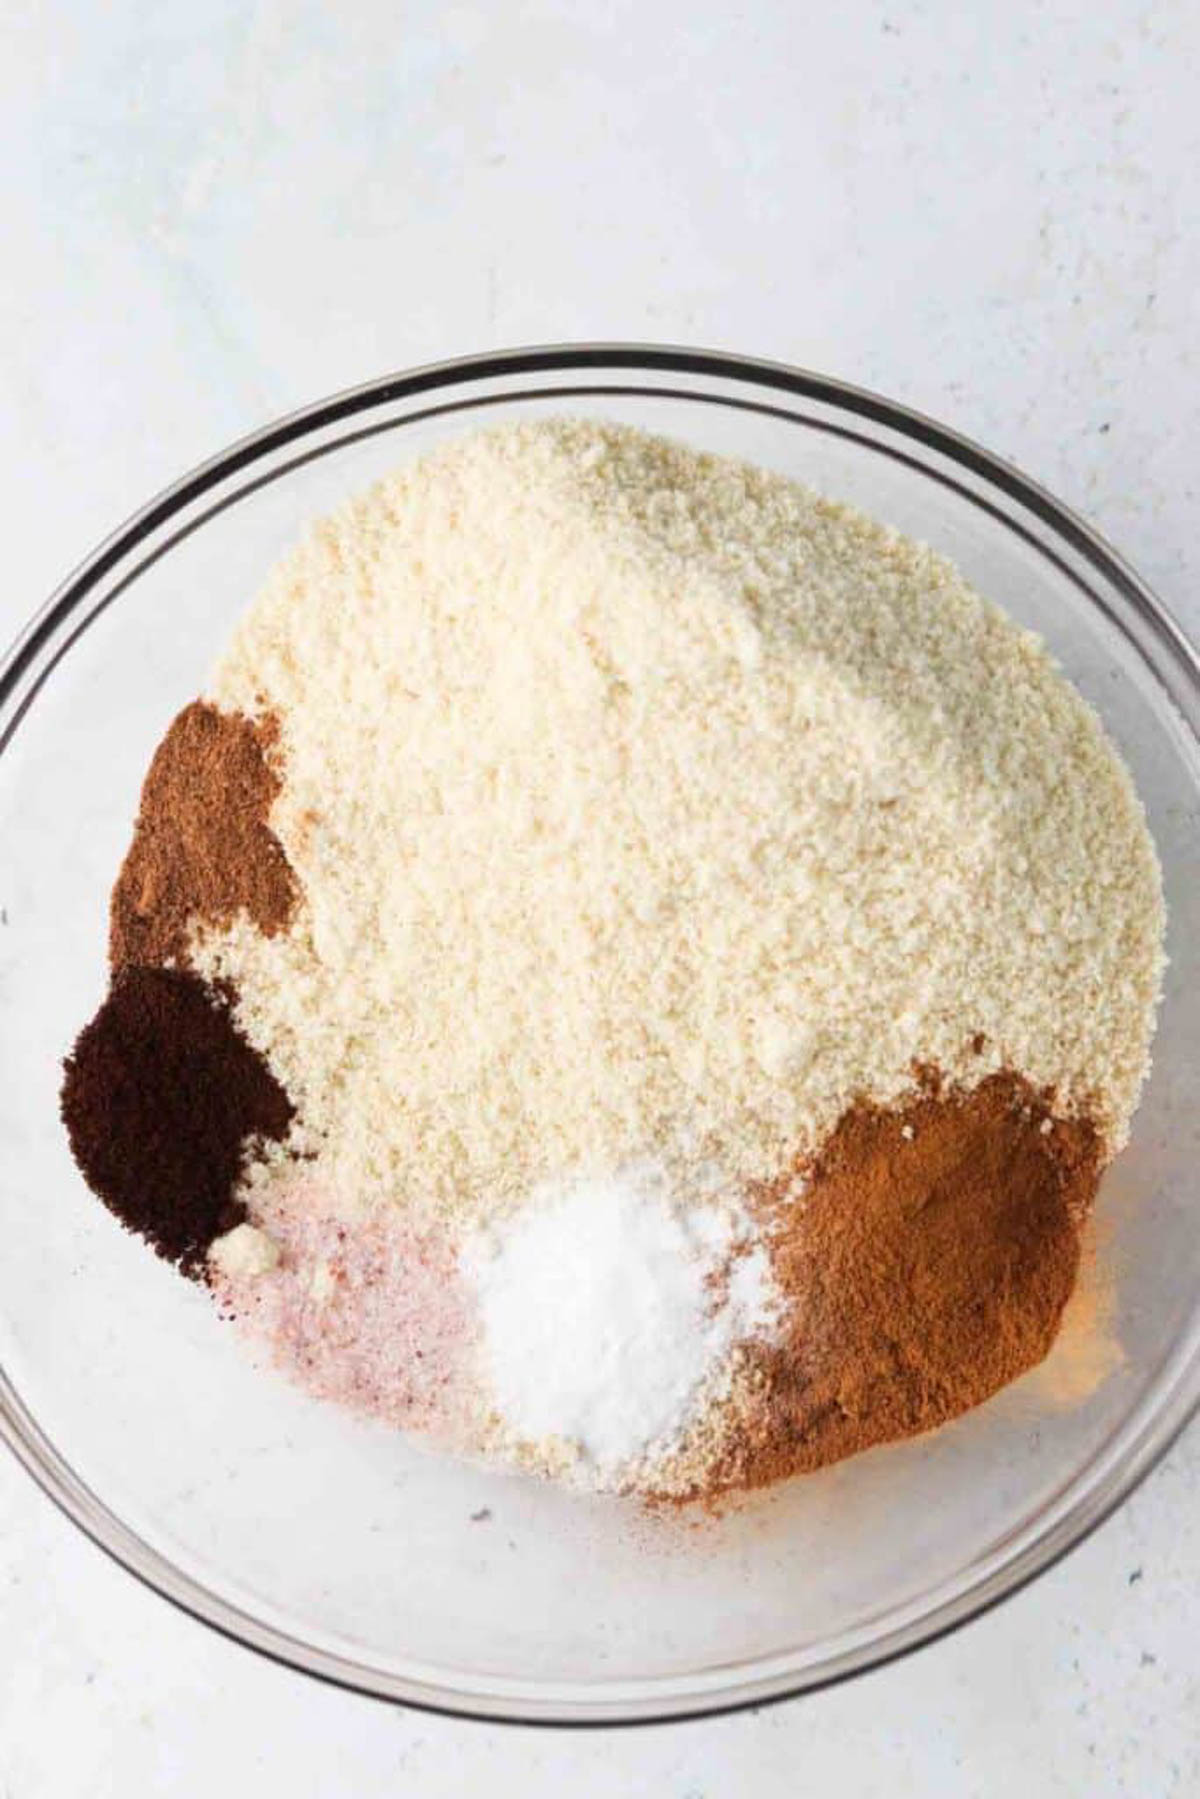
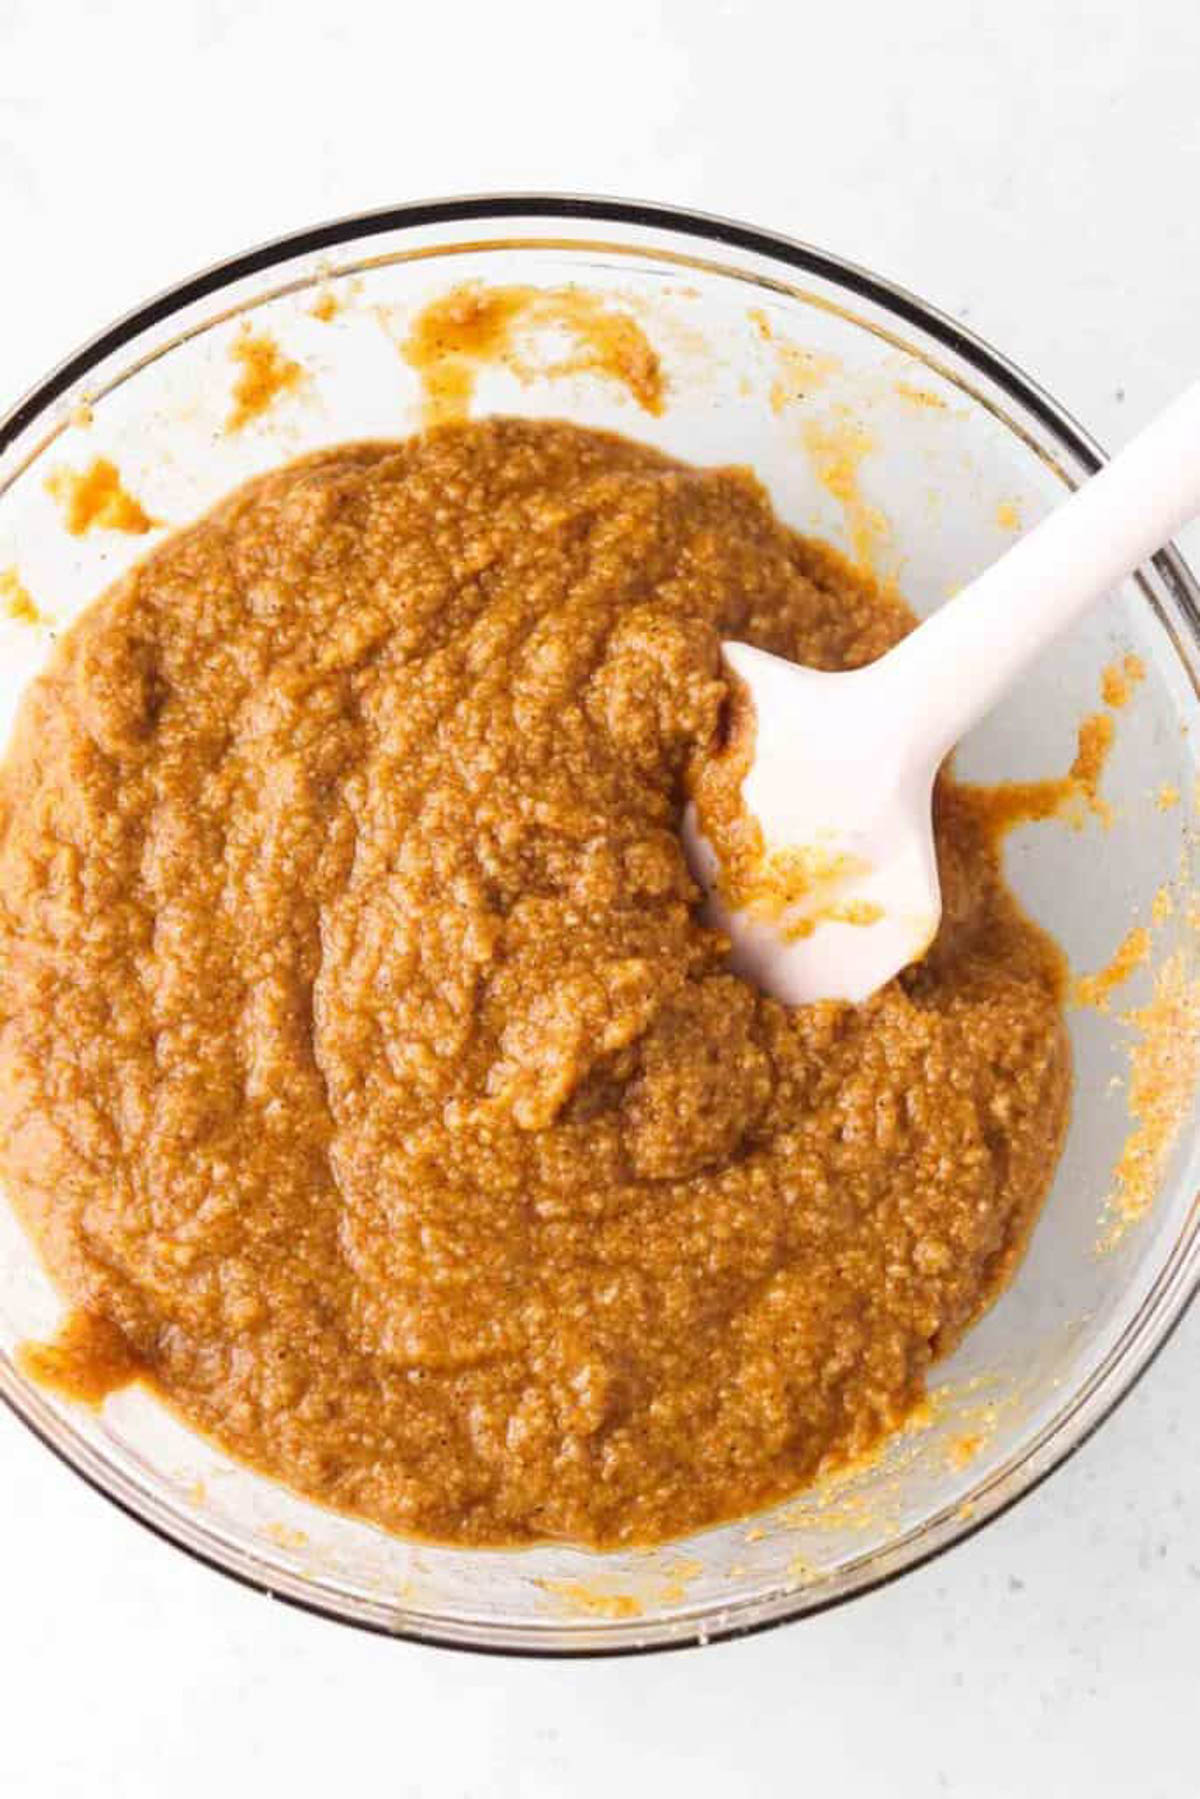
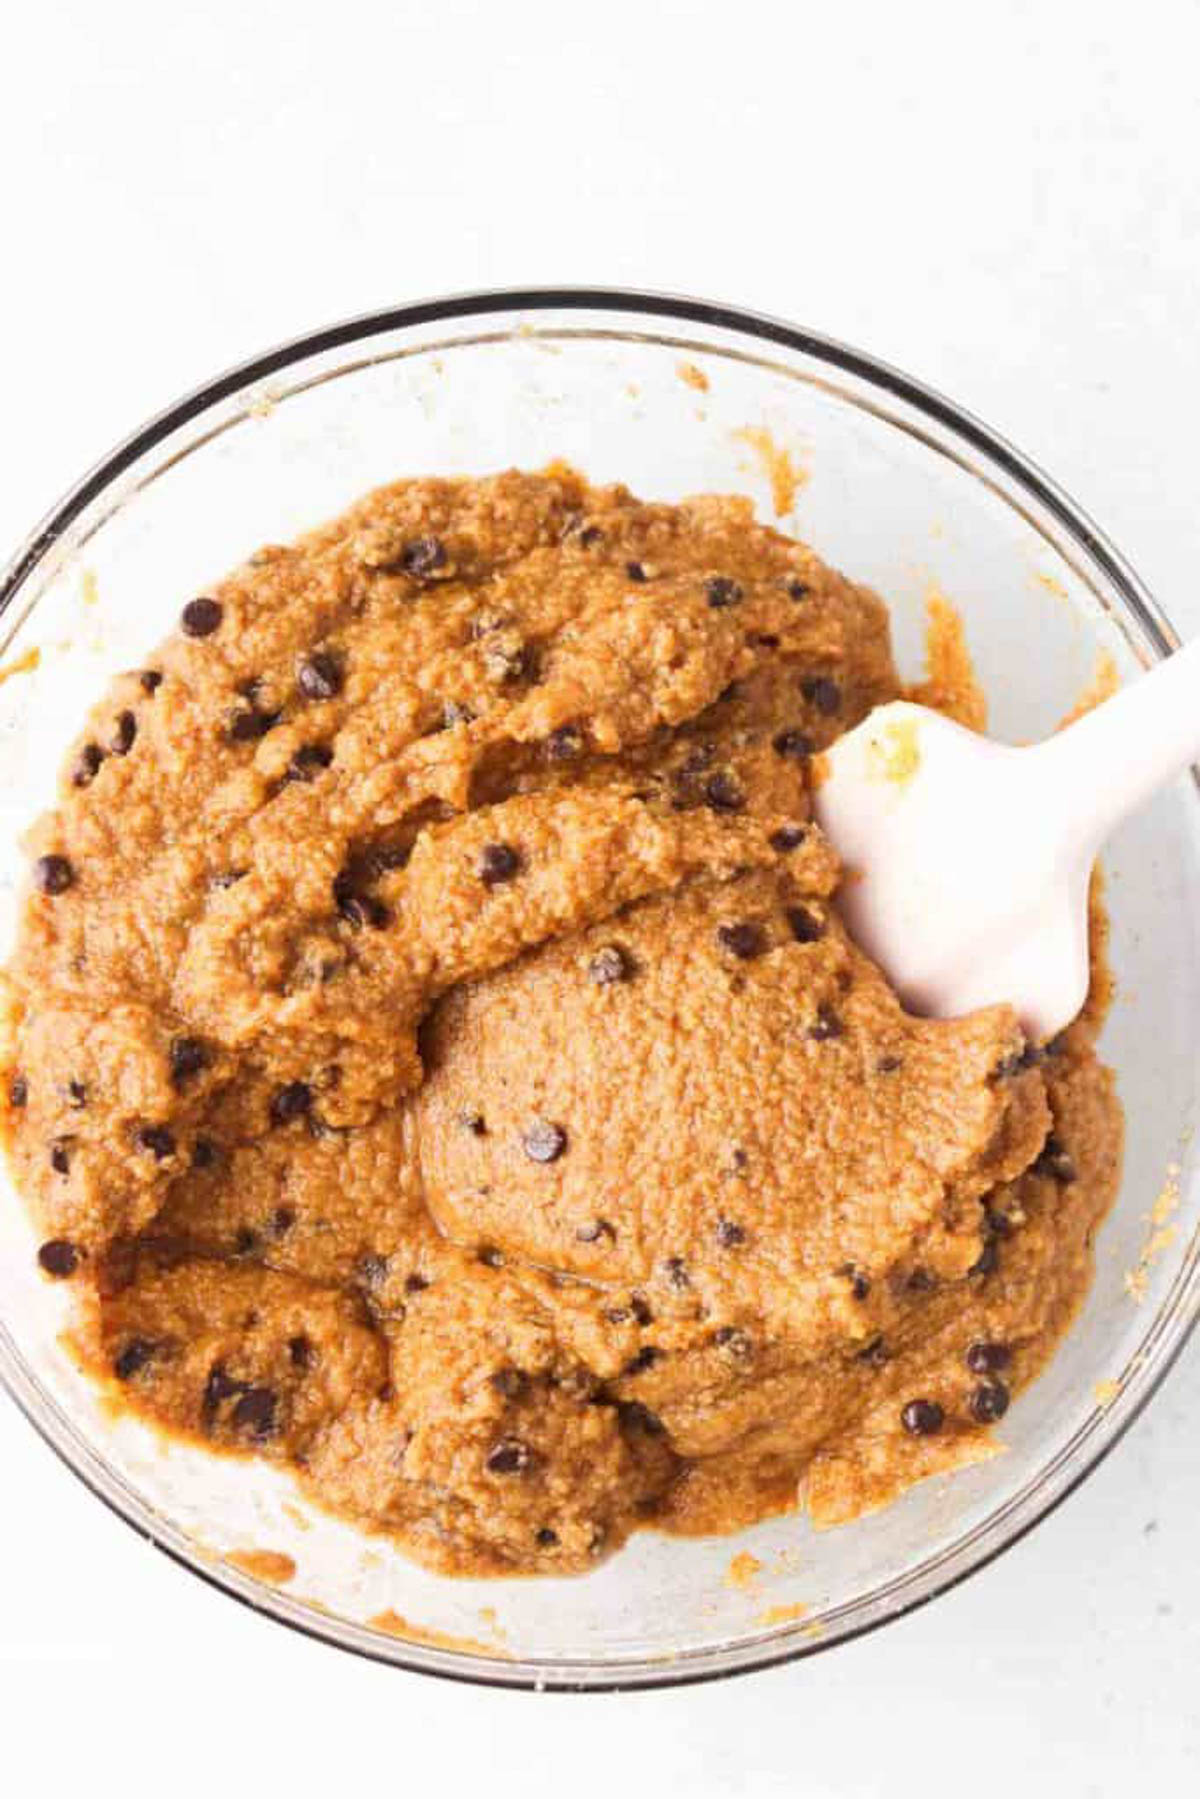
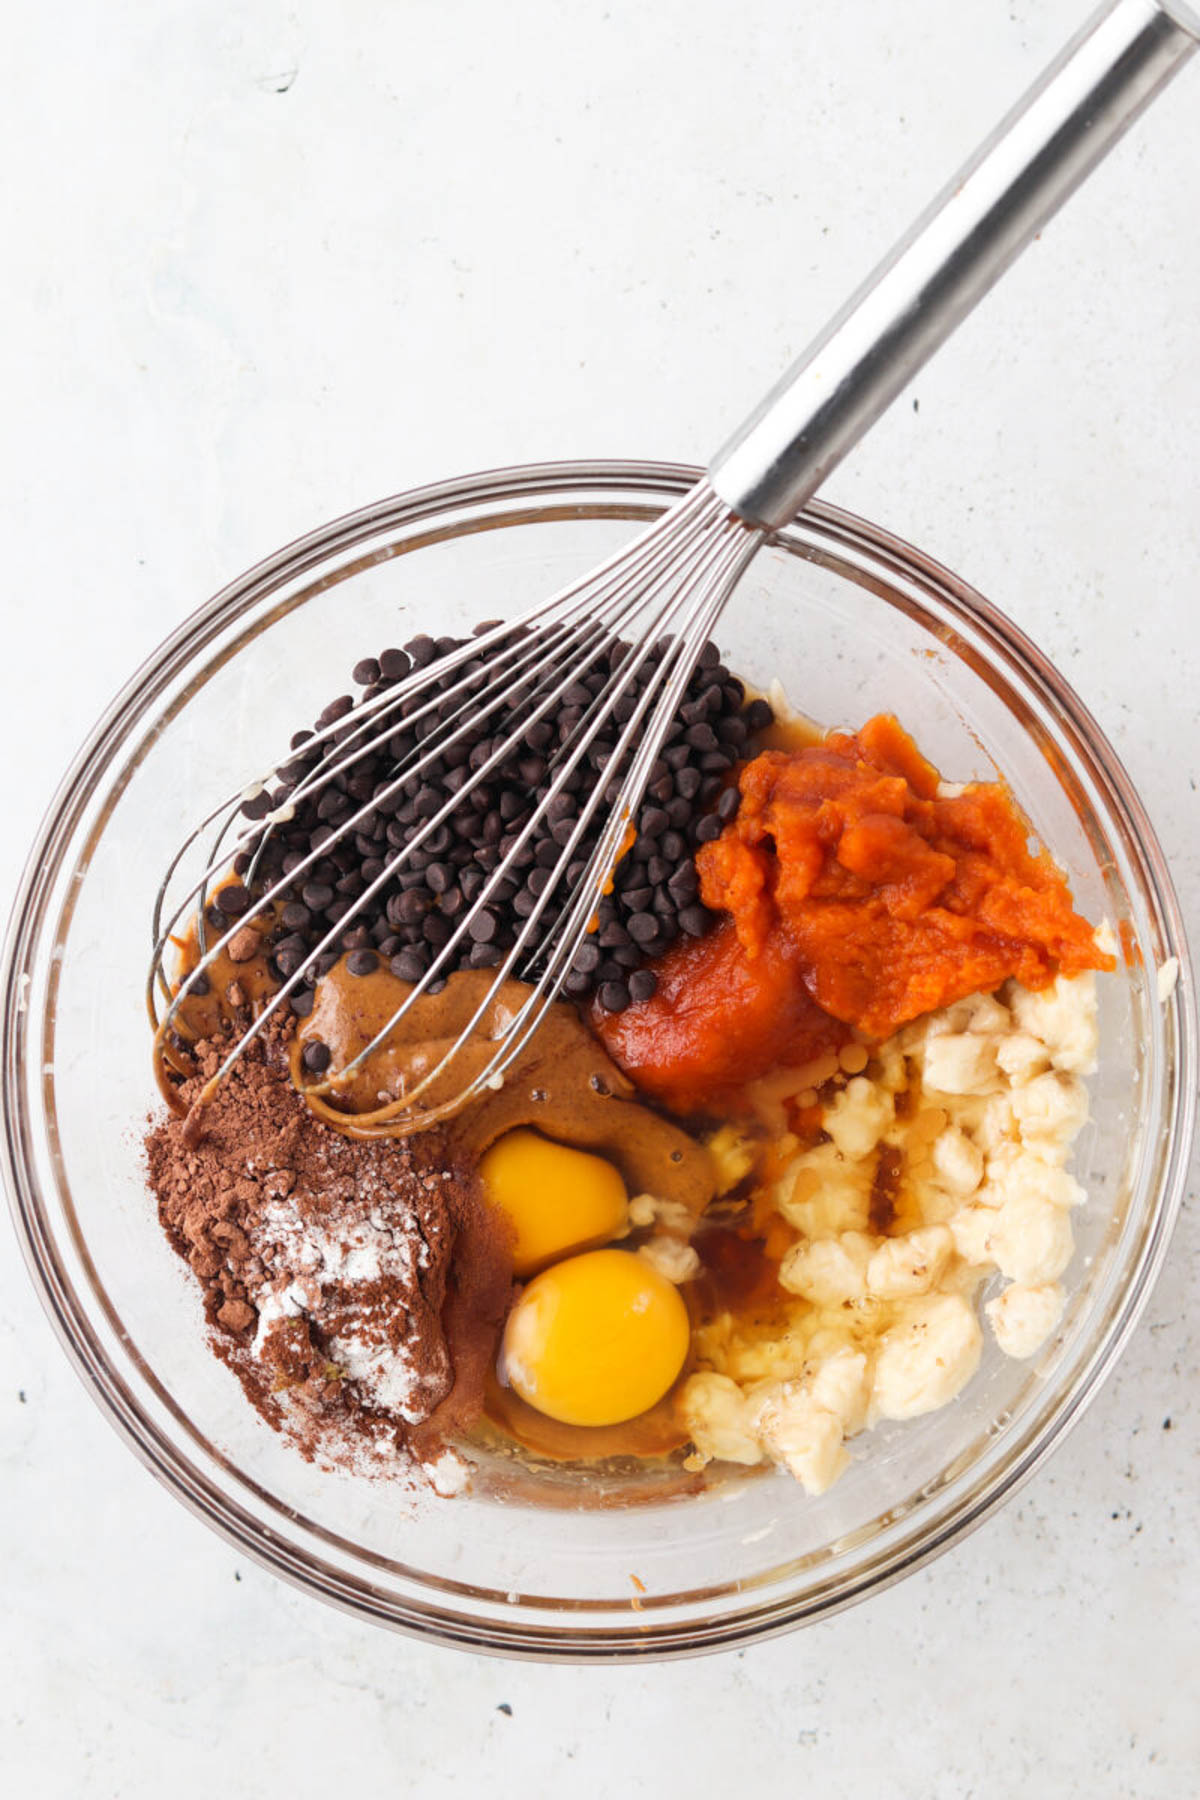
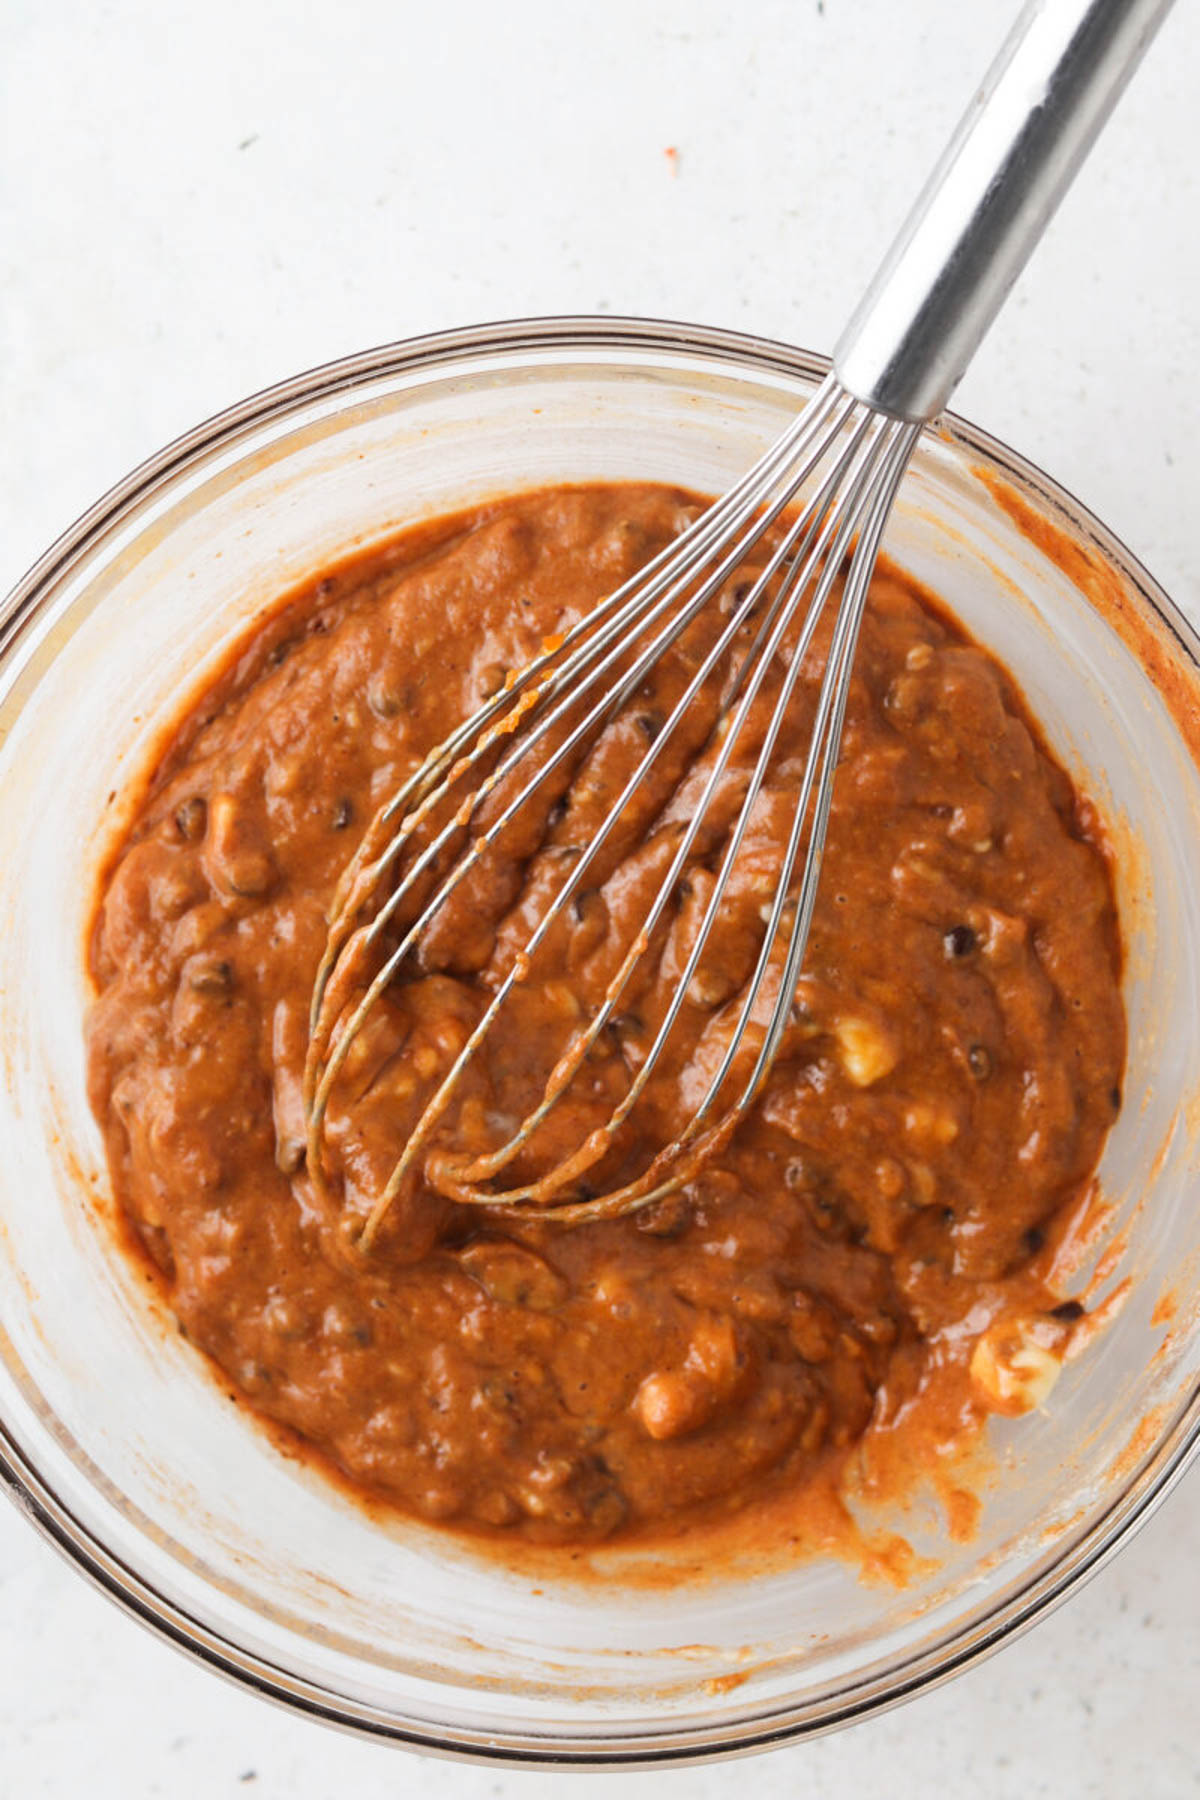
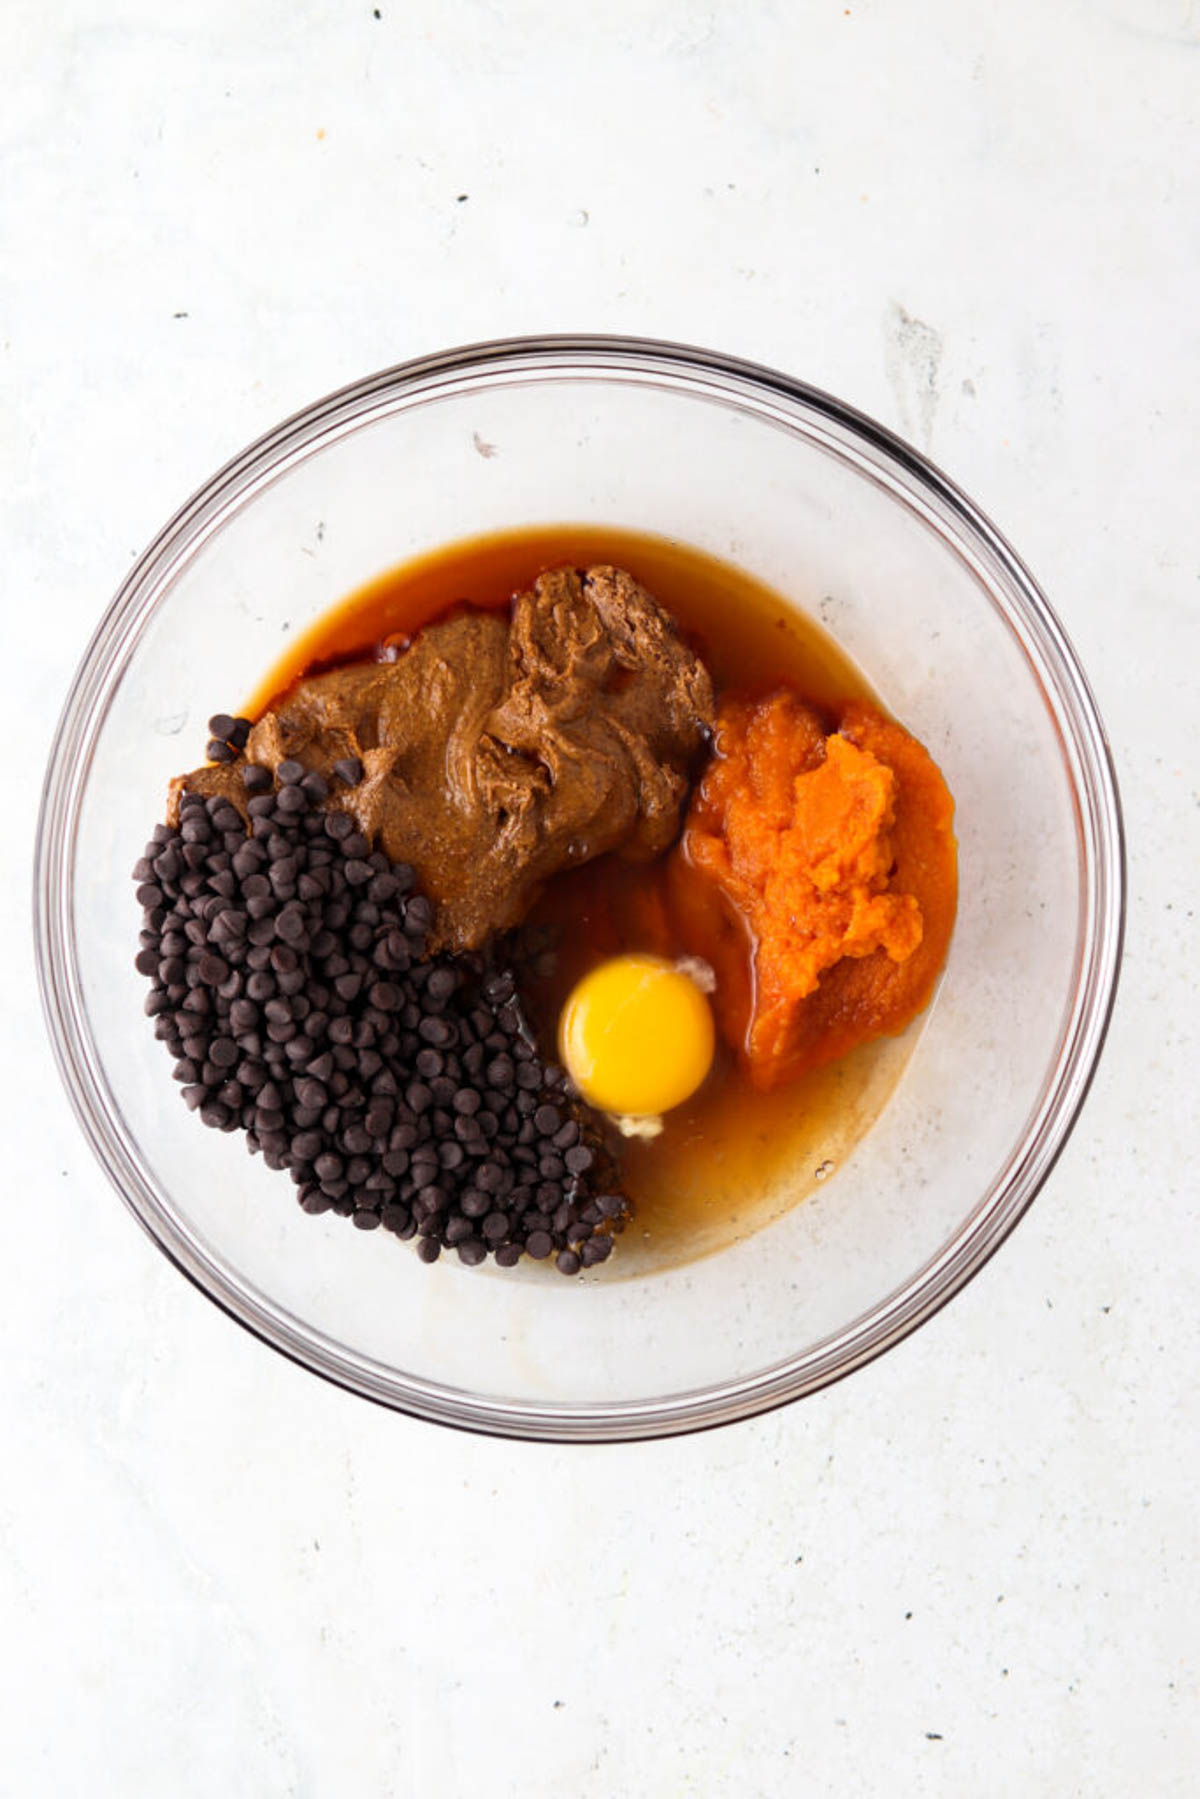
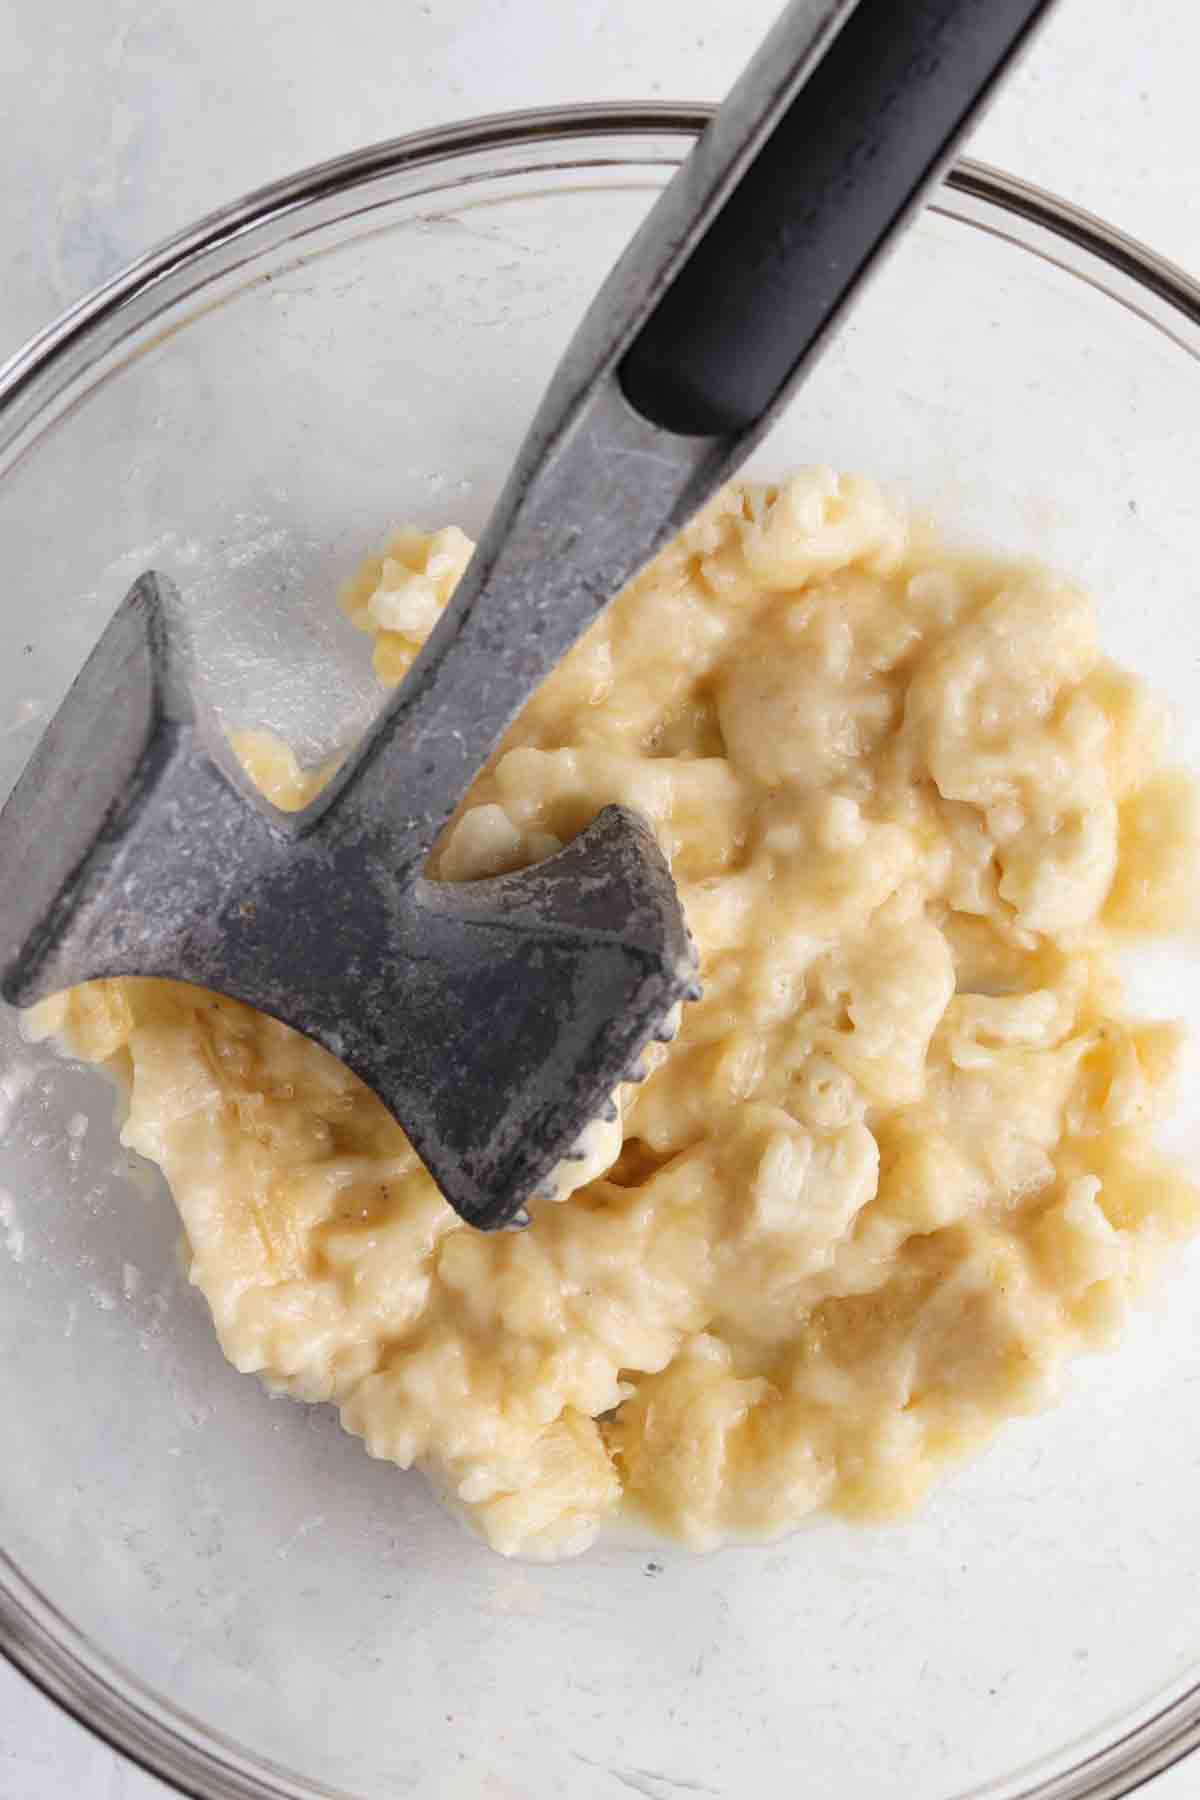
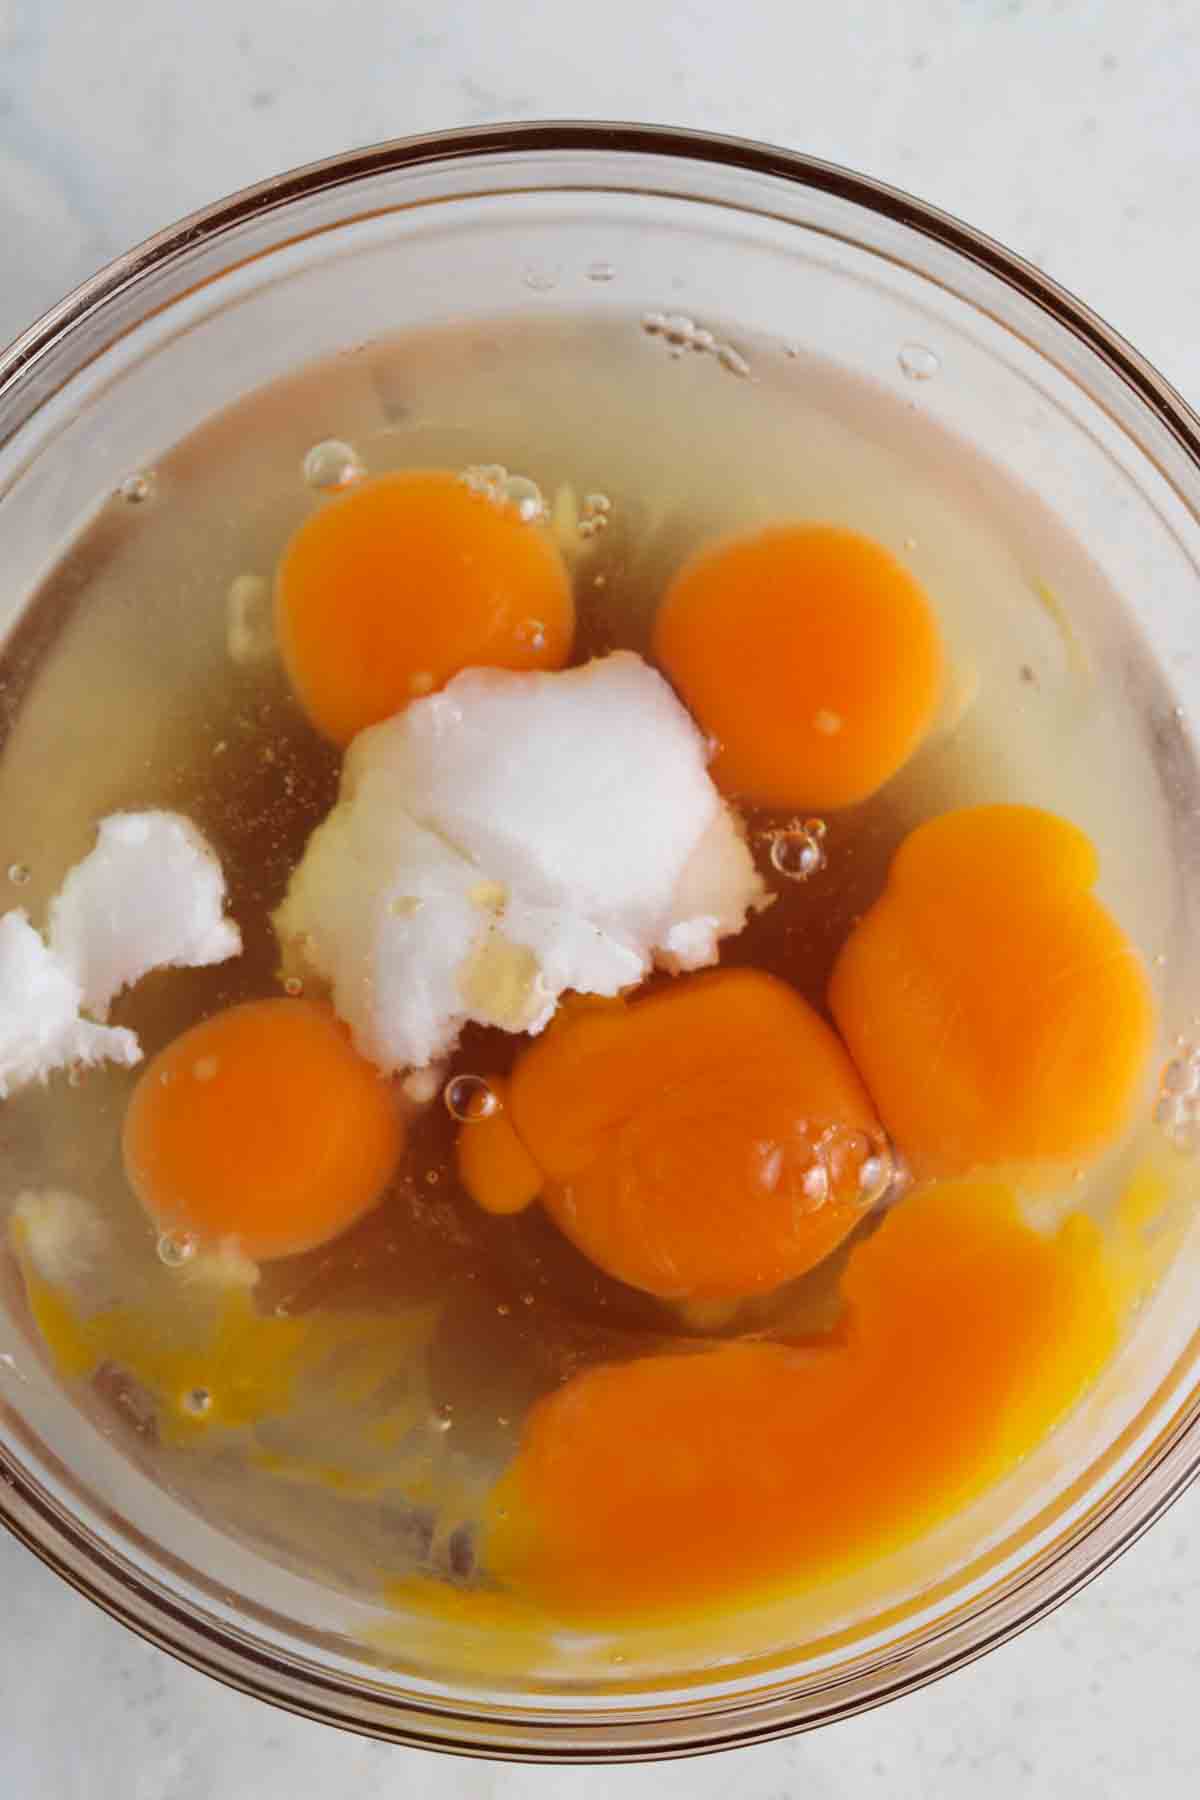
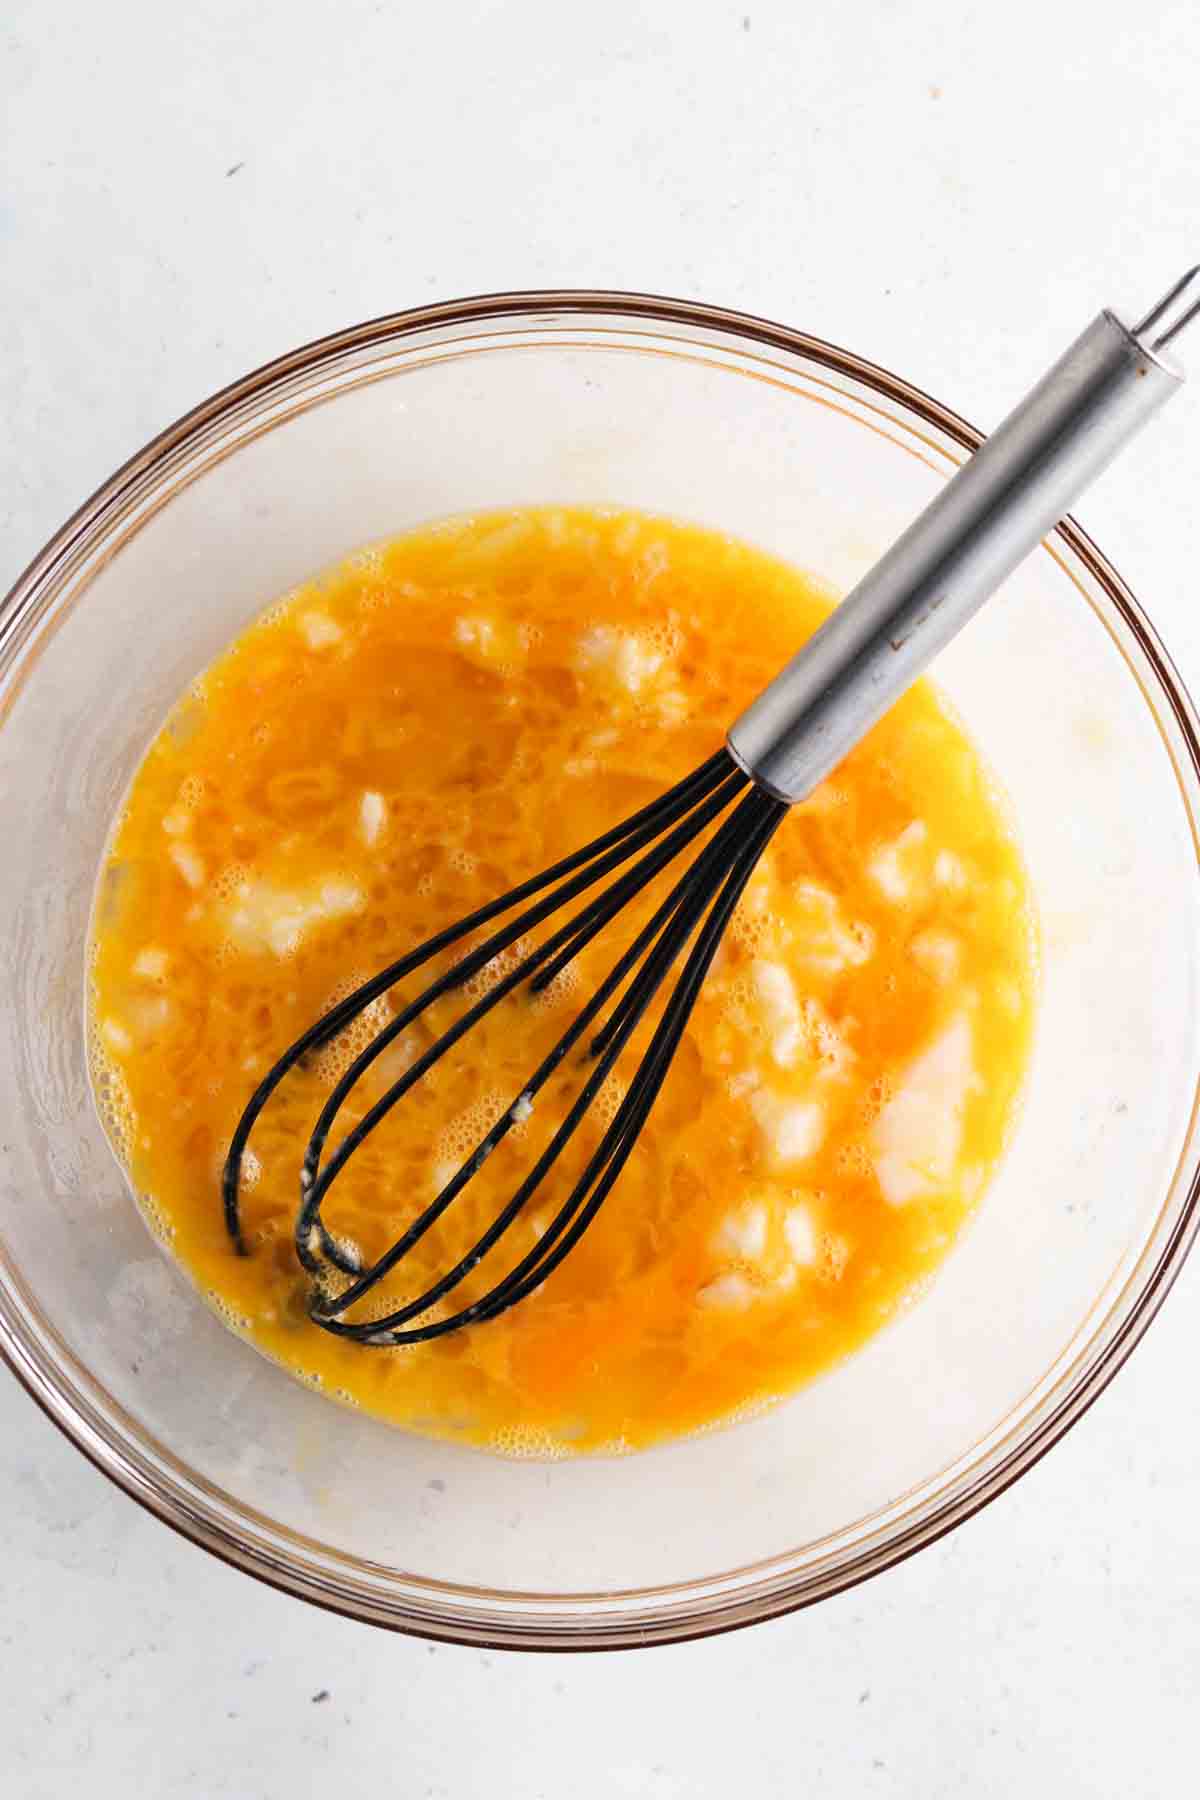
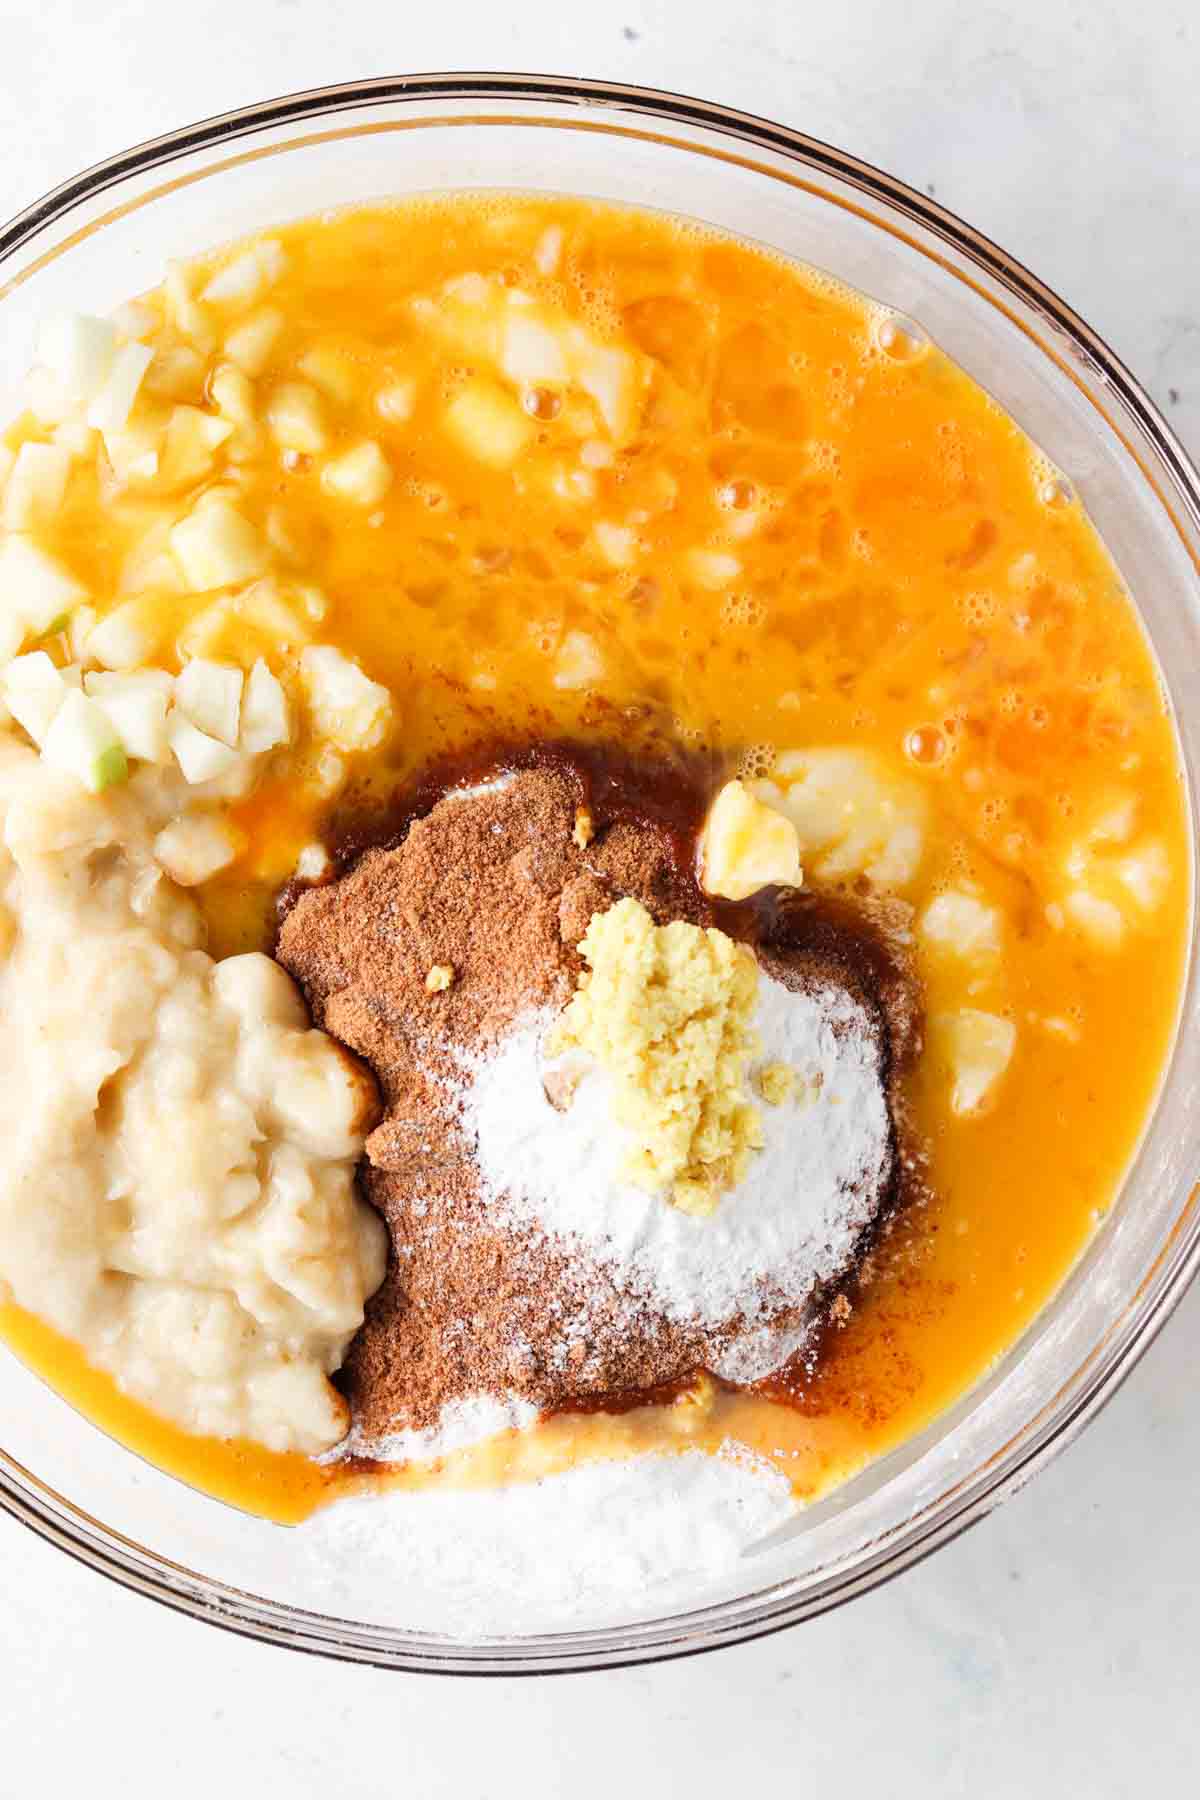
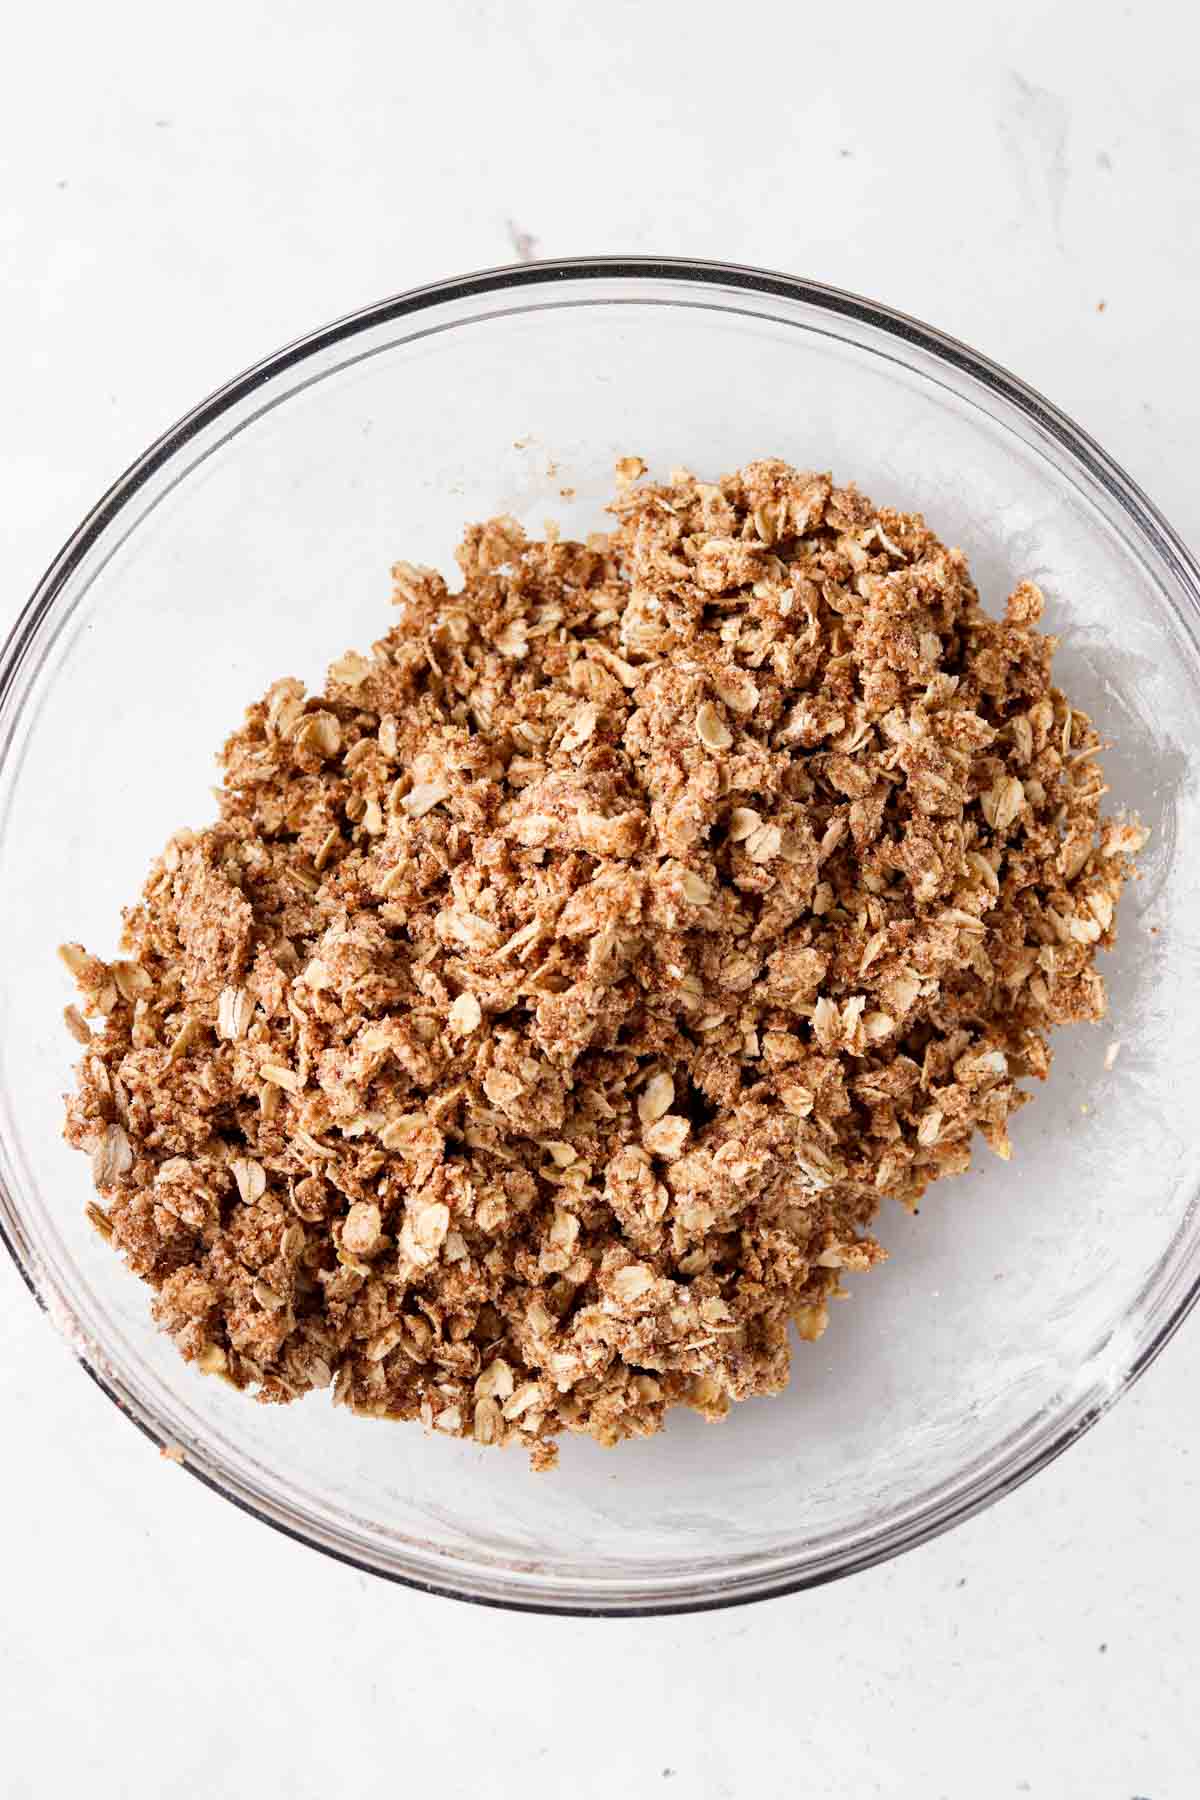
Photo 1: Preheat the oven to 350 degrees F. Place all of the ingredients in a mixing bowl and combine.
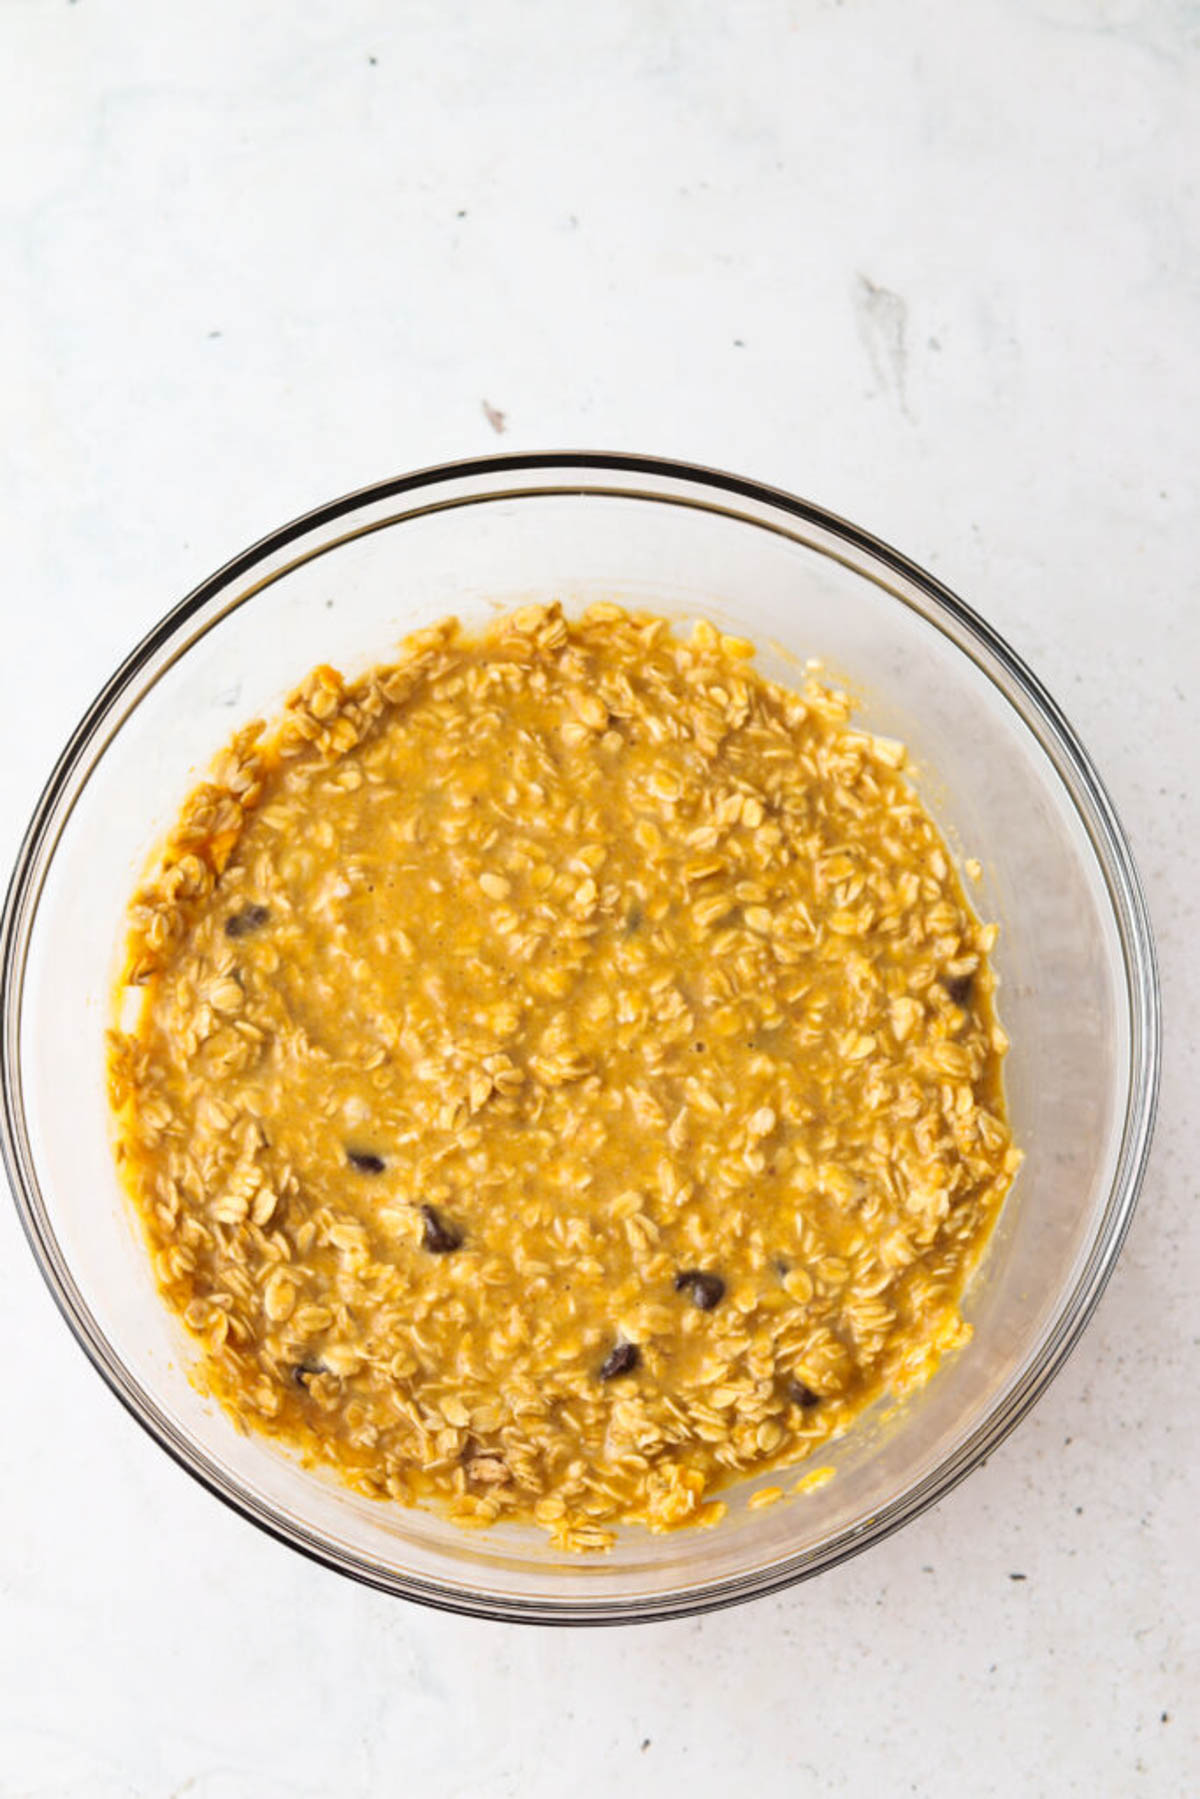
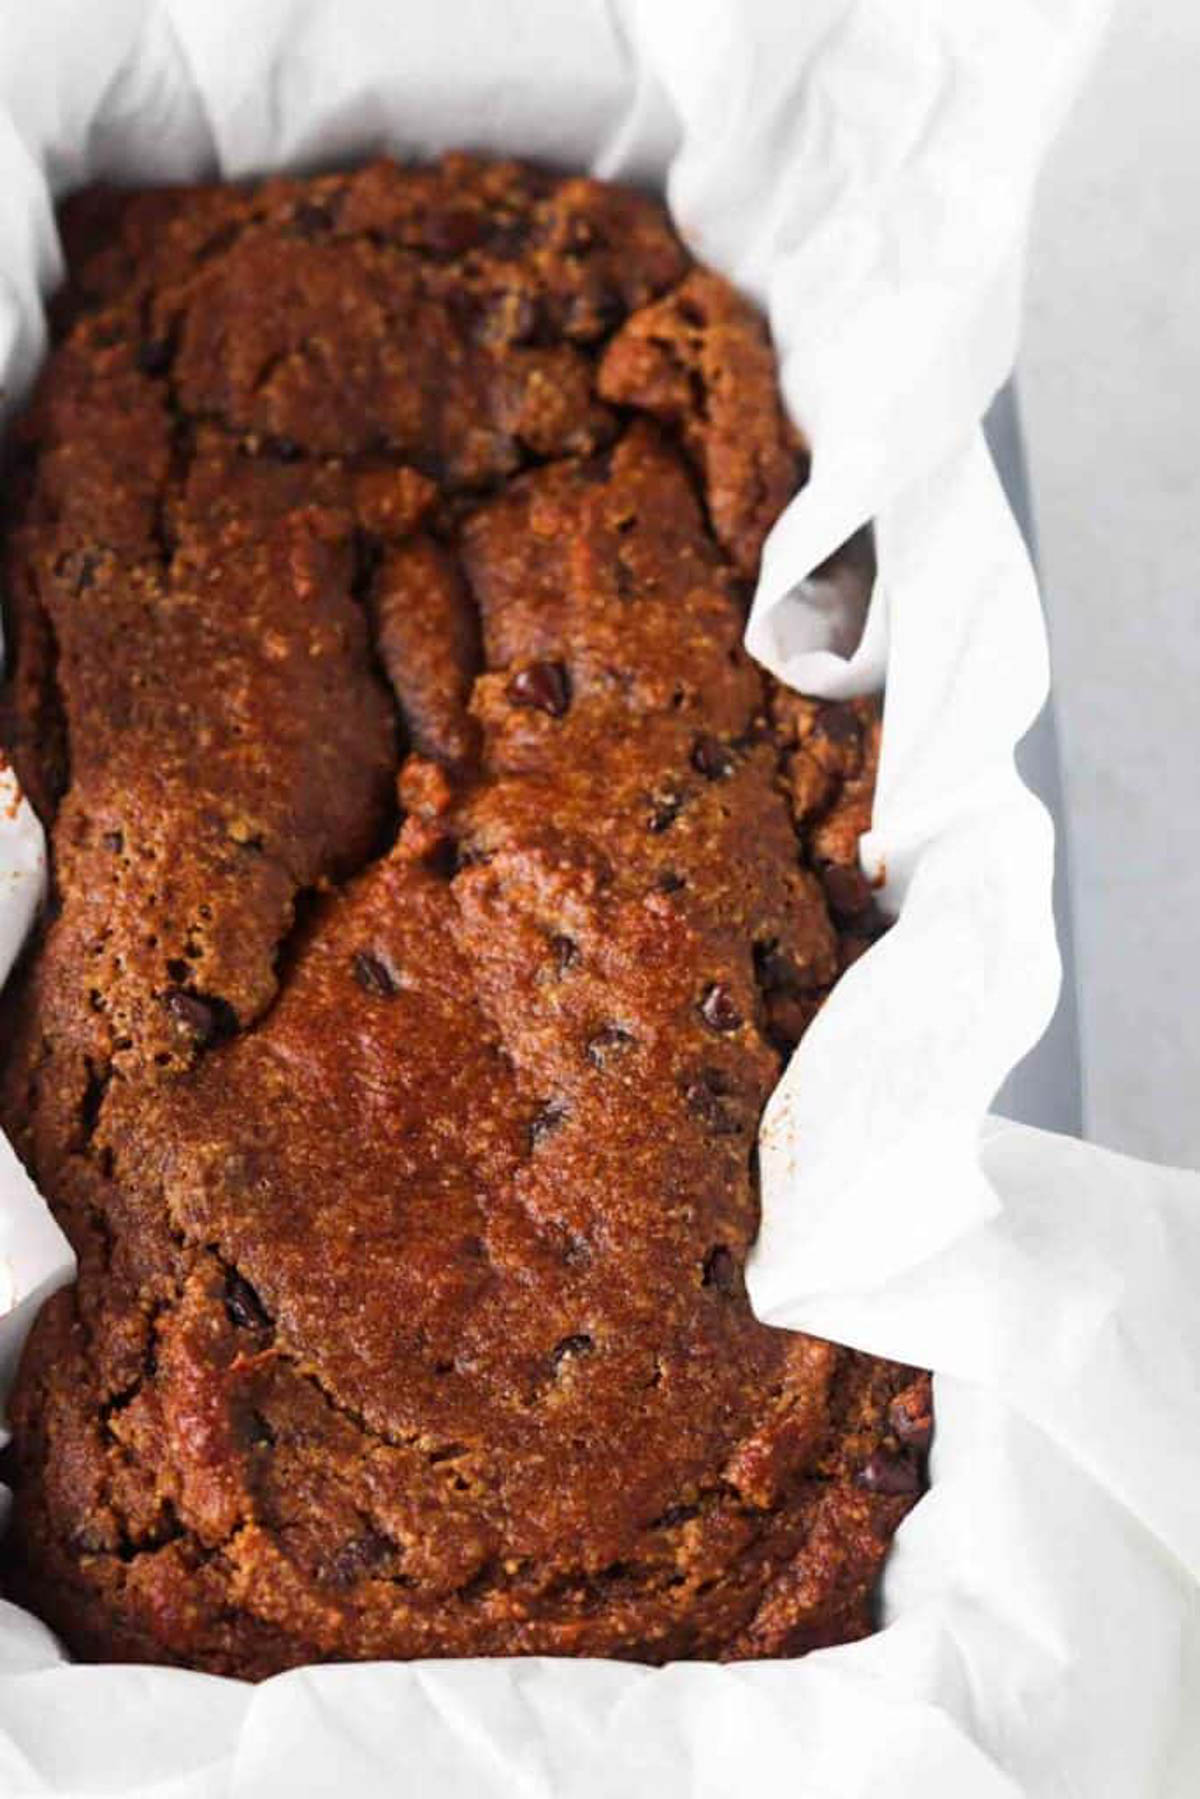
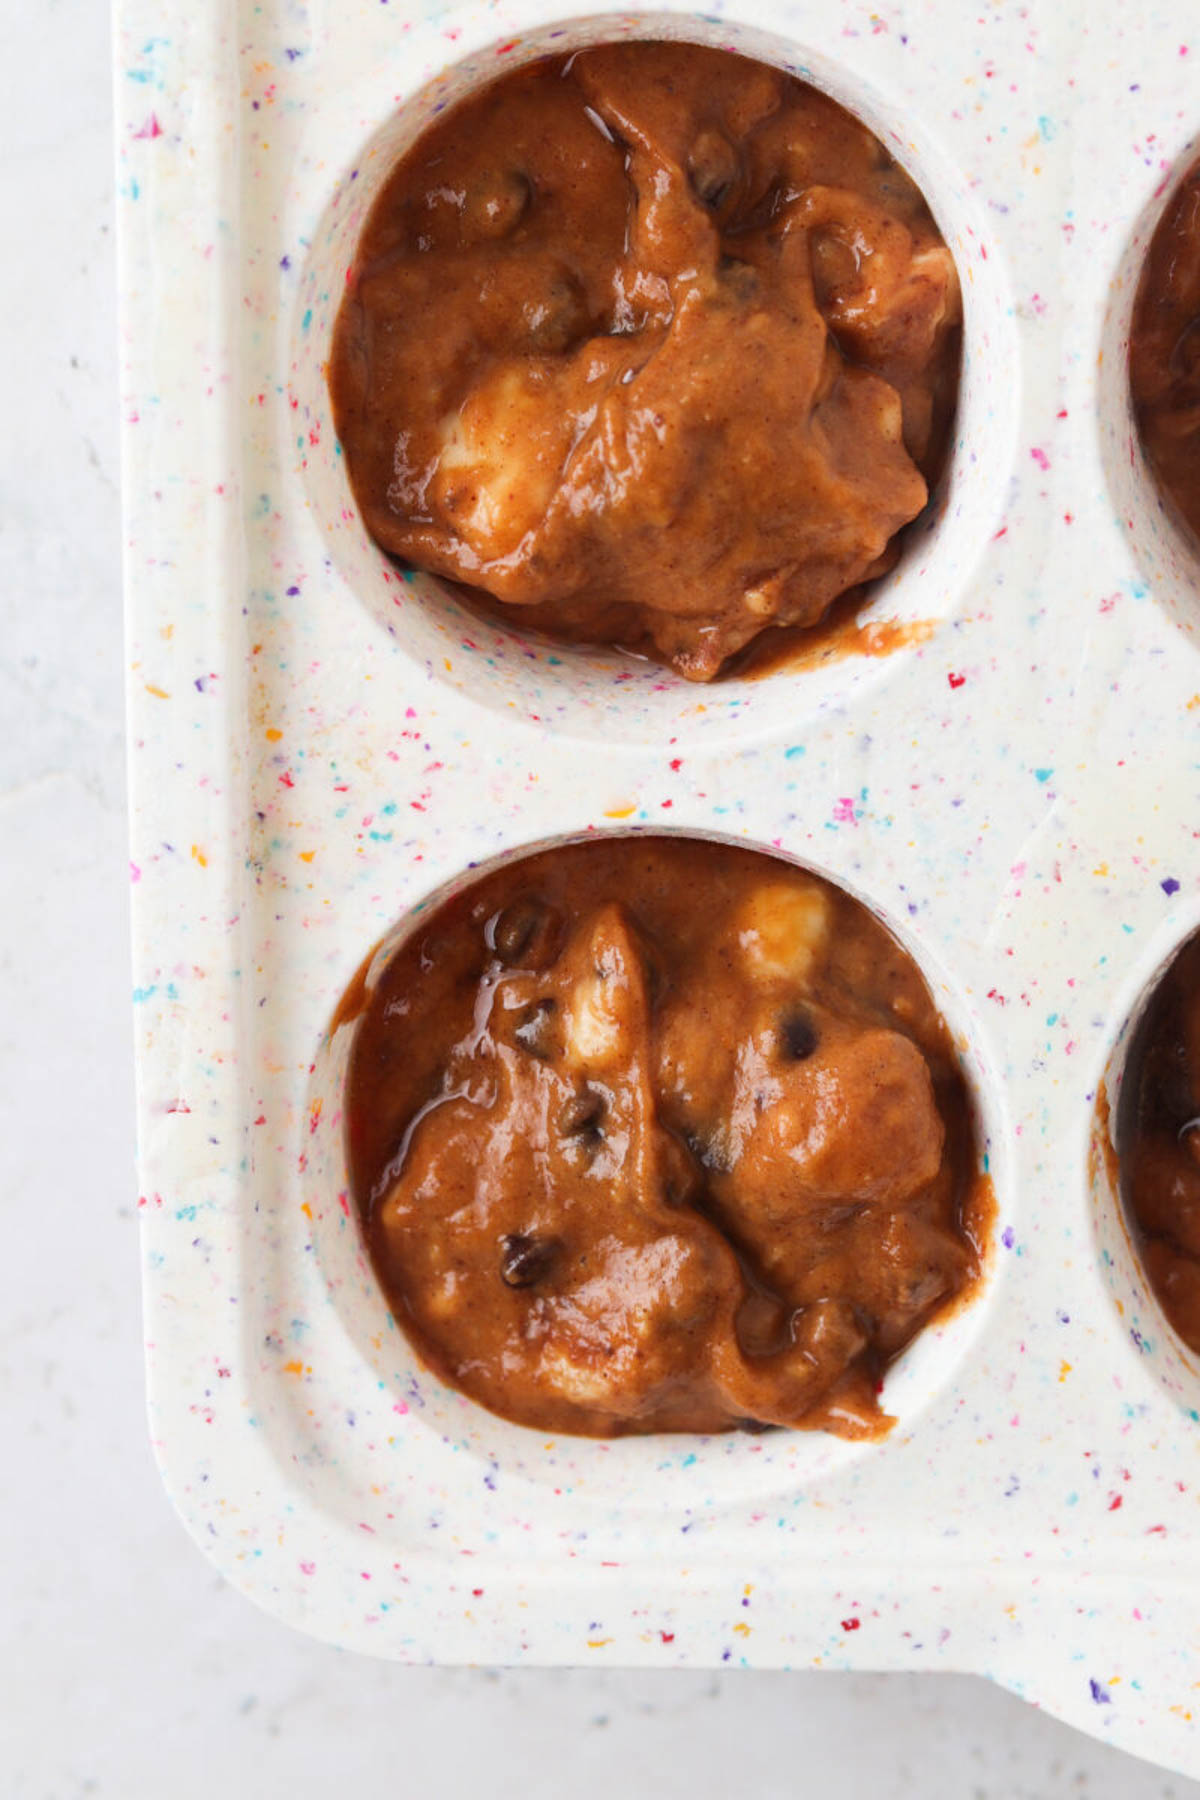
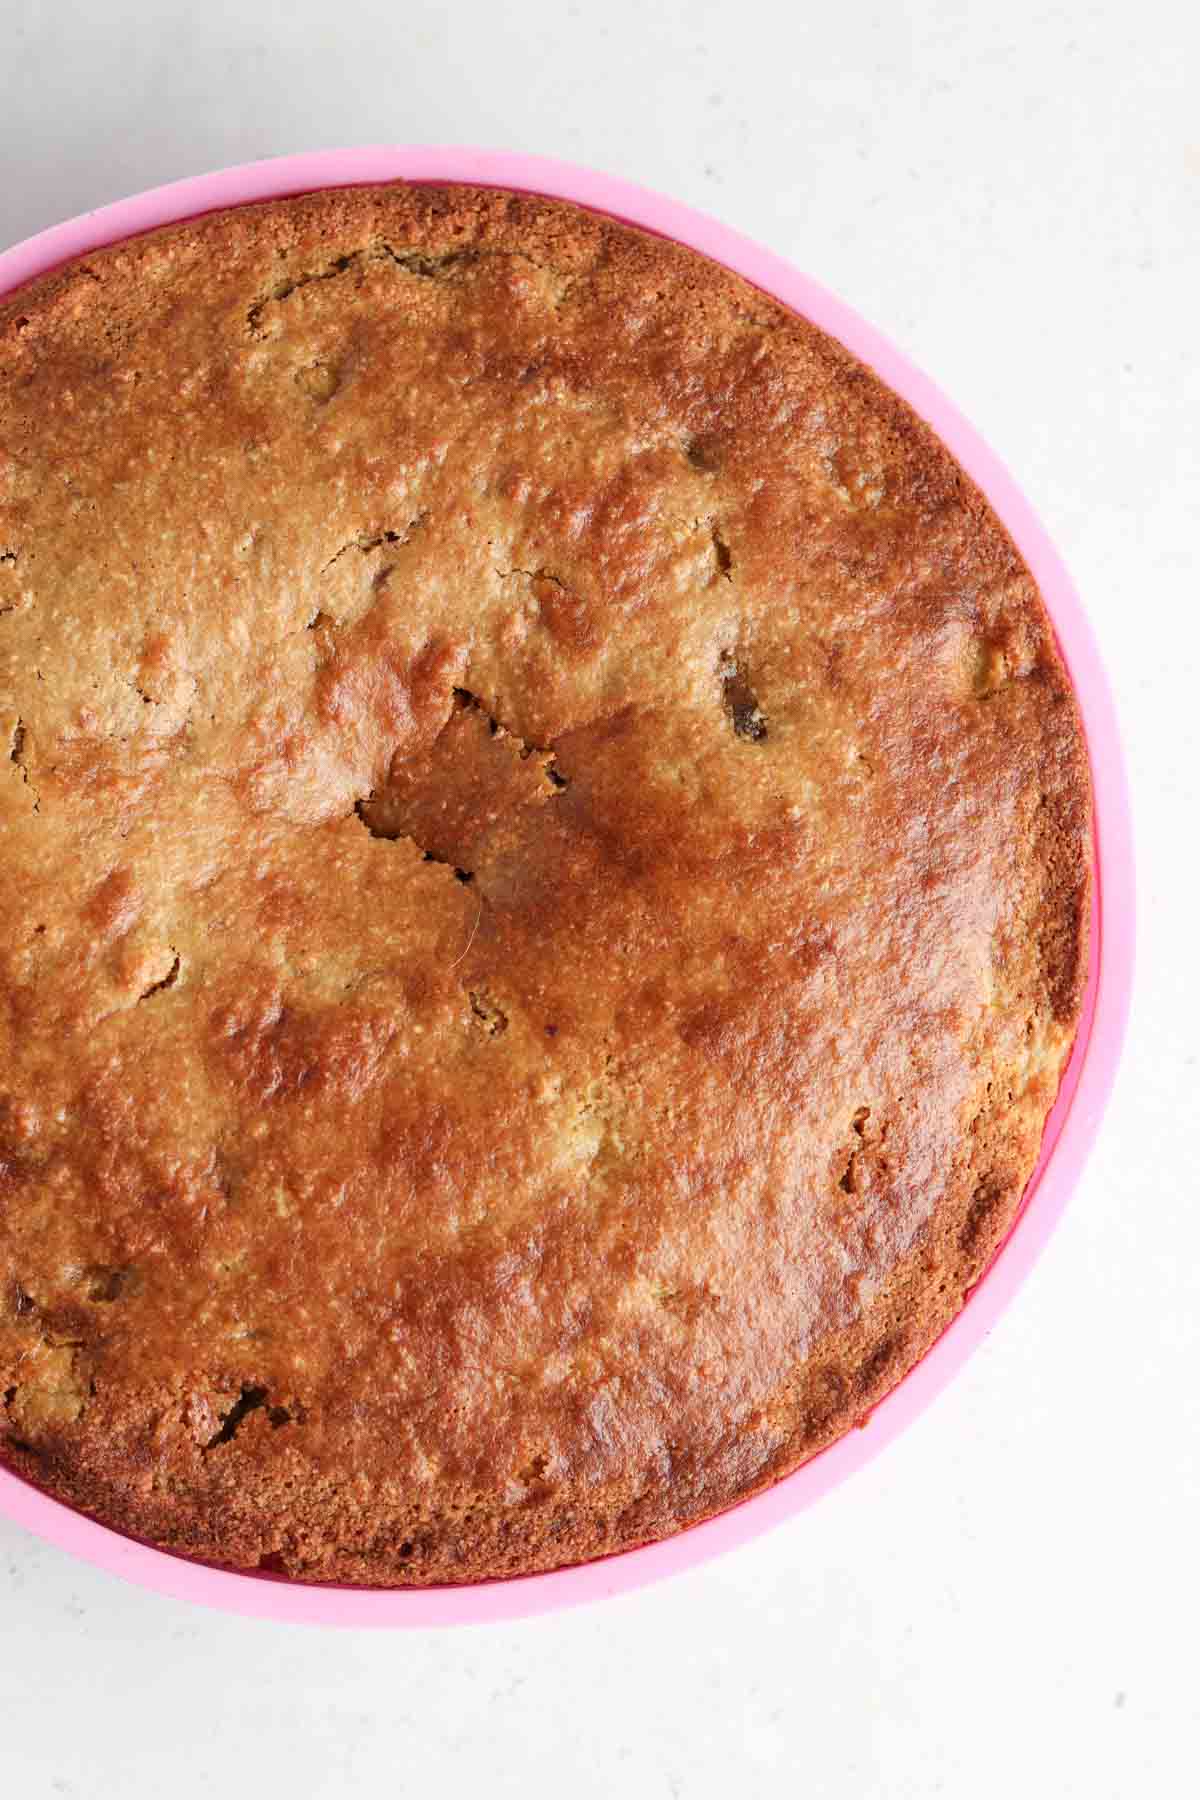
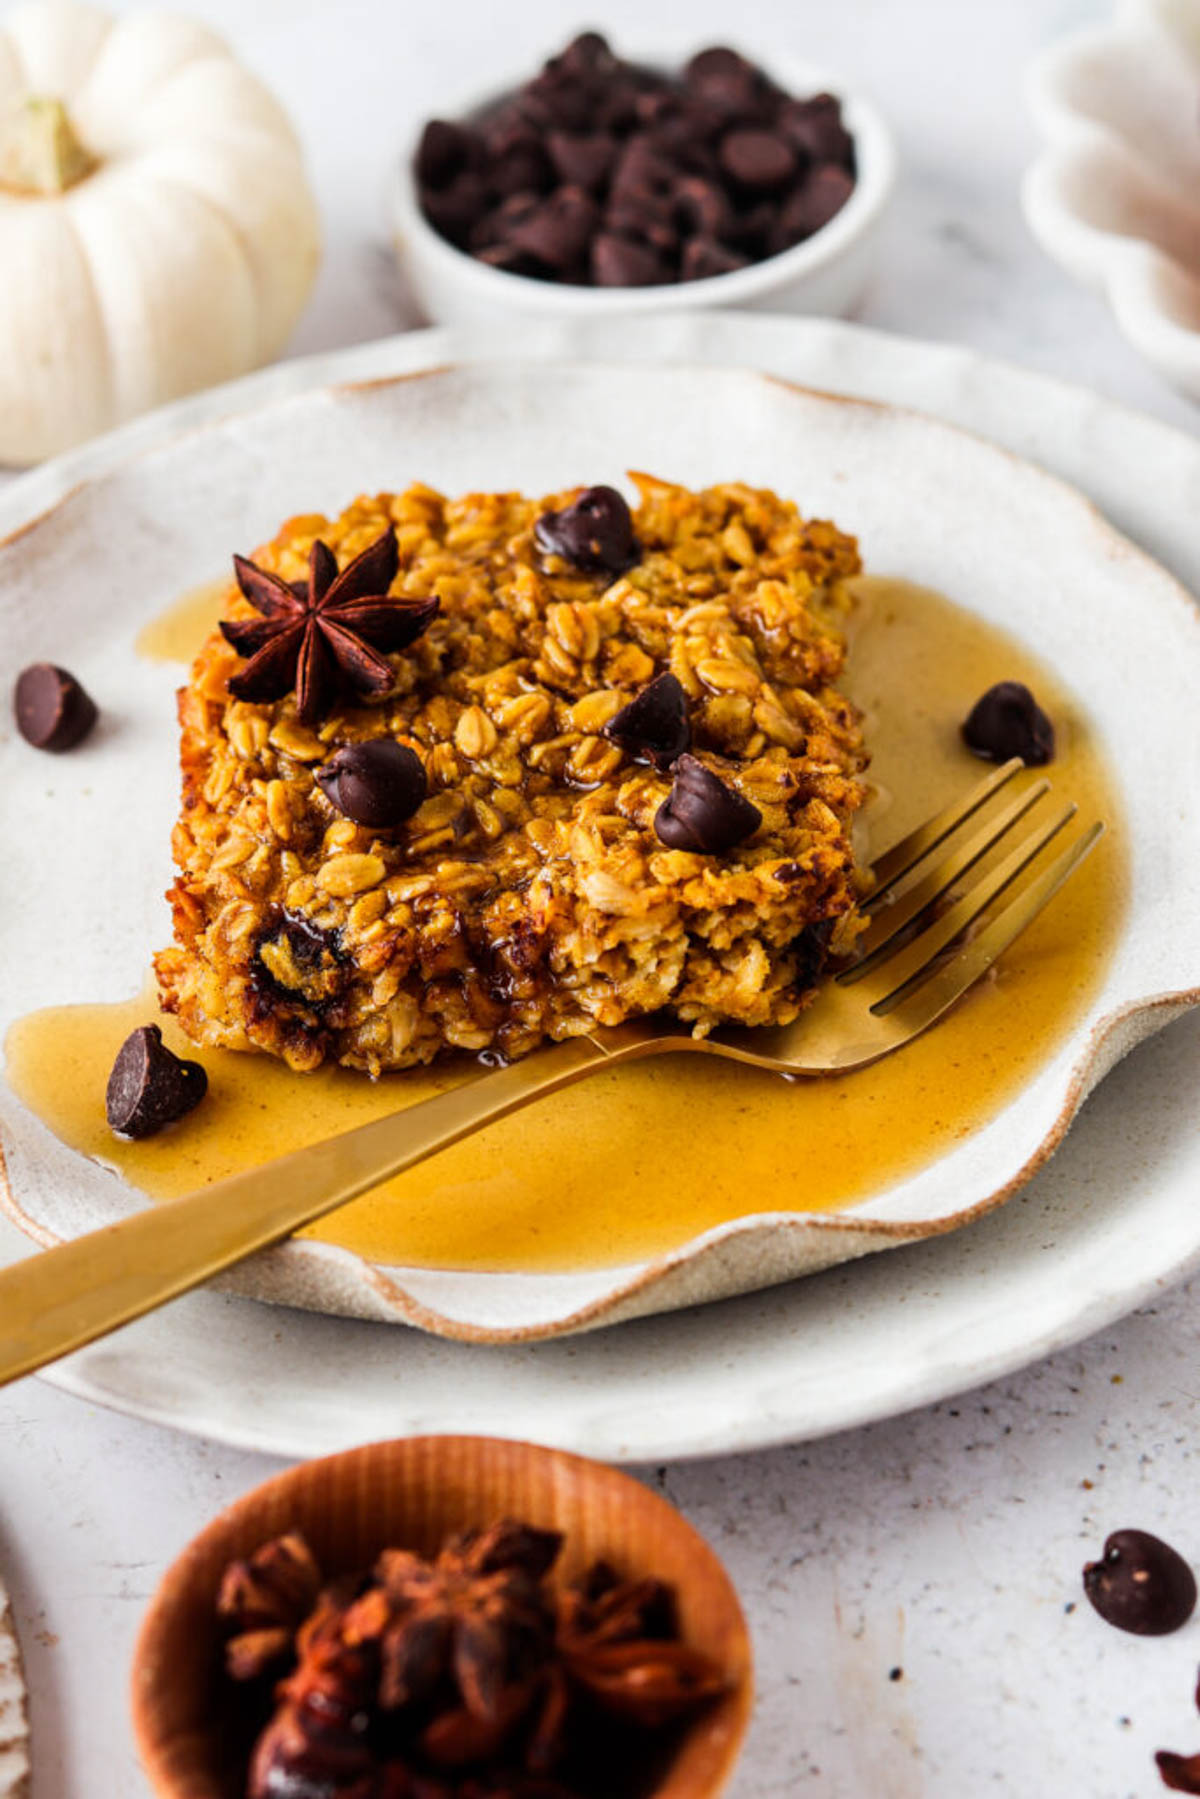
Photo 2: Then, spray a 8 by 10 casserole dish with cooking oil spray and evenly lay the mixture in. Bake for 30-35 minutes or until the top is golden. Allow the oatmeal bake to cool before cutting.
Expert Tips
- Tip # 1: When purchasing your pumpkin purée, you want to ensure that you choose pumpkin purée and not pumpkin pie filling. Pumpkin pie filling has additional ingredients added in.
- Tip # 2: If you want to add additional nutrients to the oat bars you can add replace a portion of the pumpkin purée with roasted butternut squash. You will just need to blend the butternut squash with a small portion of liquid to ensure it is as smooth as the pumpkin.
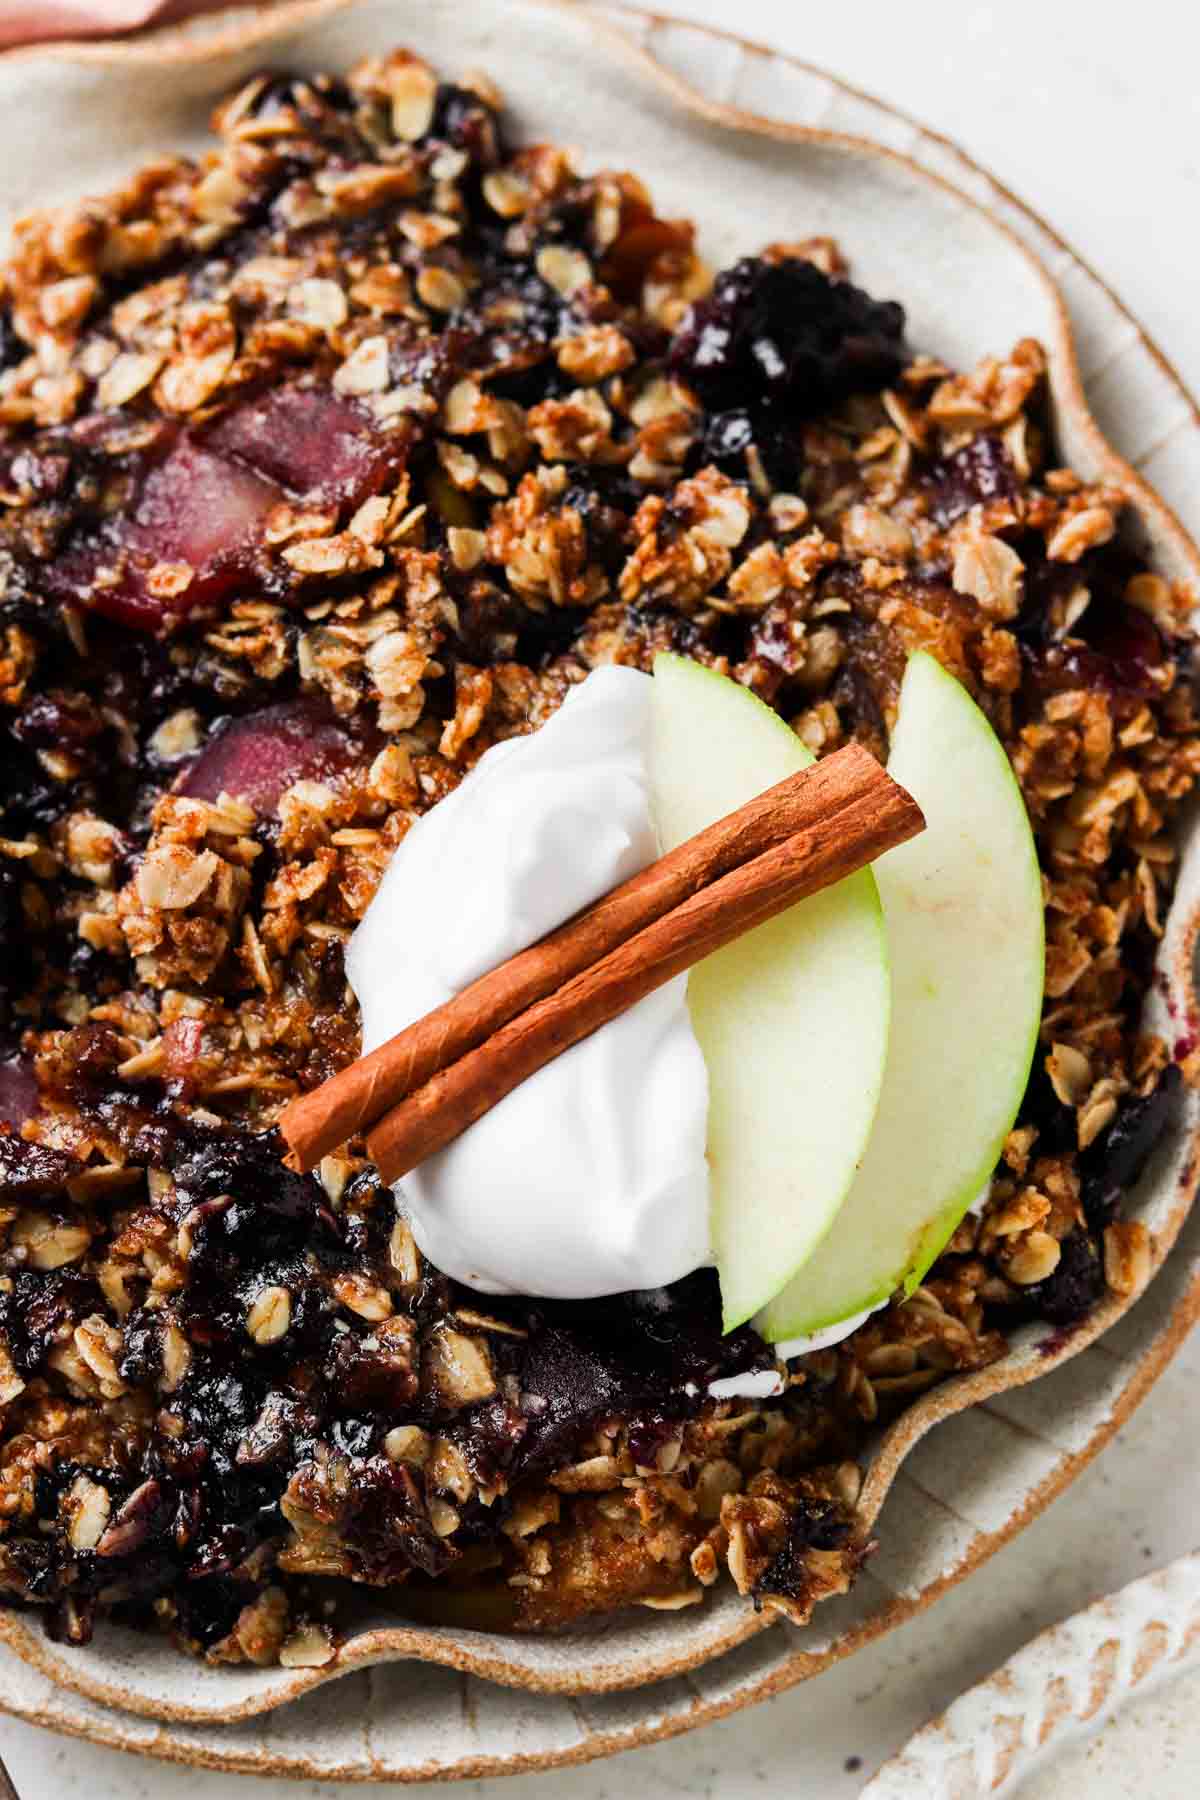
- Tip # 3: You can switch these oat bars up by adding fun toppings! You can make a simple dairy free glaze, add additional chocolate chips, or top with fresh fruit! It will only make the baked oatmeal more delicious.
Recipe FAQs
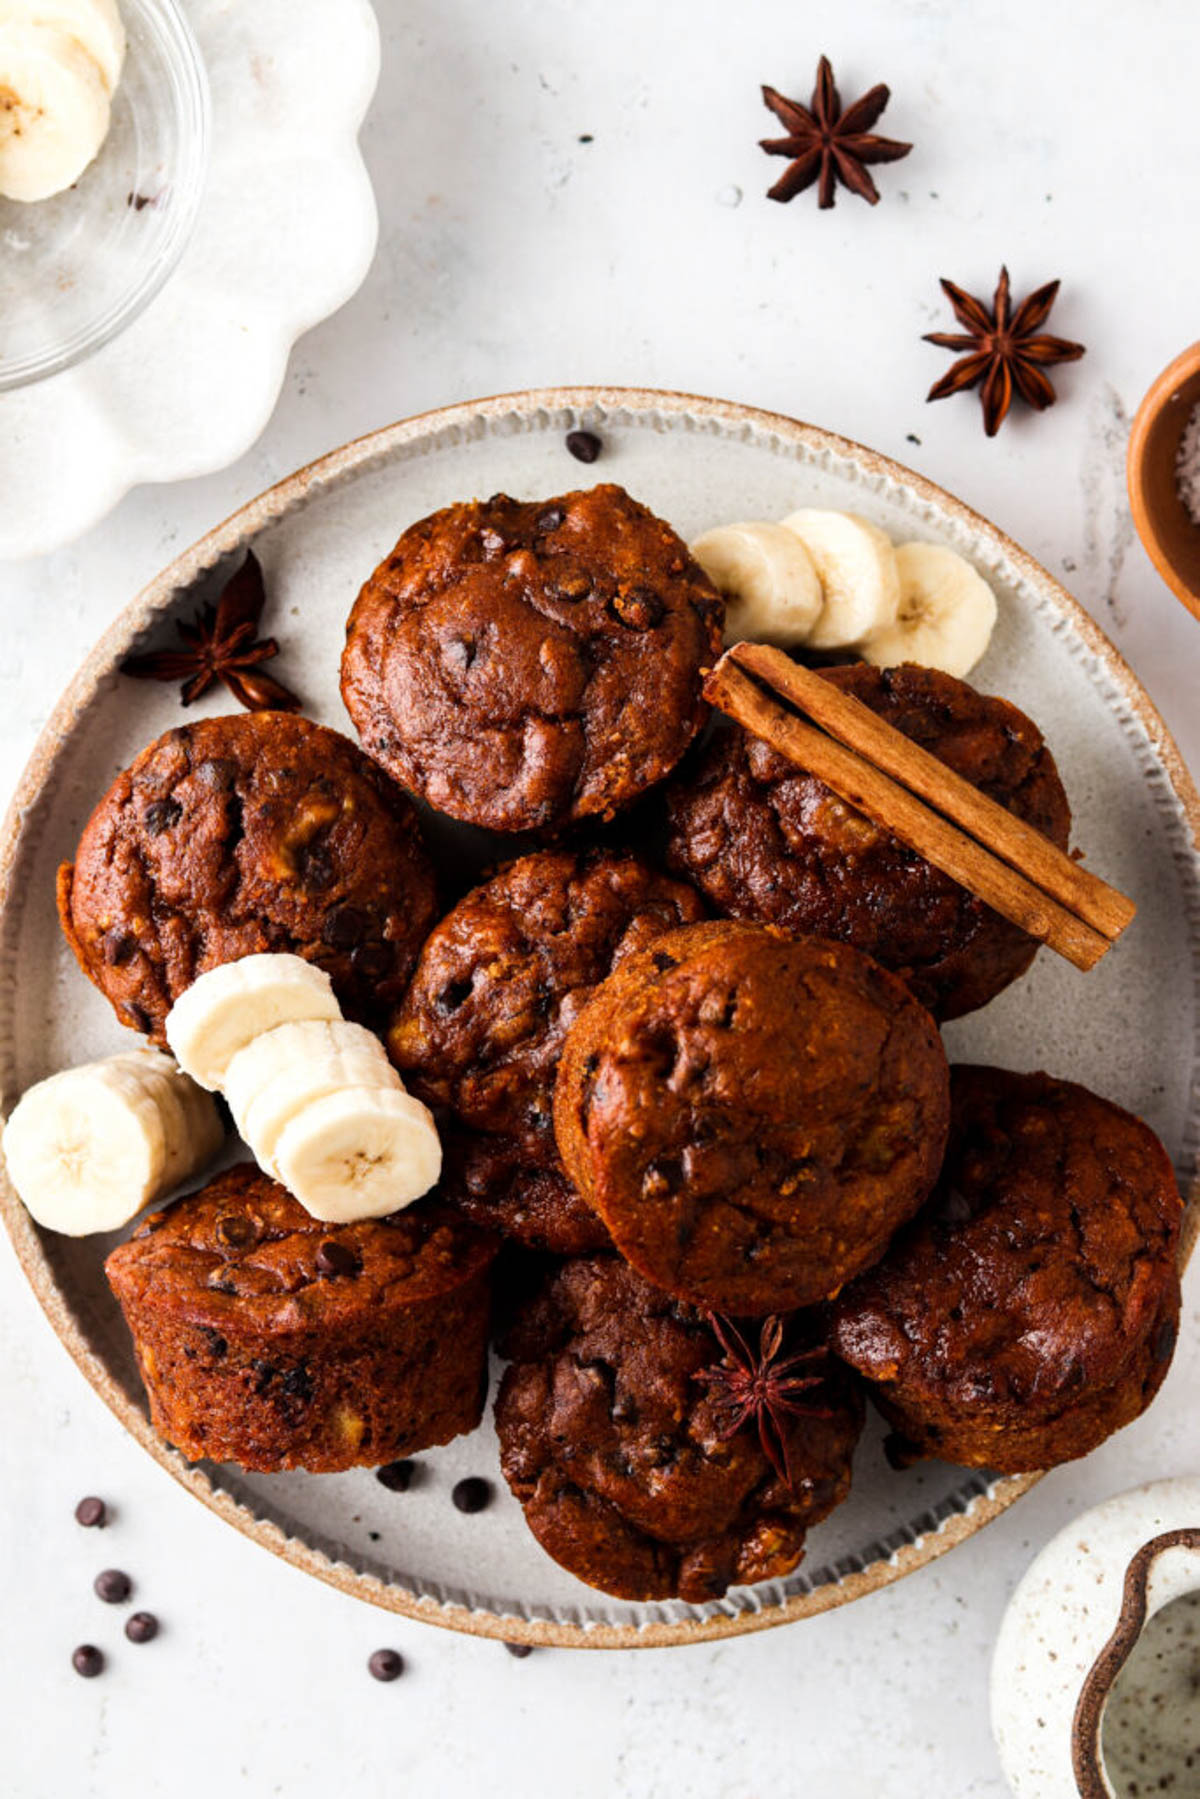
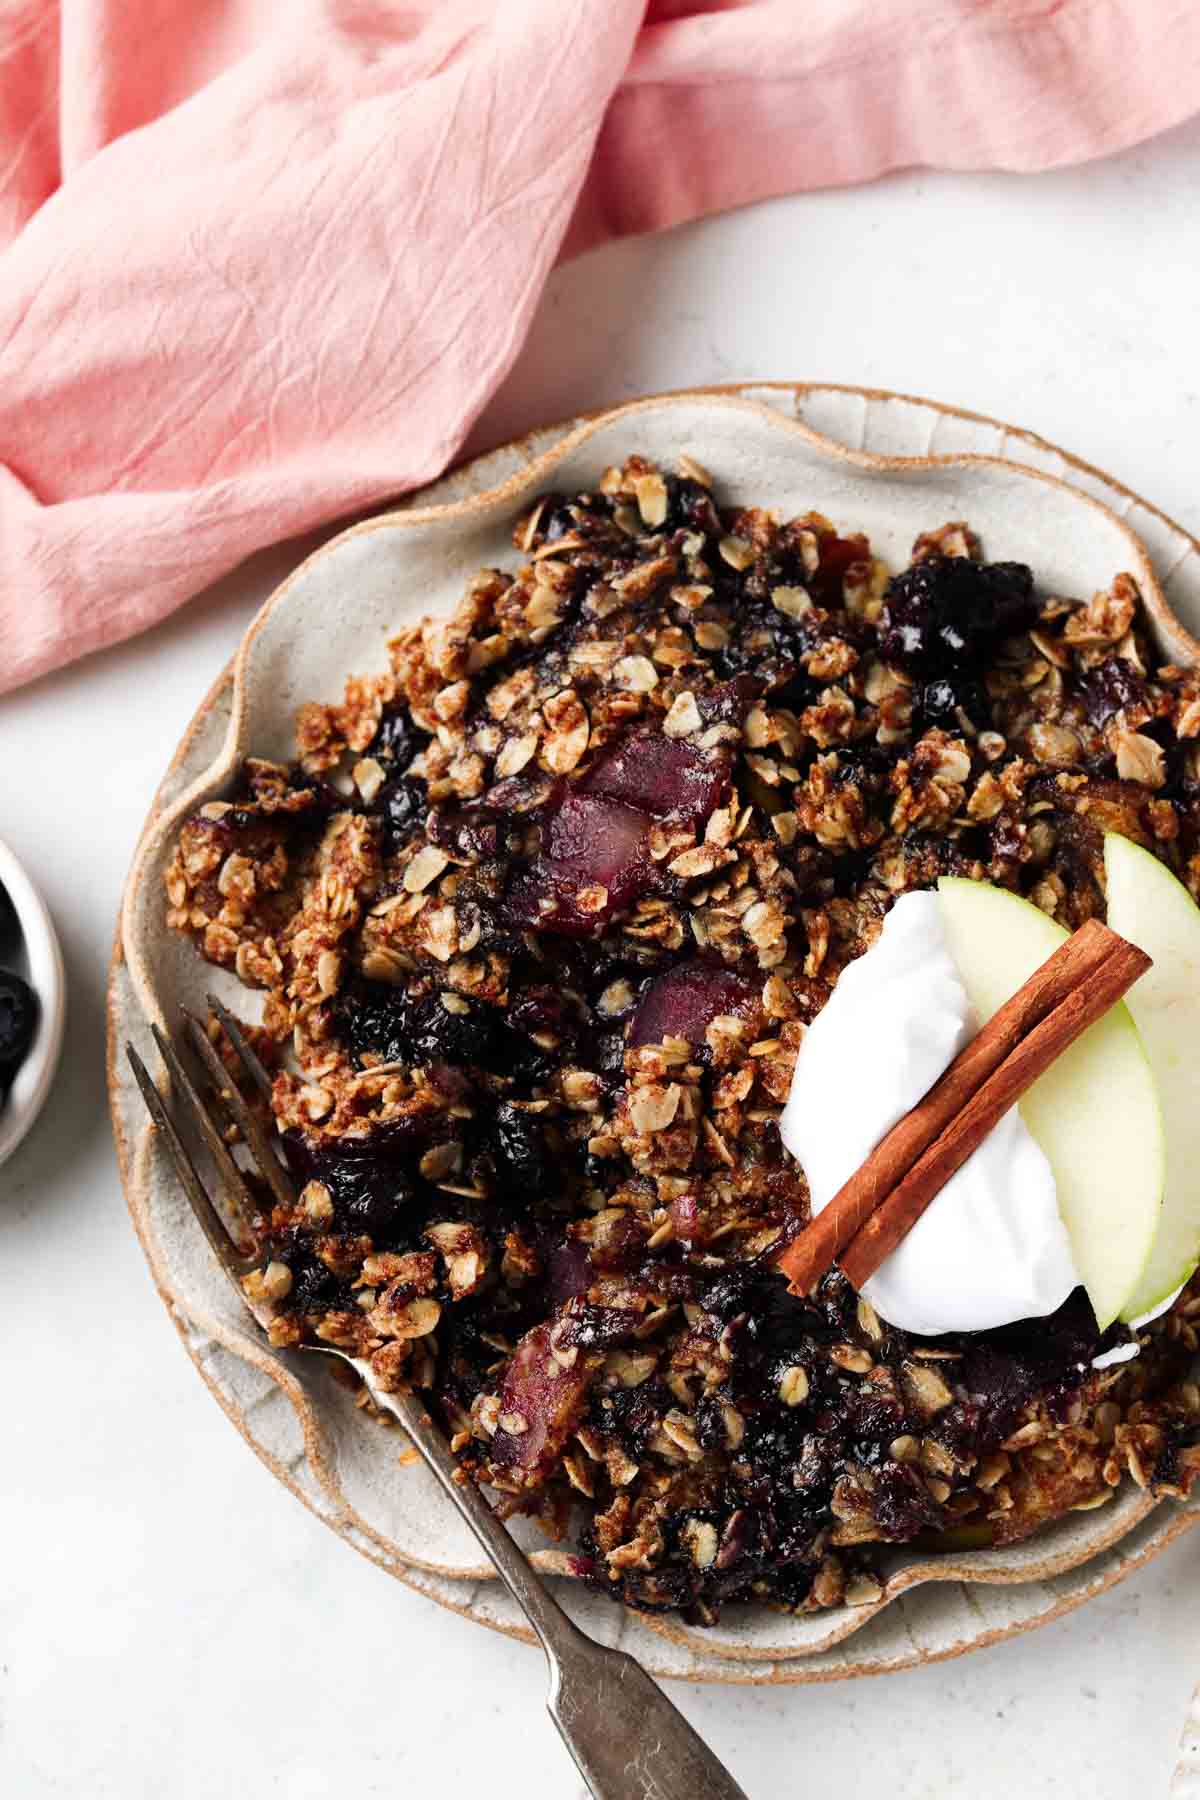
I love serving this with many things: coconut, raw honey, maple syrup, chocolate chip, banana slices, and fresh fruit.
I suggest reheating in the microwave for 20 seconds. If you want to keep the crispiness, you can reheat in the oven at 350 degrees F for 5-10 minutes.
Of course! It is so simple! Just mix together 2 1/2 teaspoons of cinnamon, 1 teaspoon nutmeg, 1 teaspoon ground ginger, and 1 teaspoon of allspice. Then, simply enjoy!
Steel cut oats will change the texture and consistency of the baked oatmeal. If you are using quick oats, you will want to add additional oats to the batter to get the right consistency of the batter before baking so that it isn’t too wet.
Yes! These are great to freeze in advance. You will want to ensure to freeze them in single layers in an air tight container.
Storage Instructions
- This recipe can be stored in the refrigerator for up to 5 days in an air tight container.
- This baked oatmeal can be stored in the freezer in an air tight container for up to 3 months.
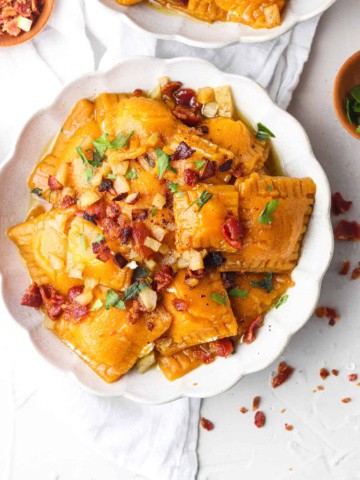
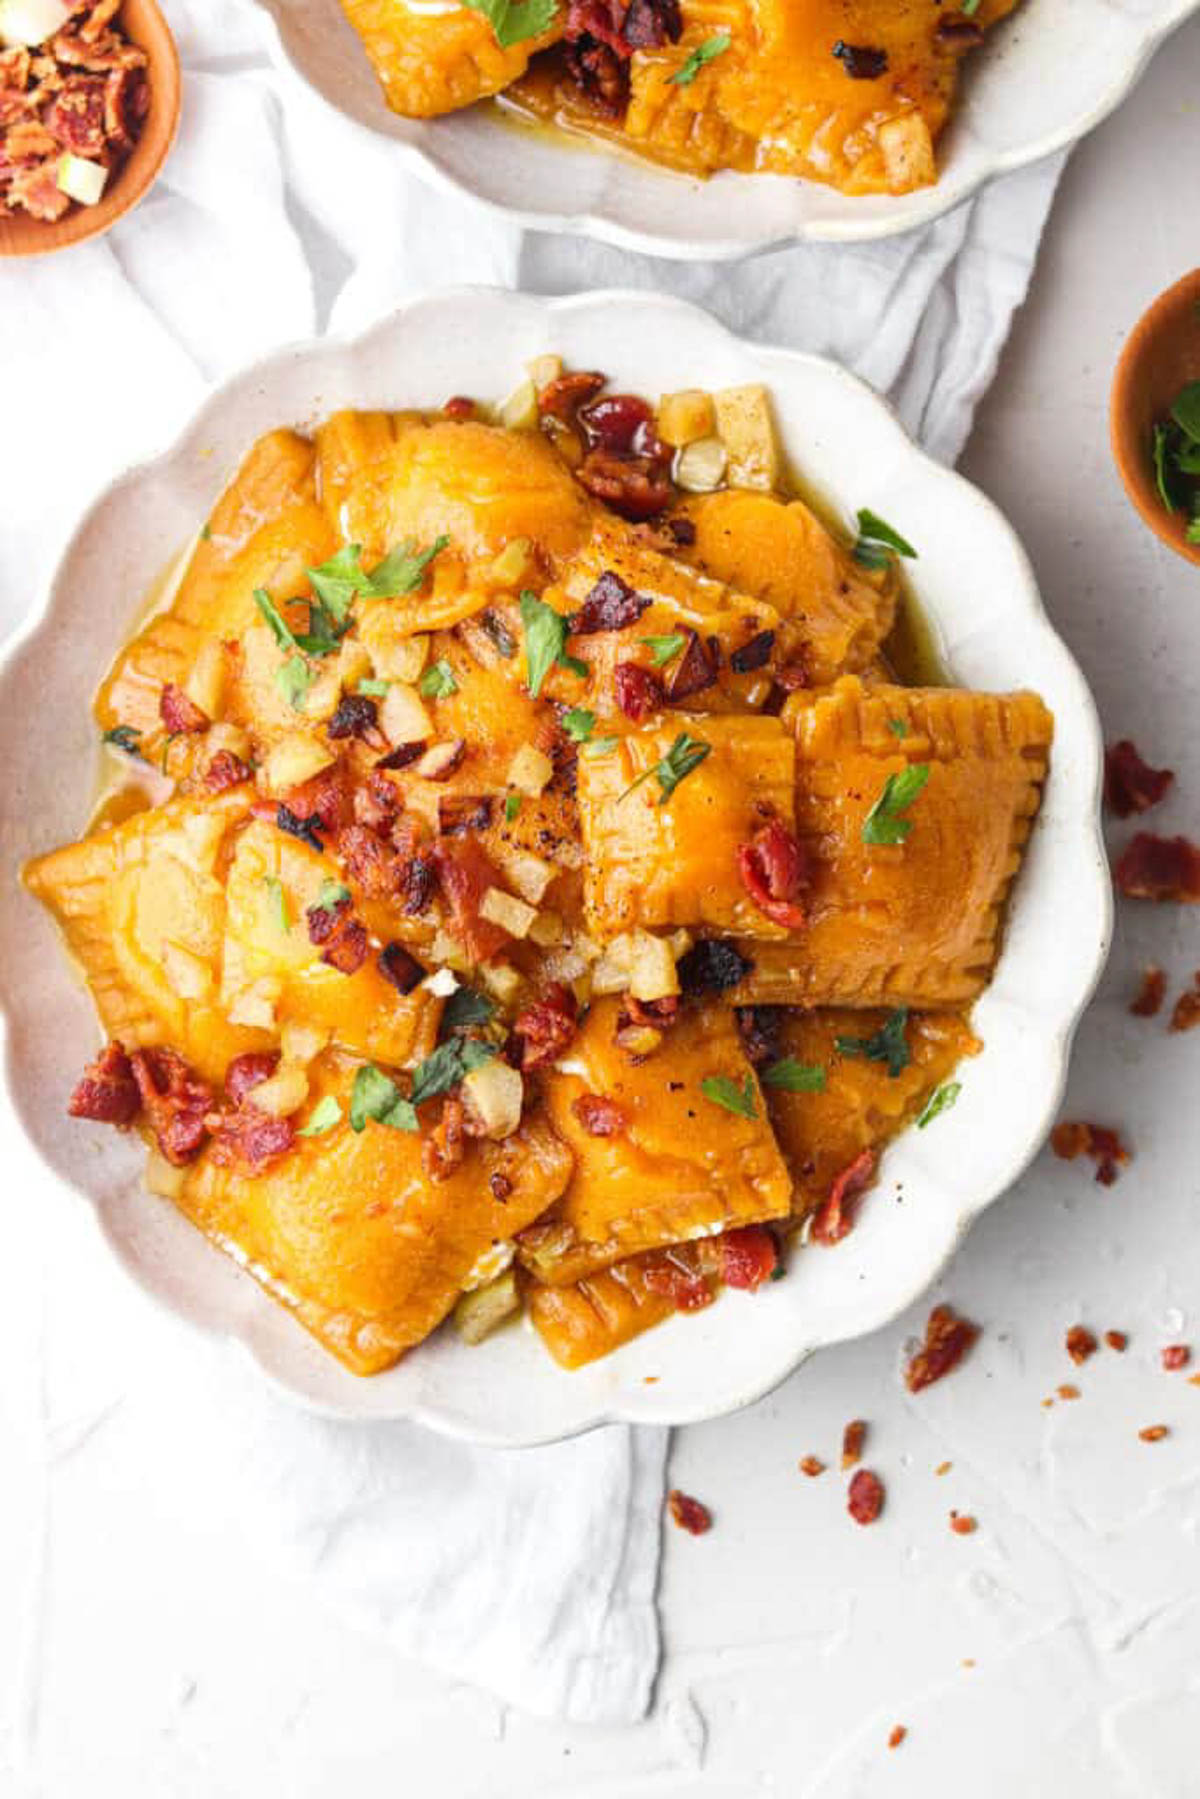
Other Pumpkin Recipes You Will Love
Are you interested in a list of my go to healthy alternatives?
Download your FREE guide below
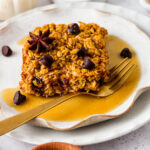
Healthy Pumpkin Oatmeal Bars (Gluten Free)
Ingredients
- 1 cup coconut milk
- 2.5 cups old fashioned oats
- 1/2 cup pumpkin puree
- 1/4 cup maple syrup
- 1/4 cup coconut oil
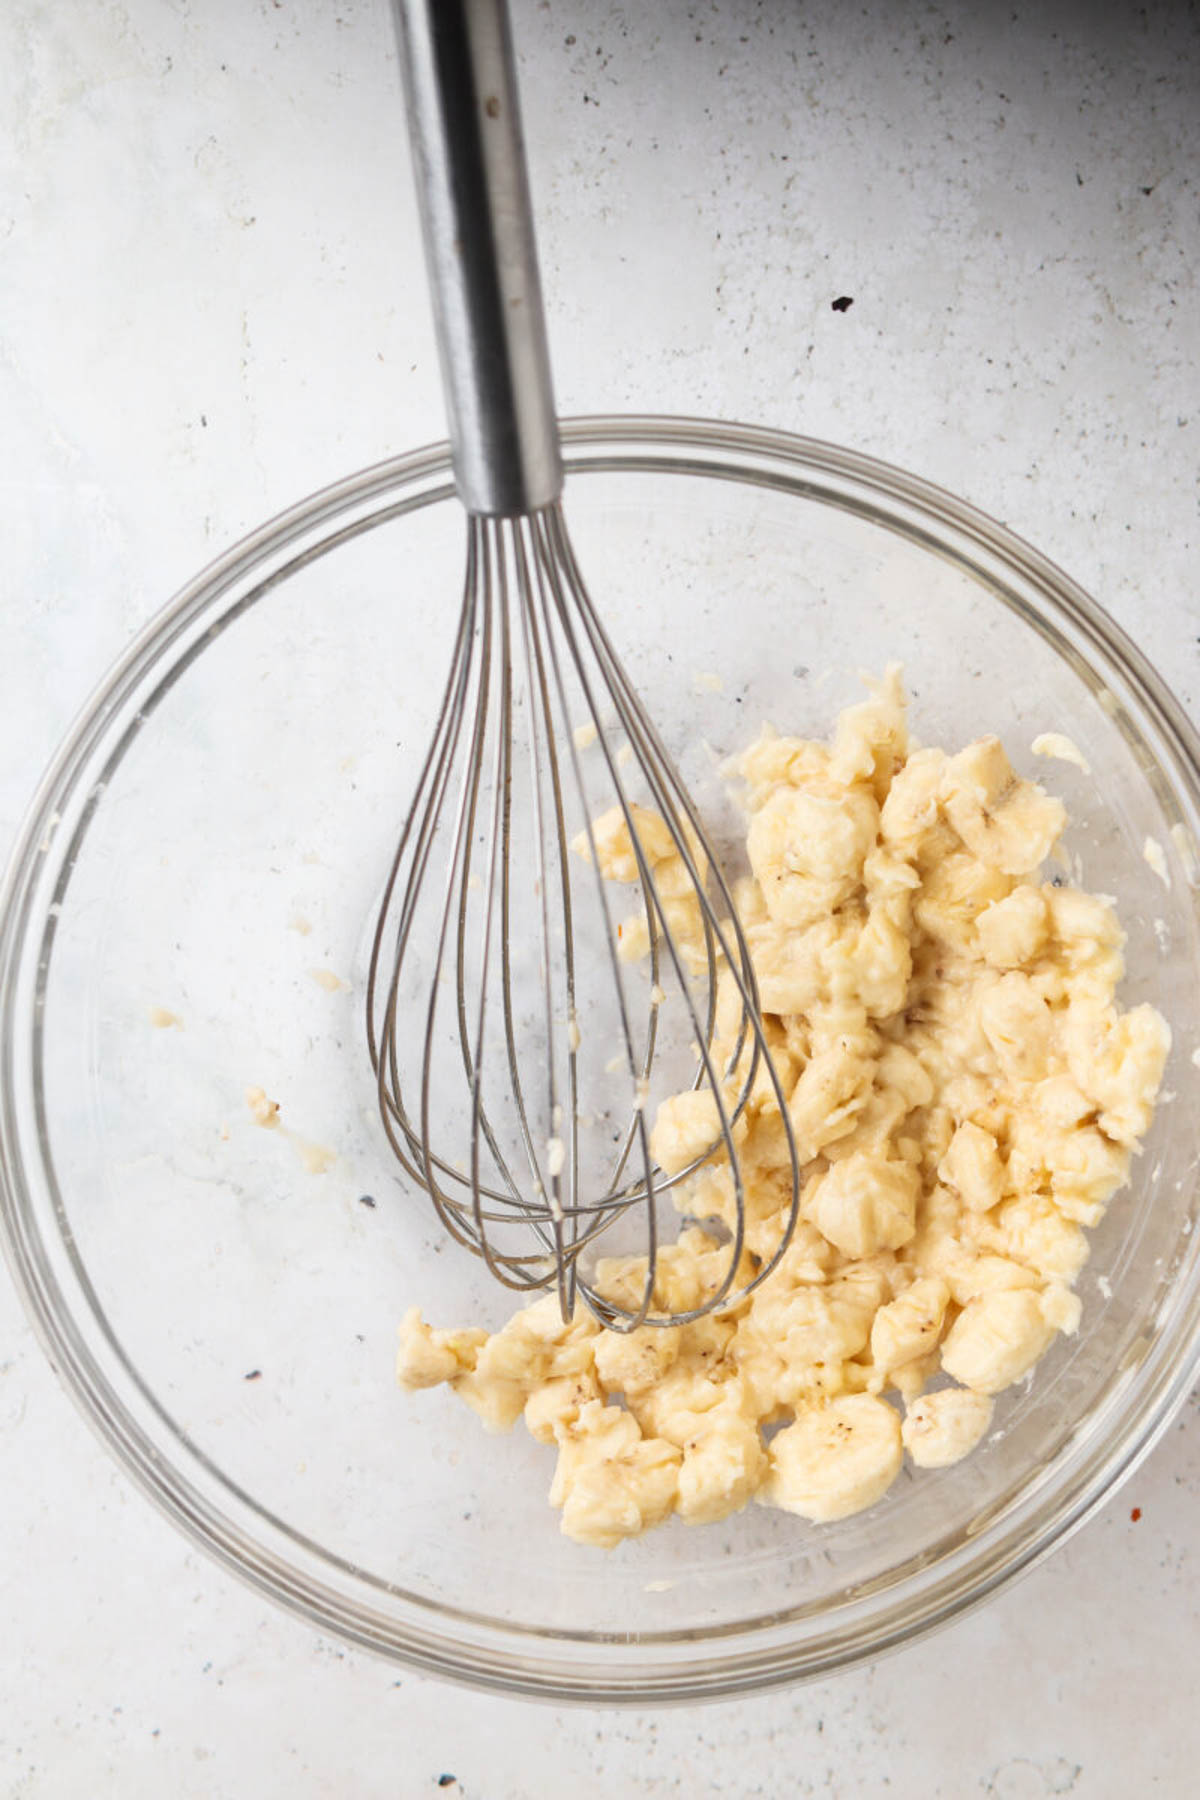
- 1 banana mashed
- 1 egg
- 1 tsp pumpkin spice
- 1/2 tsp baking powder
- 1/3 cup chocolate chips dairy free enjoy life chocolate chips are my favorite
- cooking oil spray I like avocado oil
Instructions
- Preheat the oven to 350 degrees F. Place all ingredients in a bowl and mix together. Spray an 8 by 10 casserole dish with avocado oil spray and then evenly lay the mixture in the pan. Bake for 30-35 minutes or until the top is golden. Allow the oatmeal bake to cool prior to cutting it.