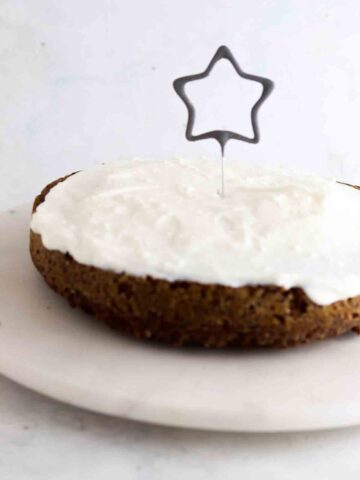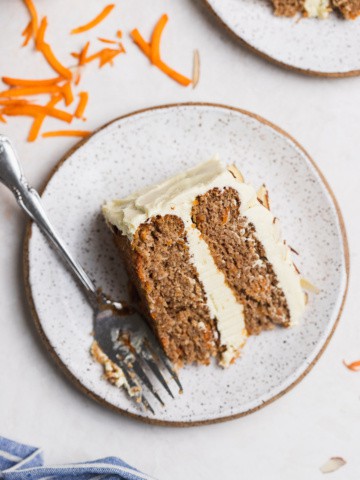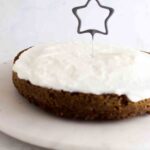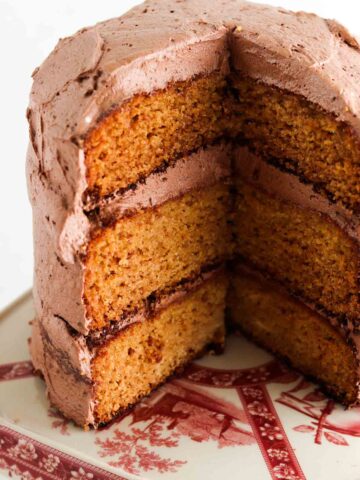
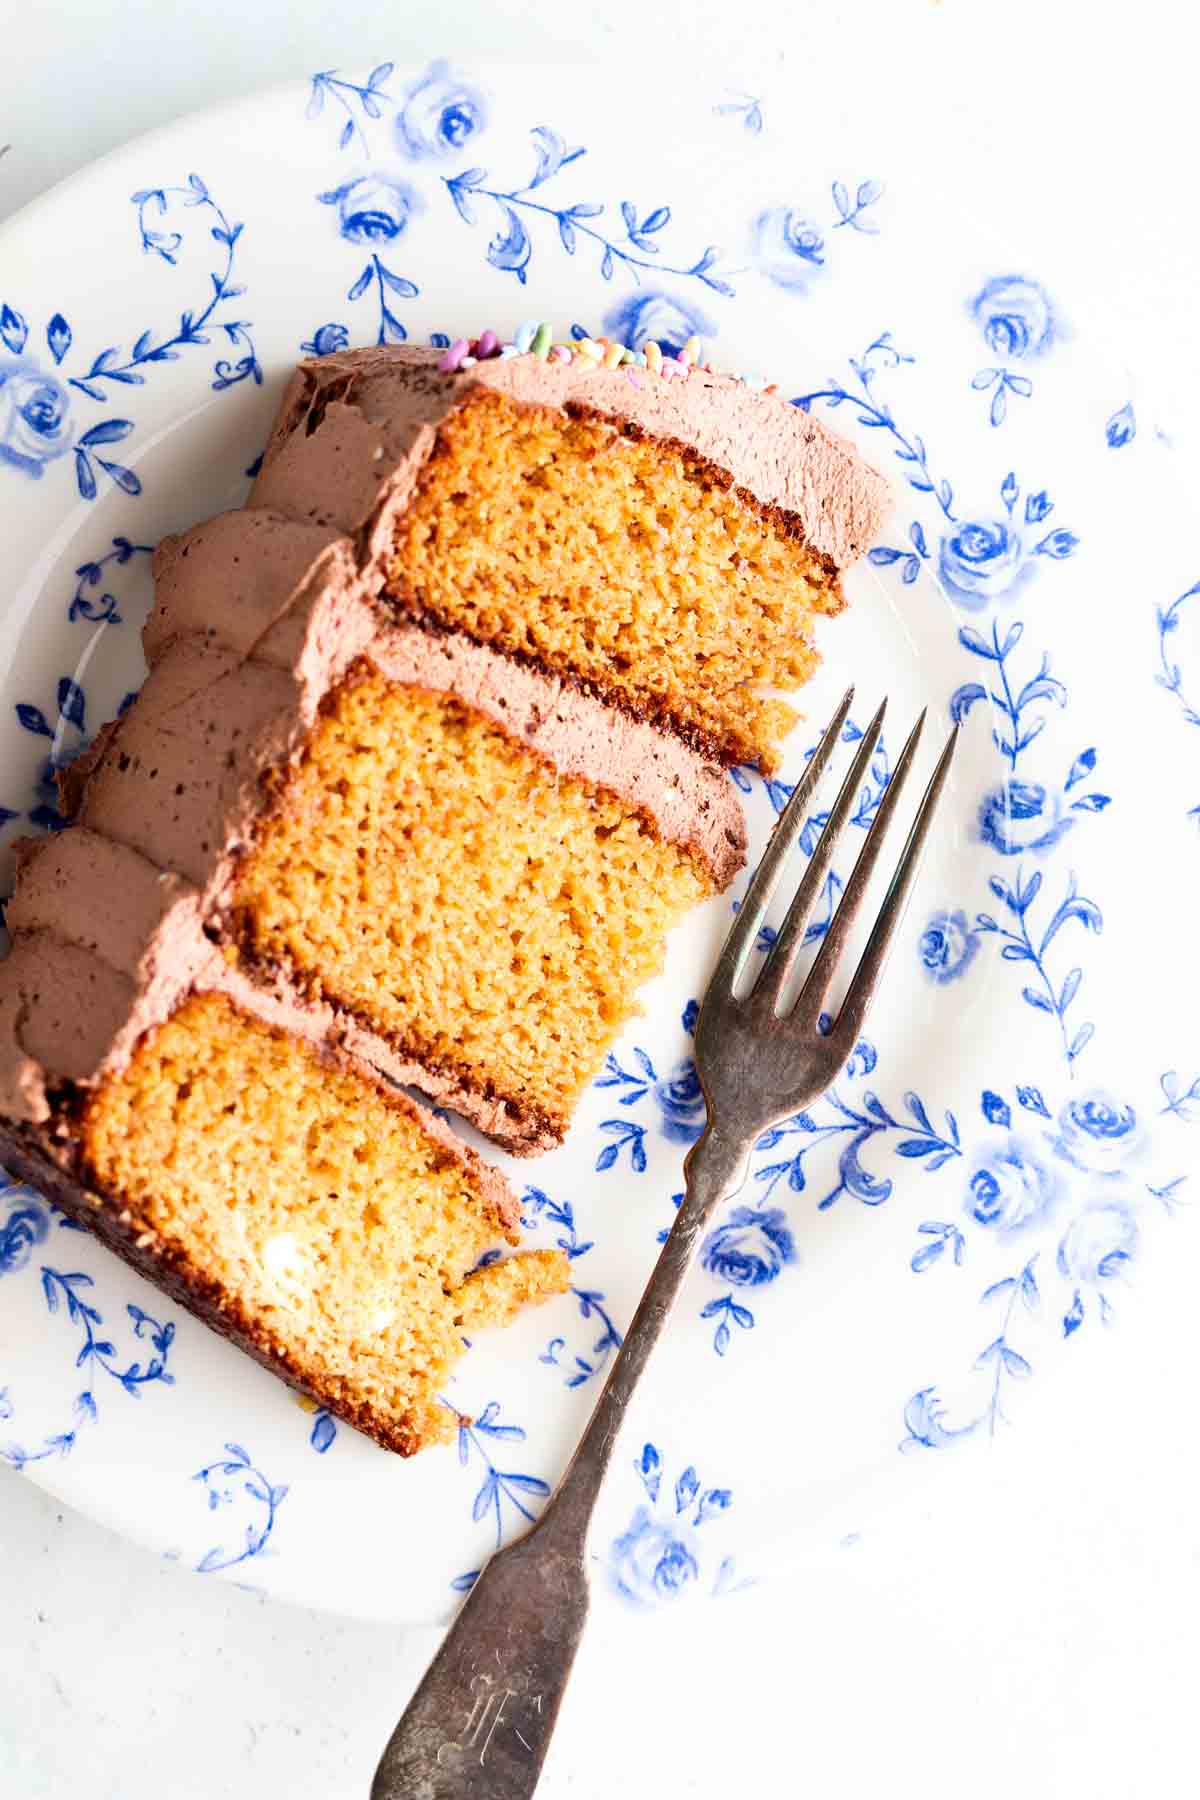
This special occasion Gluten and Dairy Free Cake is super easy to make and your whole family will love it! This sponge cake is so soft and moist unlike most gluten free cakes. While it is great for those on a gluten-free diet or dairy-free diet, it will have your guests shocked there is not gluten or dairy in this cake. This recipe only takes 15 minutes of hands on time and is the perfect make ahead cake.

If you have been following along for awhile, you know that when my husband and I got married, I had the hardest time finding a gluten free and dairy free cake. It was so difficult that we ended up getting out cake flown in from California. Because of that, we ended up taking over a Gluten Free Bakery here in Pittsburgh. Since then, it has become my mission to make gluten free and dairy free cakes and treats more accessible. If you love this recipe, you will love my other healthier sweet treats like my Gluten Free Rice Crispy Treats, Gluten Free Red Velvet Cake, Gluten Free Strawberry Cupcakes, Gluten Free Banana Cake, Homemade Vegan Twix Bars, The Best Gluten Free Chocolate Tart, Vegan Chocolate Truffles, and Homemade Healthy Marshmallows. This recipe has become my go to birthday cake for all of my birthday needs!
[feast_advanced_jump_to]Why I Love This Recipe
- This recipe is naturally dairy free, gluten free, refined sugar free, grain free and soy free.
- There are not any additives like xanthan gum or processed sugars in this recipe!
- If you would prefer to buy this recipe already pre-made, you can buy it from my meal prep company called Allianna’s Kitchen. We deliver locally here in Pittsburgh.
- You can make these cakes ahead of time and freeze them so all you need to do is frost them prior to serving. I always like having a few on hand for when I am hosting.
- This recipe requires less than 20 minutes of hands on time!
- This cake is great for people like myself with food intolerances!
- No one will even know this recipe is dairy free, gluten free and soy free!
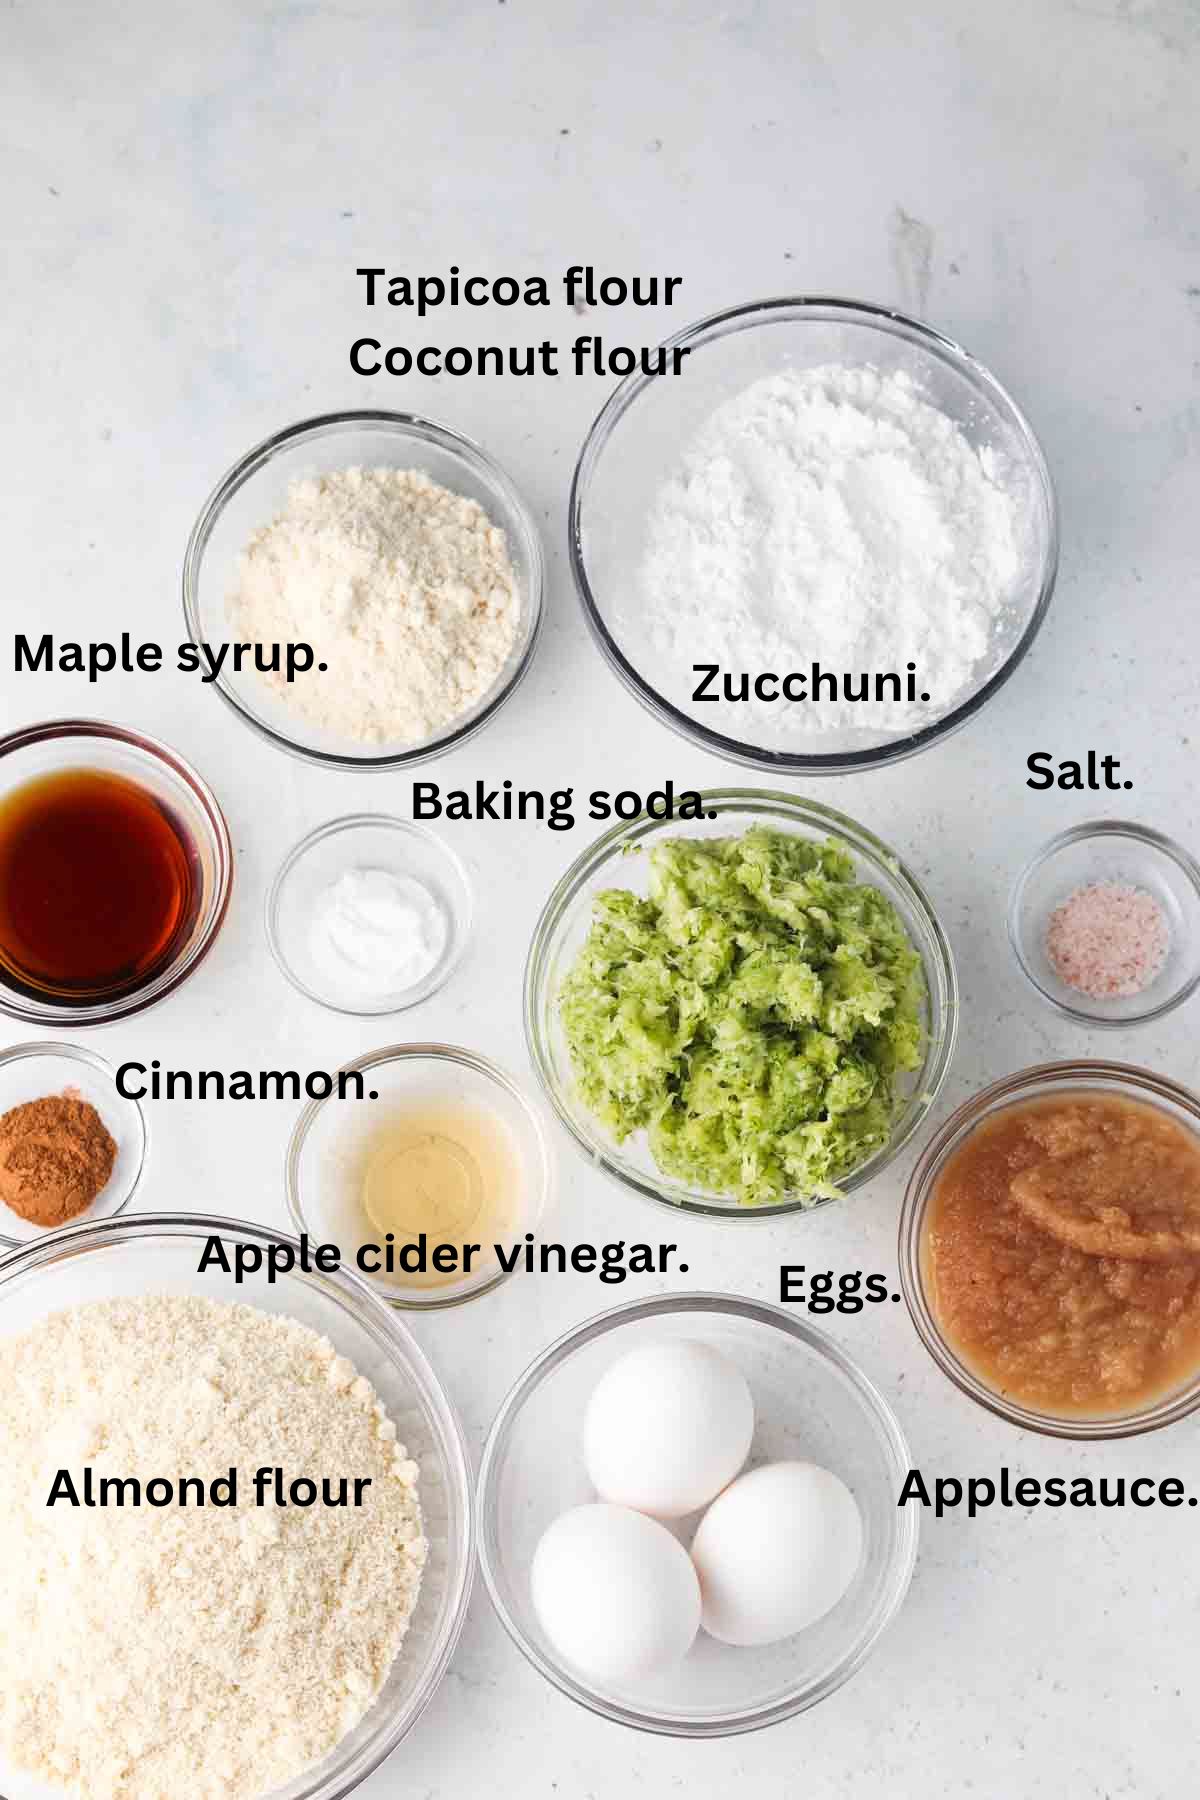
Recipe Ingredients
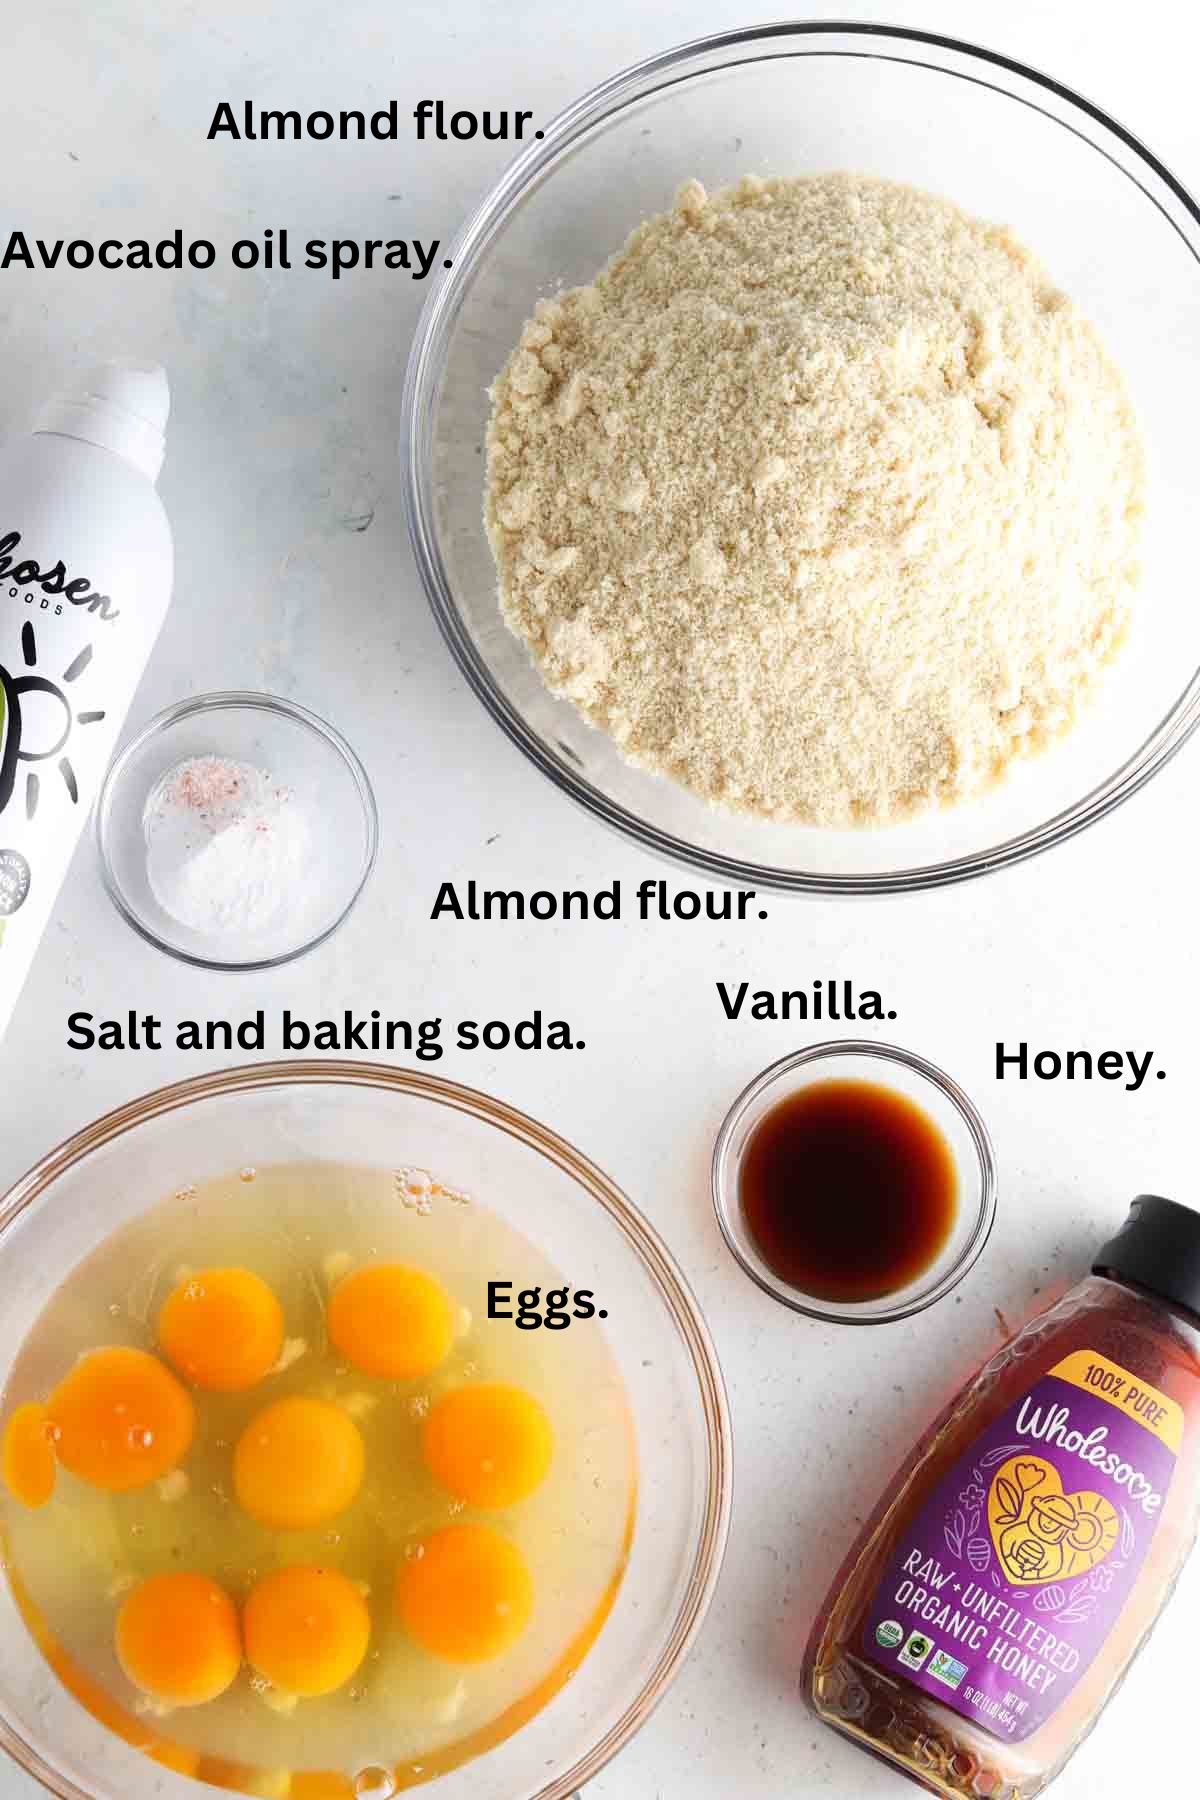
- Eggs-This is a sponge cake so eggs are a must.
- Almond flour-This is my go to flour in gluten free baking. I love getting Costcos brand or Bob’s Red Mill.
- Honey-This is my go to sweetener for this recipe. I love honey because it adds a slight sweetness without it being overpowering.
- Vanilla extract-For the vanilla flavor.
- Baking soda-For the cake to rise.
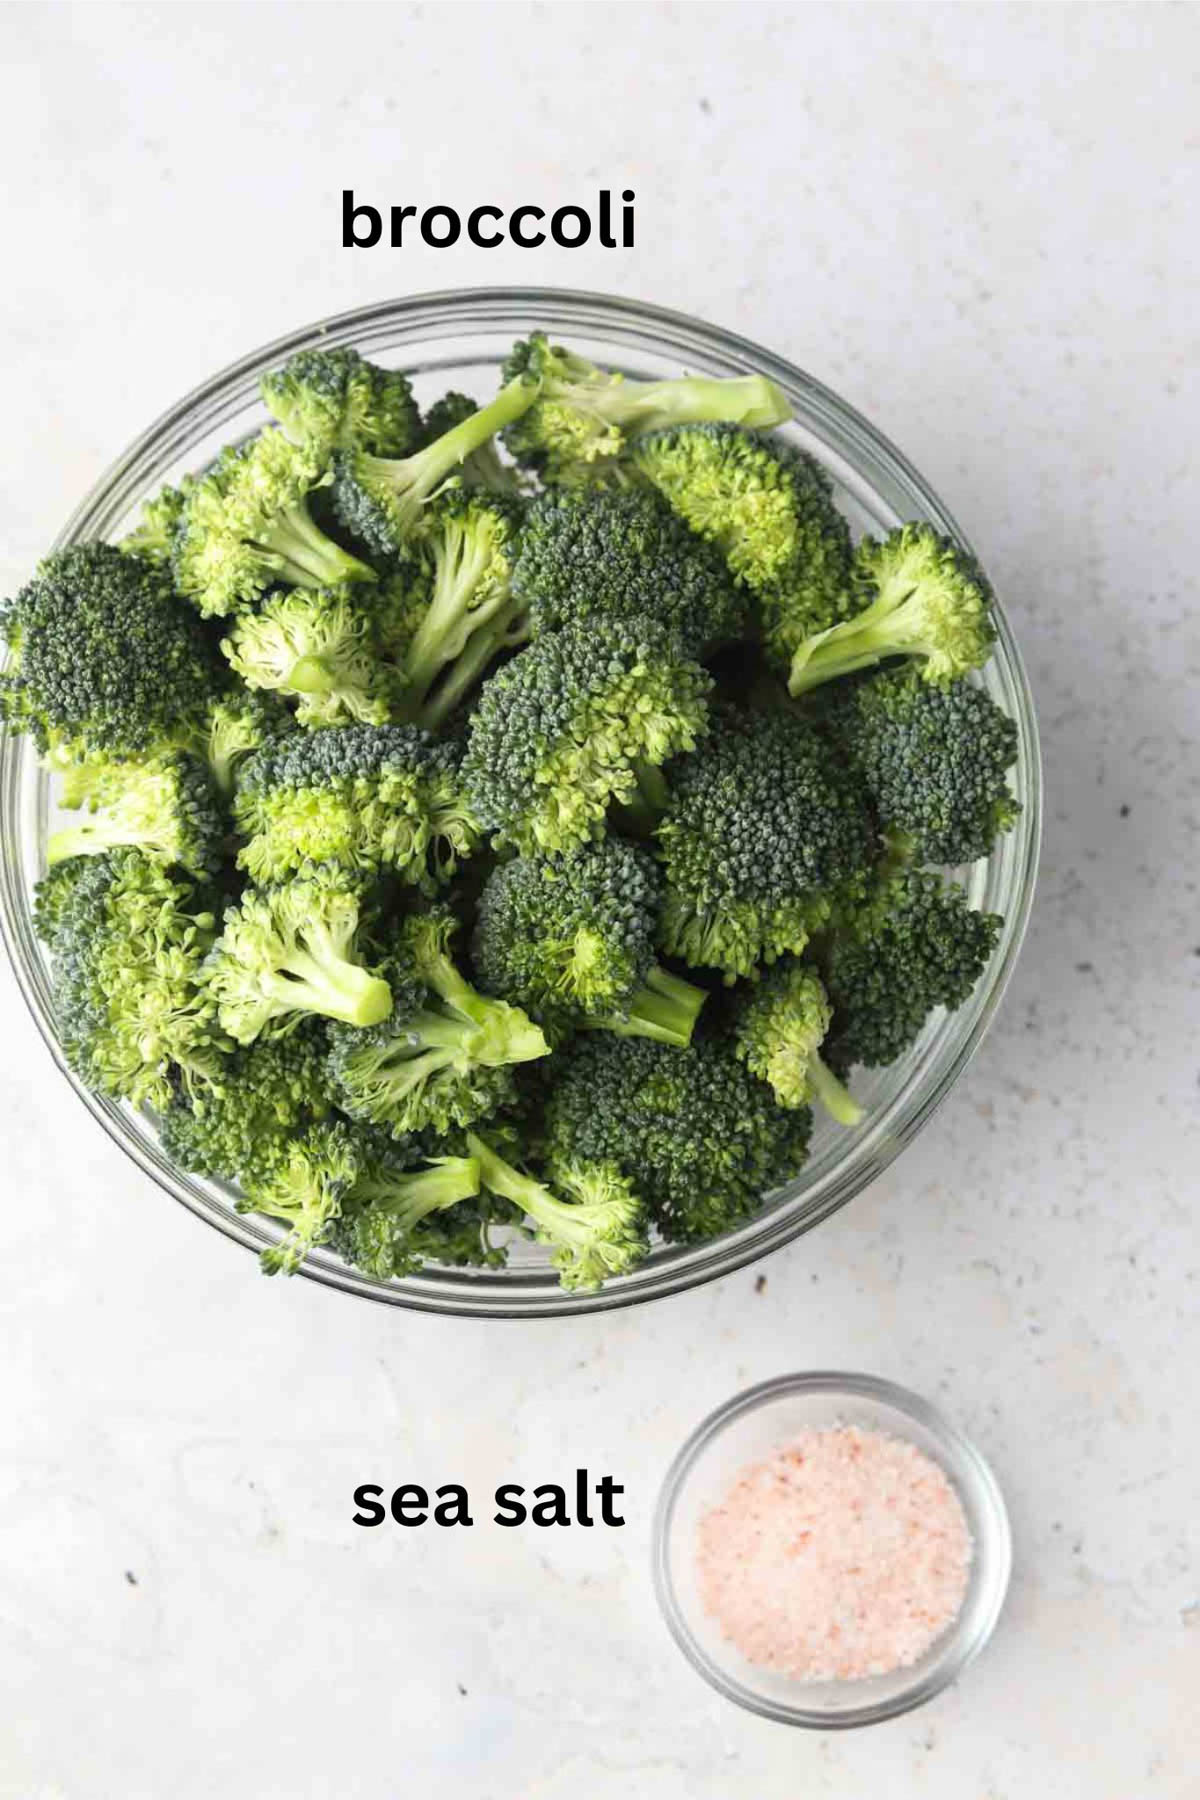
- Sea salt-For taste.
- Avocado oil-For greasing the pans.
See the recipe card below for a full list of ingredients and measurements.
Recipe Substitutions and Variations
- Almond flour-Do not use all purpose flour or any other kinds of gf flour. I have only tested this recipe with almond flour. Not all gluten-free flours are created equally so do not try and substitute another kind of flour or any kind of gluten-free flour blend. Also do not use almond meal, it is thicker than regular almond flour.
- Honey-You can also use maple syrup or agave.
- Eggs-Since I always get asked, I thought I would throw it out there. Do NOT try to substitute the eggs in this recipe with flax eggs or any other egg replacer. This recipe needs real eggs to rise. Unfortunately you cannot get a gluten free vegan cake from this recipe.
- Avocado oil-I don’t use seed oils in my house like vegetable oil so I always use avocado oil but any kind of fat will work. You can also use butter or Ghee.
- Lemon zest-If you love lemony cakes, feel free to sprinkle 1 tbsp lemon zest and 1/4 cup lemon juice in this cake. You can also make my Gluten Free Lemon Pound Cake if lemony desserts are your thing.
This recipe has not been tested with other substitutions or variations. If you replace or add any ingredients, please let us know how it turned out in the comments below!
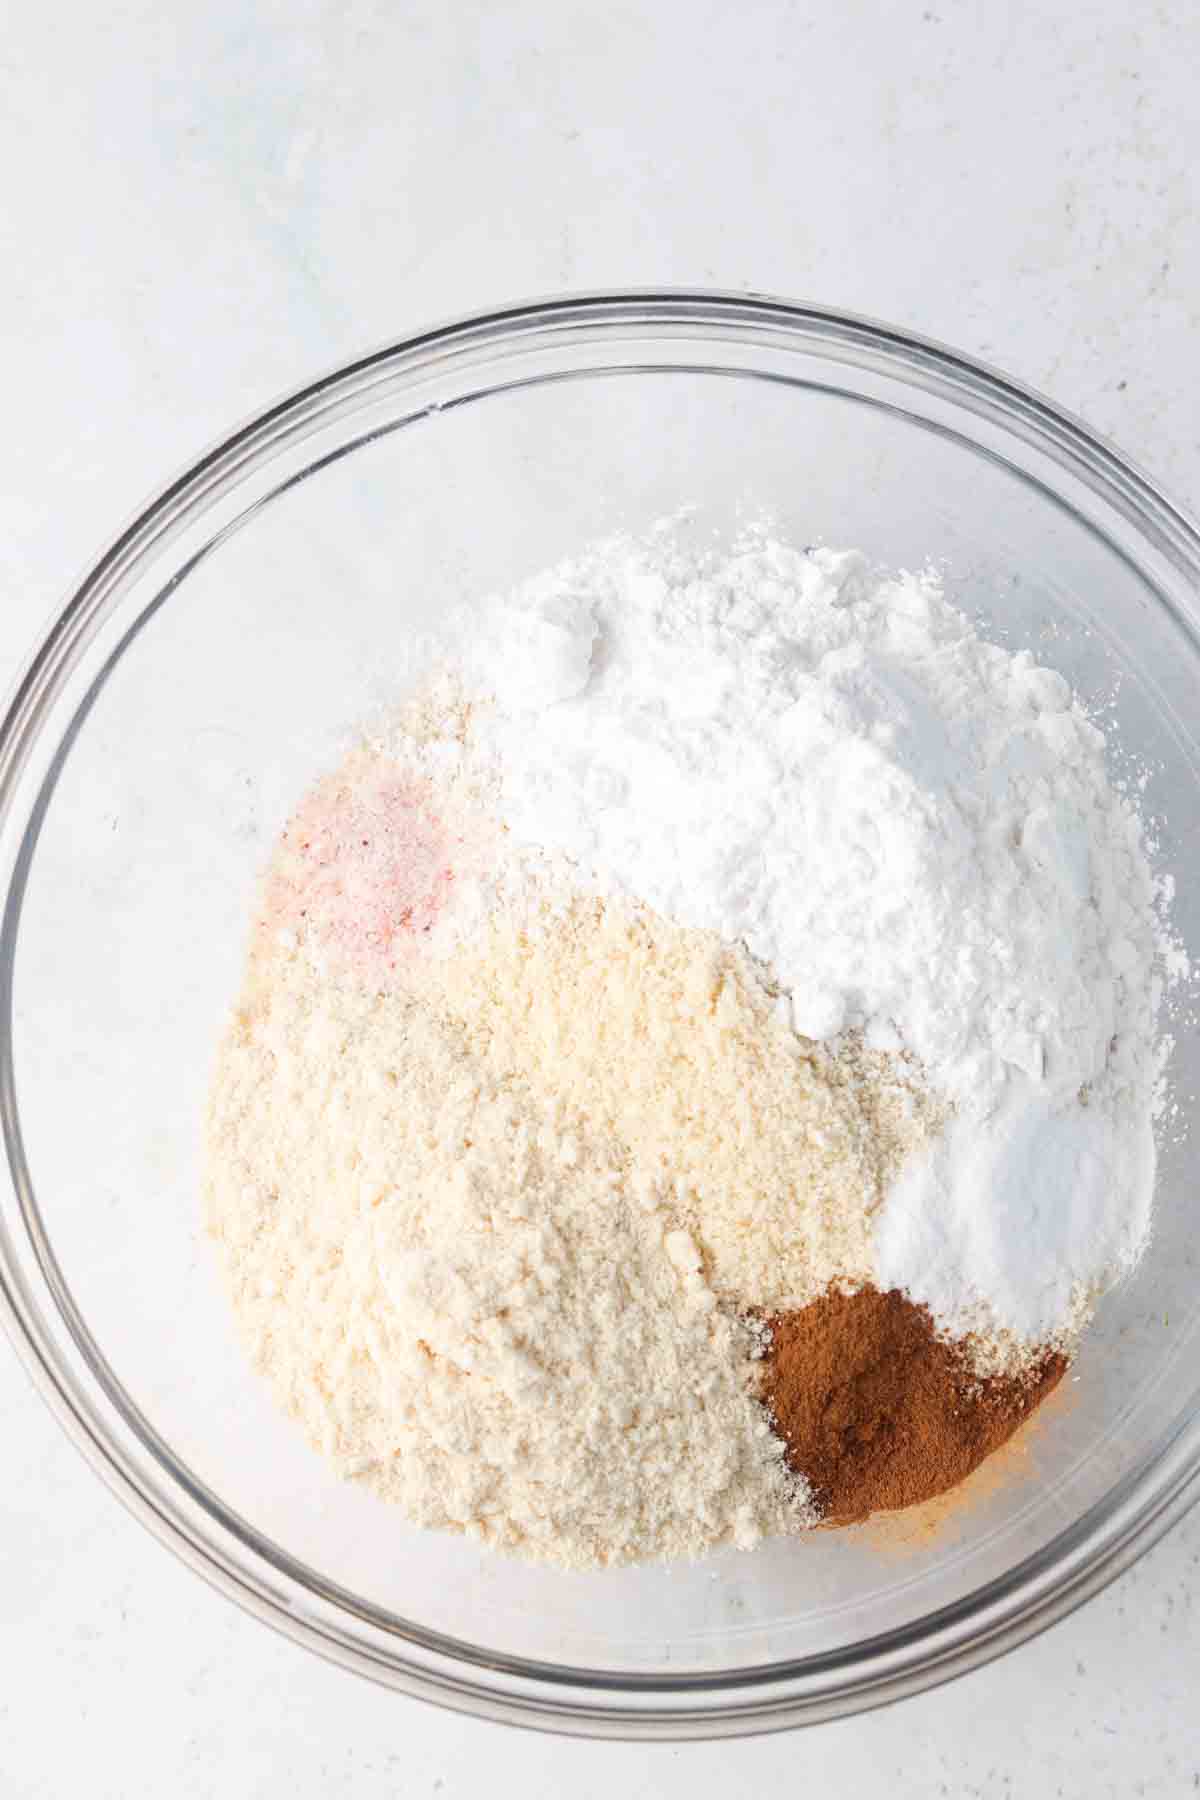
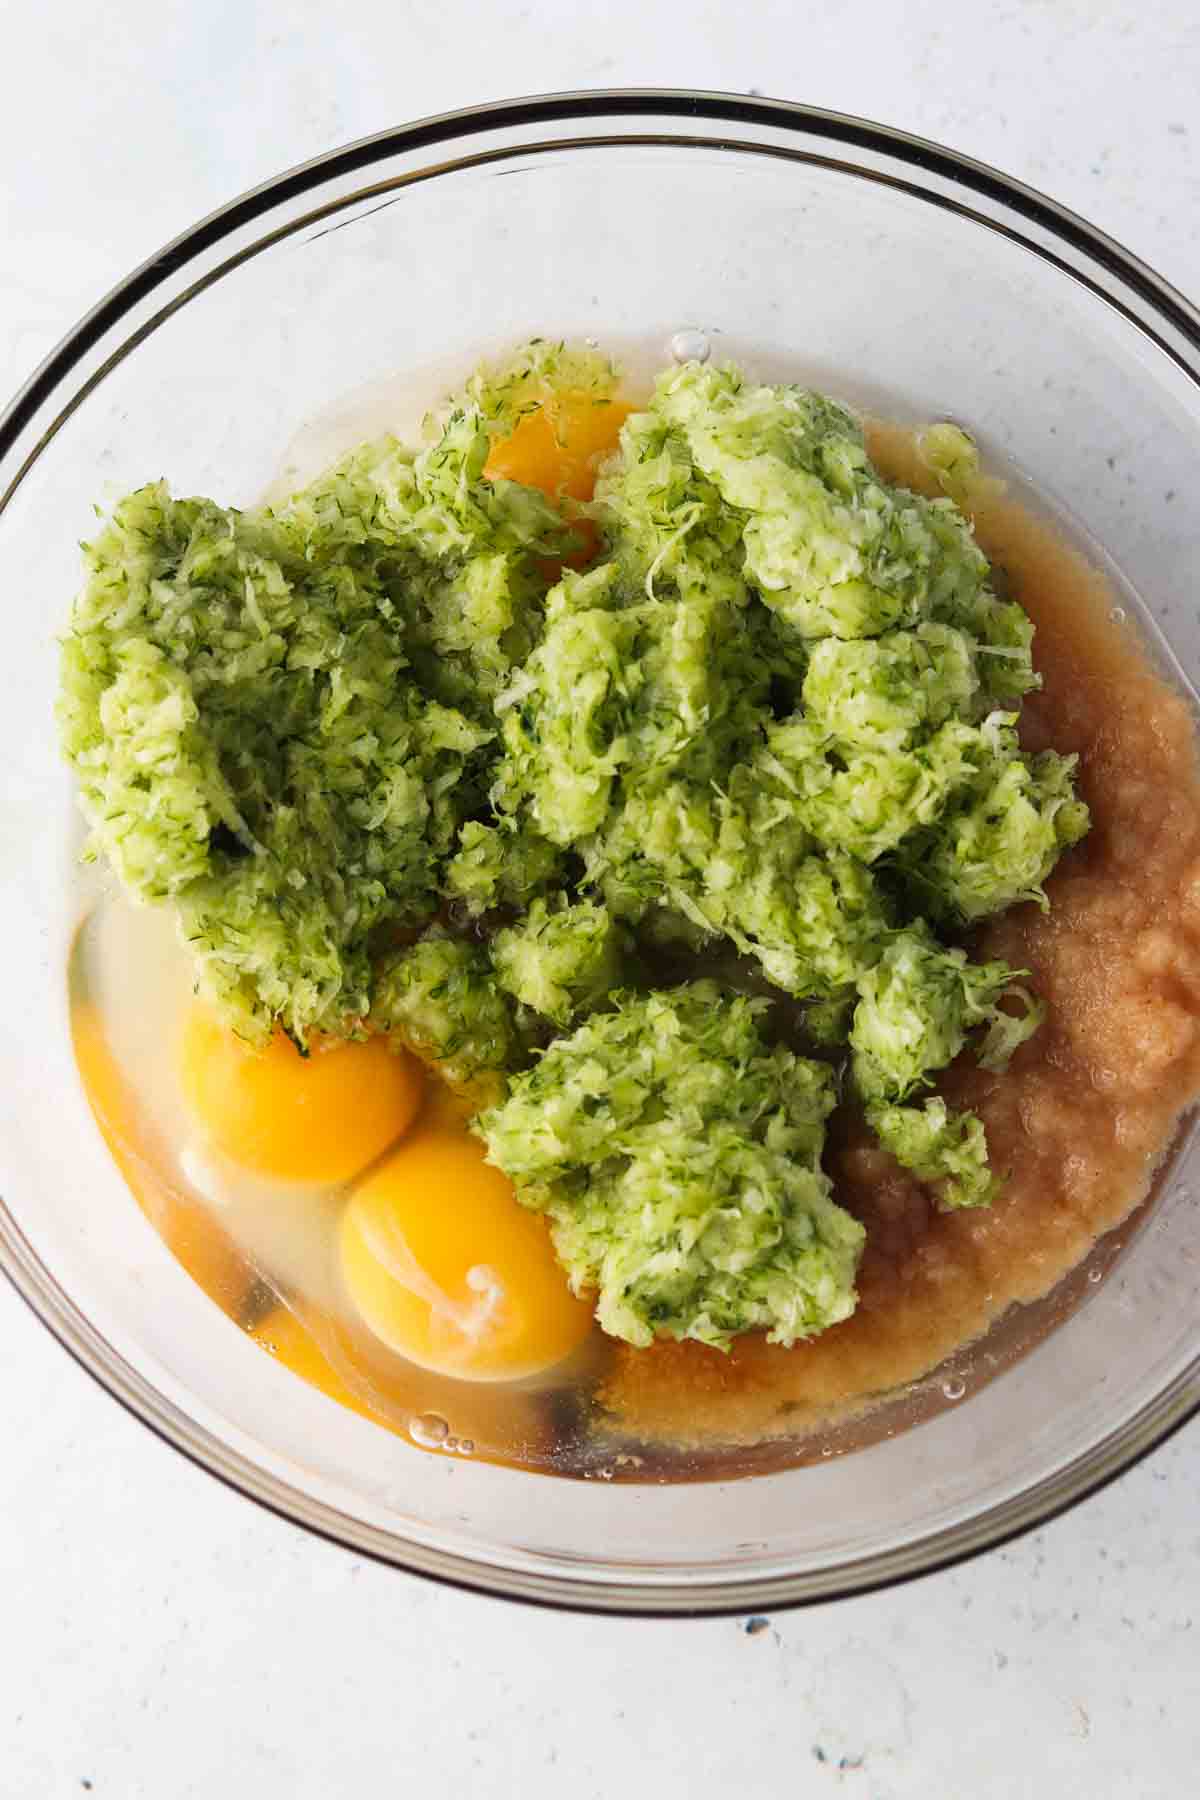
Recipe Instructions


Bakers Tips
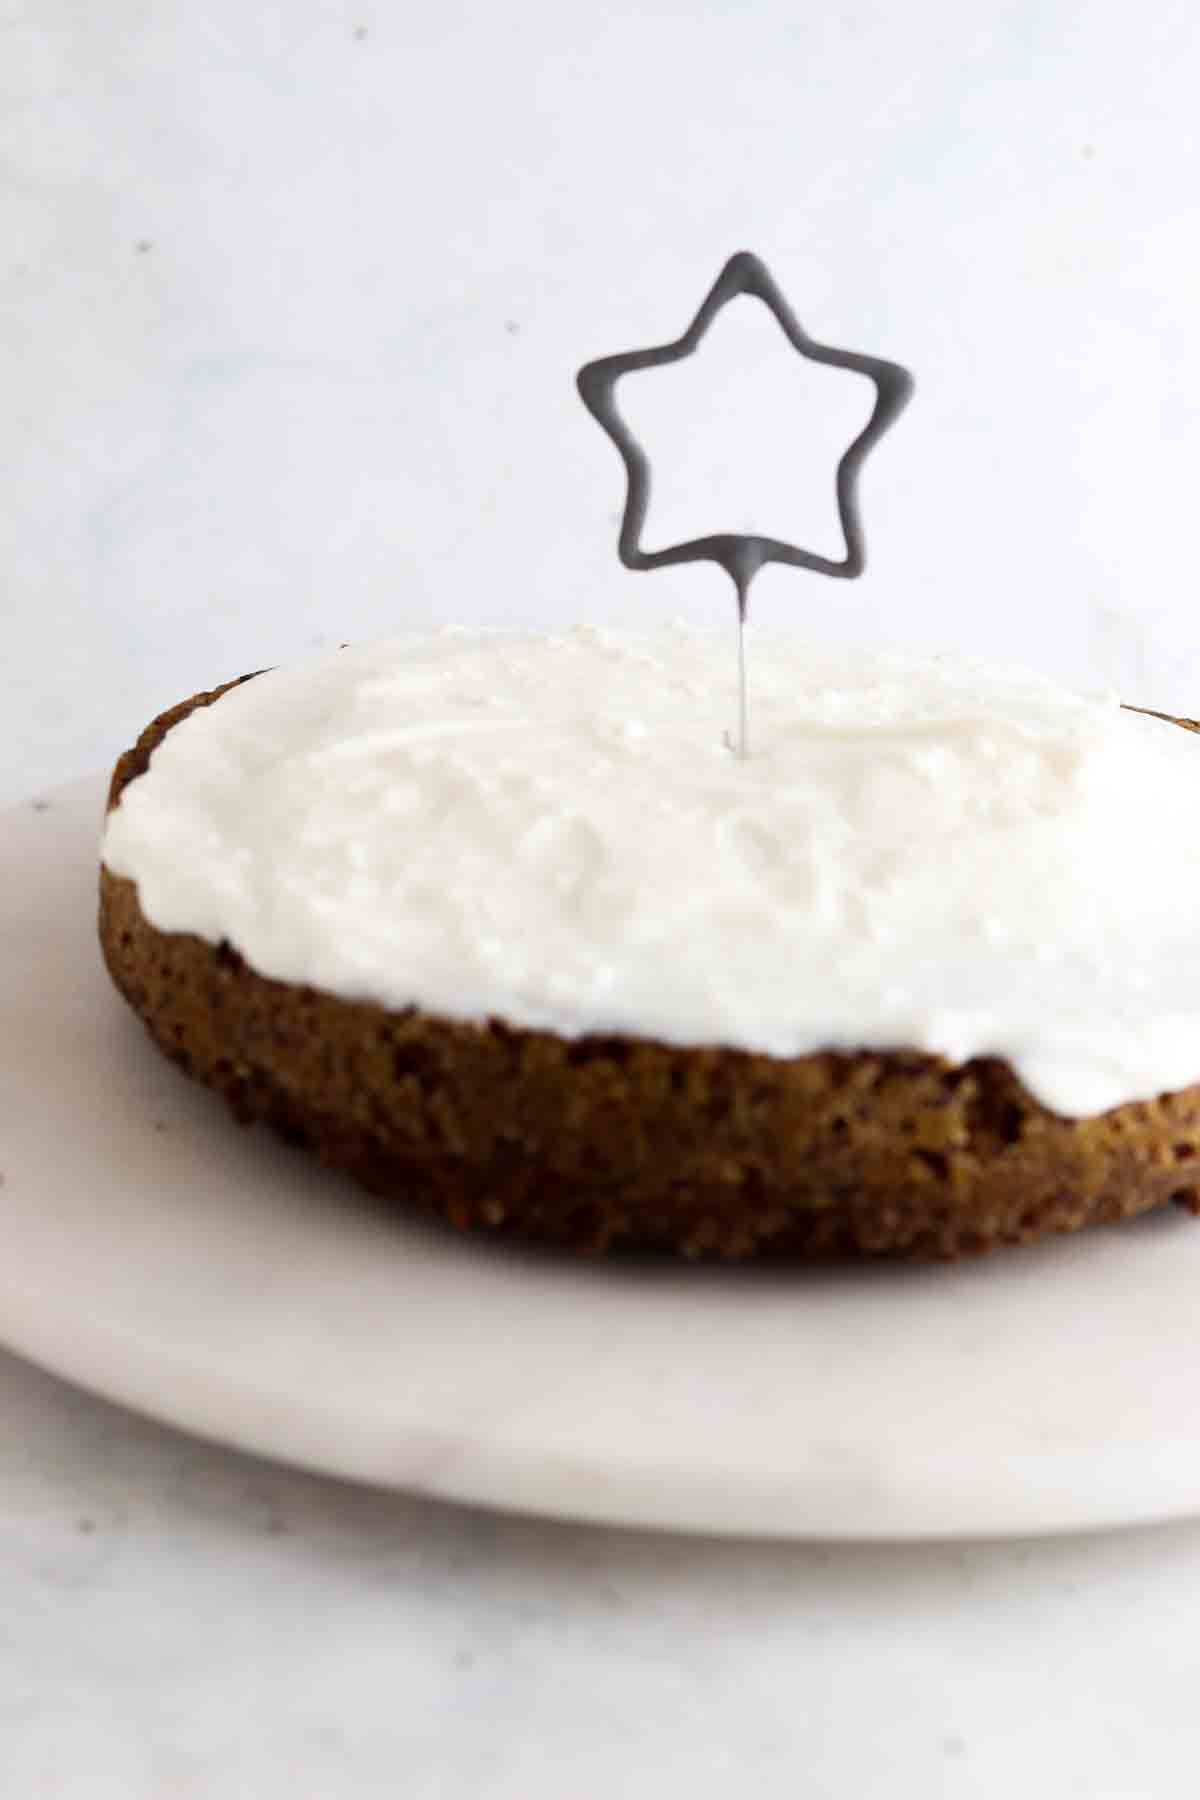
- Tip #1: For best results, allow the cakes to completely cool on a wire rack and get them to room temperature prior to taking them out of the cake pans. I would give them at least 30 minutes to cool.
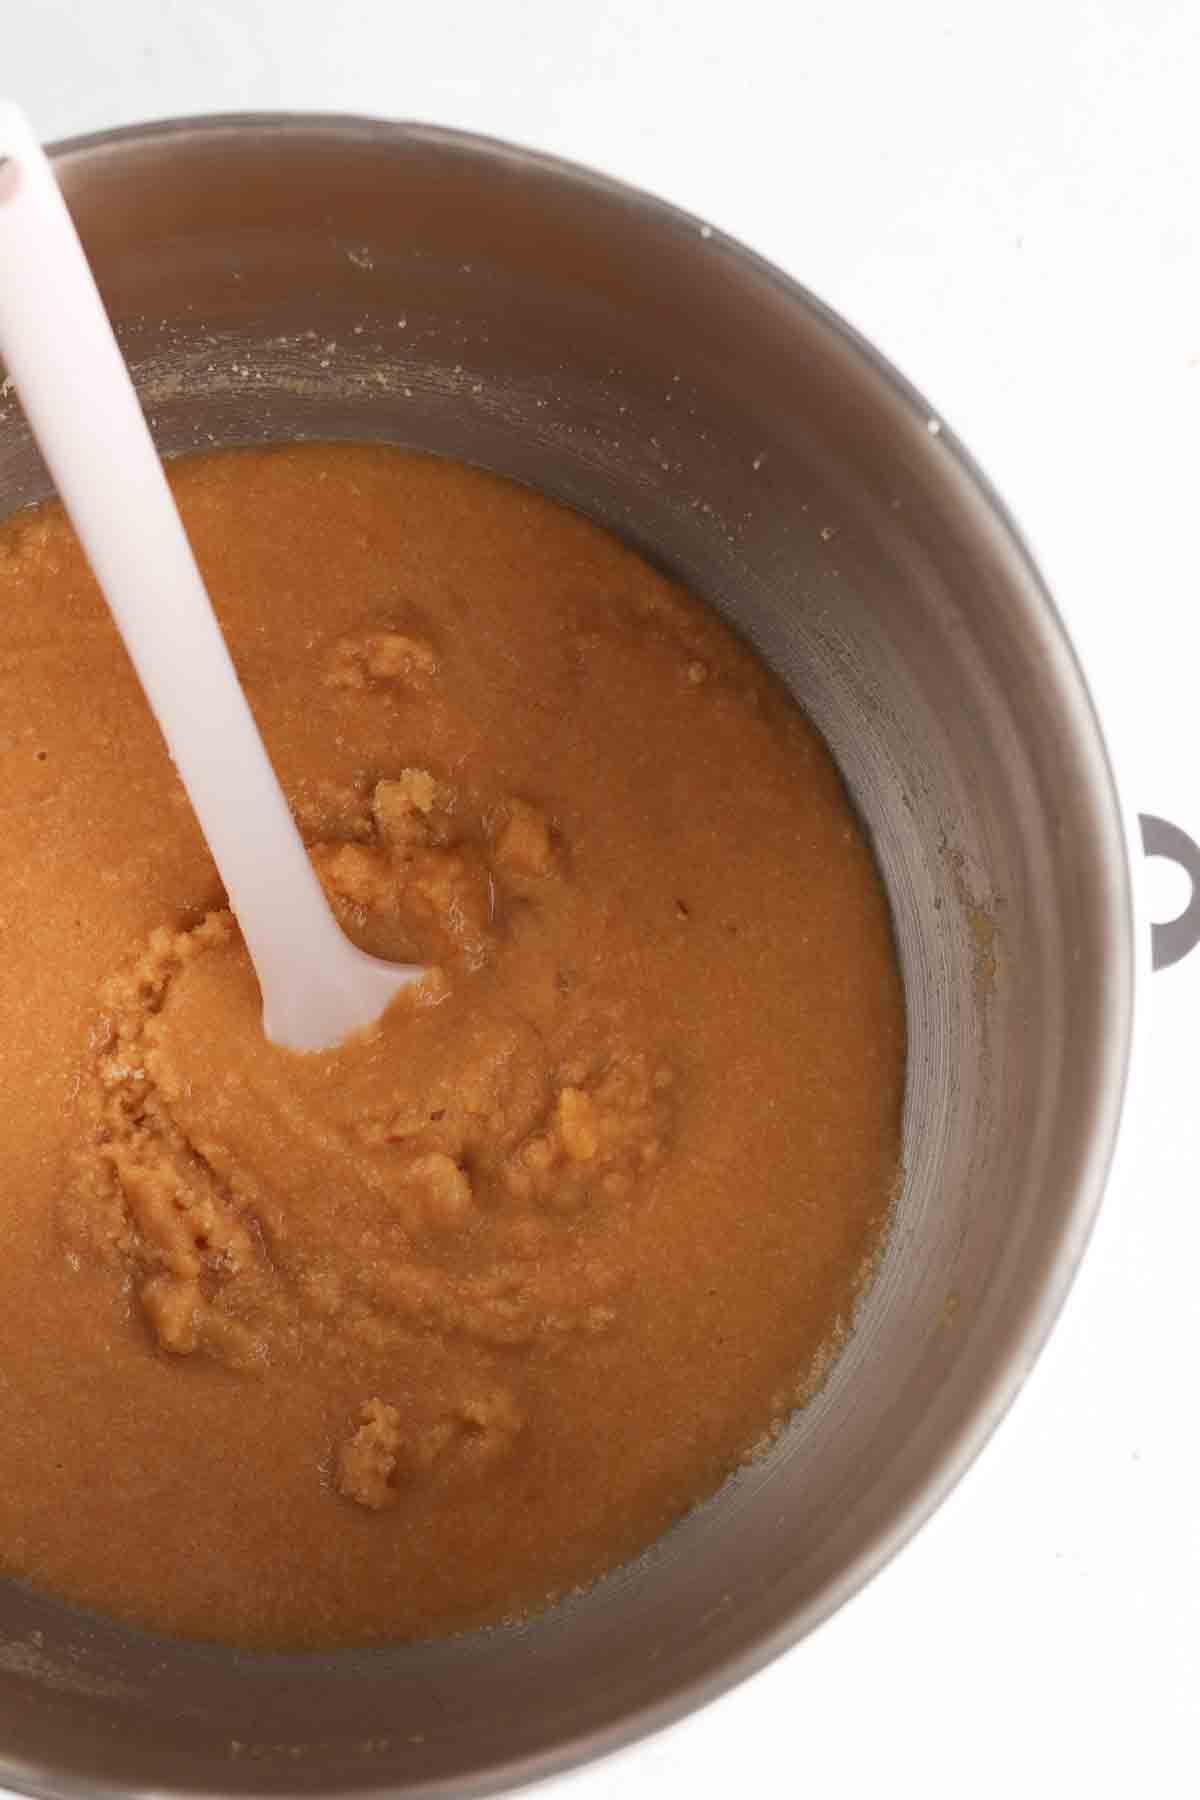
- Tip #2: Do not over mix the batter. This will cause the cake to fall apart in the middle once it cools.
Recipe FAQs
This recipe stays good in an airtight container in the fridge for up to 5 days or in the freezer for up to 3 months. If you freeze this cake, freeze the individual layers and wrap in plastic wrap once it is completely cool.
I love my dairy free chocolate chocolate buttercream frosting, but any good vegan buttercream will work. You can also make a good vegan cream cheese frosting with dairy free cream cheese and honey!
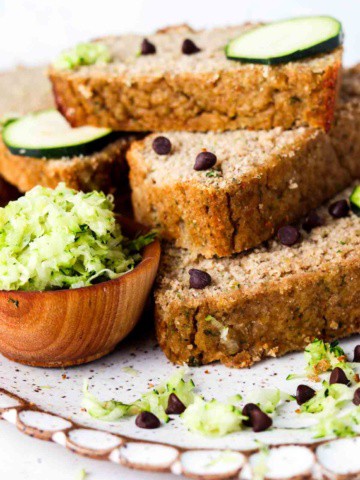
Other Gluten and Dairy Free Dessert Recipes

Are you interested in a list of my go to healthy alternatives?
Download your FREE guide below

Gluten and Dairy Free Cake
Equipment
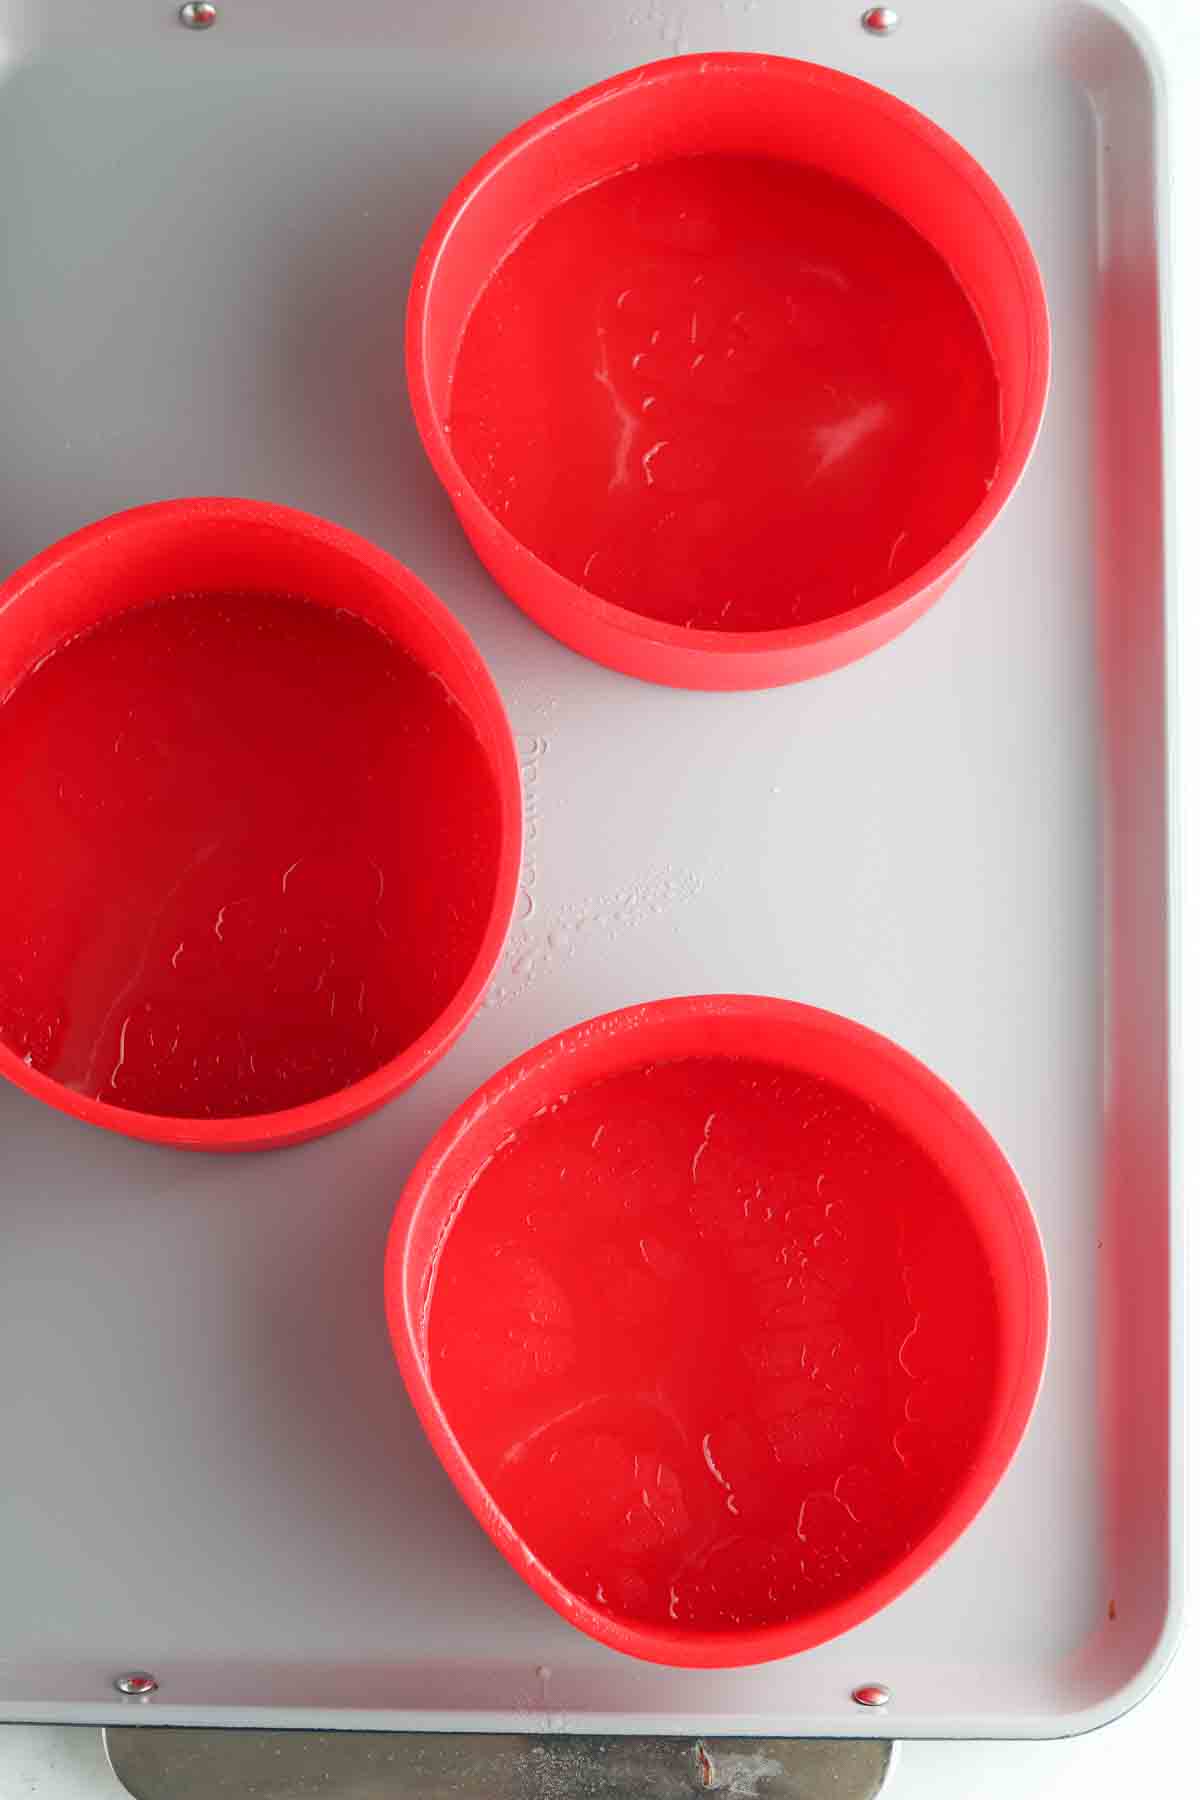
- 3-6 inch silicone baking pans
- Hand mixer
- mixing bowls
Ingredients
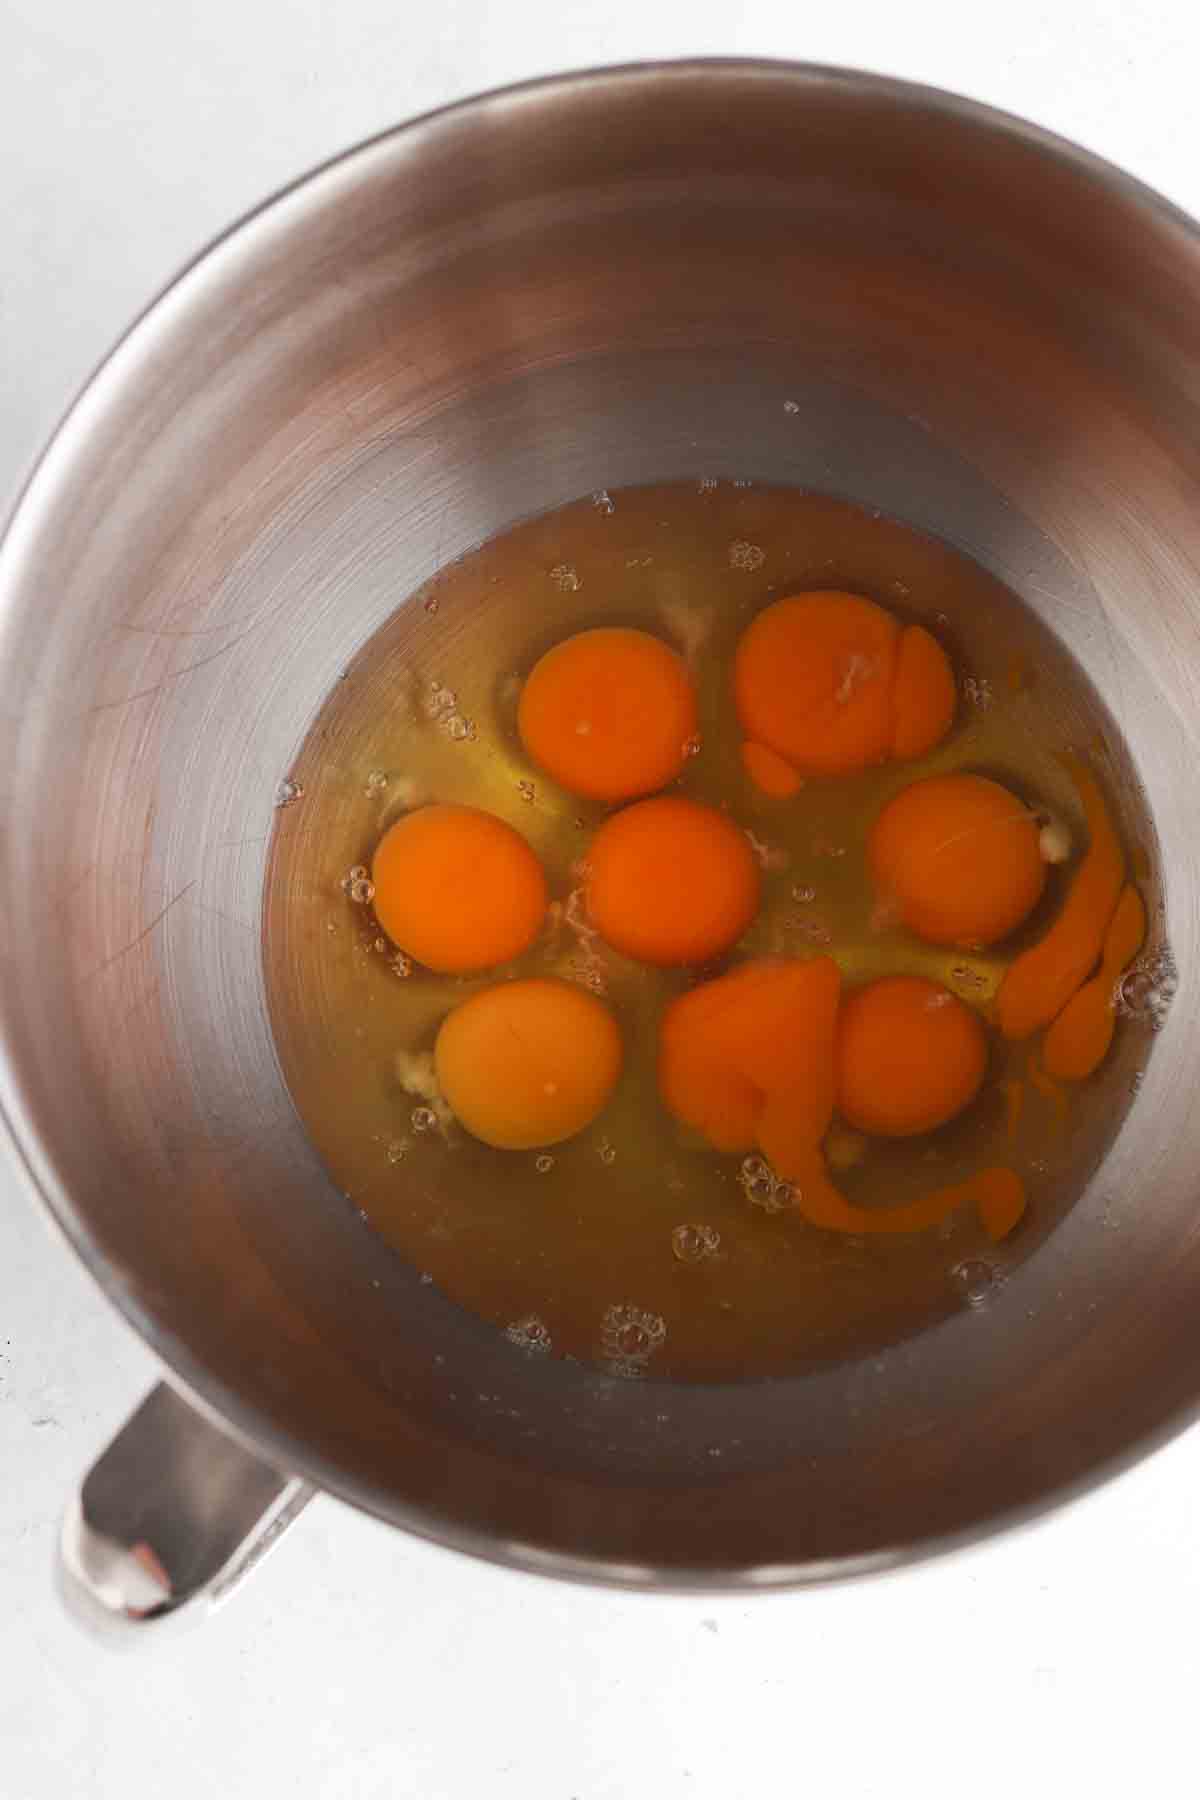
- 8 whole eggs
- 1 cup honey
- 1 tbsp vanilla extract
- 3 cups almond flour
- 1/2 tsp sea salt
- 1 tsp baking soda
- Avocado cooking spray oil
Optional:
- dairy free frosting if desired
Instructions
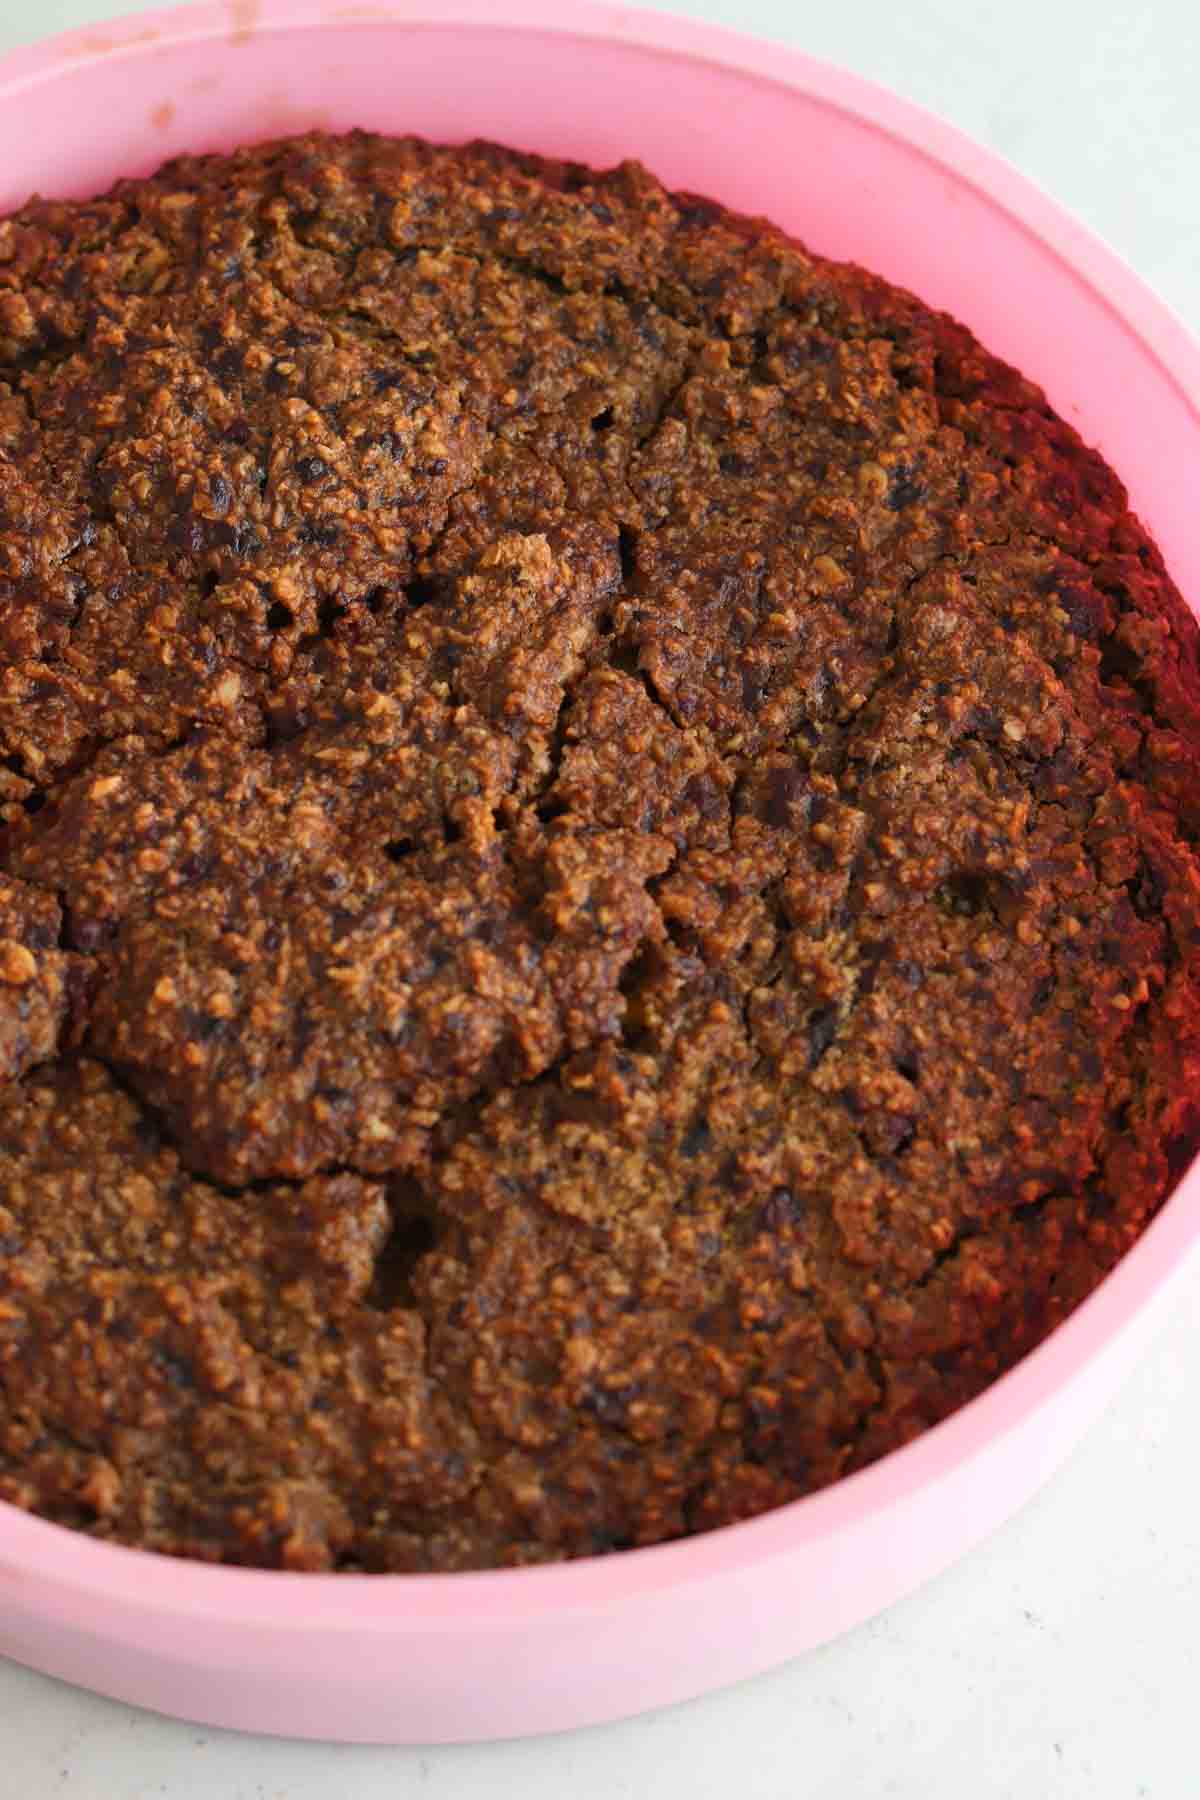
- Preheat the oven to 350 degrees F. Spray your (3) 6 inch cake molds with cooking spray oil.
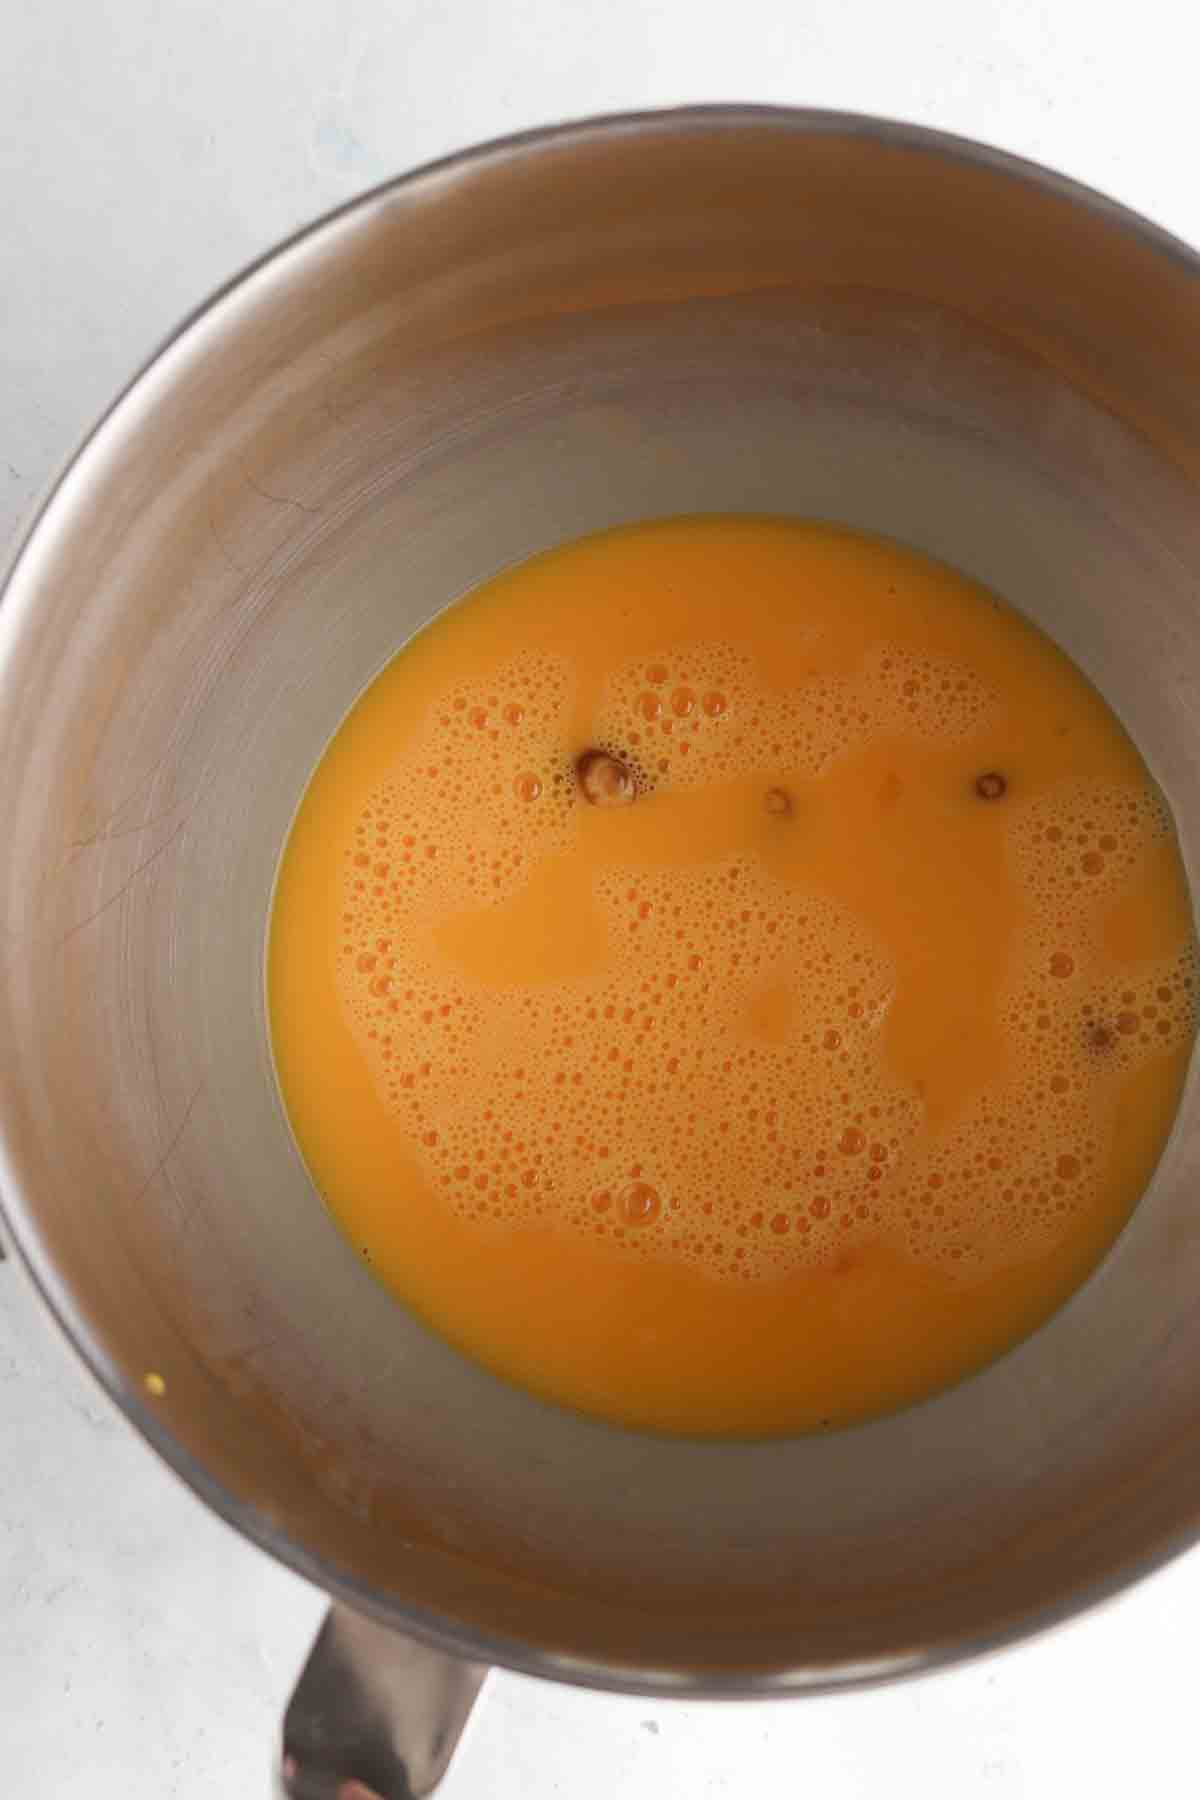
- Crack the eggs into a large bowl and whisk together. Then, slowly add in the dry ingredients to the bowl and mix throughout. Scrape down the sides making sure everything is mixed in. Do not over mix or the cake with collapse. Bake for 20-25 minutes or until you can stick a fork in the cake and it comes out clean.
- Allow the cake to cool for 20 minutes prior to removing from the cake pans. If you decide to frost it, allow the cake to get to room temperature before frosting.