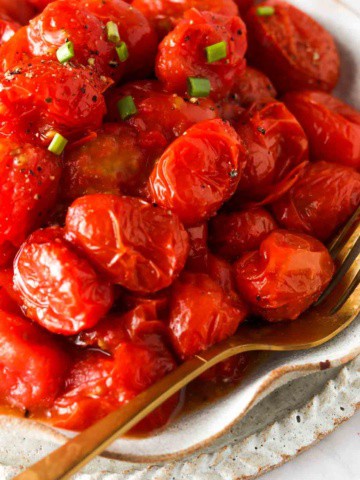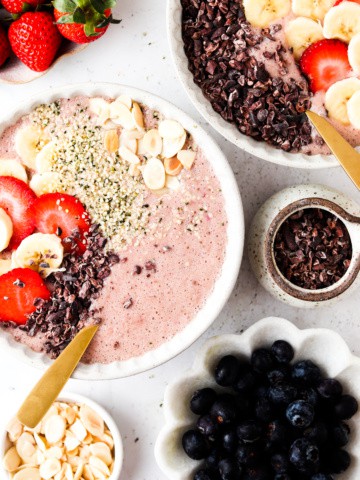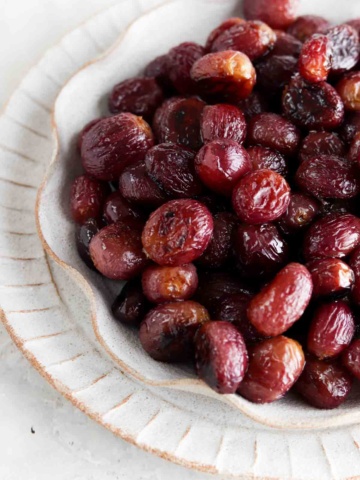
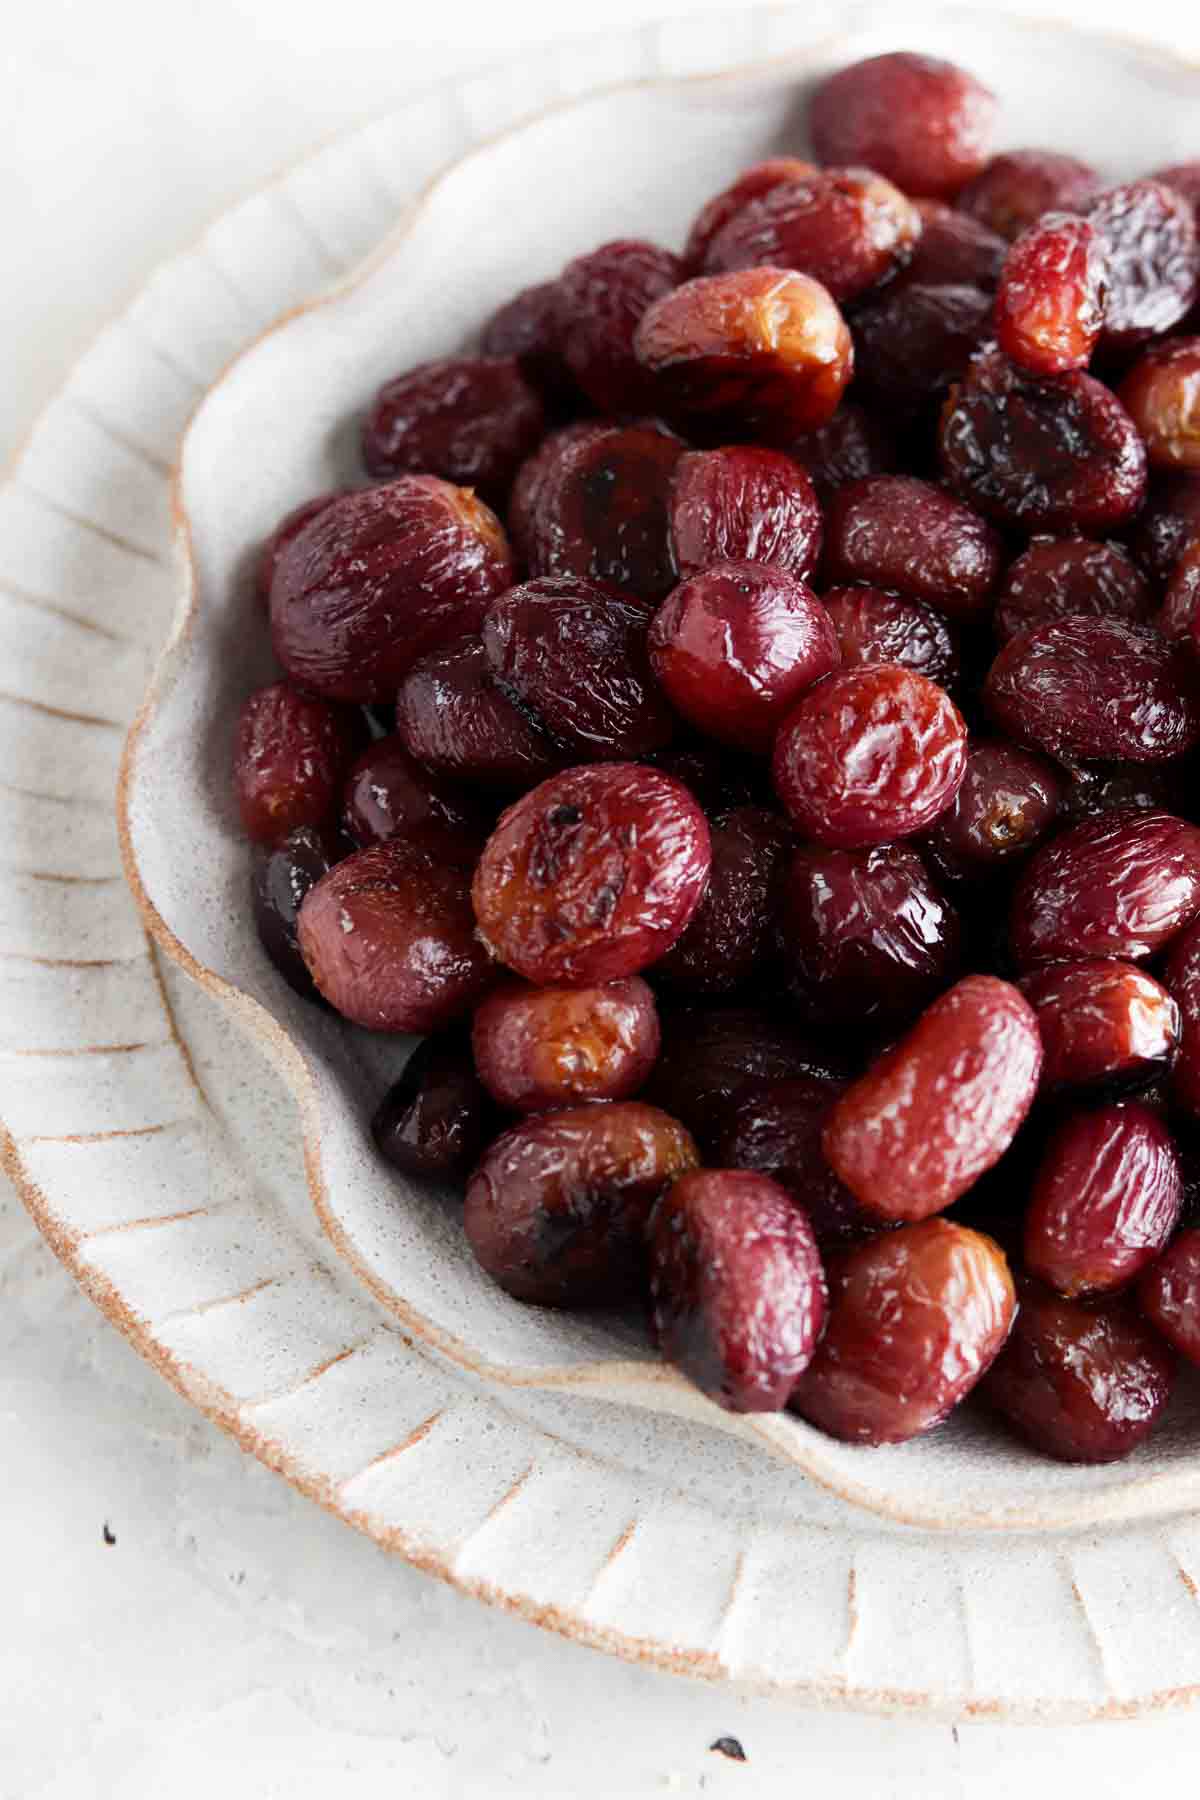
Roasted Grapes are the best topper for just about anything! Roasting grapes you already have on hand is a great way to prevent produce waste. This recipe only takes 10 minutes of hands on time and requires a handful of ingredients you likely already have on hand. From pairing this recipe with a cheese plate to ice cream, this recipe will not disappoint.
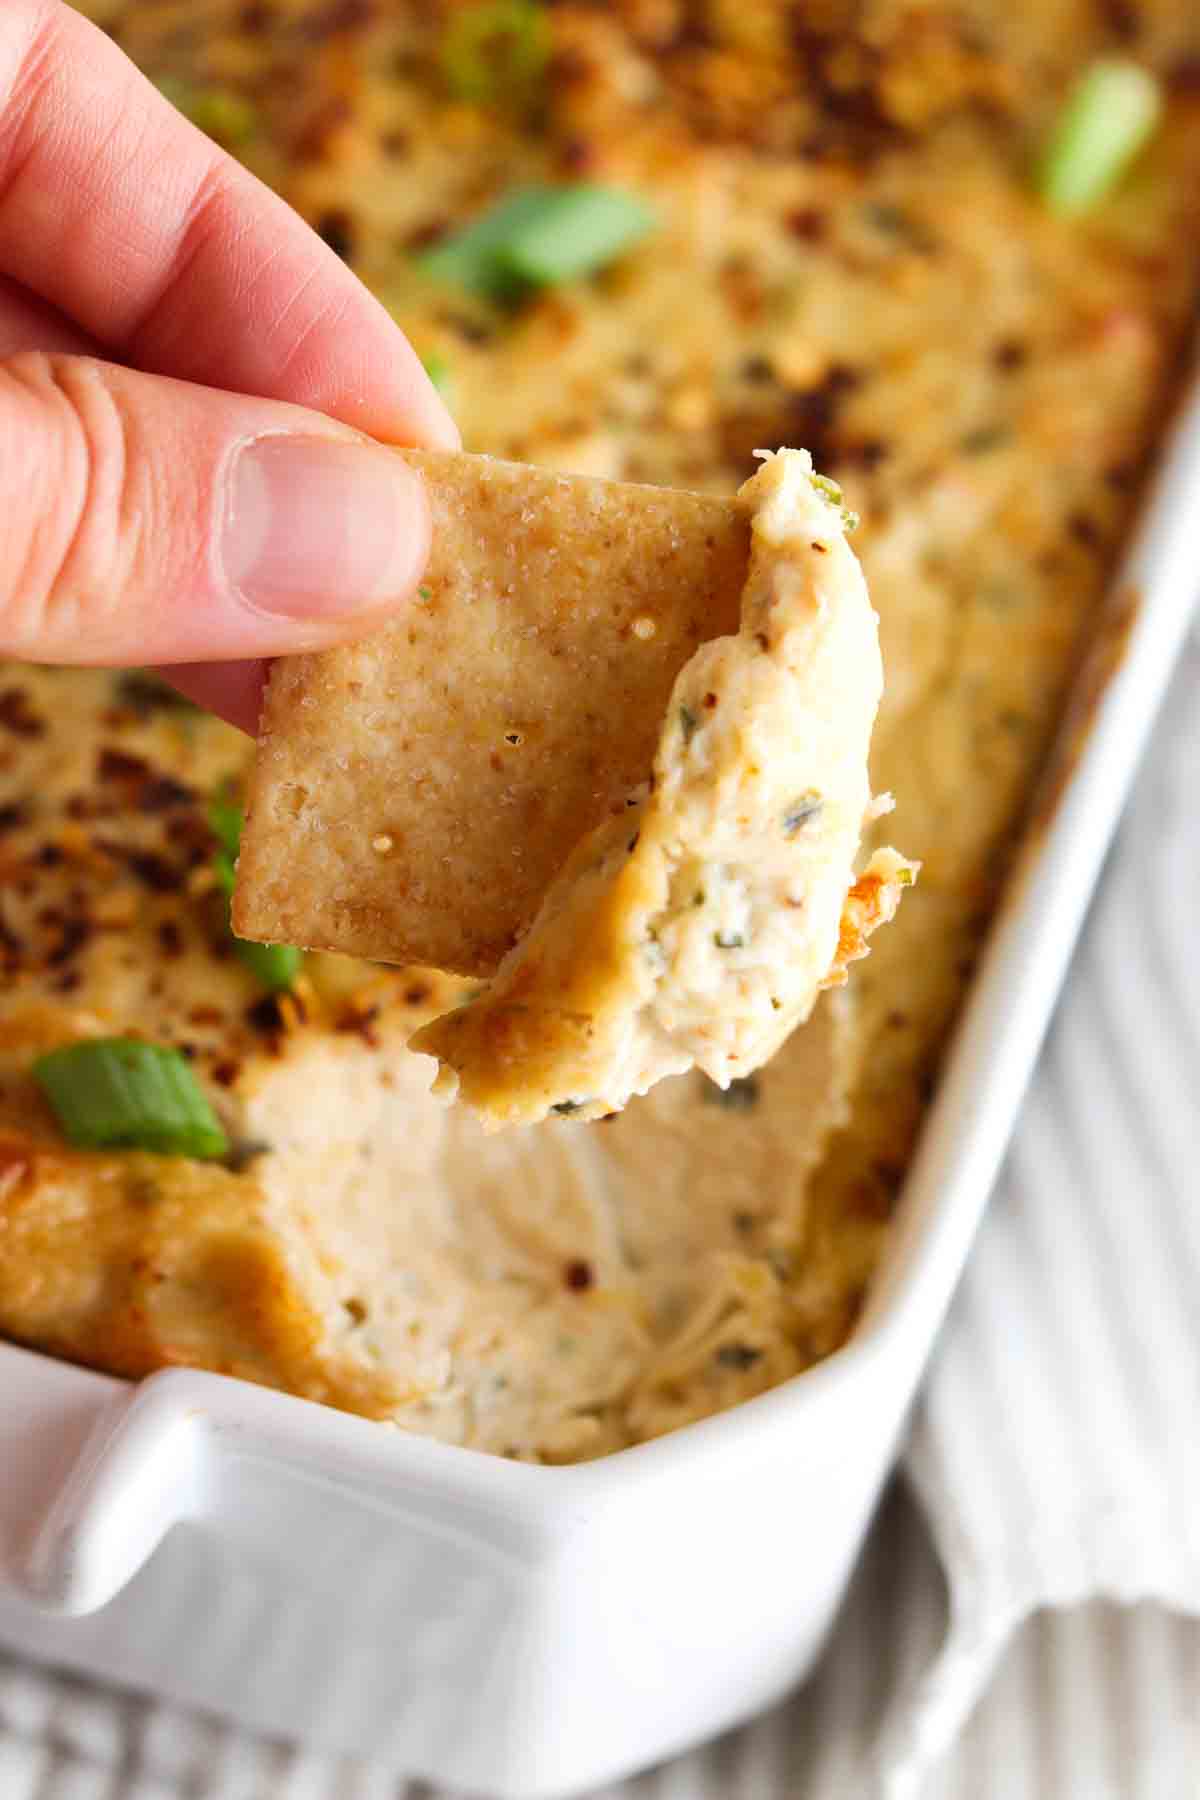
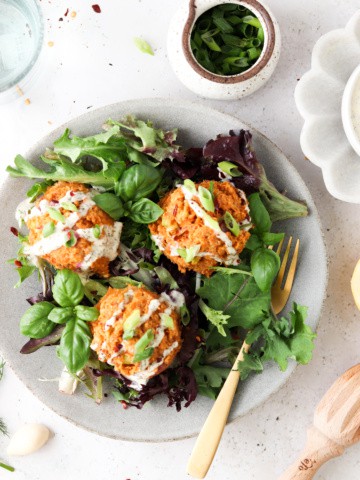
If you are like me, you probably hate throwing away produce that goes bad in the fridge. Grapes are not cheap and this recipe is a great way to make sure you are using up extra grapes on hand. We love eating this fun treat by itself but it also goes great with raw milk cheeses, greek yoghurt, any sort of cheese board, and ricotta toast. Sometimes I like setting out a small bowl of this delicious snack as an appetizer when we have guests. A few of my other favorite finger foods and appetizer recipes on my blog are my Gluten Free Crab Cakes, Dairy Free Crab Dip, Vegan French Onion Dip, Gluten Free Pig in a Blanket, and Crockpot Gluten Free Mac and Cheese.
Why I Love This Recipe
- This recipe requires simple ingredients that you likely already have on hand.
- You can eat this recipe as is or add it on top of things.
- This recipe is naturally dairy free, gluten free, soy free, nut free, paleo and vegan.
- This recipe is a great addition to just about any kind of salad!
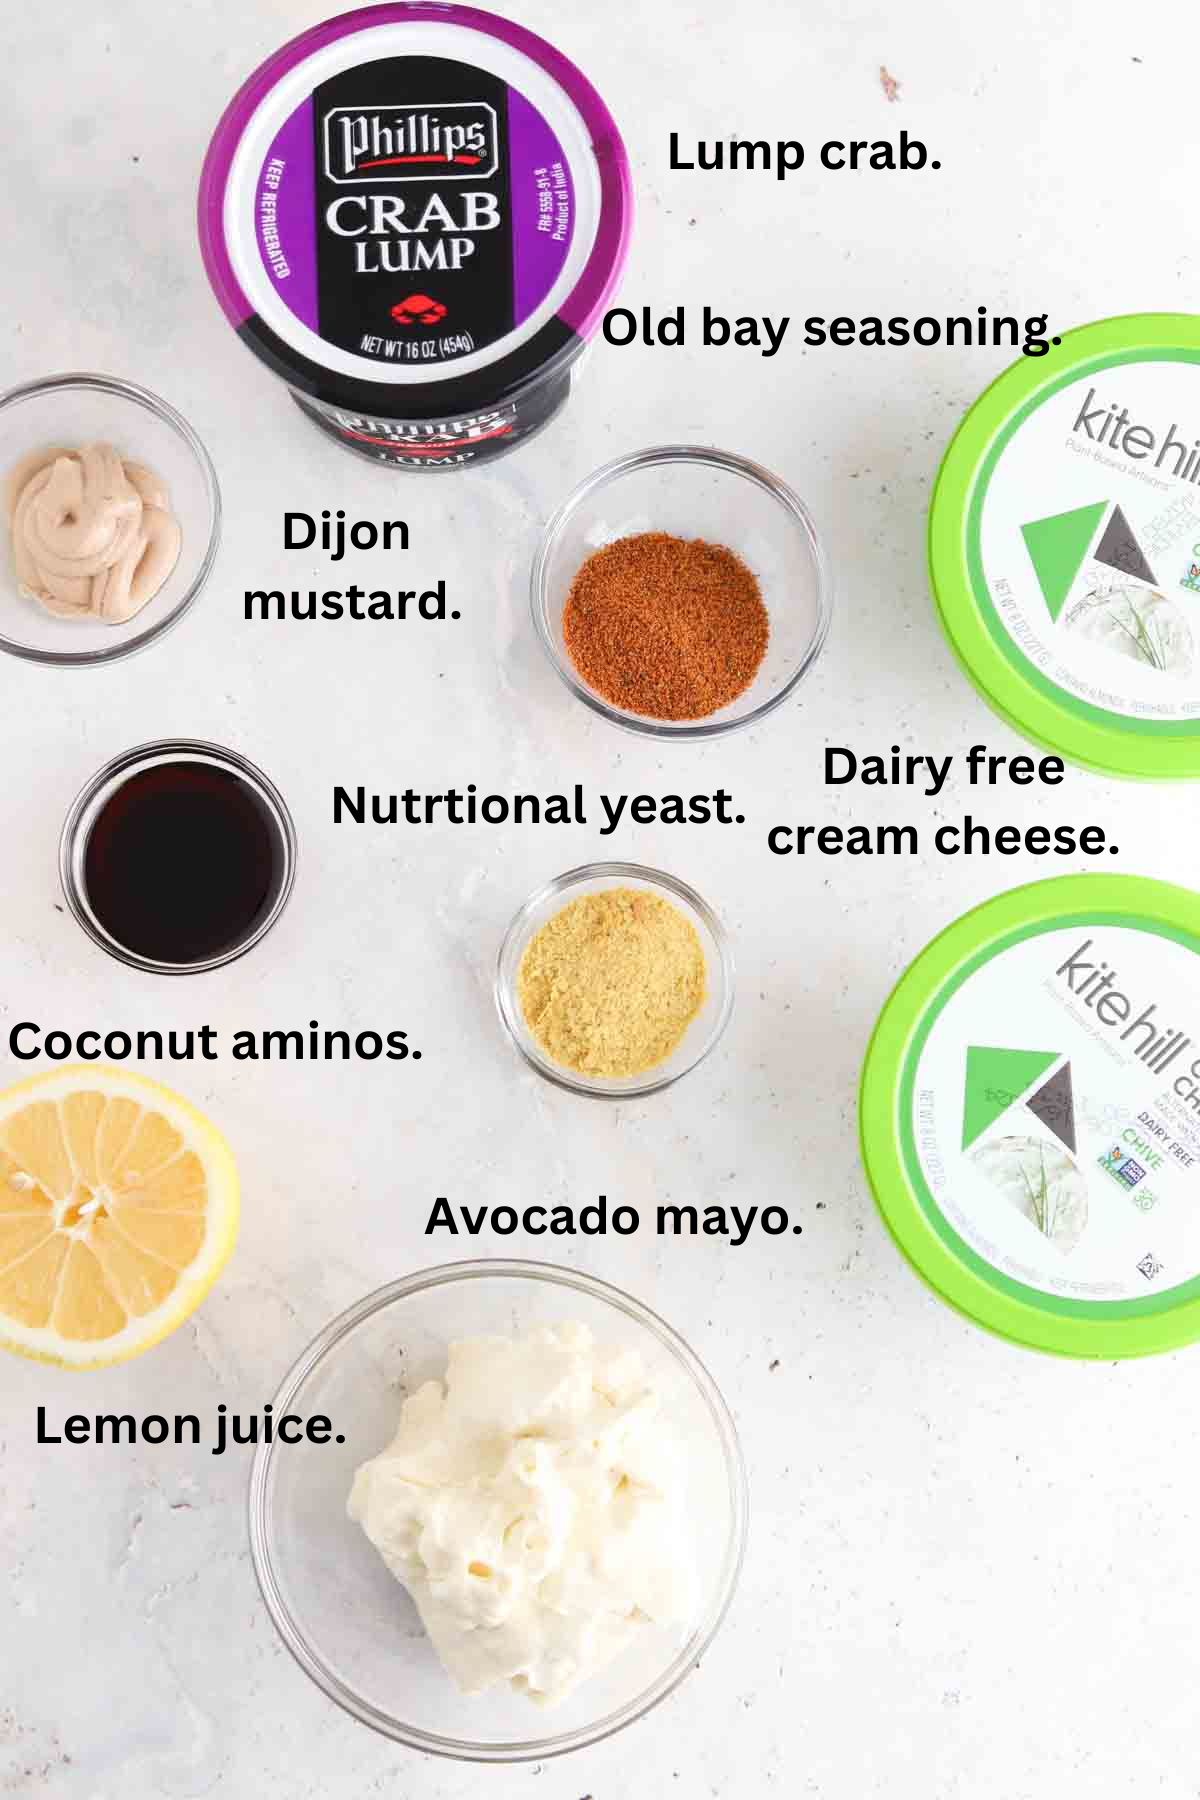
Recipe Ingredients
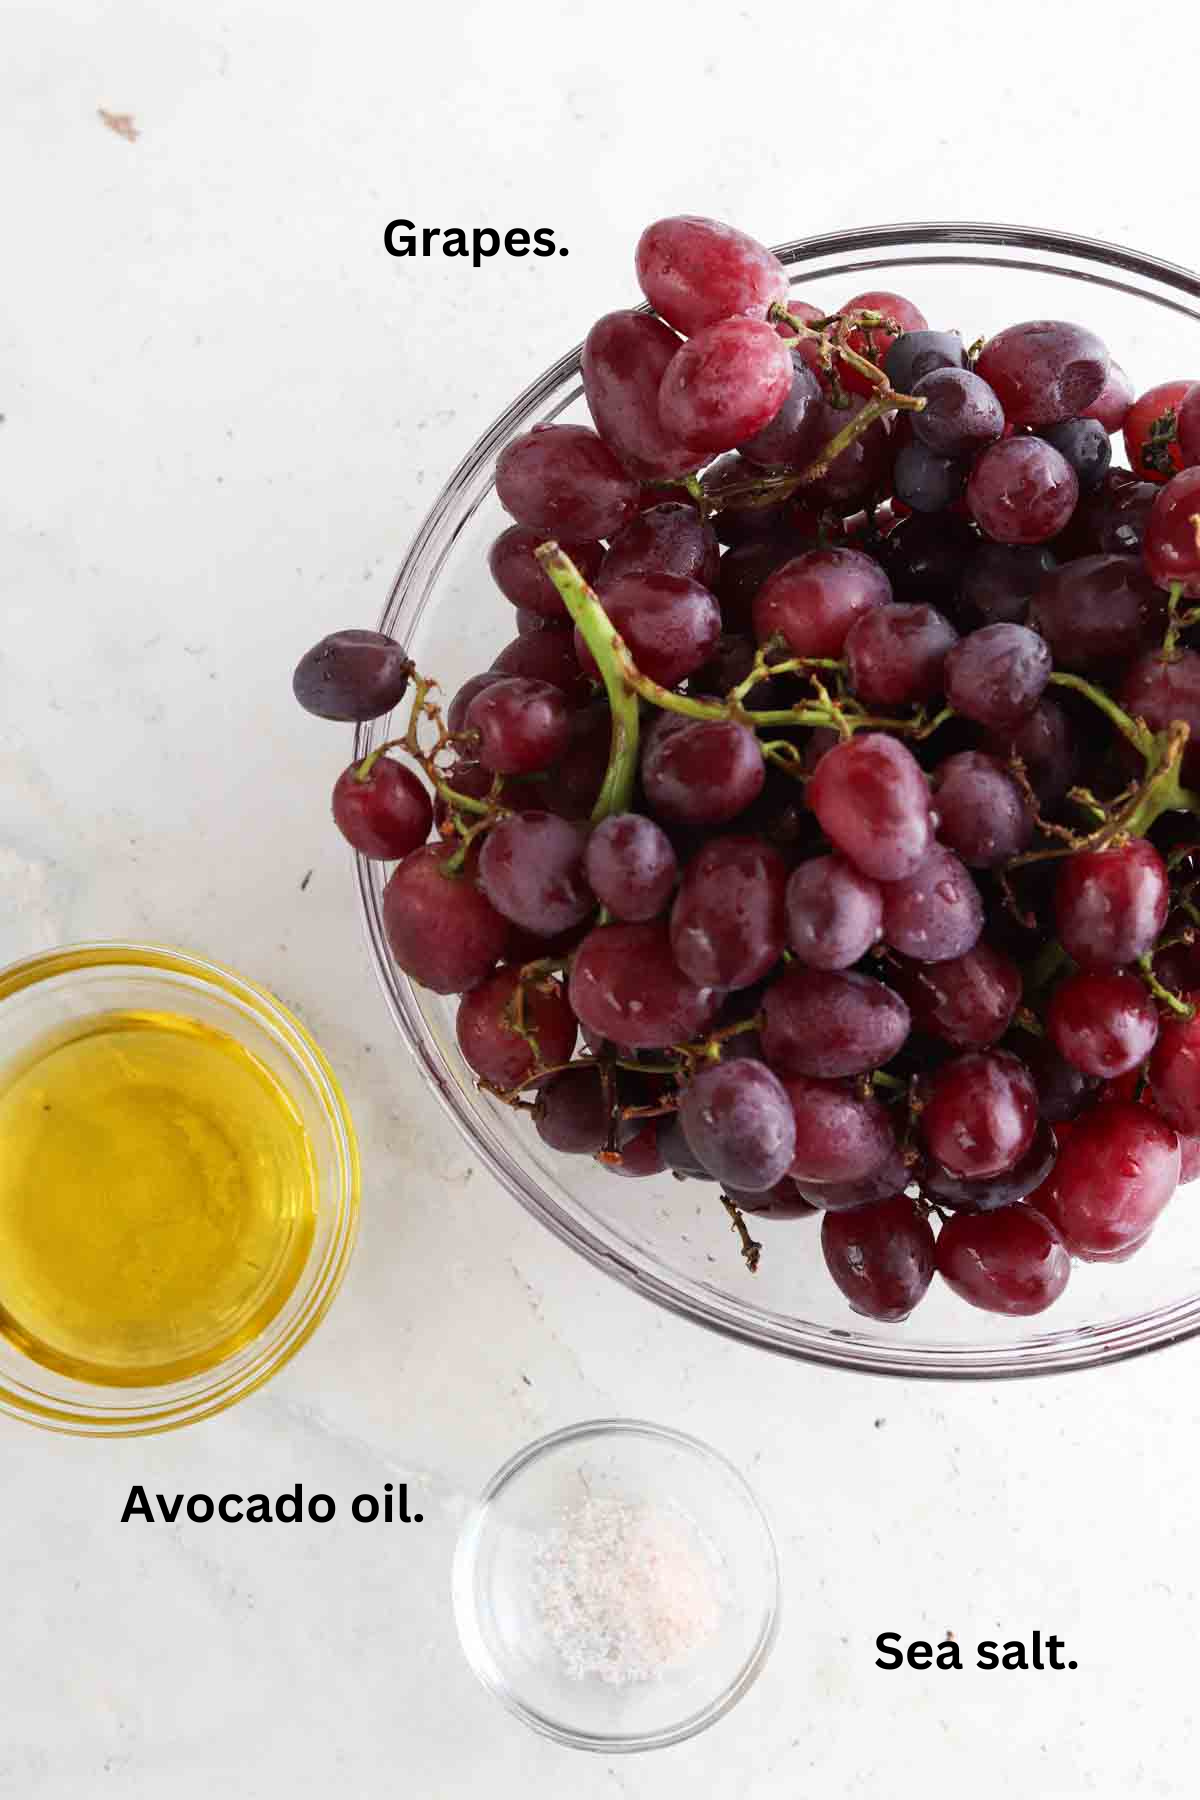
- Seedless grapes-While I prefer purple grapes with this recipe, green grapes and concord grapes will also work! Many types of grapes will work as long as they are seedless. Make sure you use individual grapes that you are pulling off of the stems.
- Avocado oil-This helps roast the grapes.
- Sea salt-To taste.
See the recipe card below for a full list of ingredients and measurements.
Recipe Substitutions and Variations
- Fresh herbs-Sprigs of fresh thyme are my favorite.
- Avocado oil-You can also use unsalted butter or olive oil.
- Drizzle of honey-To serve!
- Dijon mustard-To dip in. If you are putting these out for a party, I suggest using a toothpick to allow for dipping.
This recipe has not been tested with any other substitutions or variations. If you try something else out please let me know how it turns out in the comments below!
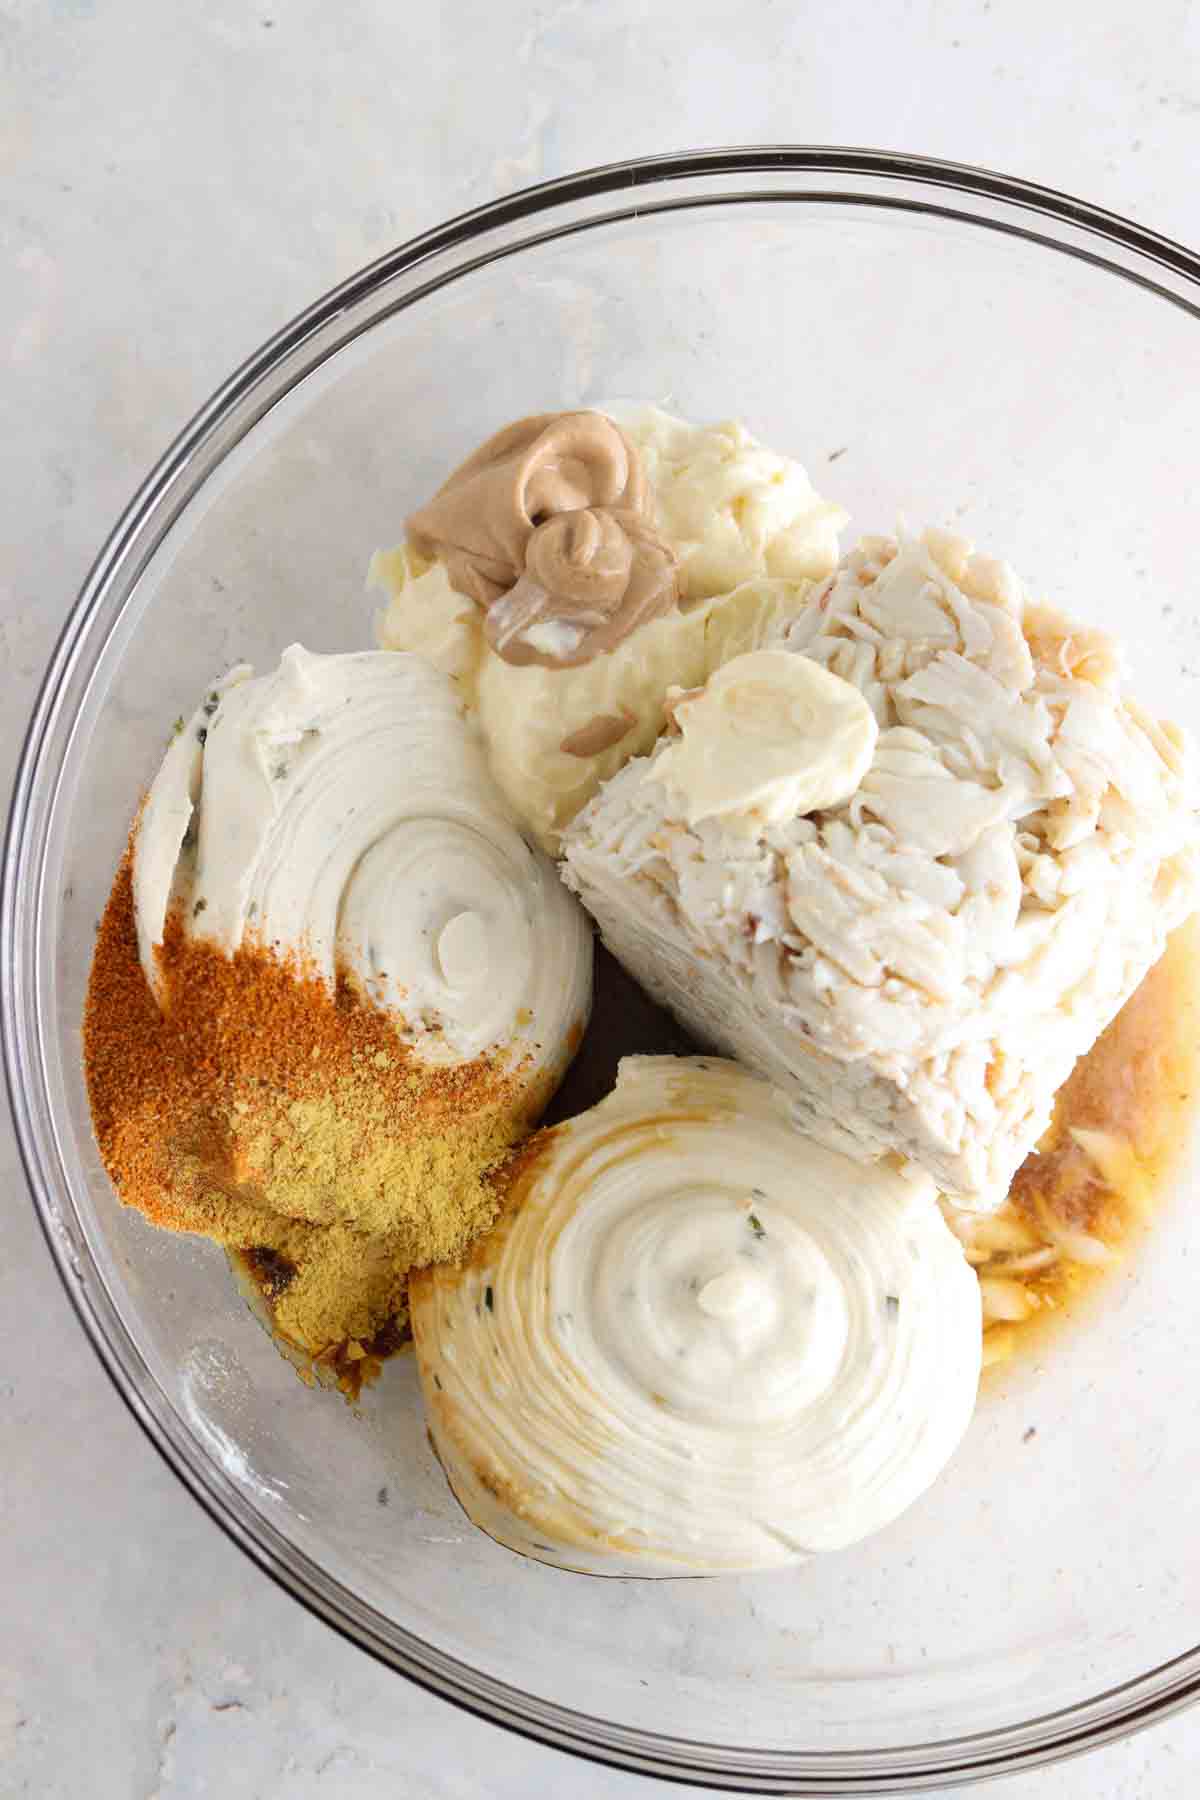
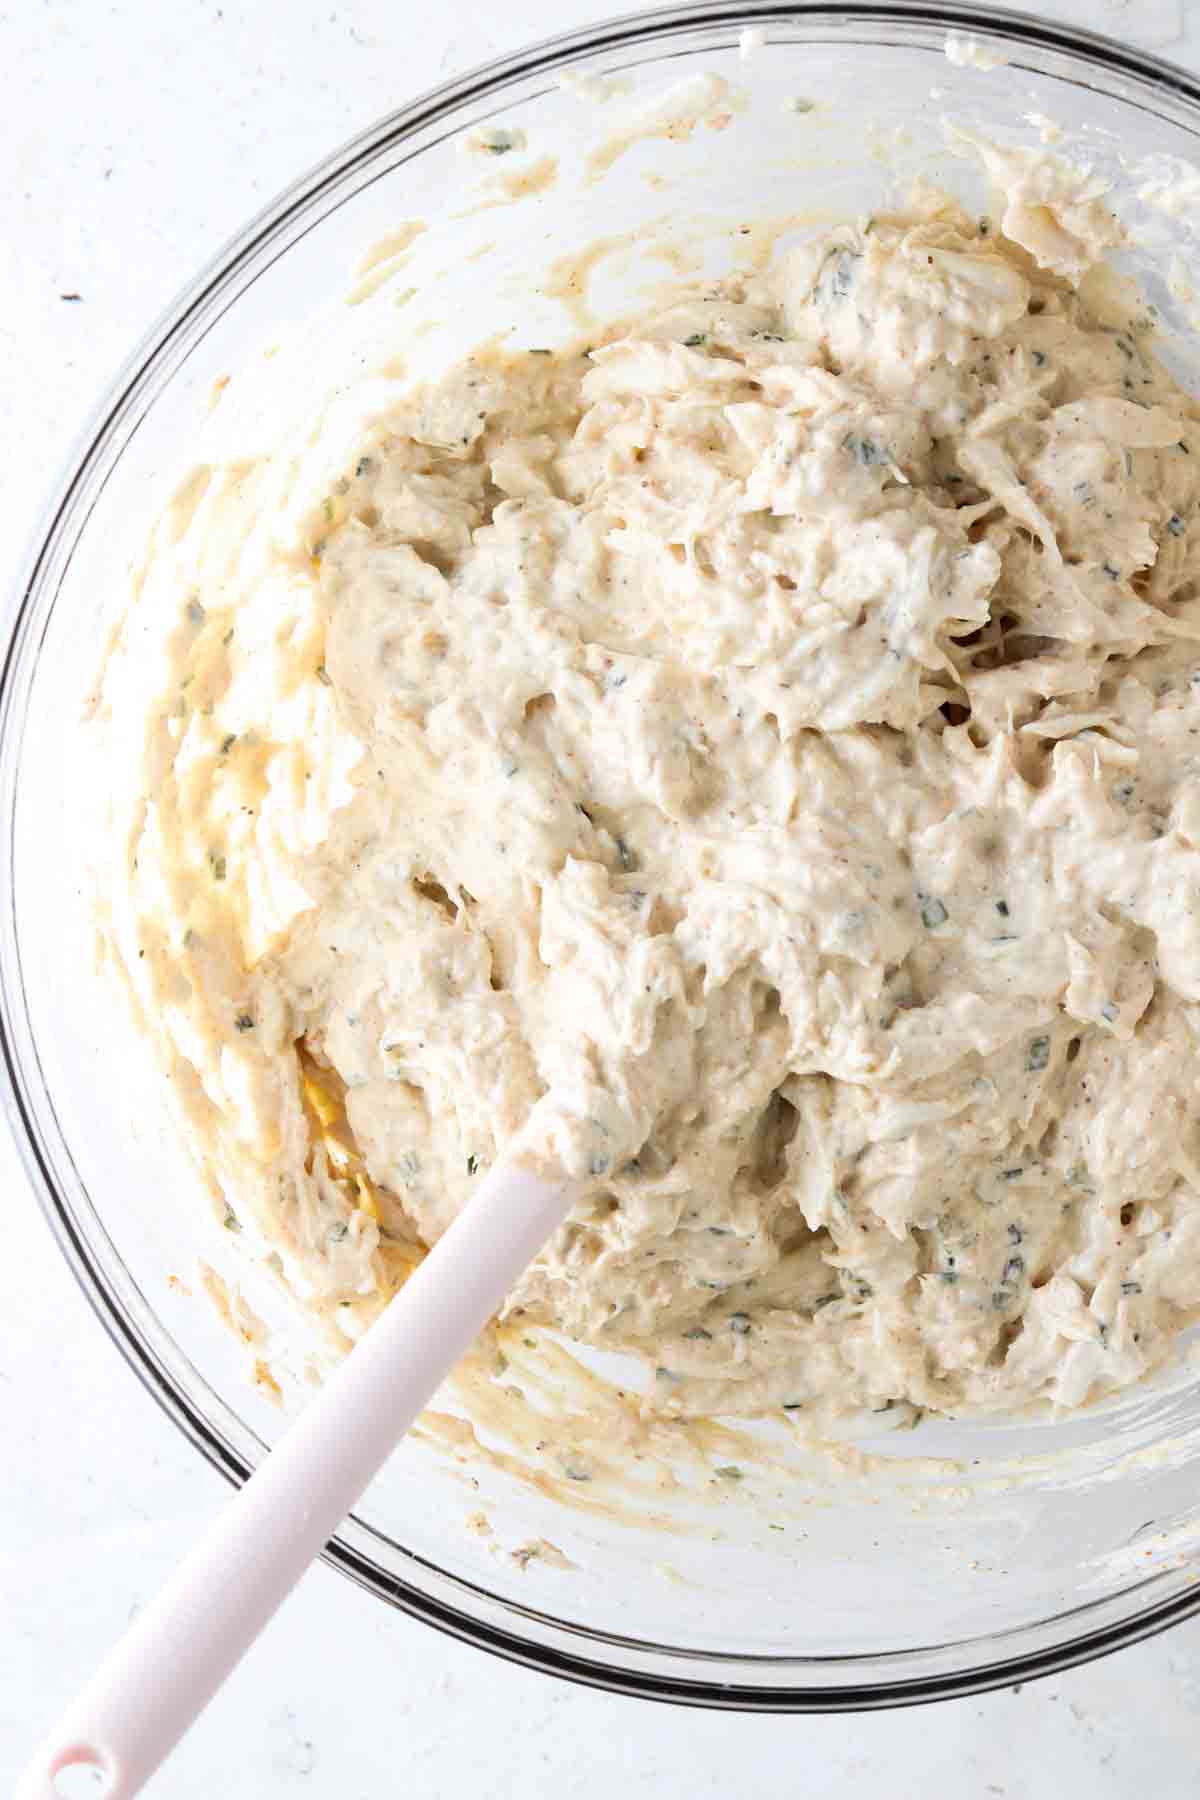
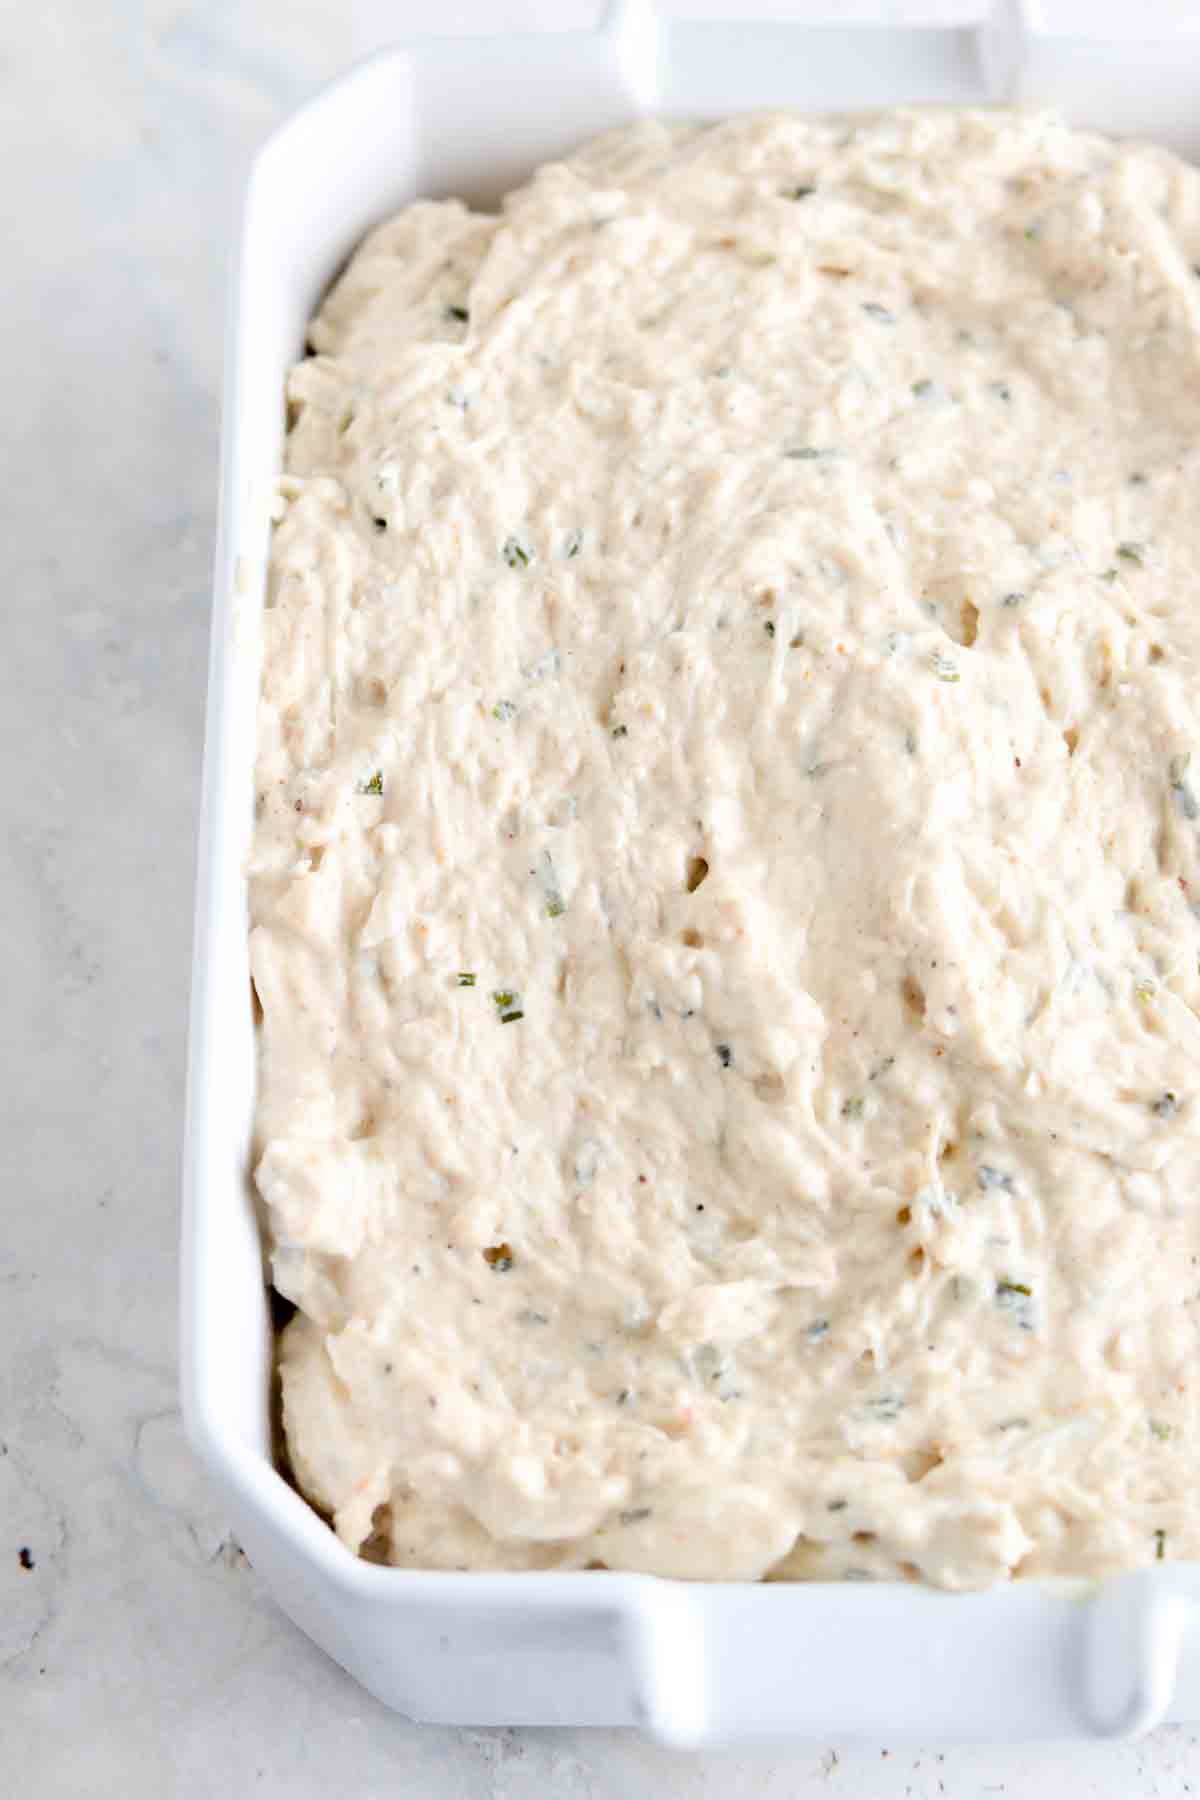
Recipe Instructions
Recipe Tips
- Tip #1: If you like your treats extra sweet, drizzle some honey on top prior to serving.
- Tip #2: I love this better for you non-toxic baking sheet!
Recipe FAQs
Since this recipe is pretty hands off I suggest making it the day of. You can also make before your guests arrive if you are hosting it set it out at room temperature prior to serving.
This recipe lasts for up to 5 days in the fridge in an air tight container.
I love eating them as is, but they also go great topped on just about anything.
Other Finger Foods You Will Love

Are you interested in a list of my go to healthy alternatives?
Download my free swap guide.

Roasted Grapes
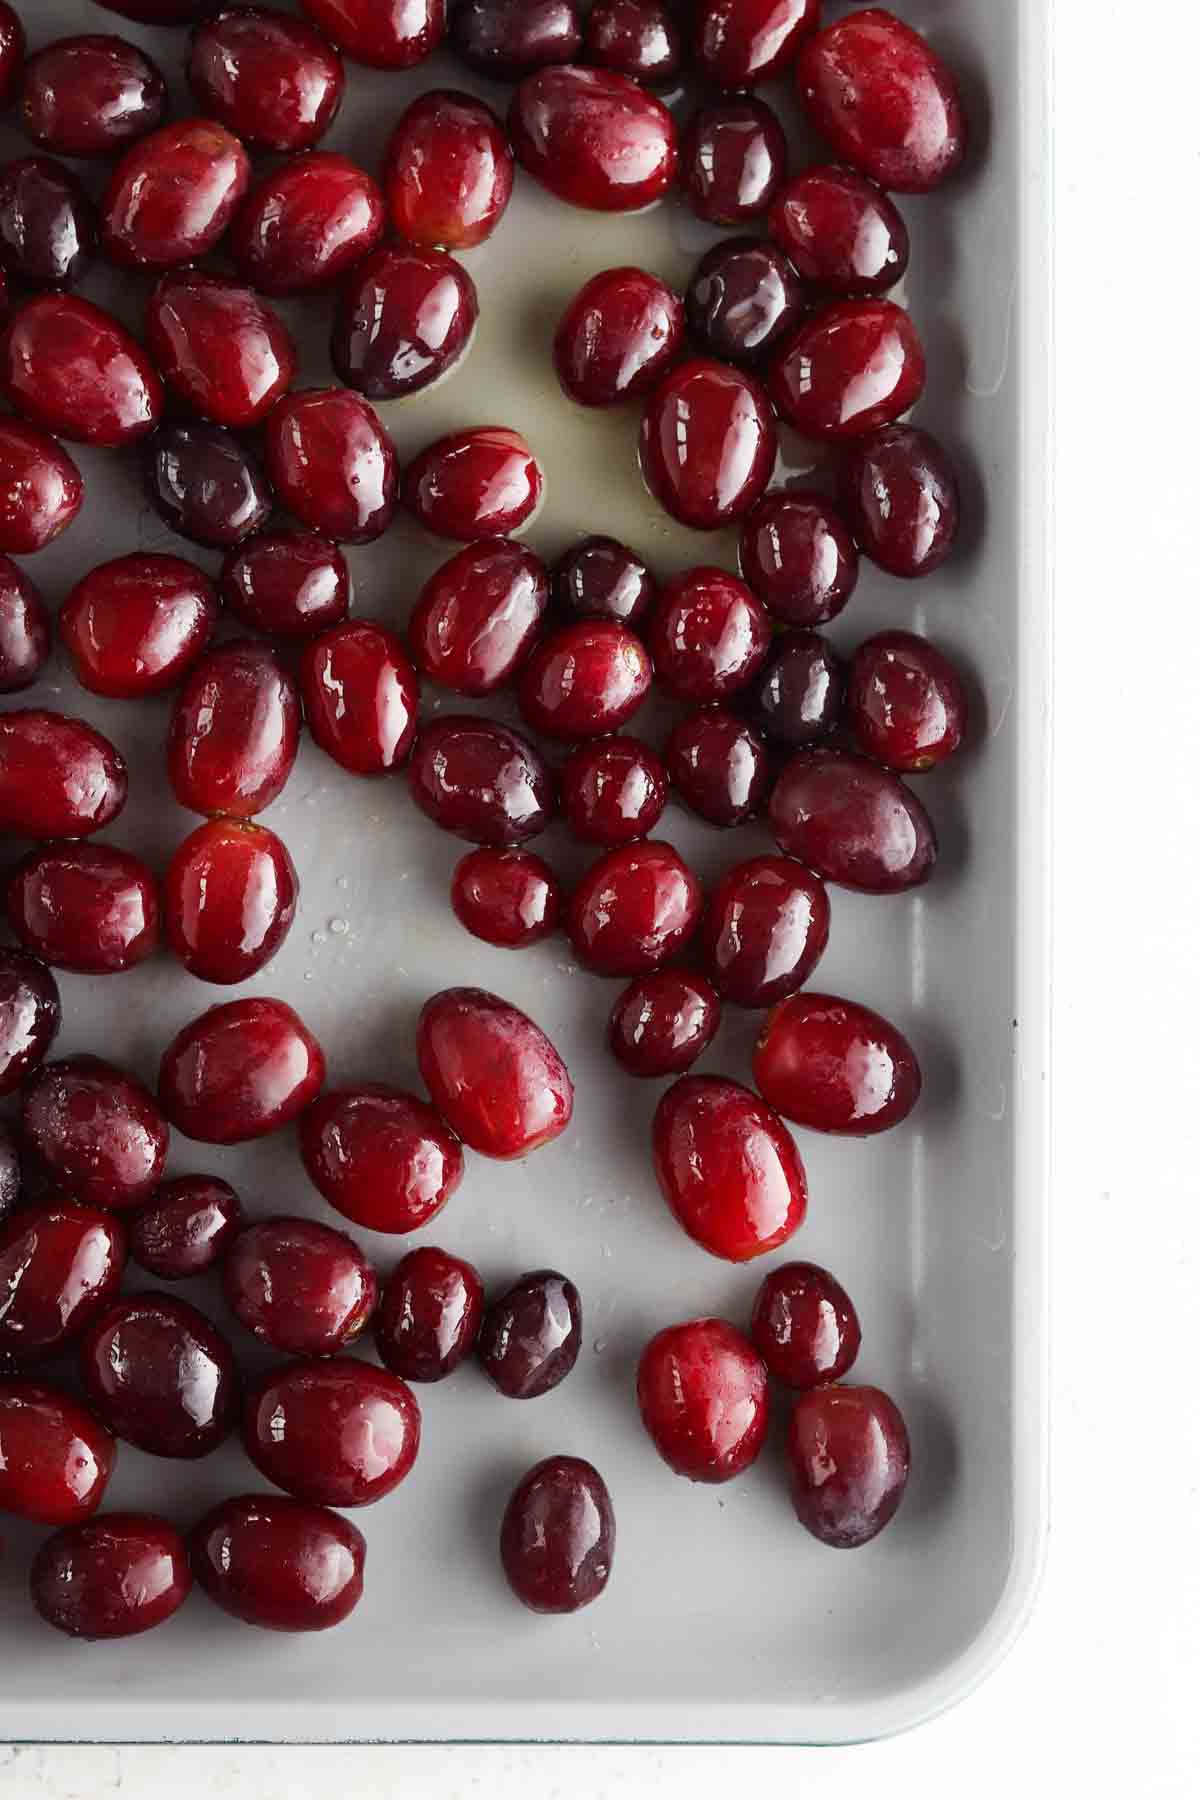
Equipment
- cookie sheet
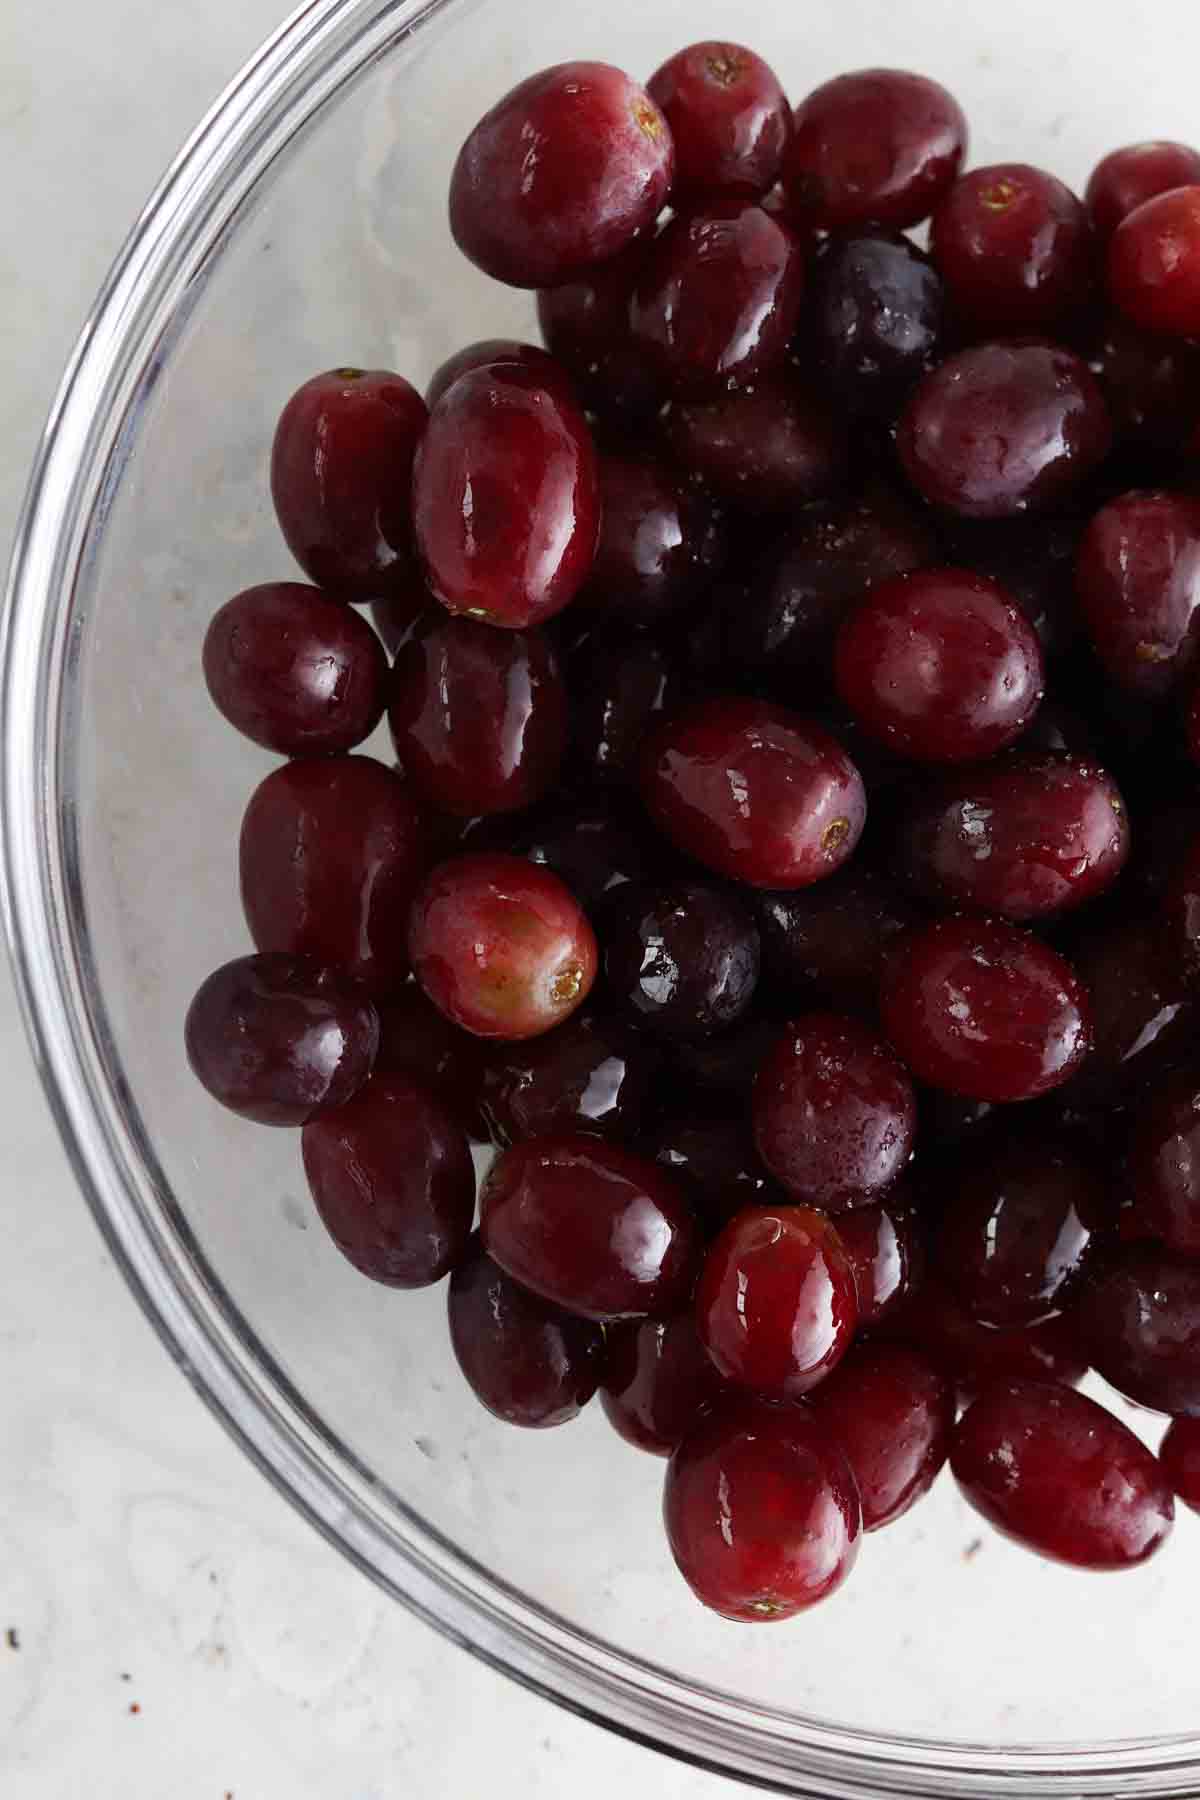
Ingredients
- 1 pound grapes Washed and removed from the vine.
- 1/4 cup avocado oil
- 1 pinch sea salt
Instructions
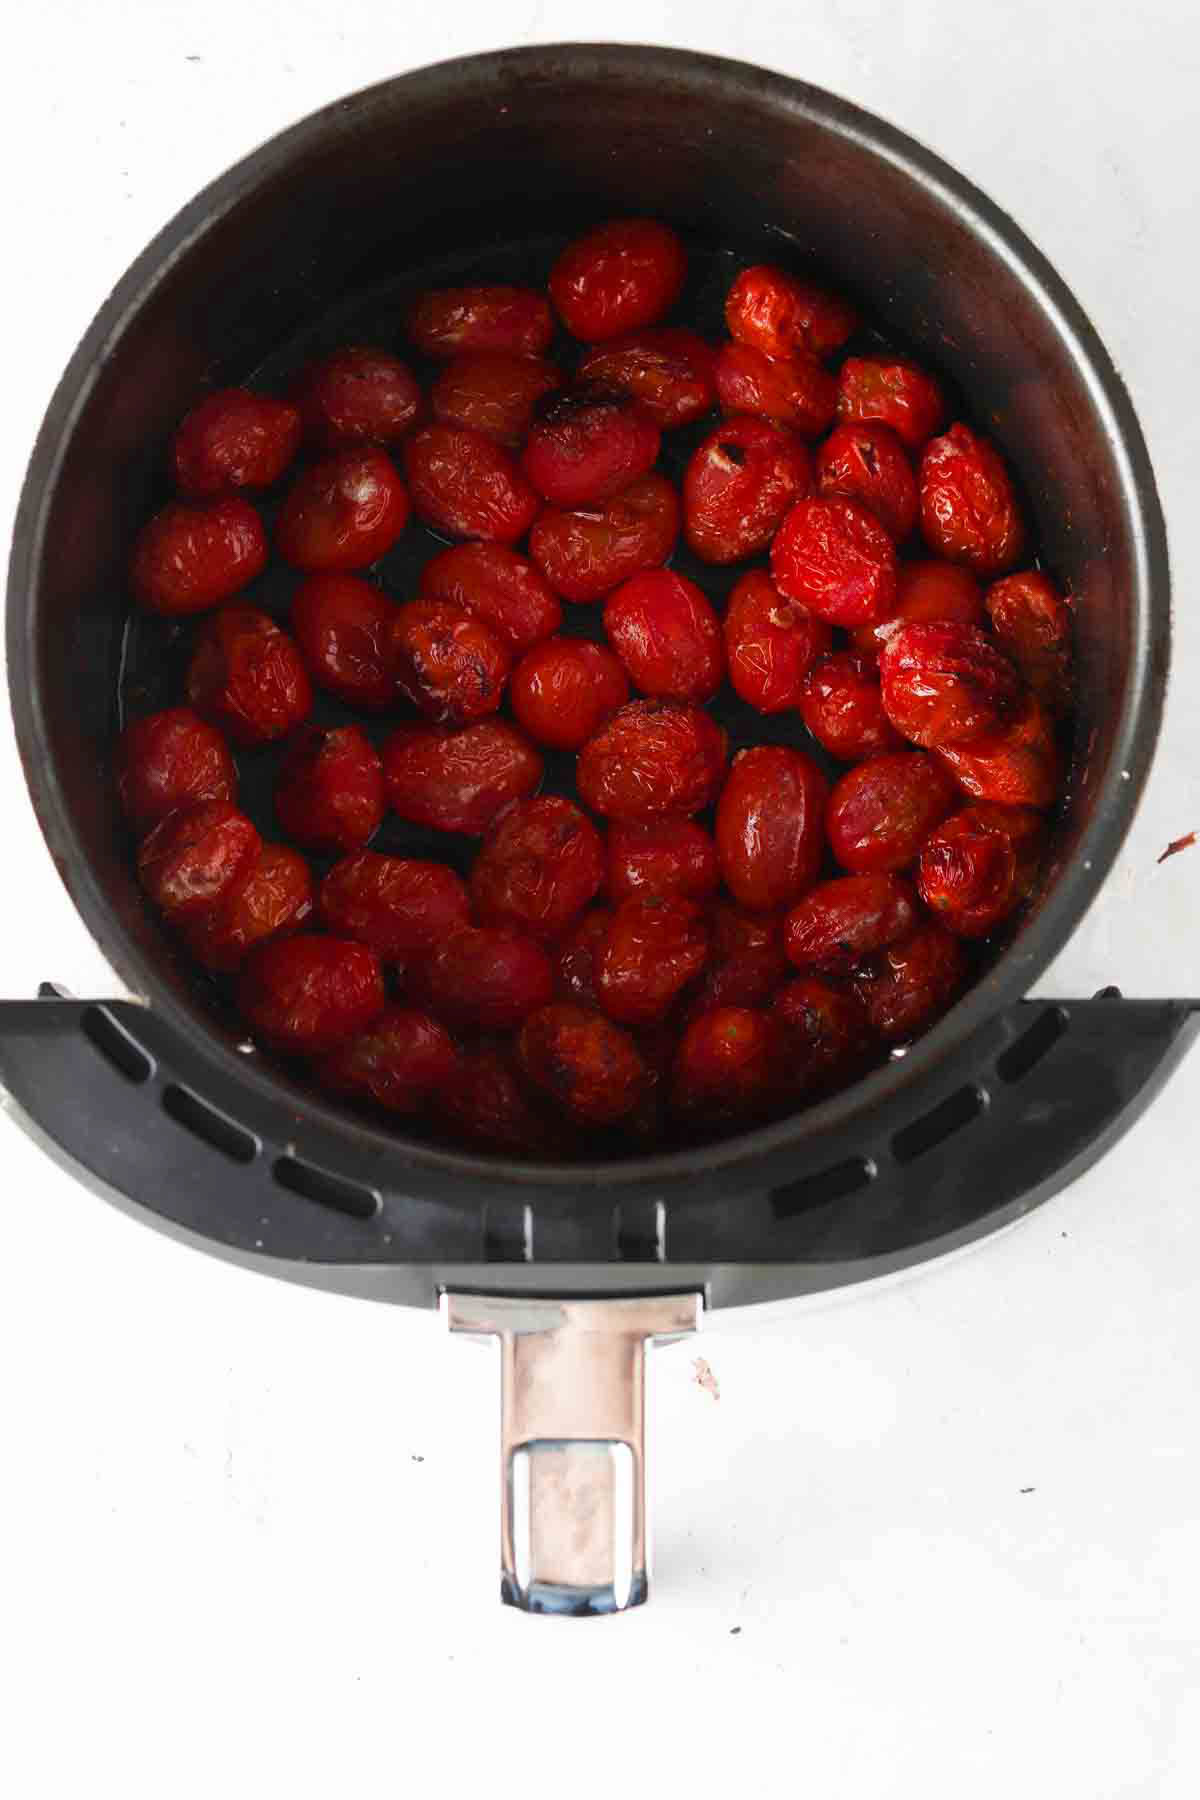
- Preheat the oven to 425 degrees F. Place The grapes, oil and sea salt in a bowl and toss until well mixed. Place on a baking sheet and cook for 20-25 minutes or until the grapes appeared shriveled up.