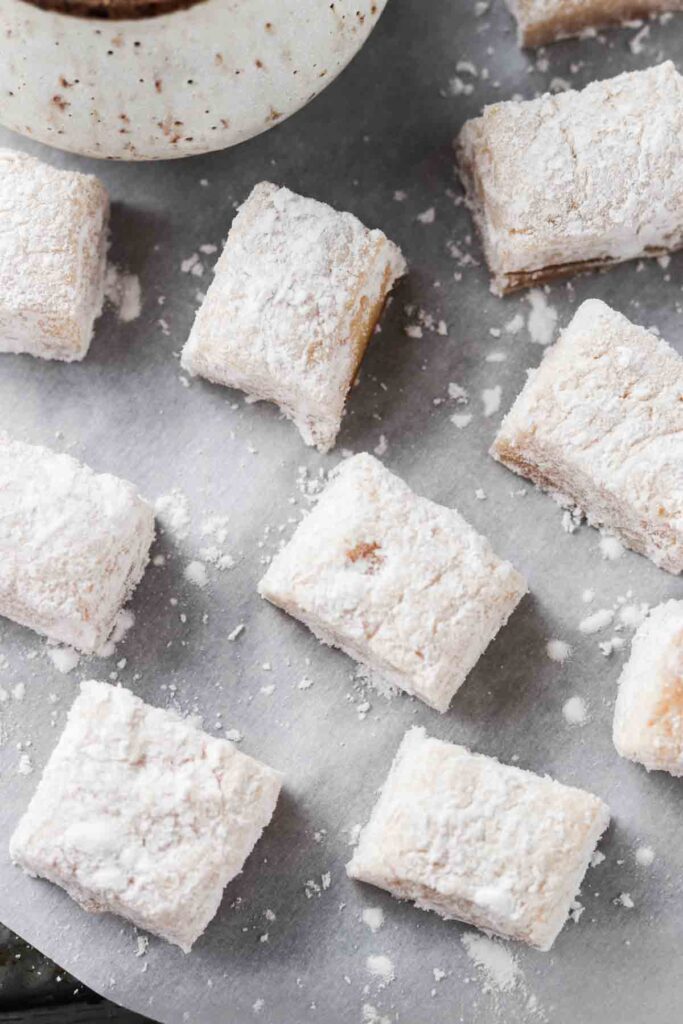
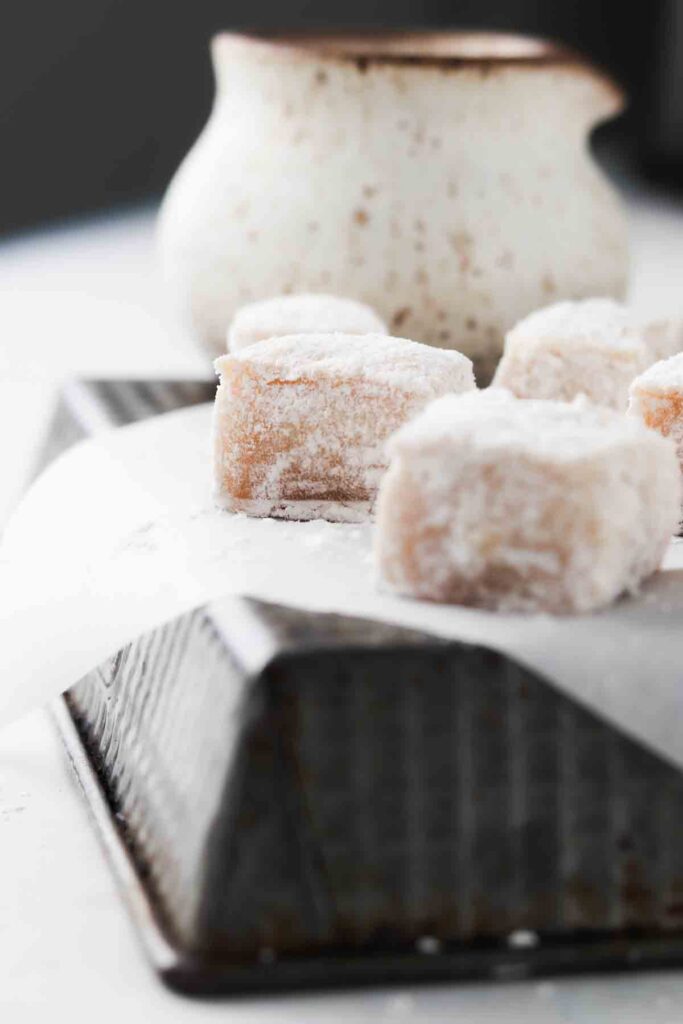
These Healthy Marshmallows are super simple and fun to make. My homemade marshmallows are super fluffy, light and have the perfect amount of sweetness. This recipe only requires 20 minutes of hands-on time and these homemade treats store so well which means you can have a batch in your fridge at all times.
What Makes This Recipe So Good?
- First off, these homemade marshmallows taste better than store bought!
- Secondly, this recipe is actually good for you-only a few simple ingredients, no additives here!
- This recipe is naturally paleo, gluten free, dairy free, grain free, refined sugar free, elimination diet friendly, AIP (autoimmune protocol.)
- This recipe only requires 20 minutes of hands-on time which makes it a great fun thing to make when you do not have much time.
- Kids love these marshmallows, no one even knows they are not loaded with all of the additives like store bought ones.
- This recipe is used to make my homemade Dairy Free S’mores Fudgesicles.
- These marshmallows store really well, which means you can make them in bulk and store them for later use.
Ingredients:
- Gelatin-This is the key ingredient for marshmallows. This is what holds everything together. Gelatin is a great supplement for the body too. It can support gut health, bone health, joint health and so much more. It also helps with skin. I love Vital Proteins gelatin brand.
- Honey-This is my go to sweetener in this recipe. Note you can use maple syrup but the honey tastes better in my opinion. I like to get my honey from Costco, I found that you get the most for your money there.
- Vanilla-This is totally optional, but does help with flavor. If you are doing the autoimmune protocol (AIP) you can use vanilla powder or omit.
- Arrowroot powder-This prevents the marshmallows from sticking and gives them a white color.
- Water-To make the honey mixture and the gelatin.
How To Make:
Step 1:
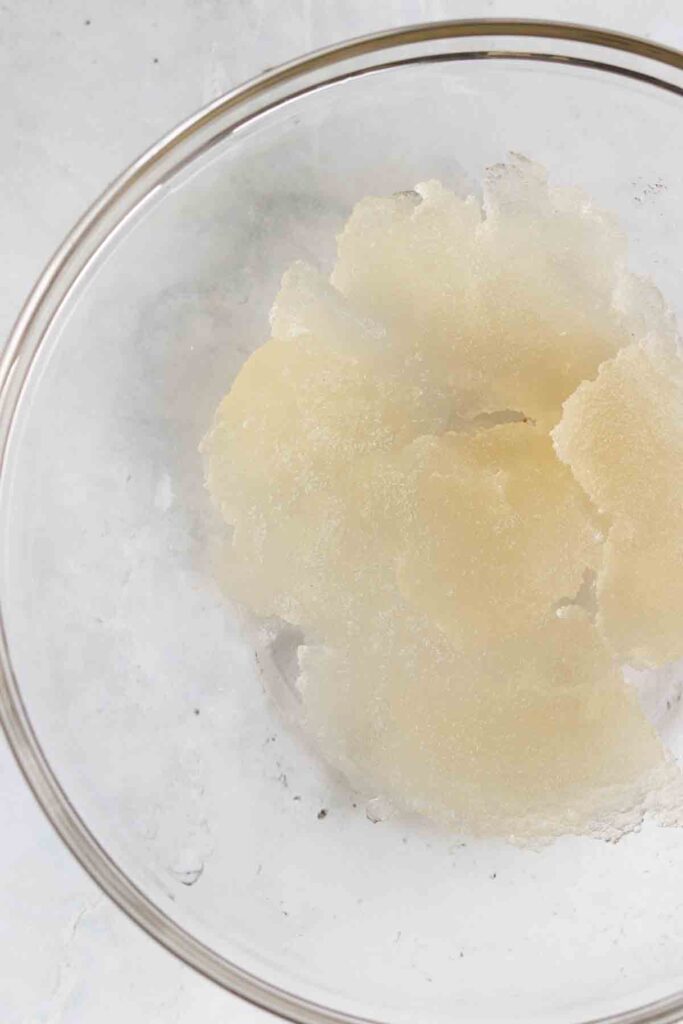
- Place half of the water in a bowl and sprinkle the gelatin. Allow the gelatin to bloom (bloom means to allow it to set and form.)
Step 2:
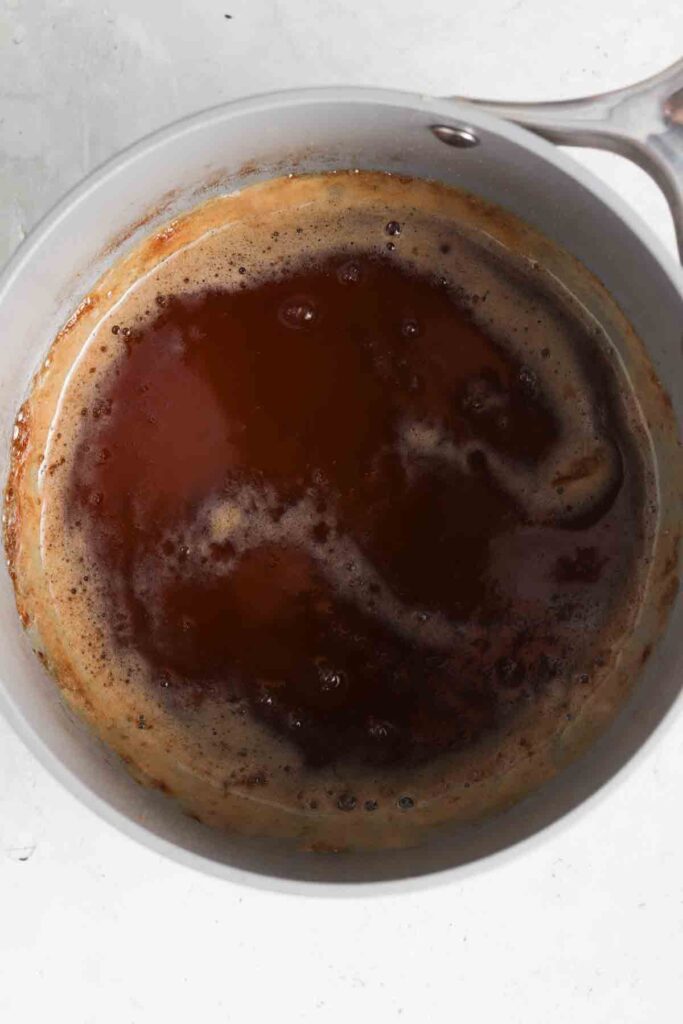
- Place the other half of the water in a saucepan and pour in the honey. Whisk the water in honey together and add in the optional vanilla. Allow the mixture to be brought to a boil on medium heat for about 12 minutes or until the mixture reaches 240 degrees F with a candy thermometer.
Step 3:
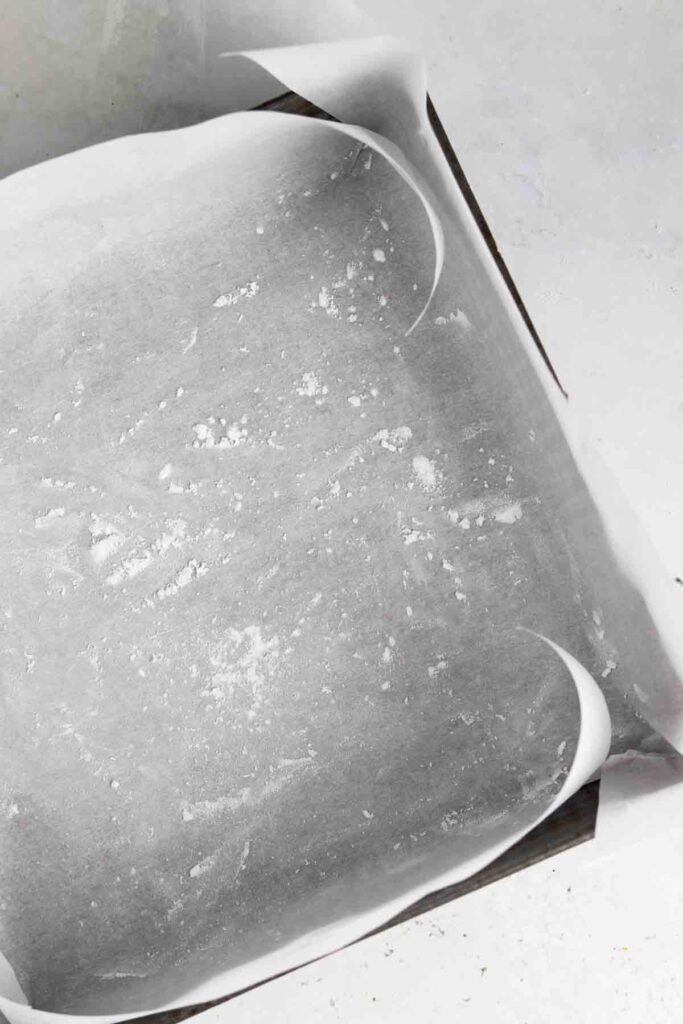
- Add a piece of wax paper to an 8 by 8 casserole dish and sprinkle with arrowroot on the bottom to prevent the marshmallows from sticking.
Step 4:
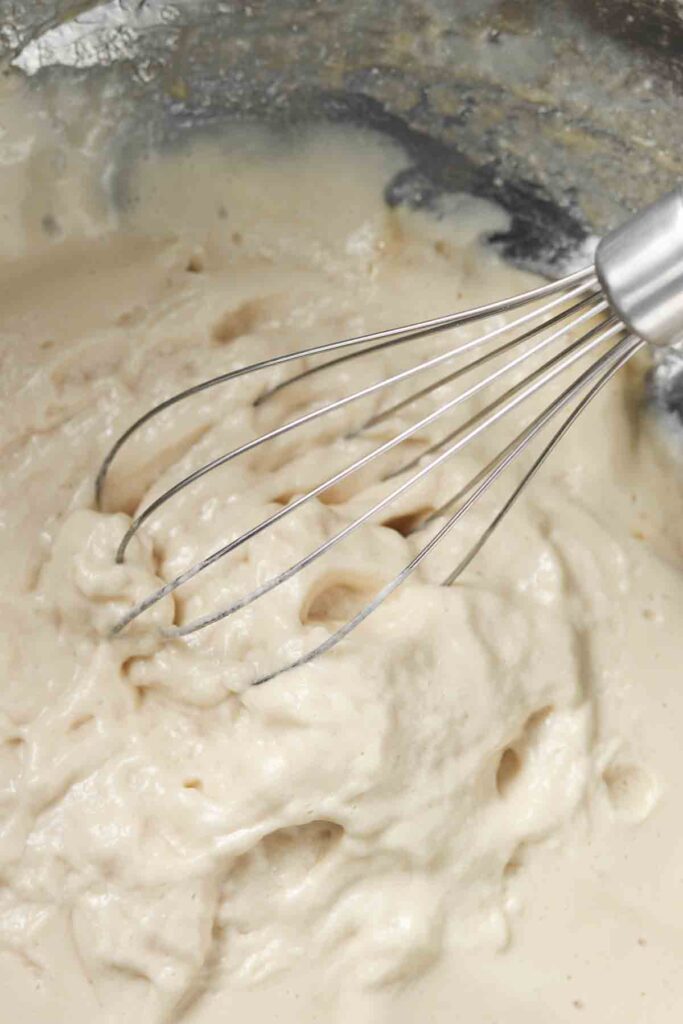
- Once the honey mixture is done, add the gelatin mixture into a large bowl and slowly pour in the honey mixture while using a hand mixer on the low setting. It is important to act fast as the gelatin will soon start to set and we do not want that. Mix the mixture on low for 5-7 minutes until soft peaks form (like whipped cream.)
Step:5
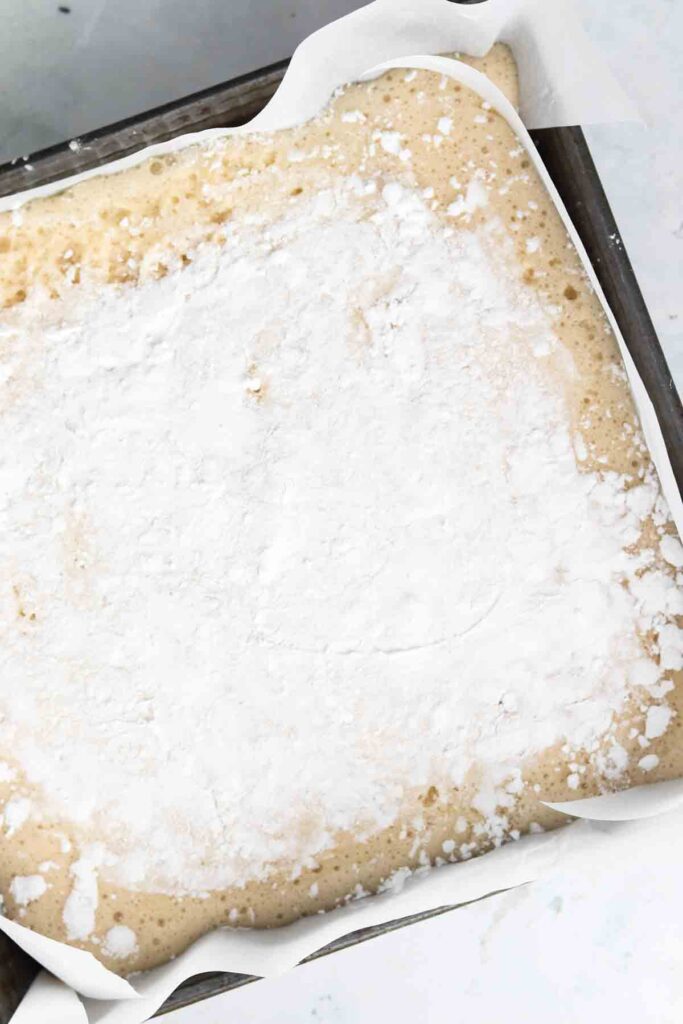
- Pour the mixture into the casserole dish and allow it to set in the fridge for 6 hours.
Step 6:
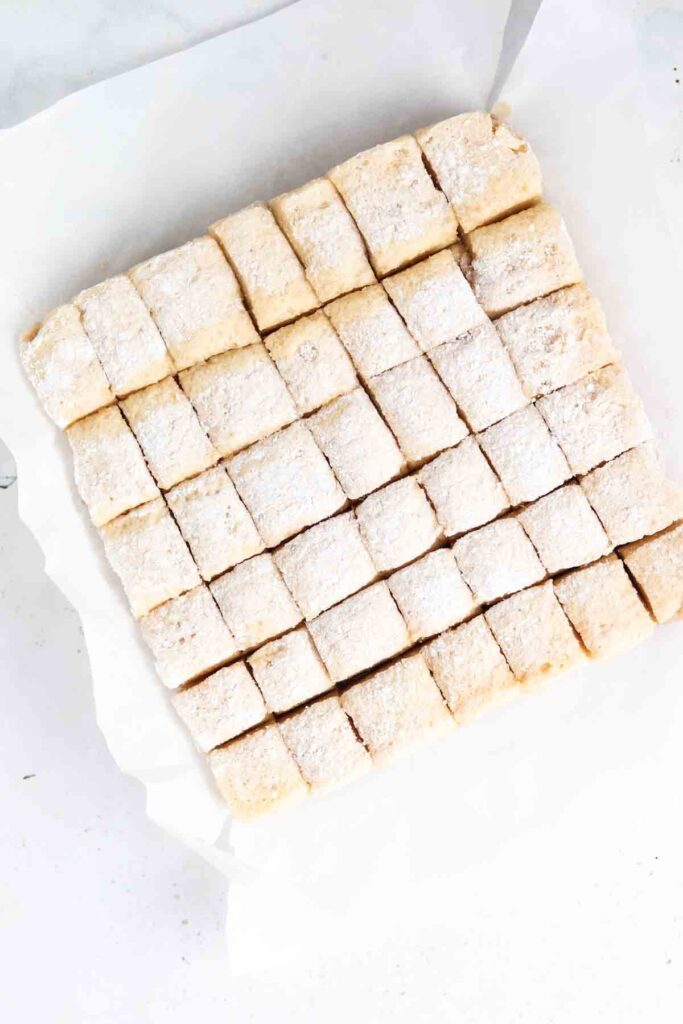
- Once the marshmallows set, sprinkle with a little bit more arrowroot powder on top to help cut through it. Then, grease a knife with oil and cut the marshmallows into small cubes by first cutting horizontally, then cutting vertically.
Step 7:
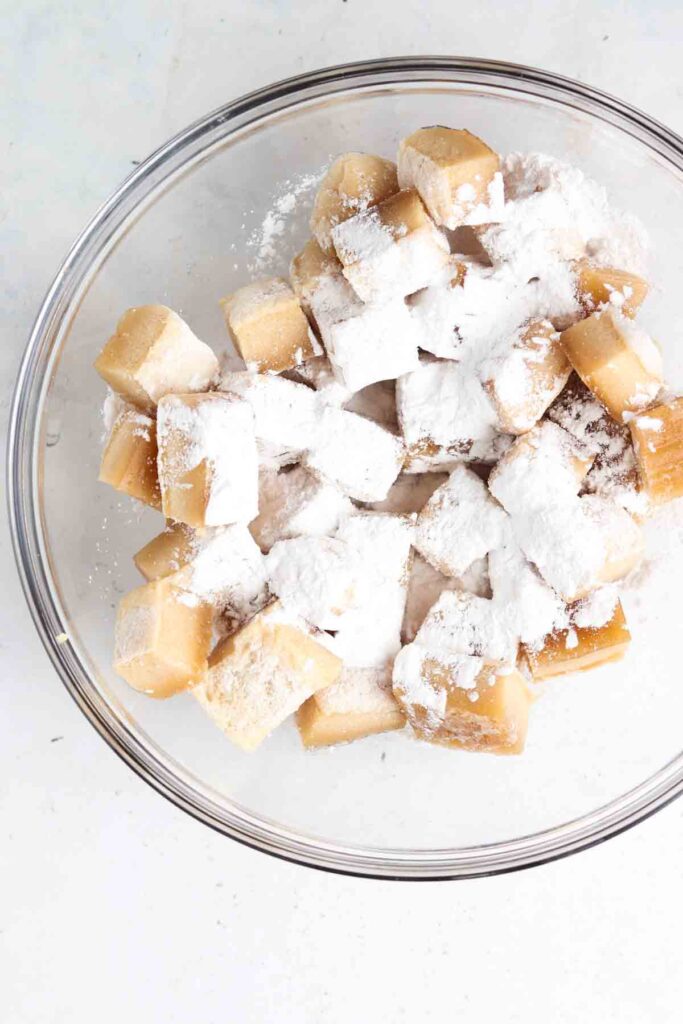
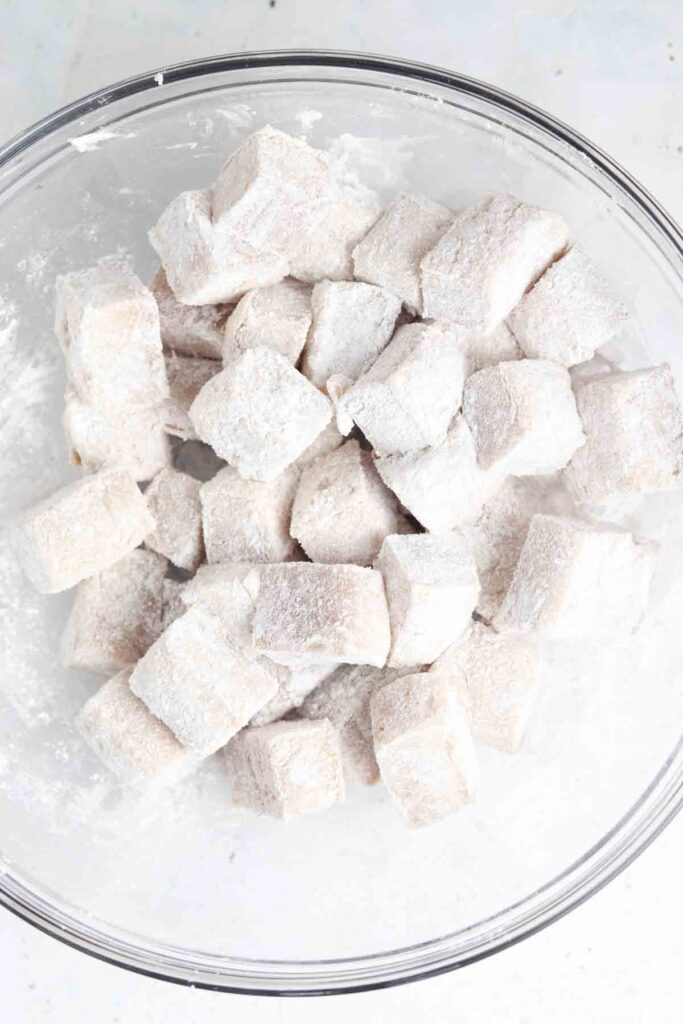
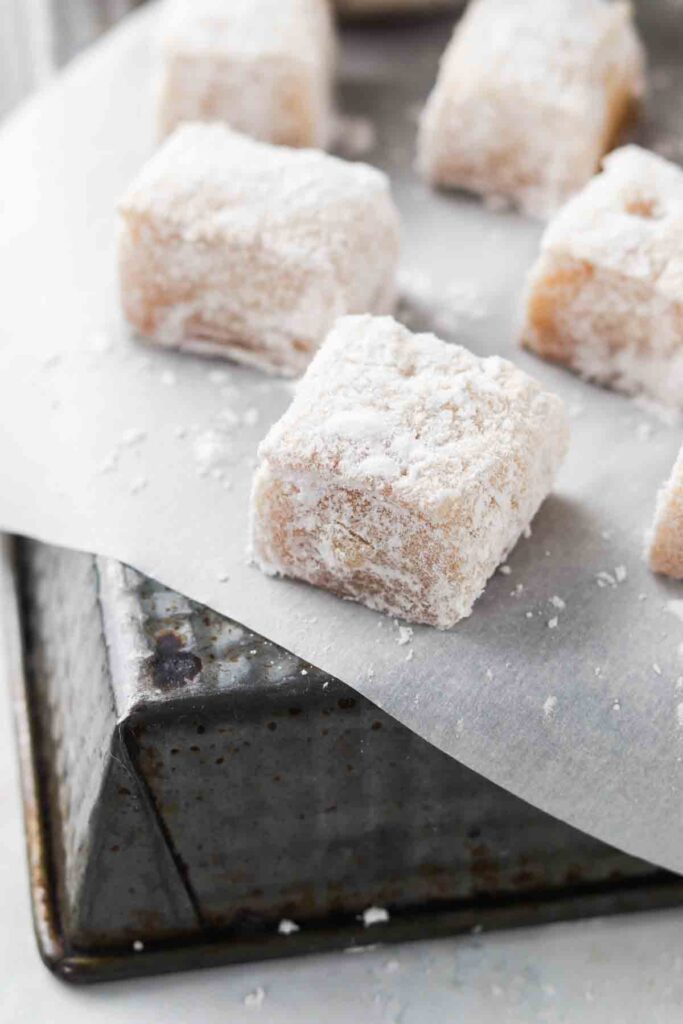
- Add the cubes to the bowl and pour in the remaining arrowroot powder and mix. This will give the marshmallows the white appearance and prevent them from sticking. Now serve!
Recipe Frequently Asked Questions:
-
How Long Do Homemade Marshmallows Last?
- These marshmallows can last for 3 weeks when they are covered and stored in the fridge.
-
Can I Turn This Into Marshmallow Fluff?
- Yes! Just skip steps 3,5,6 and 7.
-
What Kind Of Healthier Marshmallow Based Desserts Can I Make With This?
- I love making my homemade Fudgesicles!
-
How Should I Store Them?
- I suggest storing the homemade marshmallows covered in the fridge.
Chef’s Tips:
- Be sure not to over mix your honey and gelatin mixture in step 4. If you overmix it, it will get real firm and set way too quick.
- Make sure you do not overcook the honey mixture on the stovetop, just cook it for 12 minutes on the dot!
 If you like this recipe, you will LOVE my other fun desserts:
If you enjoyed this recipe it would mean the world to me if you rated it and left a comment below. It helps others find it on google.xoxo-Allianna
Healthy Marshmallows
Servings 24 pieces
49kcal
Cost $2
Print Recipe
Pin Recipe
Equipment
- 8 by 8 baking dish
- mixer
- wax paper
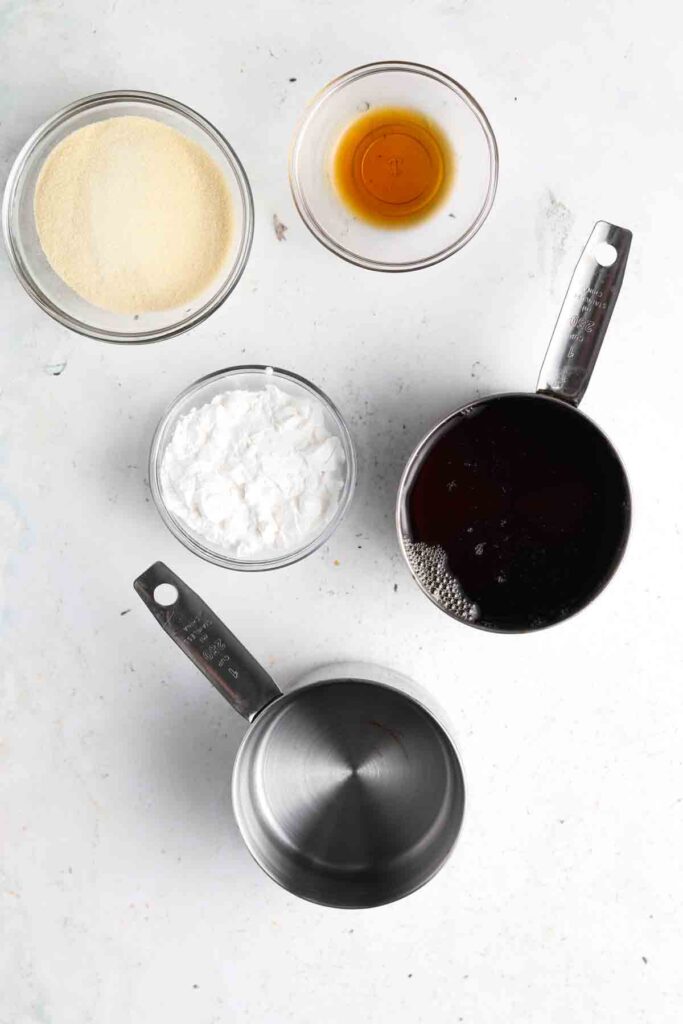
Ingredients
- 1 cup water divided into 2 half cups
- 3 tbsp gelatin I like grass fed
- 1 cup honey or maple syrup
- 1 tsp vanilla optional for flavor. omit for AIP
- 2 tbsp arrowroot powder to coat the marshmallows
Instructions
- Line a 8 by 8 inch casserole dish with parchment paper and spread a pinch of the the arrowroot powder to prevent sticking.
- Now, add 1/2 cup of water to a bowl and sprinkle the gelatin allow it to bloom (sit without touching it) for 10 minutes. Now combine water and the honey in a saucepan on medium heat and bring to a boil for 12 minutes or until a candy thermometer reaches 240 degrees F. Be sure to whisk throughout so the honey gets mixed in.
- Next, pour the honey mixture in the bowl quickly while whisking on low. Then, kick up the speed on the mixture and whisk for 5-7 minutes until soft peaks form (looking kinda like a whipped cream.) This will turn the mixture from brown to white and it will explode in volume. Now pour the cream into the casserole dish and spread out with a spatula. You will need to act fast as the marshmallows will have started to set for 6 hours in the fridge. Once the 6 hours is up, add the remaining arrowroot on top and grease a sharp knife with oil to cut the marshmallows into 24 small pieces.
- Once the squares are cut, add them to a bowl and pour in the rest of the arrowroot powder. Toss in the arrowroot powder so they get a white look to them. Store in the fridge.If you enjoyed this recipe it would mean the world to me if you rated it and left a comment below. It helps others find it on google.xoxo-Allianna
Notes
If you enjoyed this recipe it would mean the world to me if you rated it and left a comment below. It helps others find it on google.xoxo-Allianna
Be sure not to over whisk your honey mixture or it will set too fast.
These quick, easy and delicious marshmallows really hit the spot! Super easy to make too.
Serving: 1piece | Calories: 49kcal | Carbohydrates: 12g | Protein: 1g | Fat: 1g | Saturated Fat: 1g | Polyunsaturated Fat: 1g | Monounsaturated Fat: 1g | Sodium: 3mg | Potassium: 8mg | Fiber: 1g | Sugar: 12g | Vitamin C: 1mg | Calcium: 2mg | Iron: 1mg
Tried this recipe?Tag me on instagram @alliannaskitchen!

 If you like this recipe, you will LOVE my other fun desserts:
Lori says
Such a great version of healthy marshmallows!