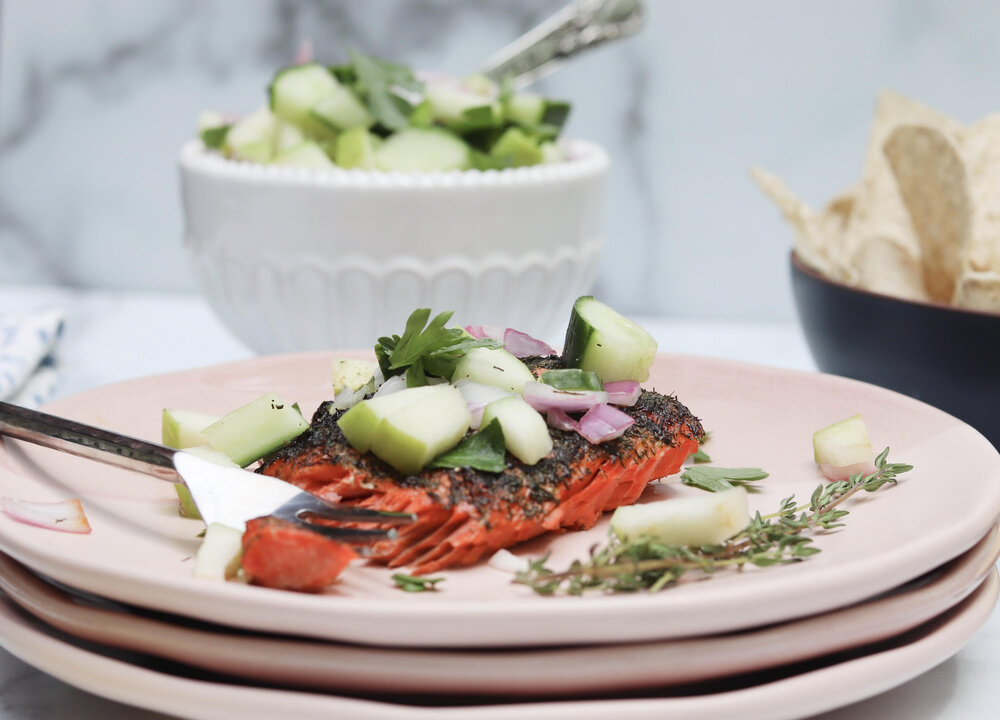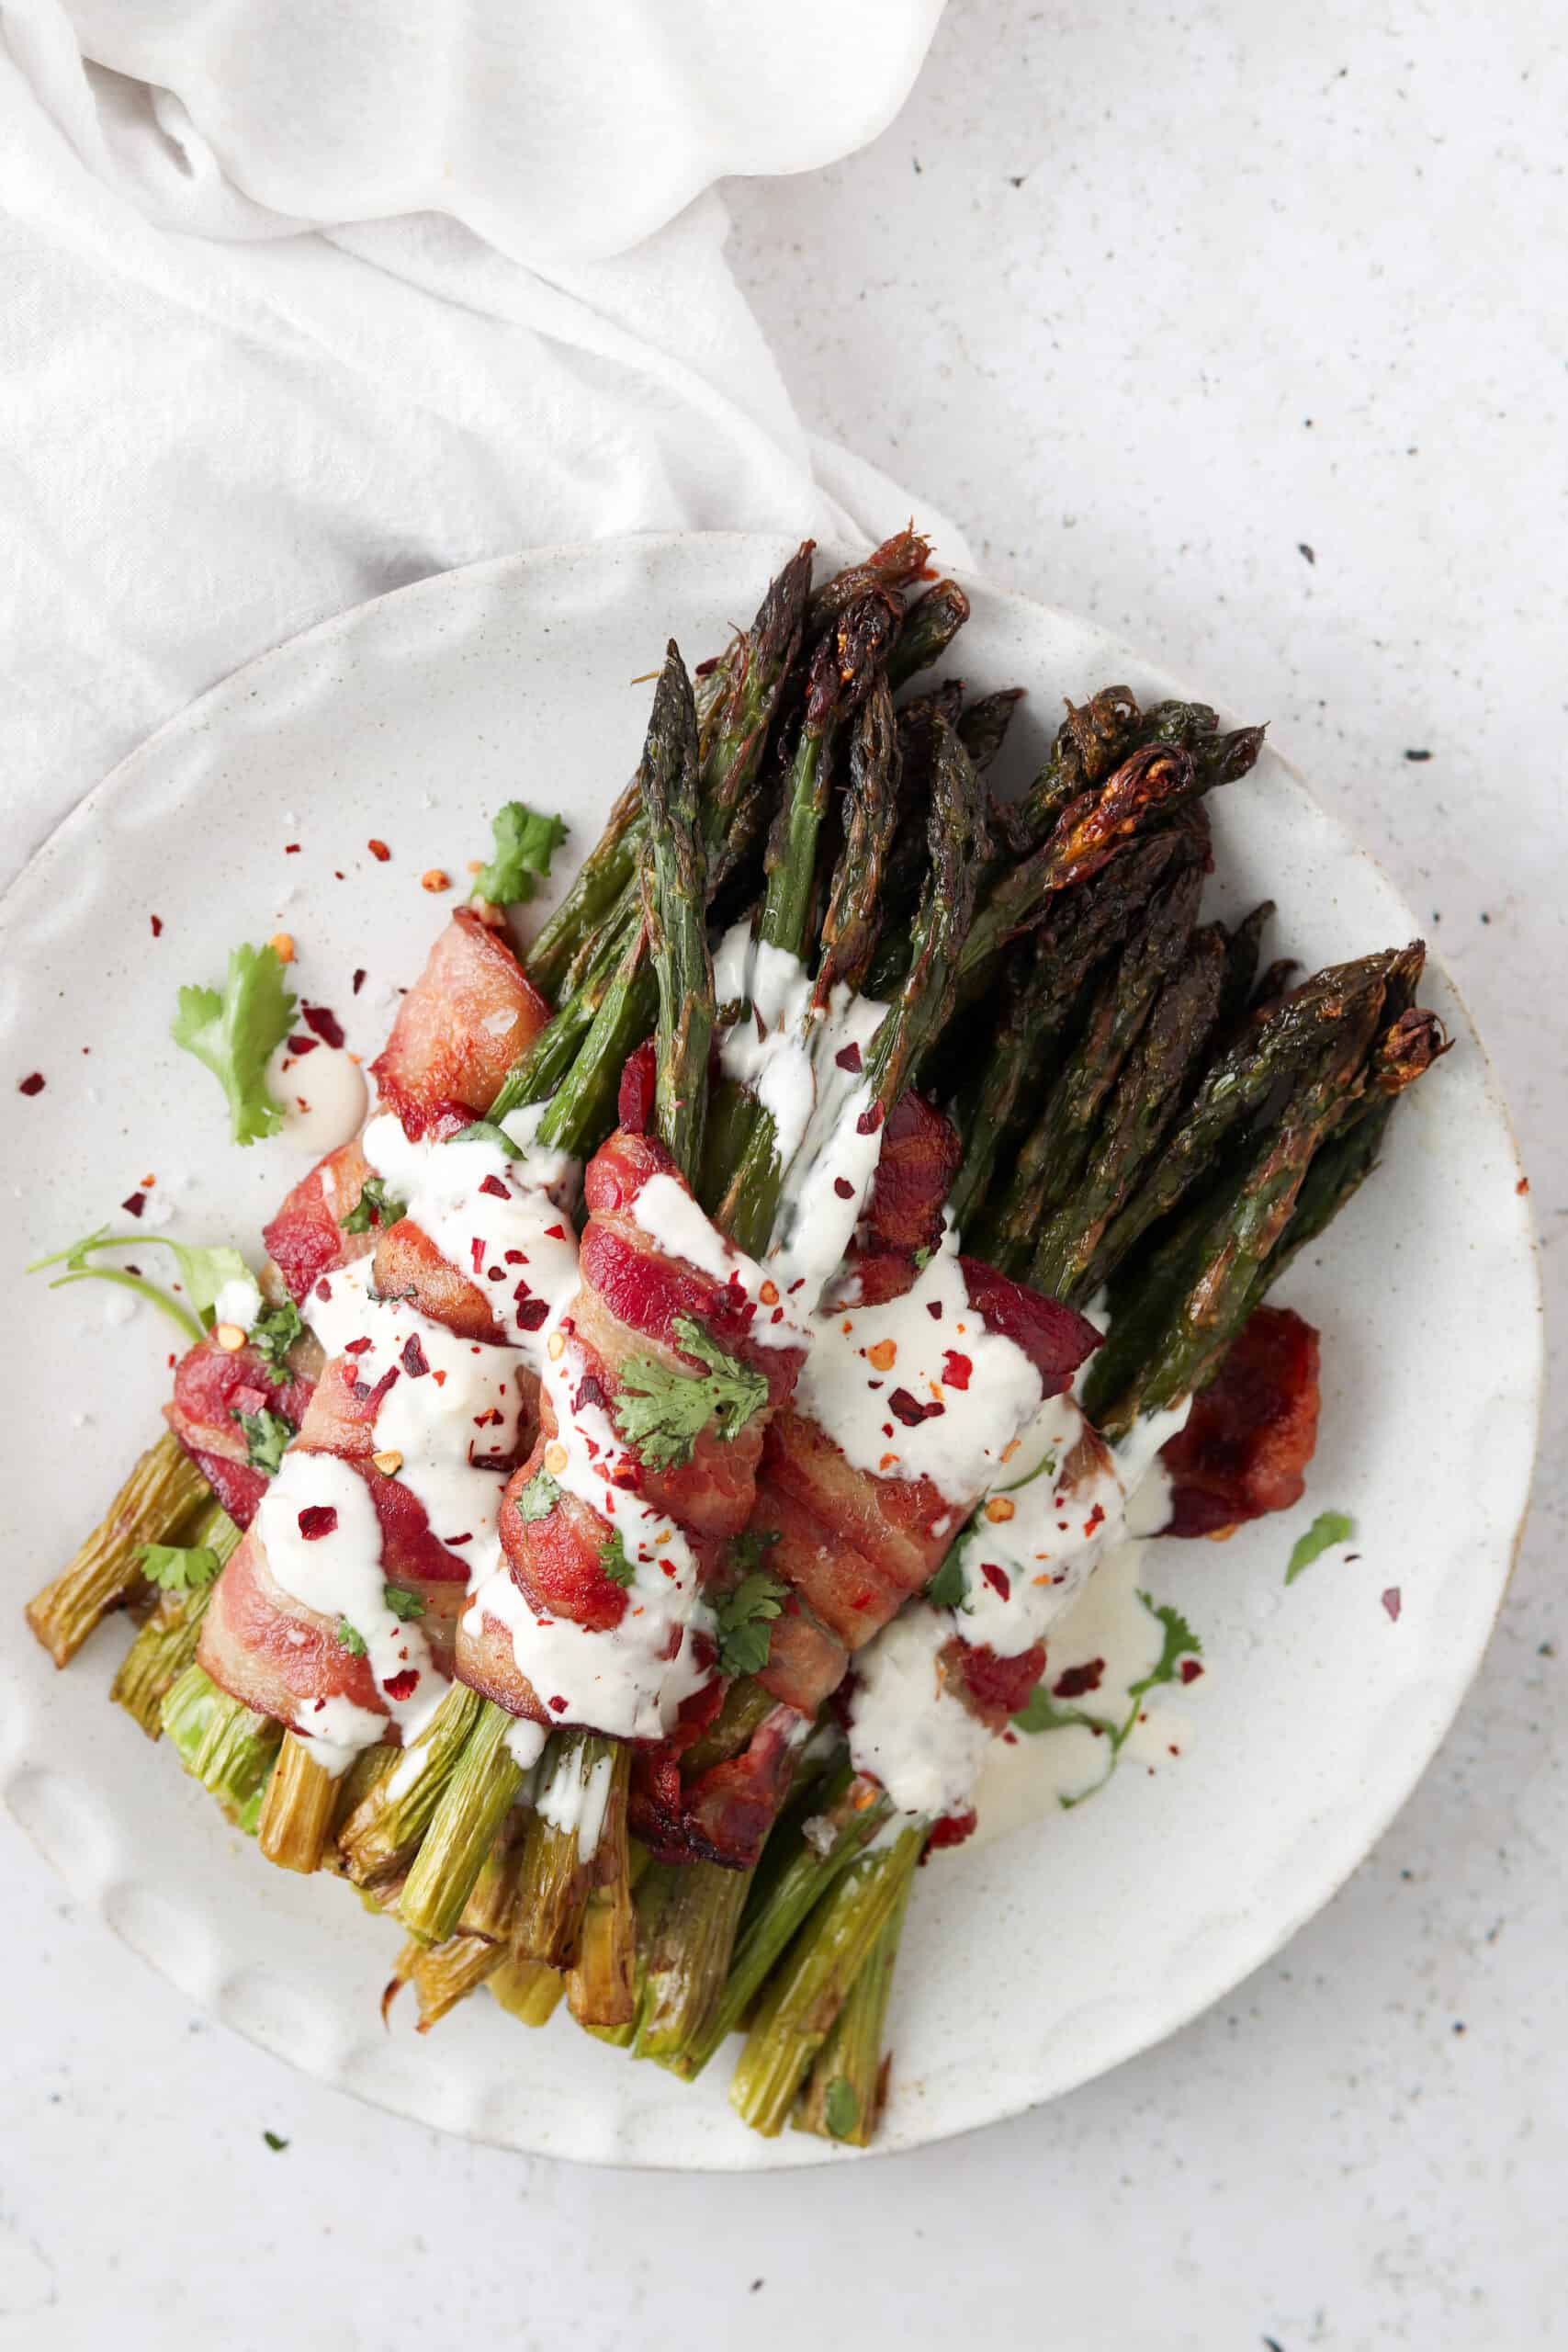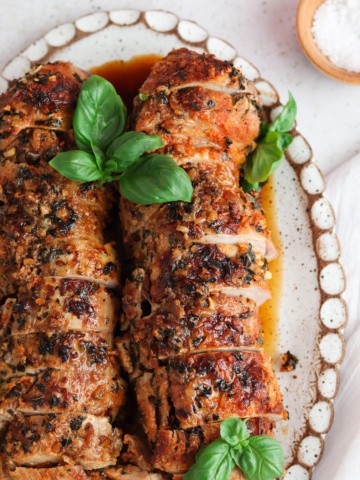
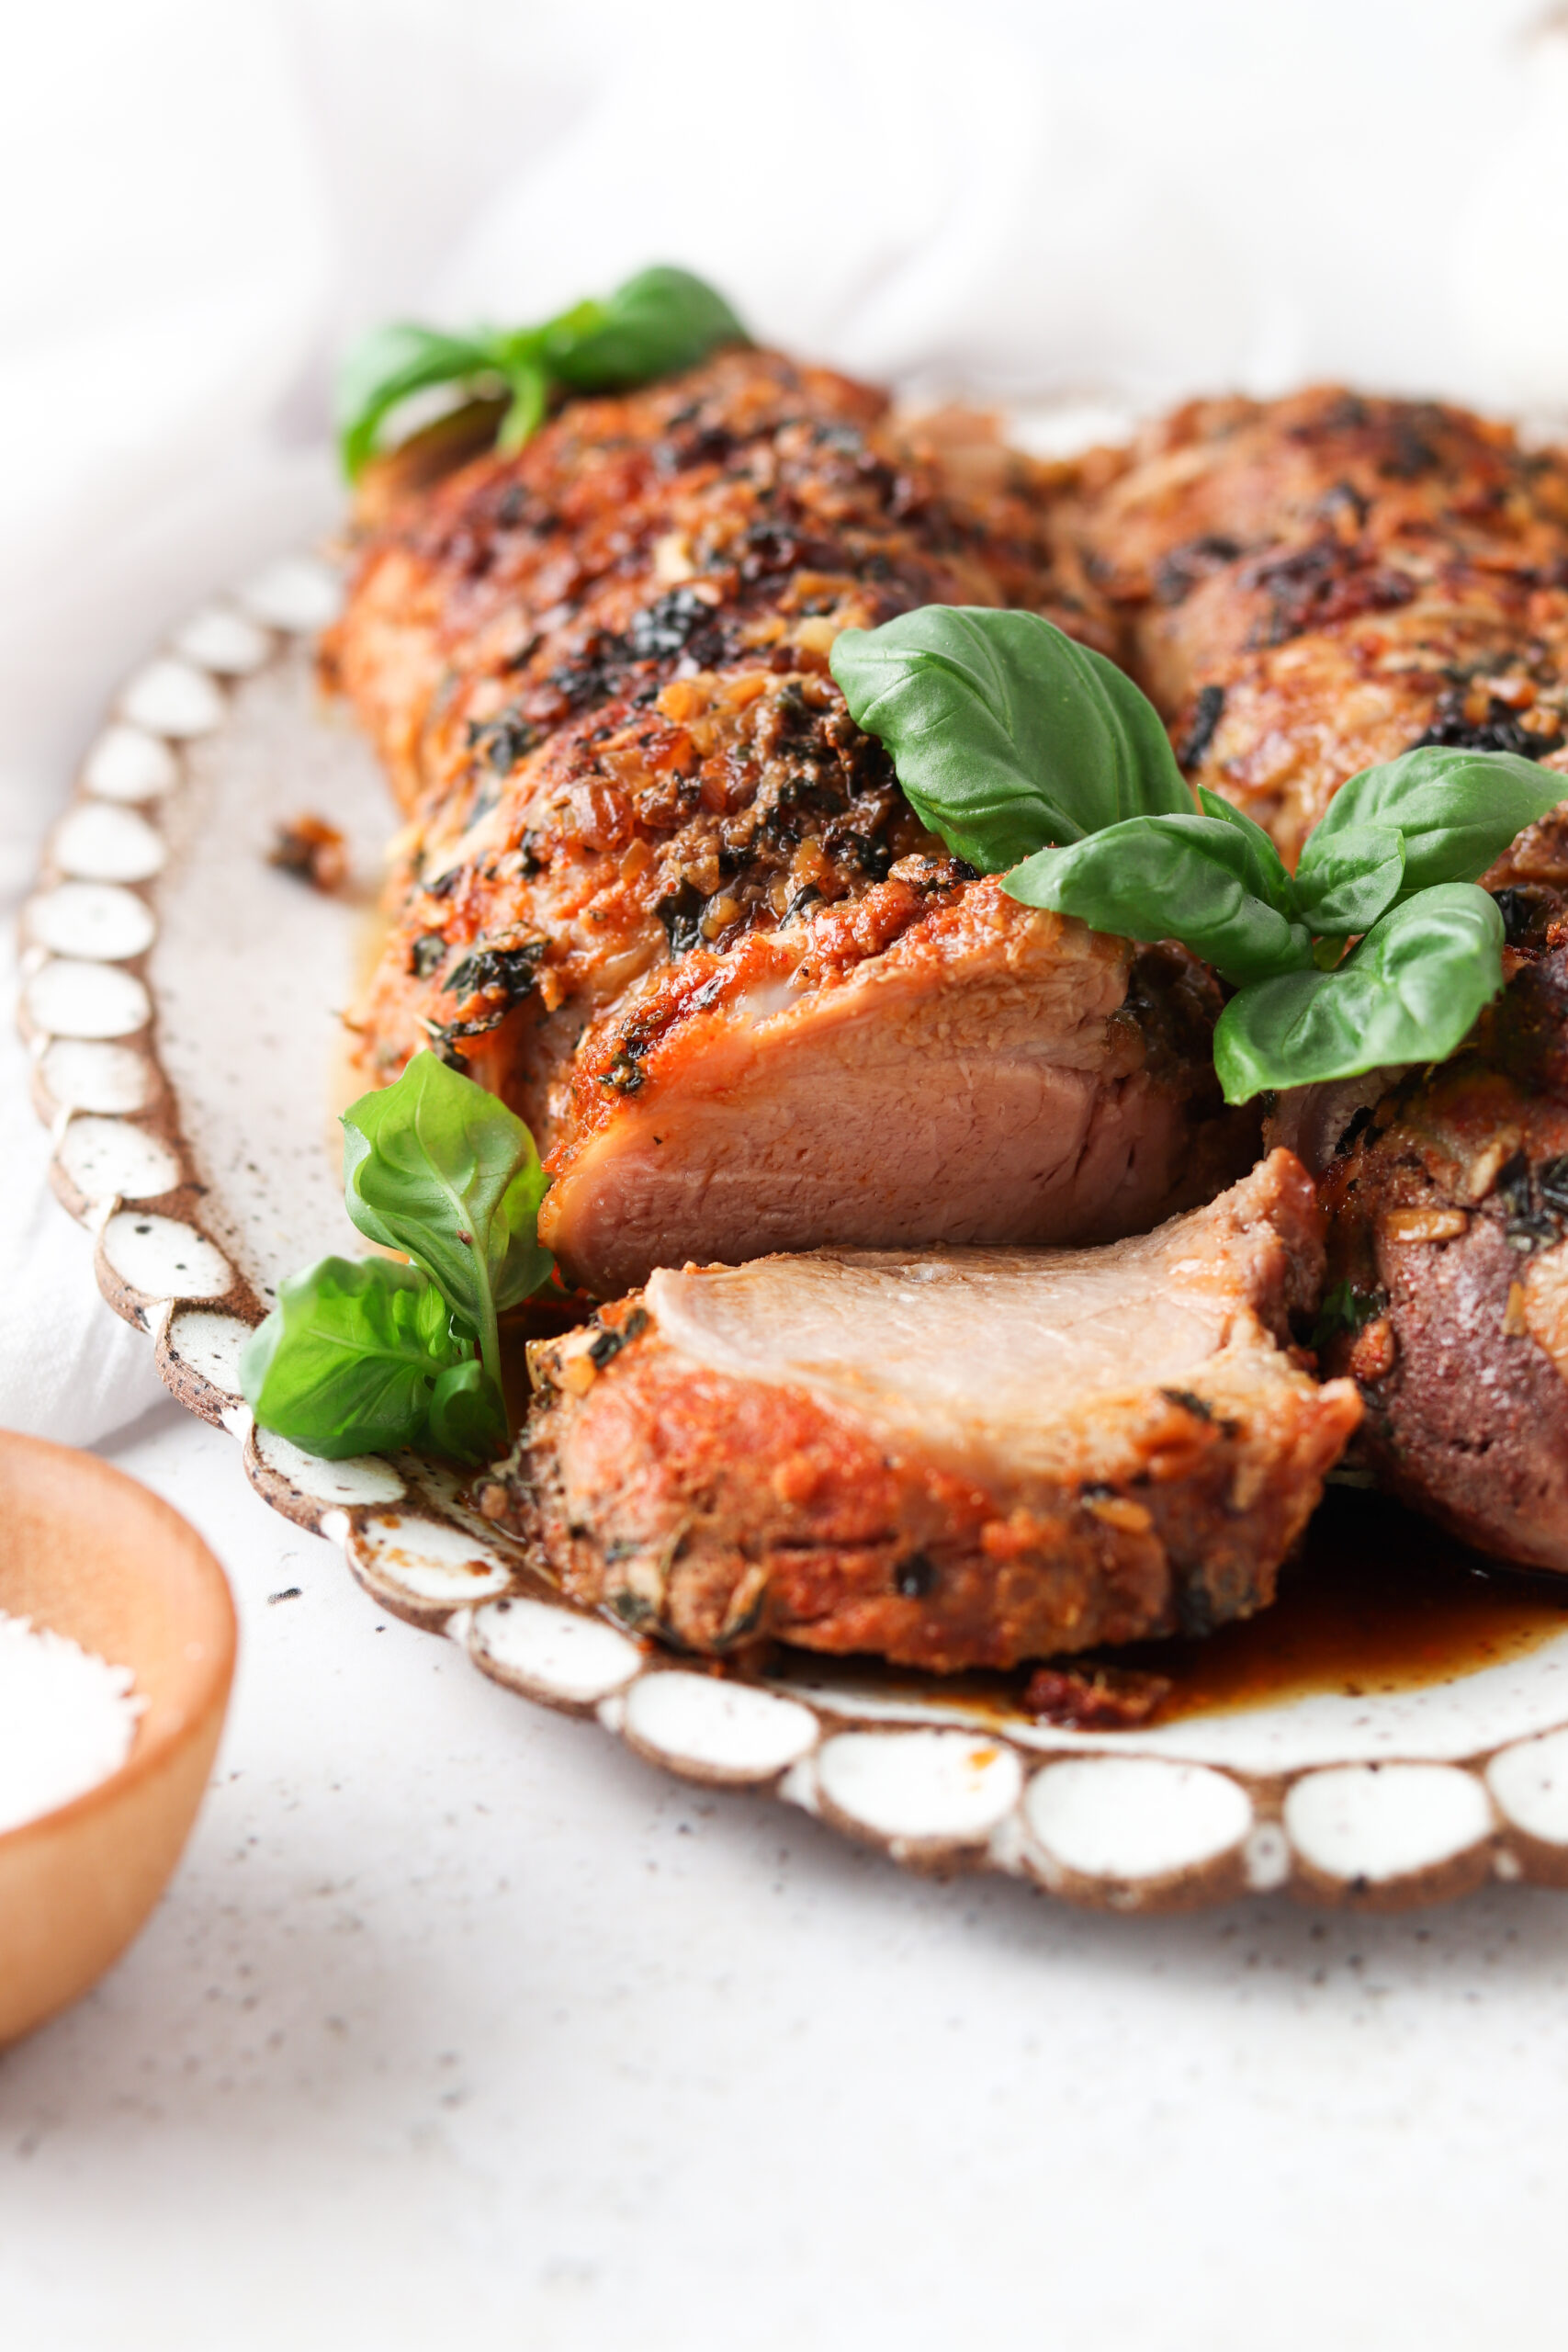
This Whole30 Pork Tenderloin With Herb Crust is a staple in my house. It is crispy on the outside while juicy on the inside and full of flavor. This is something the whole family can eat and it takes less than 15 minutes to make. We like to make this recipe in bulk for get togethers because it is so easy!

This pork is not only delicious but also a beautiful centerpiece for your table for any dinner party. The bright center of the juicy pork contrasted with the herb crust makes it just picture perfect while also being delicious. If you like this easy pork recipe, be sure to check out my Easy Blackened Pork Chop and Pork Belly on The Grill recipe too!
[feast_advanced_jump_to]Why You Will Love This Recipe
- This recipe is great to make for a crowd as well as during the week for dinner.
- This recipe is kid friendly!
- This recipe is naturally gluten free, dairy free, egg free, soy free, paleo, whole30, refined sugar free, nut free, and grain free.
- With a few simple exclusions, this recipe can also be autoimmune protocol (AIP) friendly as well.
- You can prepare this recipe in advance so you just need to heat up and serve.
- This is a great recipe to use for meal prepping for the week ahead.
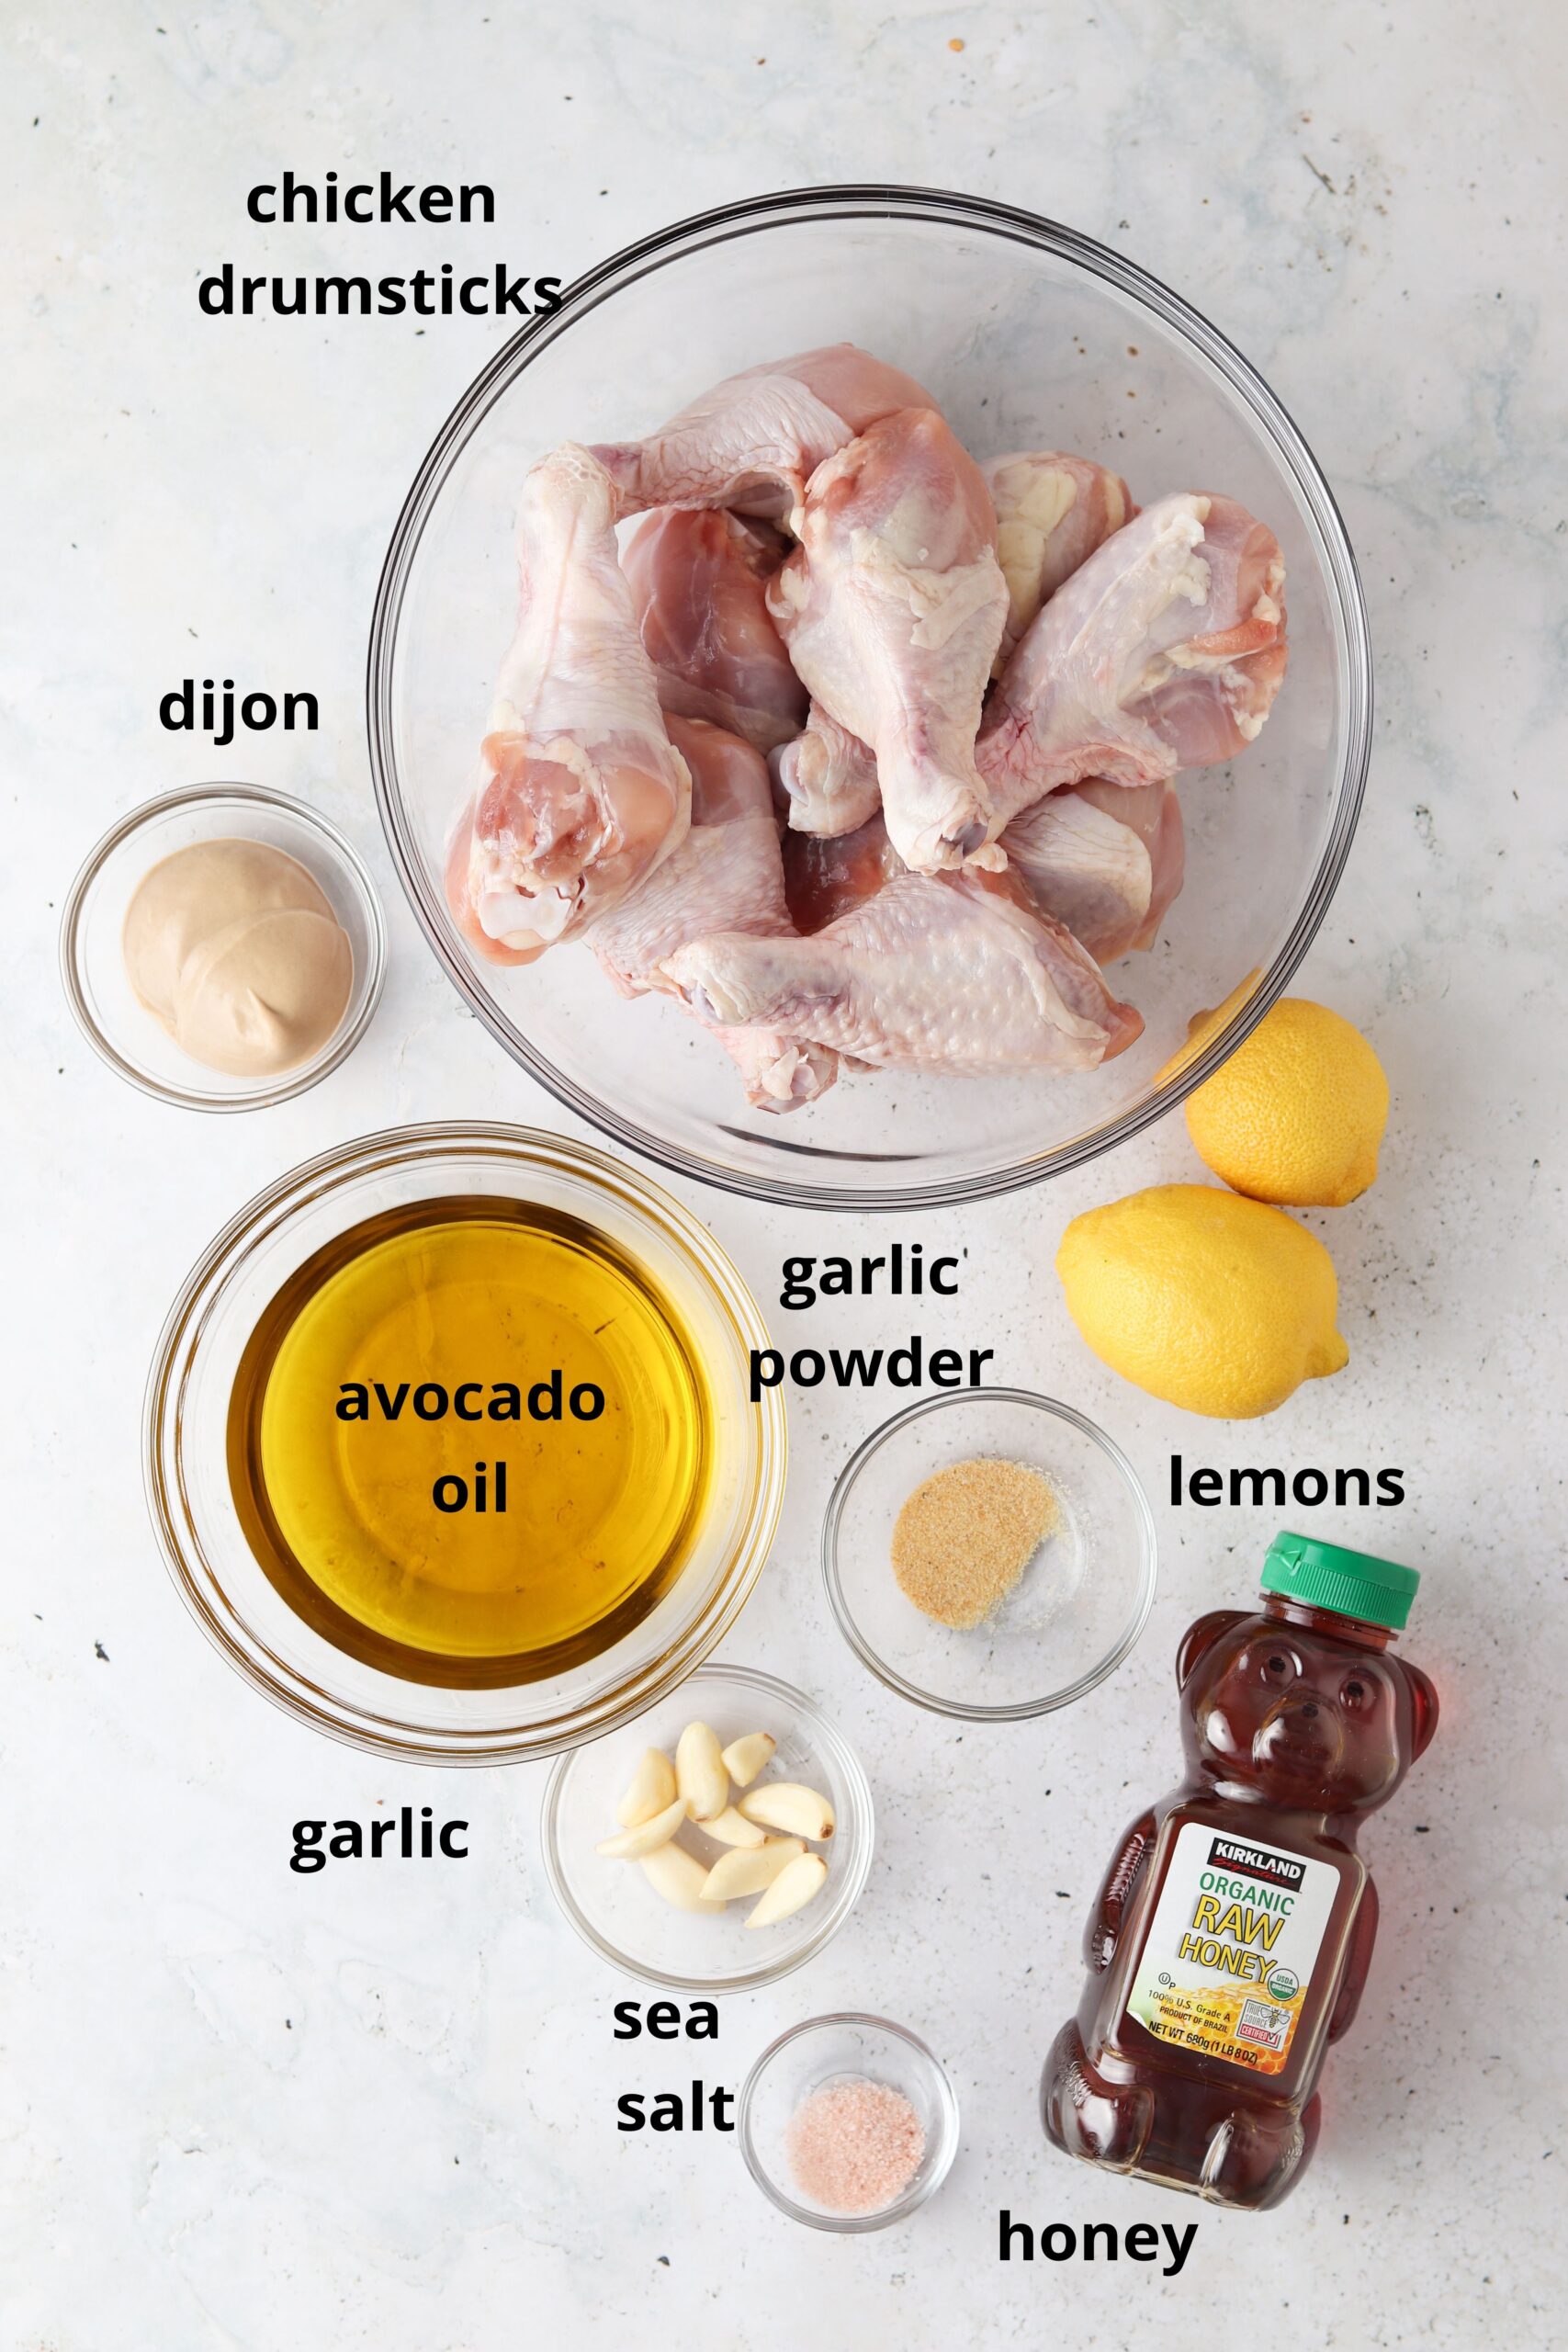
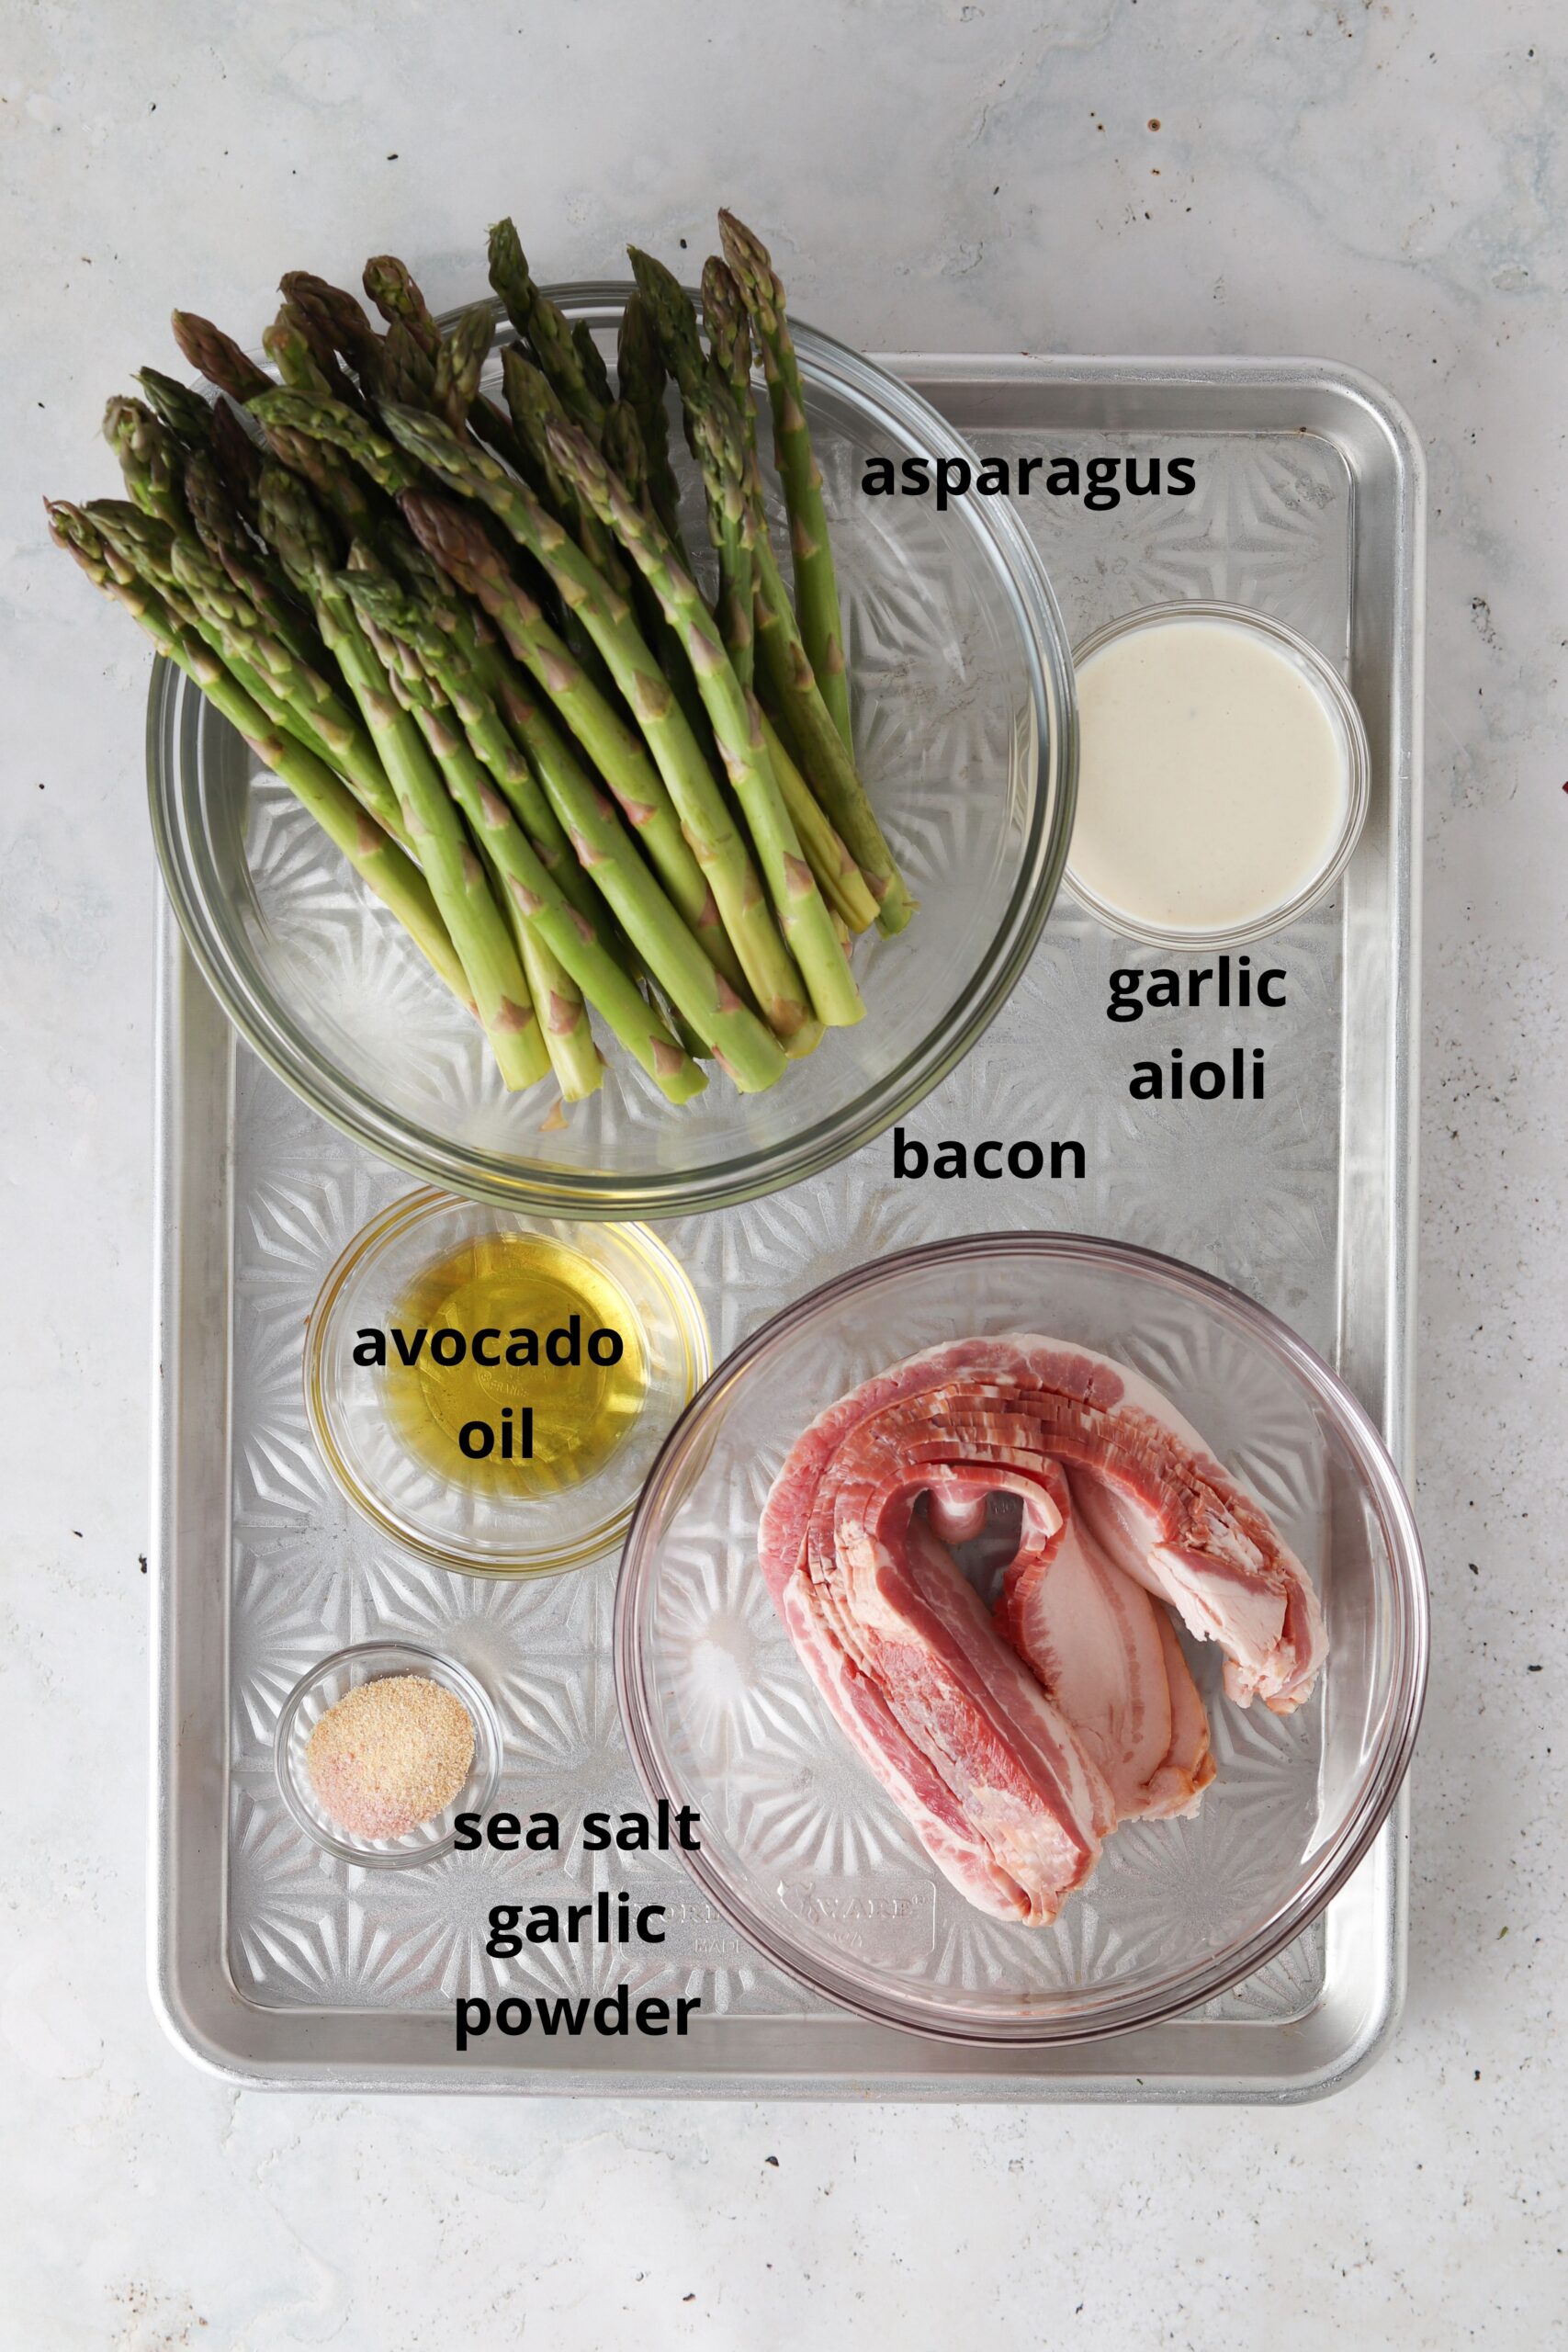
Ingredients:
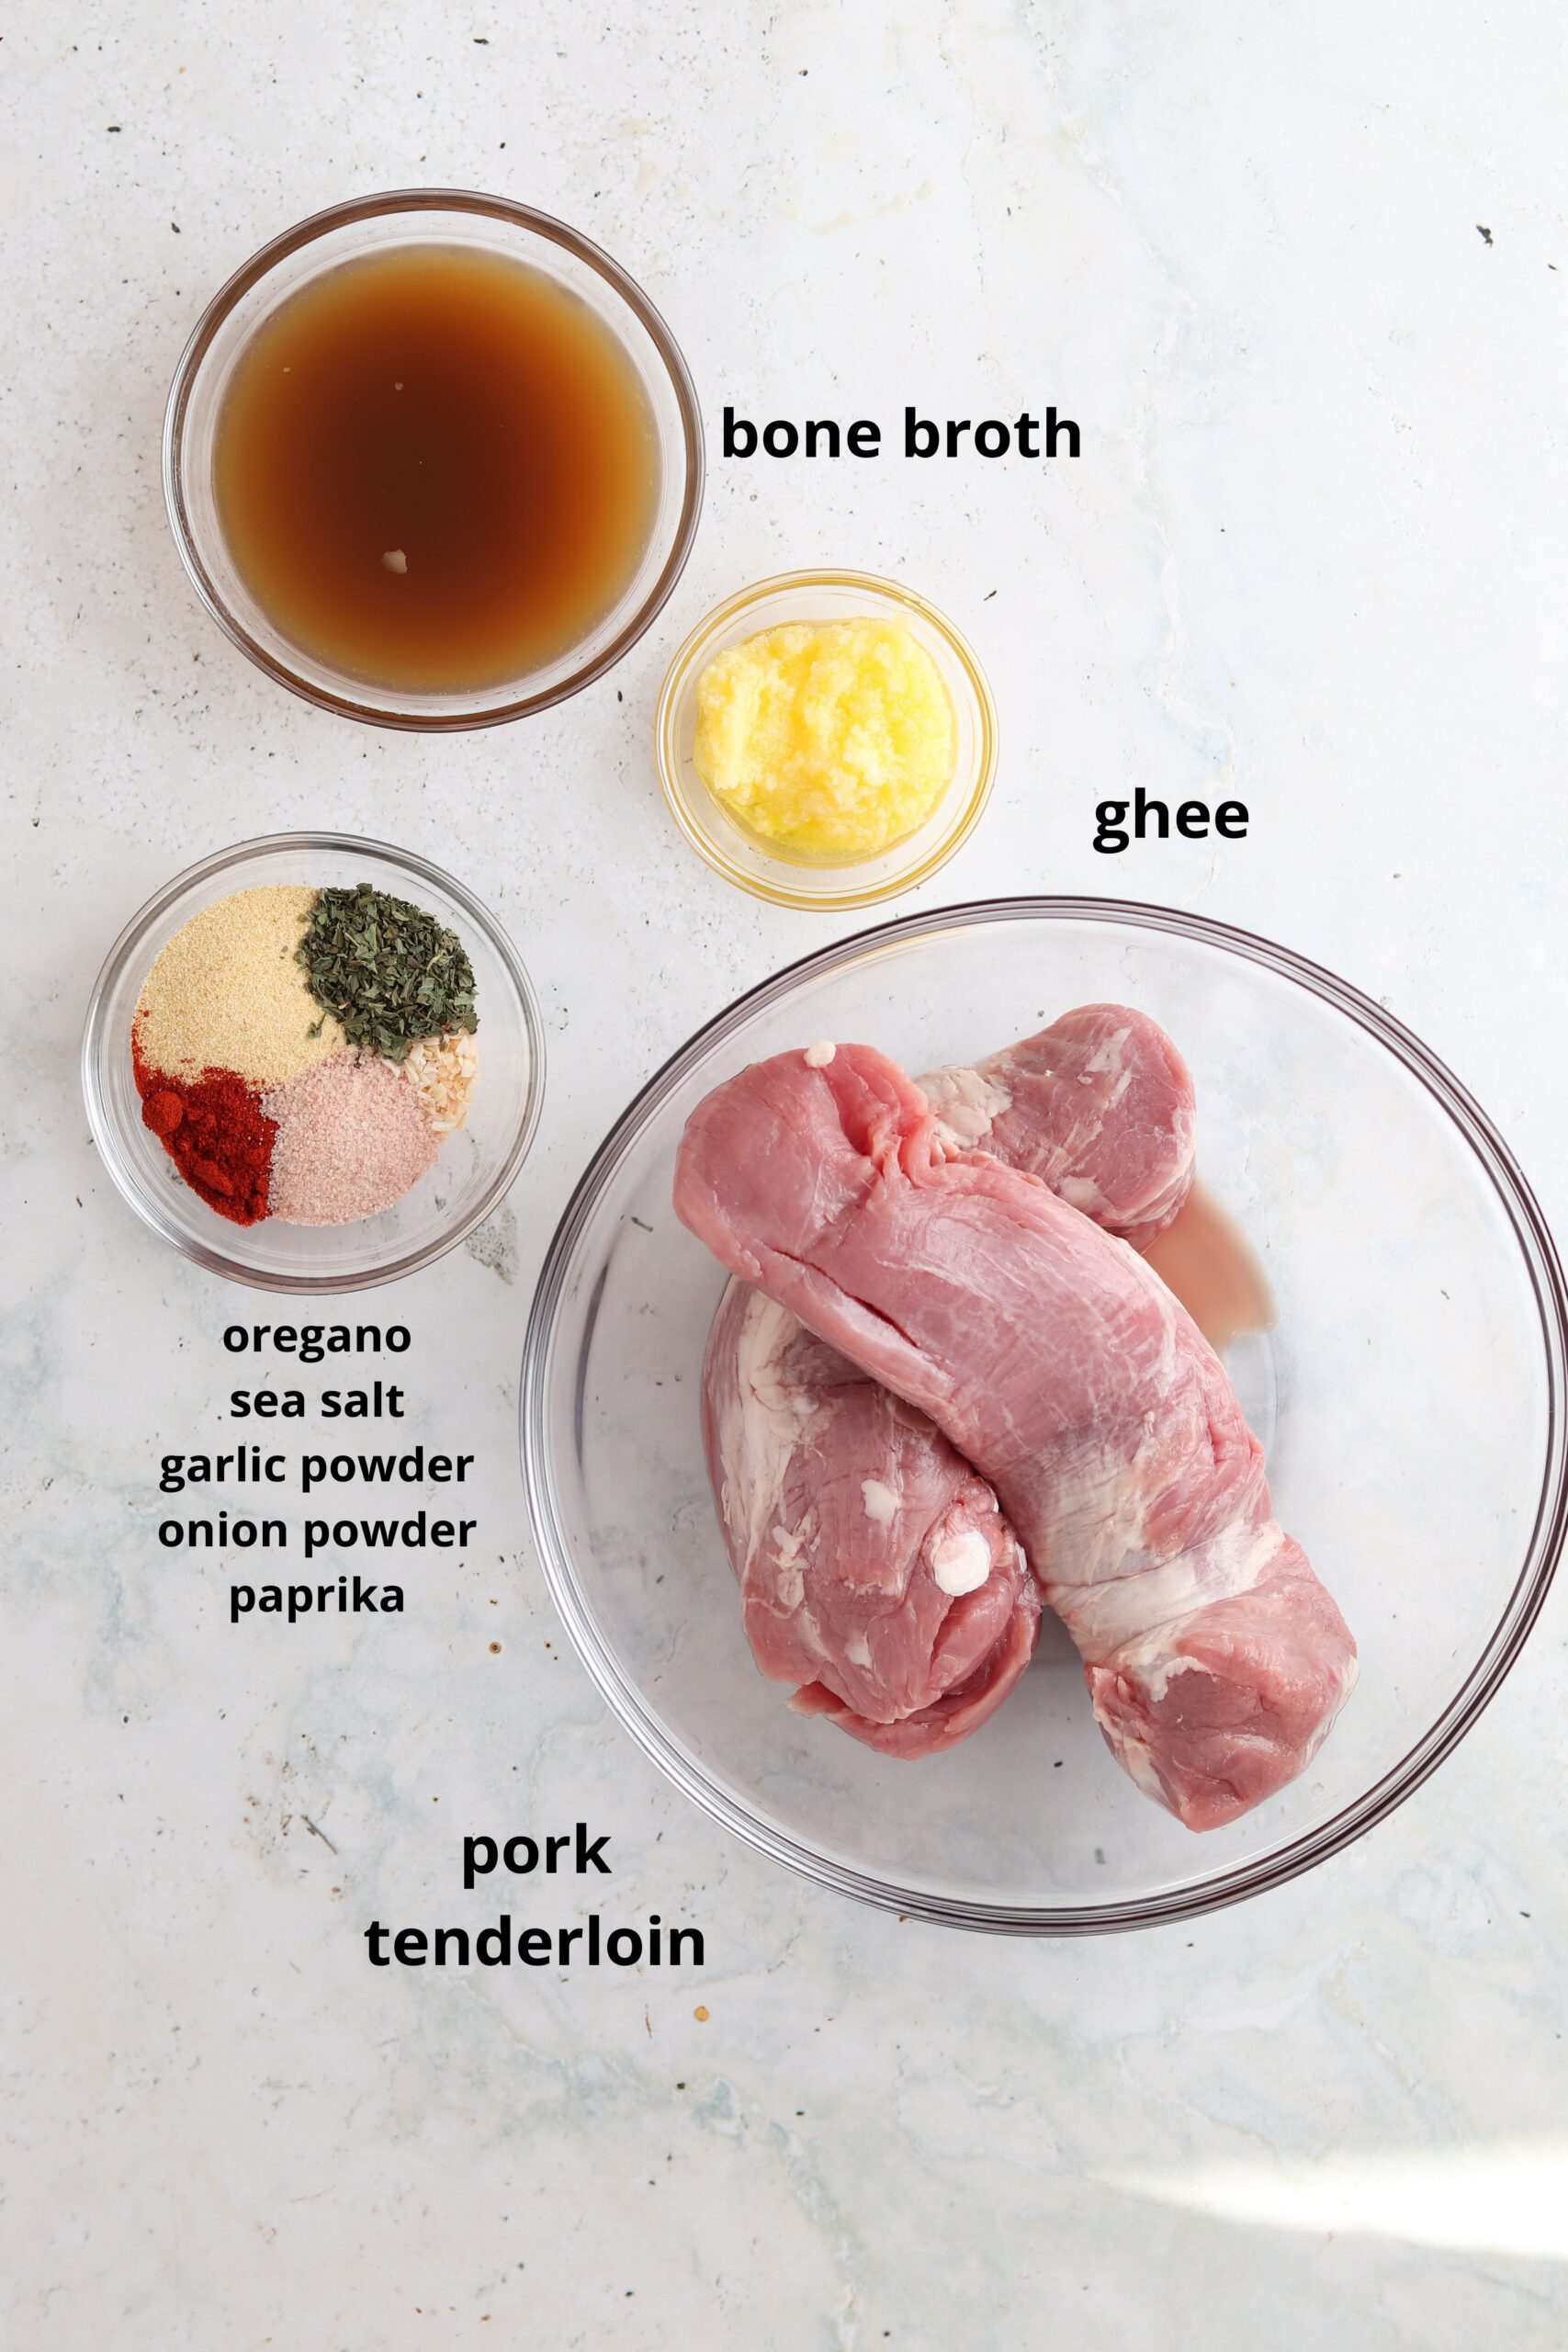
- Pork tenderloin– I like to get mine from Butcher Box. Every month they send me a monthly supply of all of my meats and seafood that are all sustainably sourced. They ship them frozen and I thaw out whatever I need the night before making what I need to make. If you use my link here, you can get free bacon for life!
- Bone broth-You can either use homemade or store bought. For homemade, I love this recipe! For store bought, I love this brand.
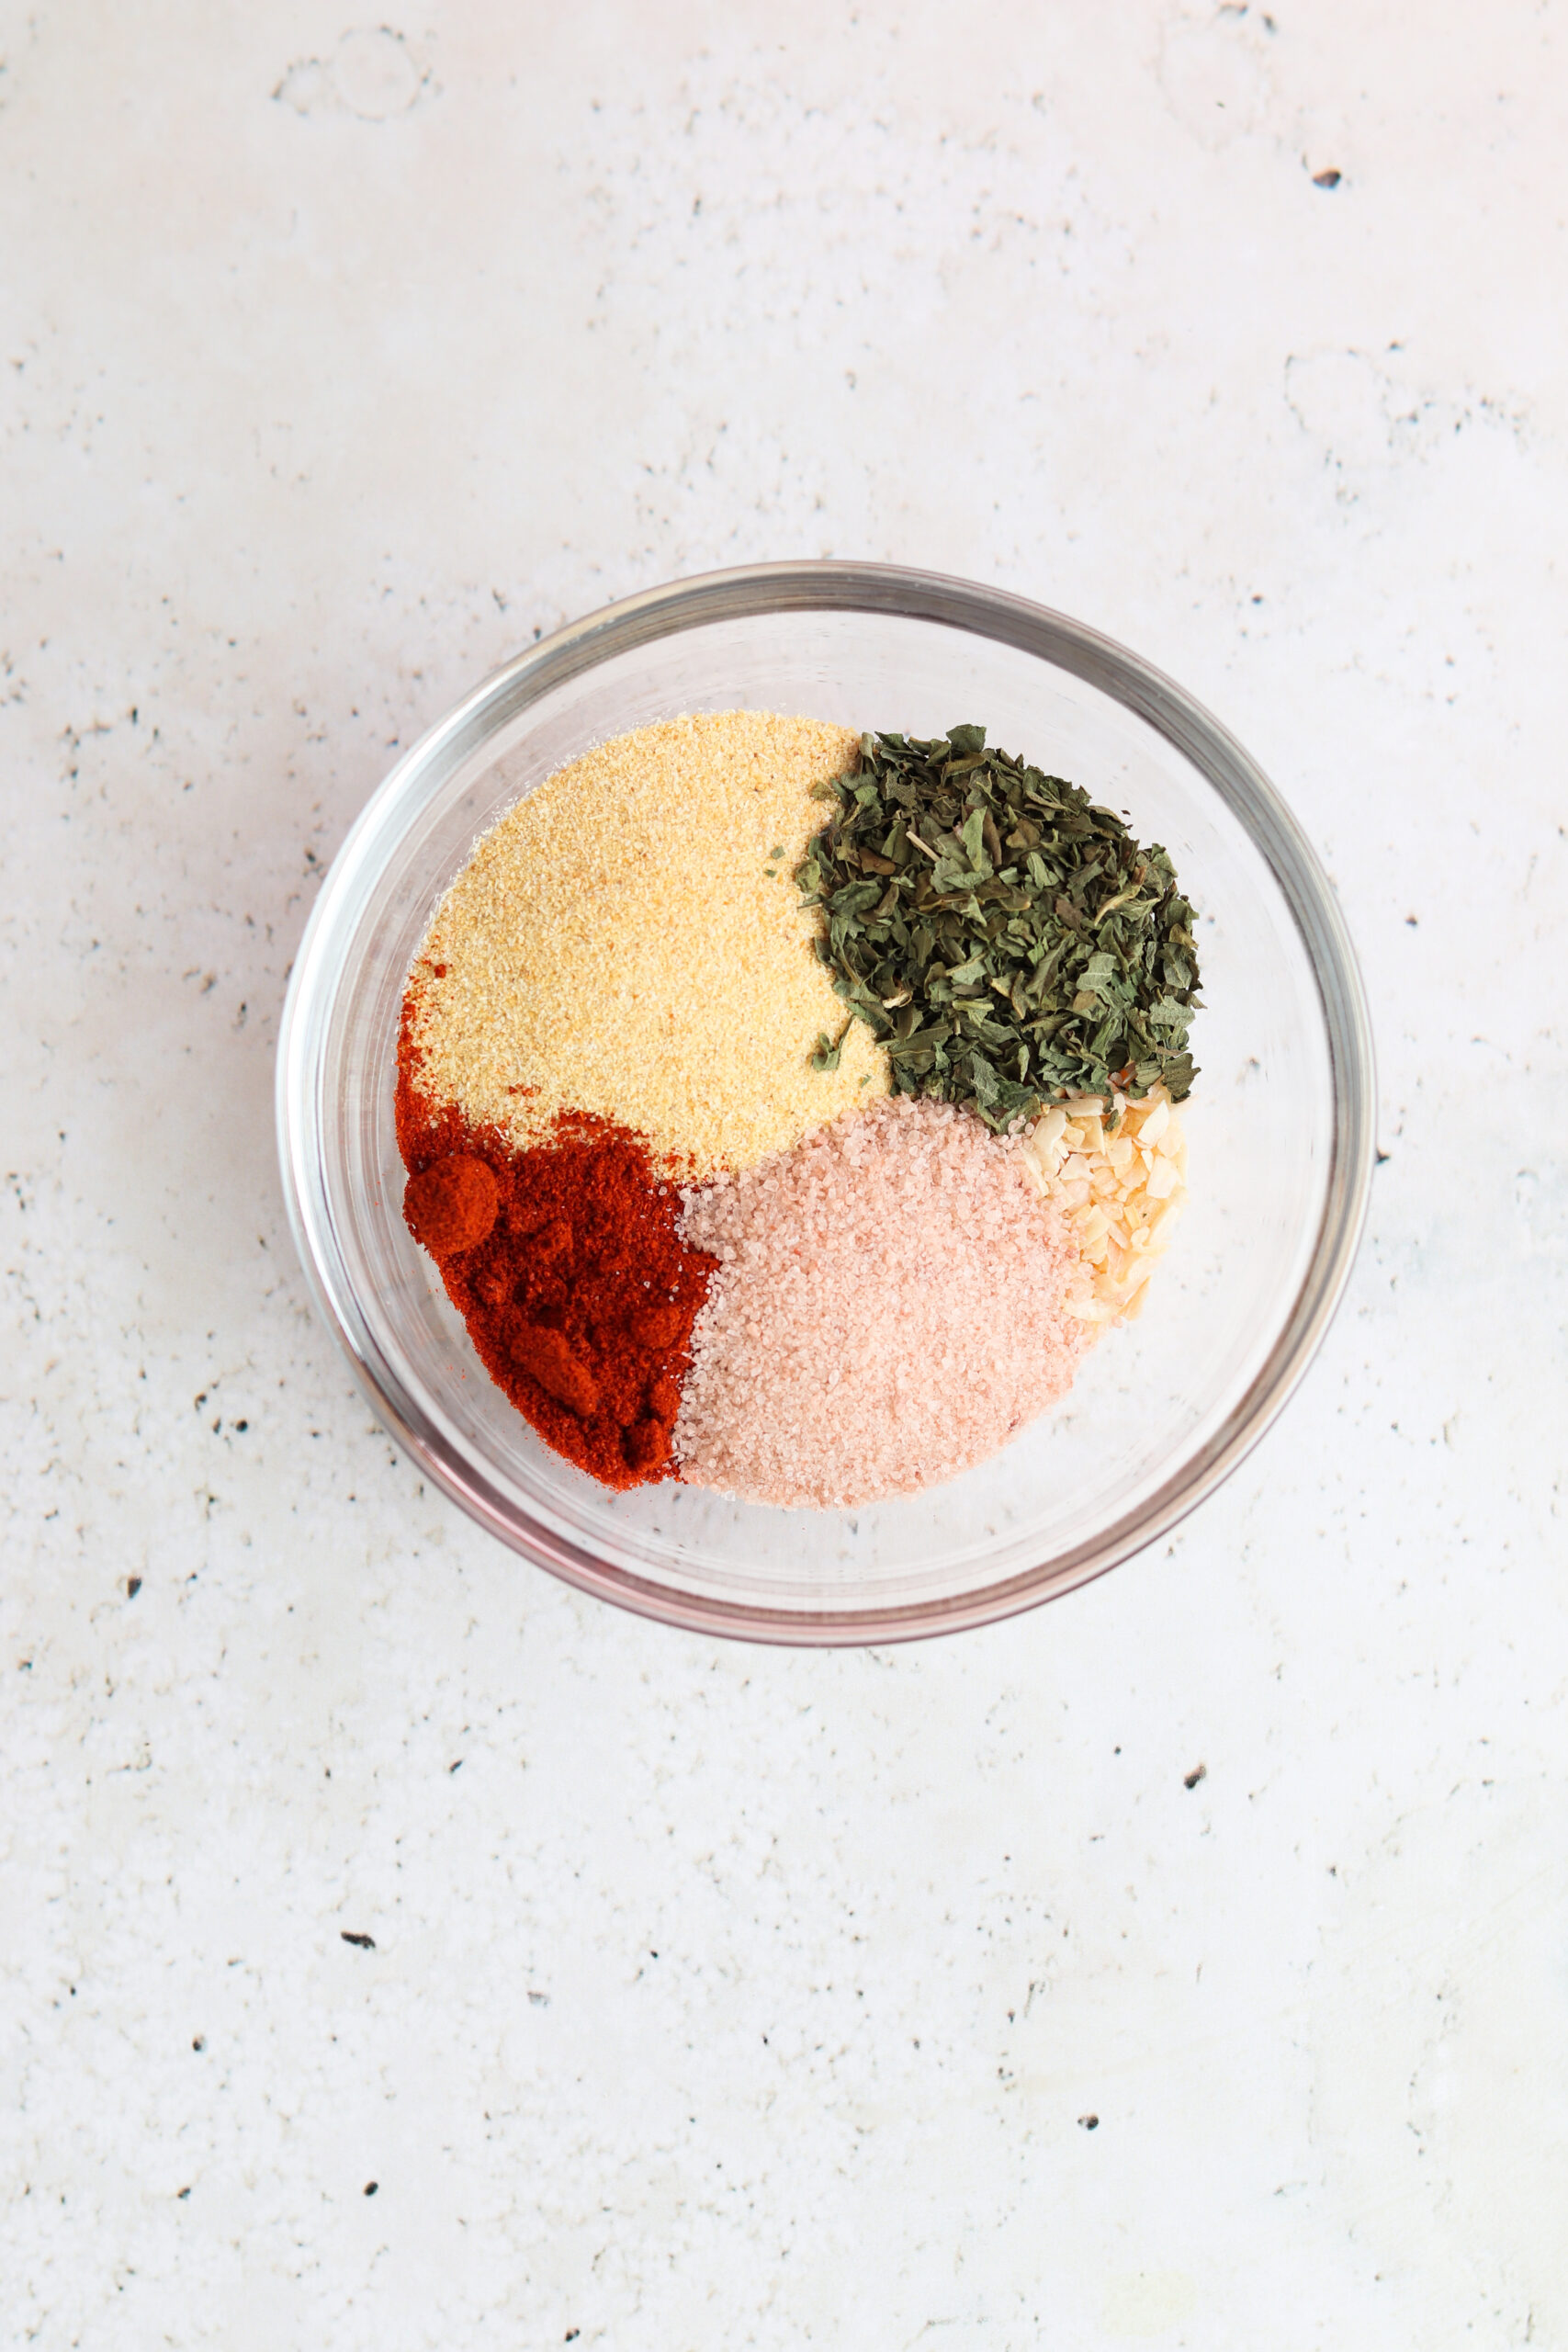
- Paprika-To add a nice kick.
- Oregano & parsley– To add flavor.
- Garlic & onion powder-For even more flavor.
- Salt & pepper-To taste.
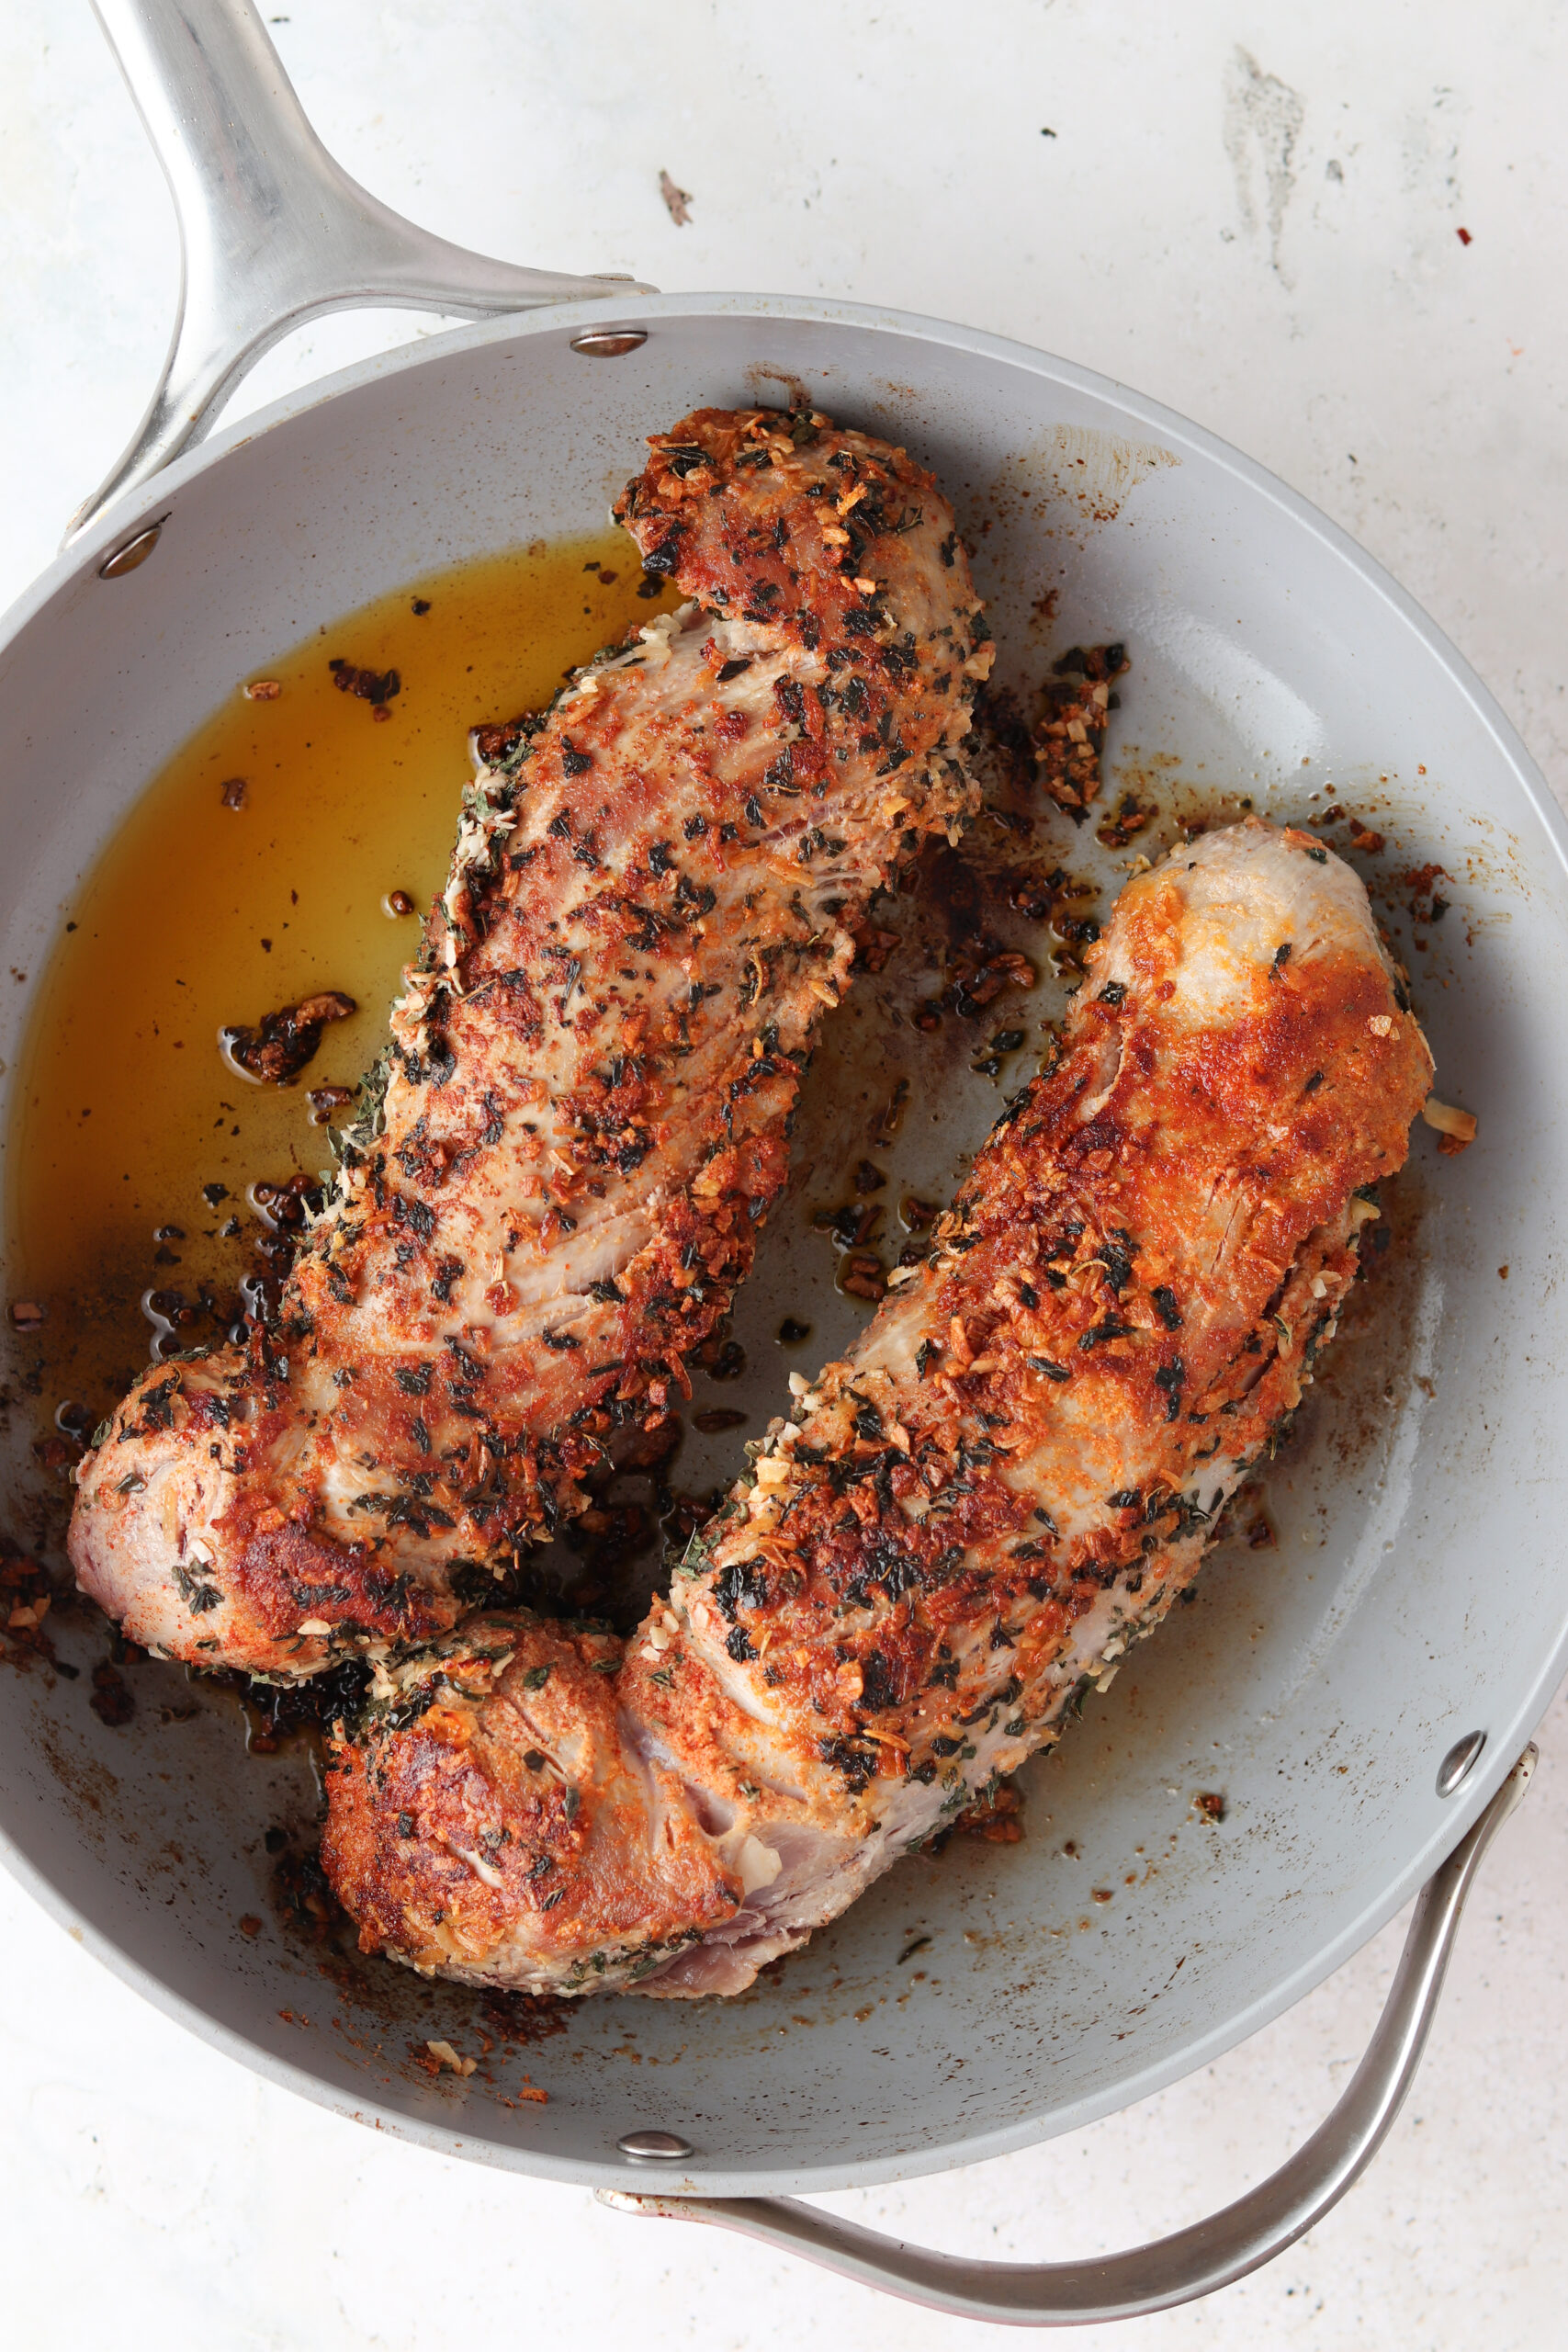
- Ghee-My go to fat for pan searing the tenderloin. You can use avocado oil if you do not tolerate ghee. The important part here is that you use a high smoke point oil.
See the recipe card below for a full list of ingredients and measurements.
Substitutions and Variations:
- You can switch up the herb and seasoning combinations for different flavor profiles each time you make this recipe.
- This recipe can be made autoimmune protocol (AIP) friendly by omitting the paprika and pepper.
This recipe has not been tested with any other substitutions or variations. If you try something else out please let me know how it turns out in the comments below!
Step By Step Instructions
Equipment
Expert Tips
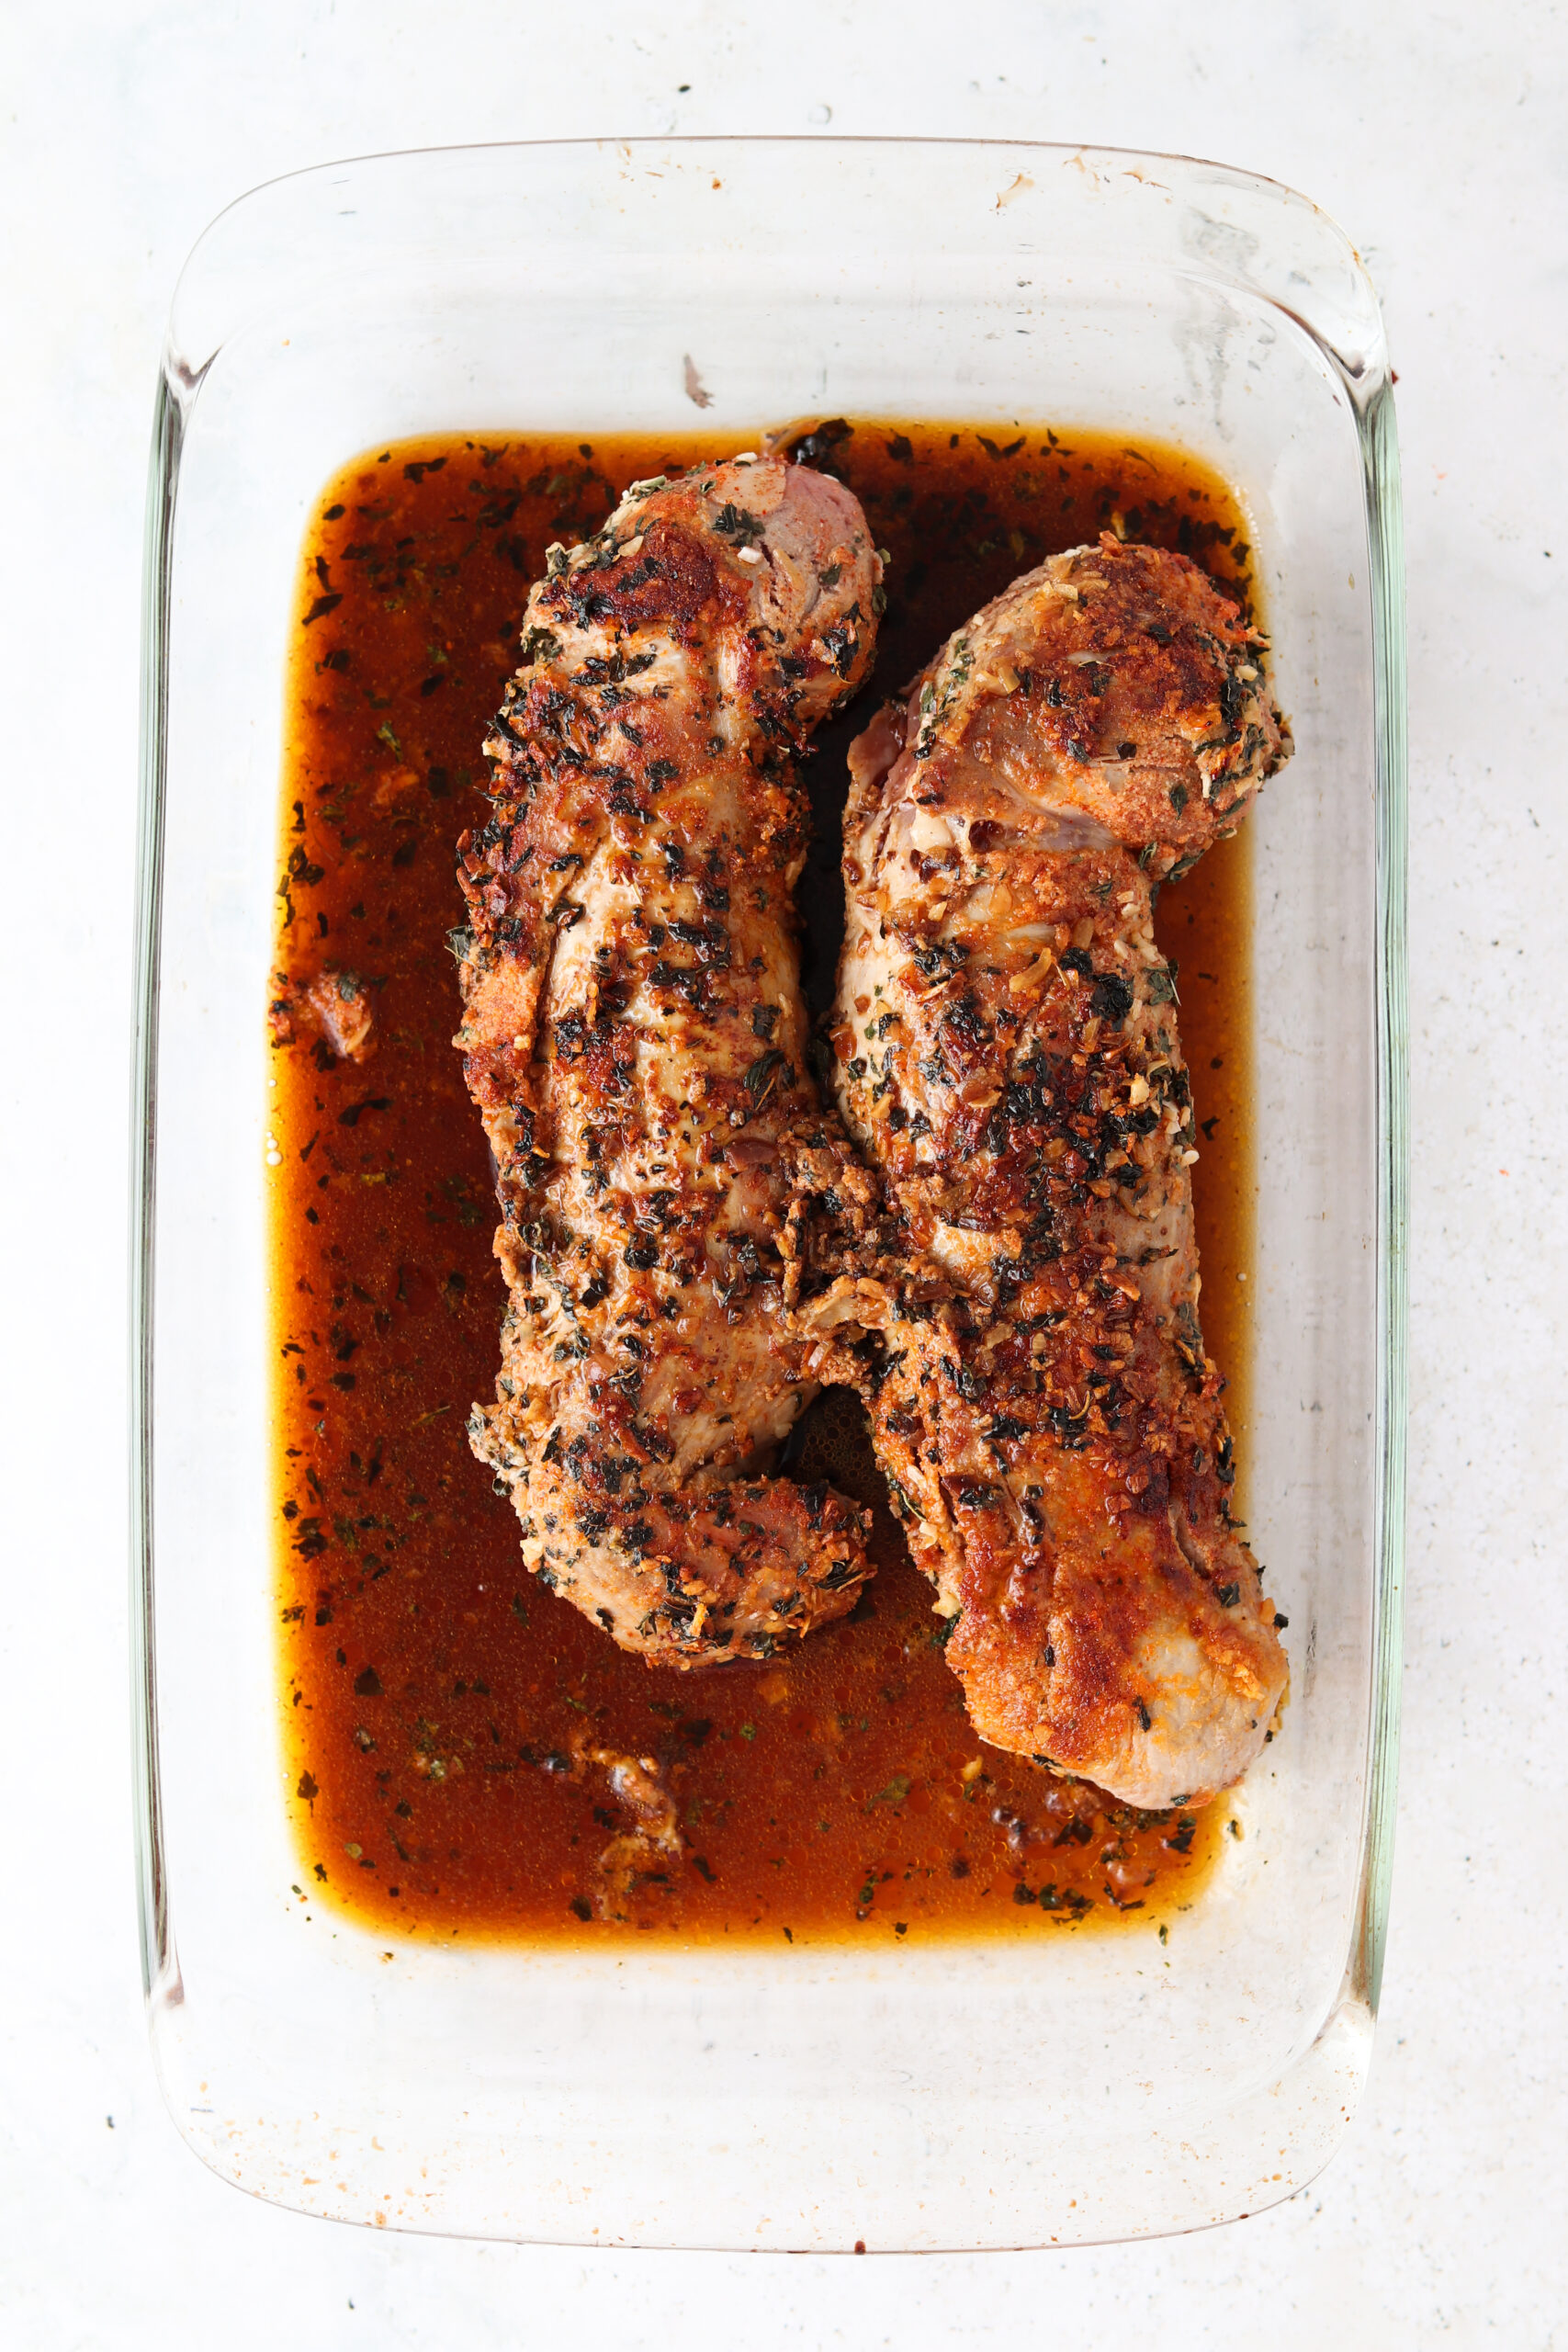
- Tip #1: If the pork starts to dry out, you can add more bone broth to the pan and cover with aluminum foil while finishing up baking in the oven.
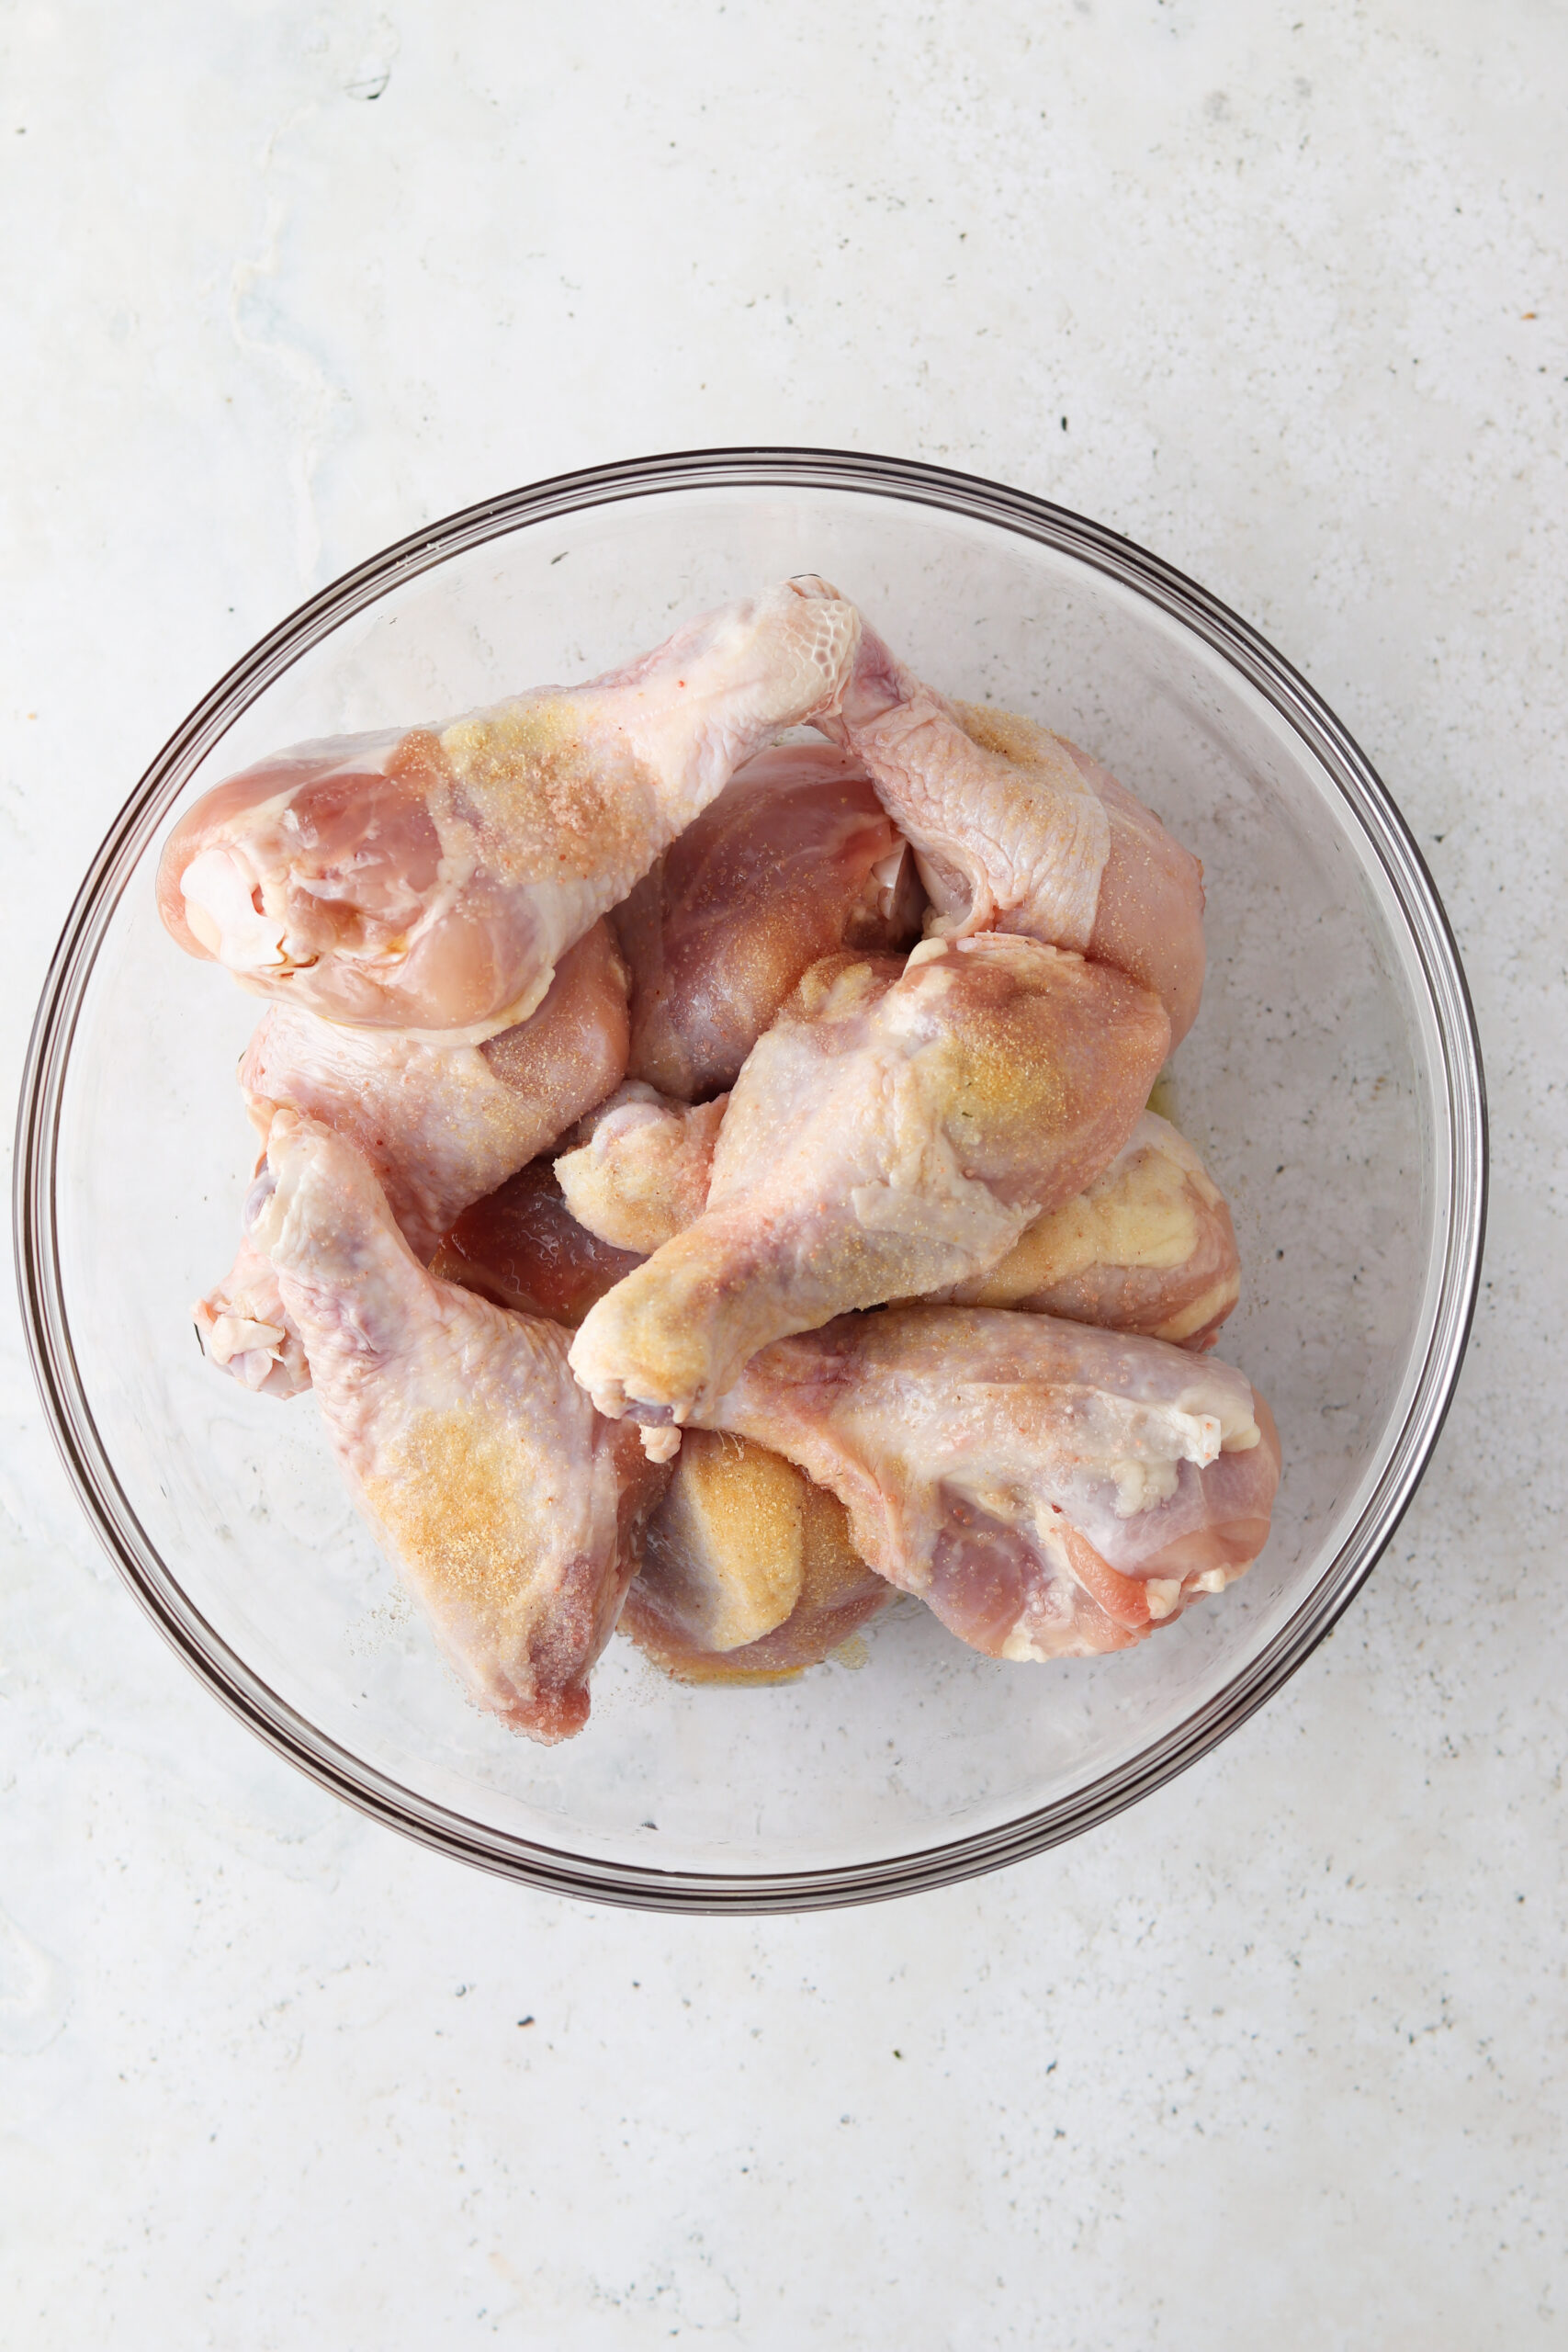
- Tip #2: Make sure to thoroughly mix the herbs and seasonings before rubbing onto the pork tenderloin to ensure an even distribution of flavors on the meat.
- Tip #3: The best way to tell if the meat is fully cooked is with a meat thermometer. Pork tenderloin should be cooked to an internal temperature of 145 degrees F.
Recipe FAQ
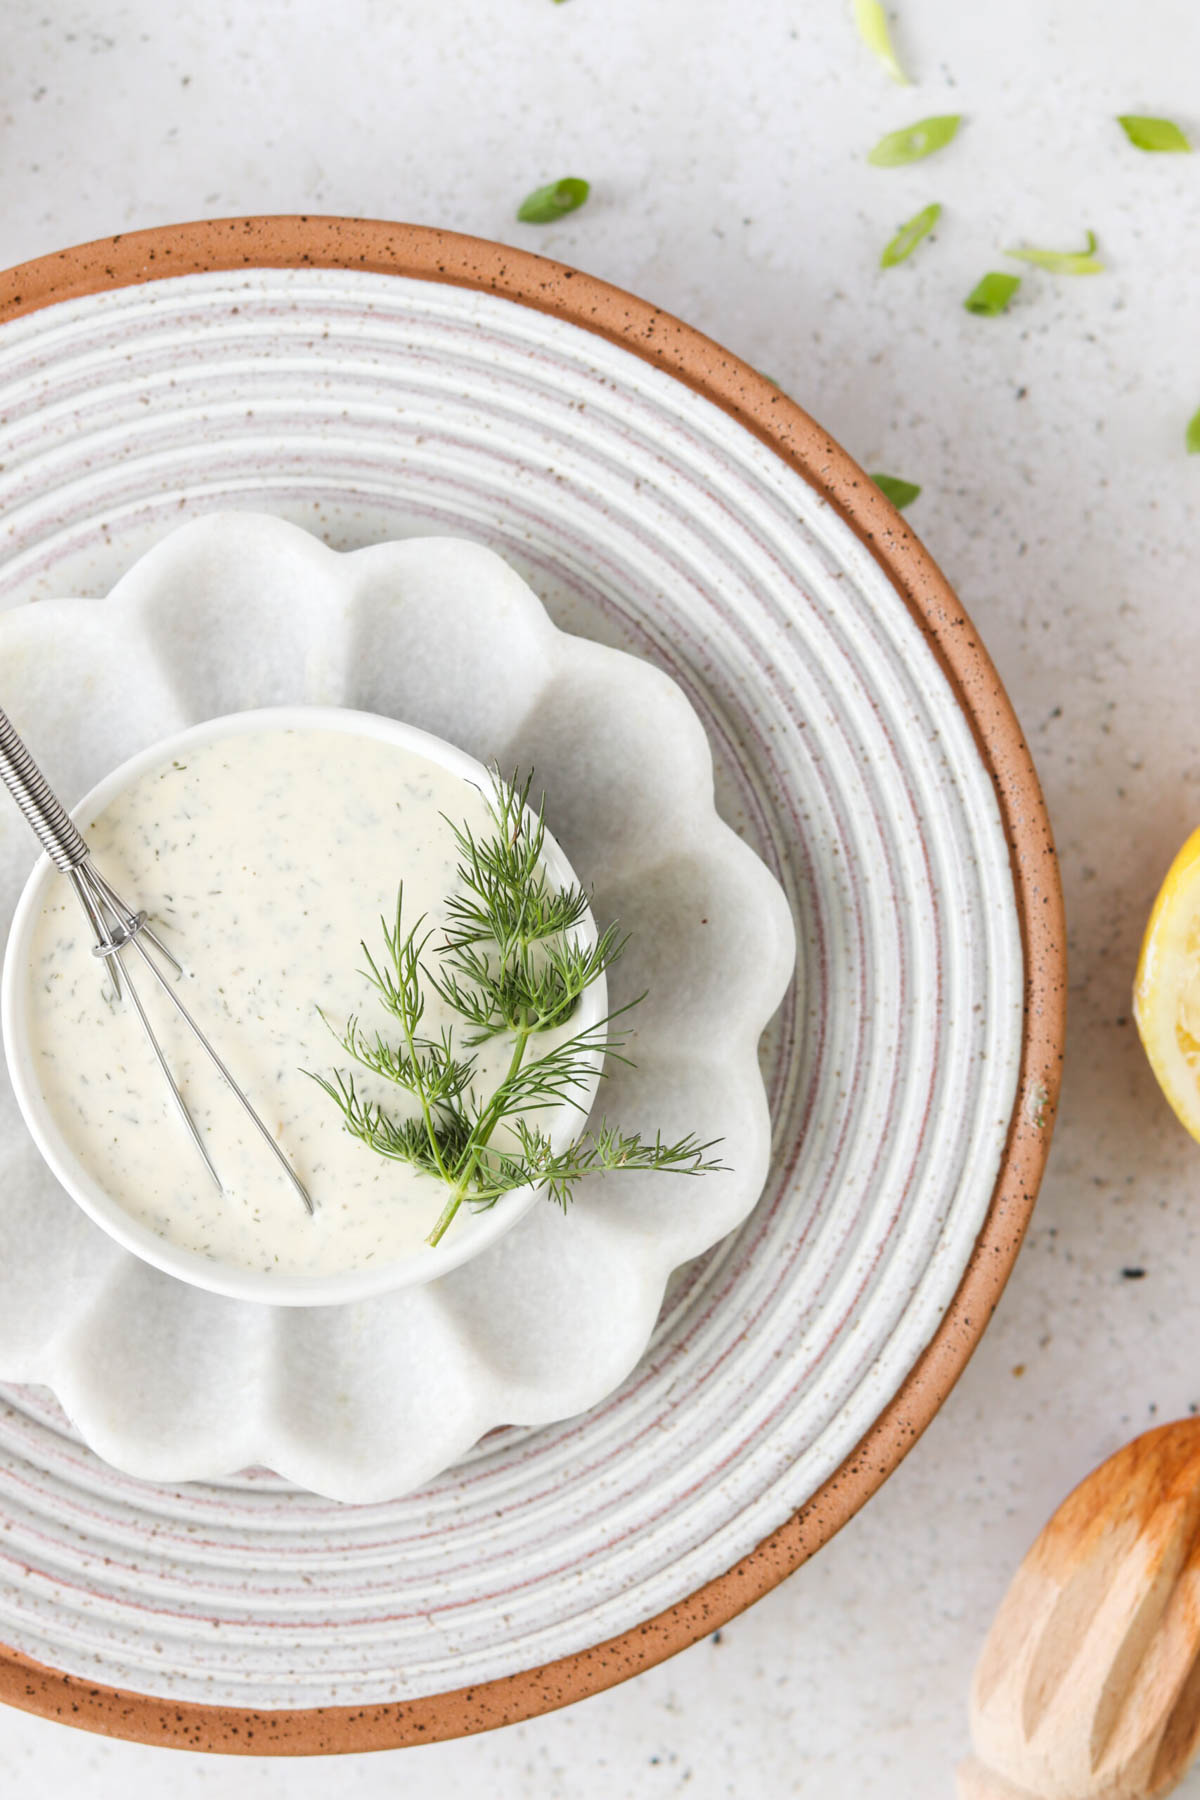
For serving, slice the pork tenderloin and place on a serving platter. You can also add fresh green basil as a garnish for a green accent.
A 2 pound pork tenderloin will yield approximately 8-9 slices.
I suggest reheating the pork tenderloin in the oven at 350 degrees F with a little bit of the juices or bone broth for 5-10 minutes or until it is warm throughout.
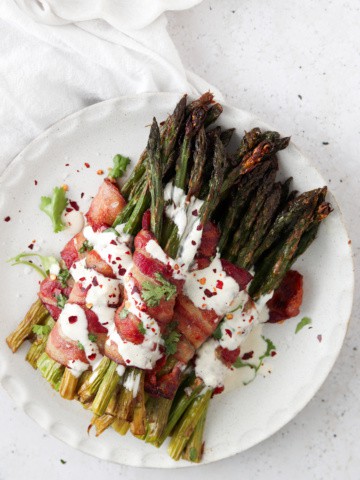
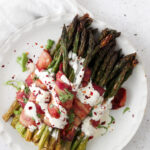
I enjoy pairing this with different variations of my other side dish recipes. For Father’s Day, I paired it with my vegan sweet potato mash, lemon garlic asparagus, and red pepper chimichurri.
Storage Instructions
- This recipe can last up to 5 days in the refrigerator in an air tight container. I suggest slicing the pork tenderloin prior to storing.
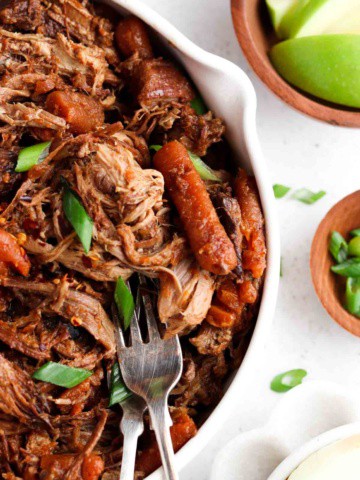
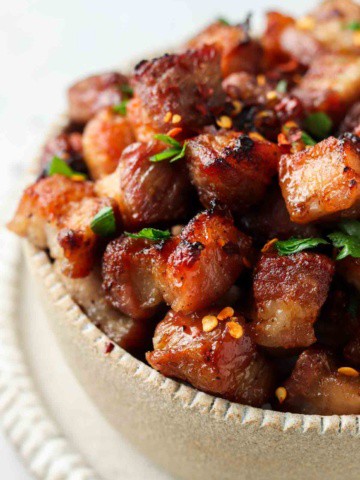
Other Gluten Free Pork Dishes You Will Love

Are you interested in a list of my go to healthy alternatives?
Download your FREE guide below

Whole30 Pork Tenderloin With Red Chimichurri Sauce
Equipment
- non-stick pan
- baking sheet
Ingredients
For the pork tenderloin:
- 2 pounds pork tenderloin (2) 1 pound pieces works too! Butcher Box has the best. If you use my link, you can get free bacon for life.
- 1/4 cup dried oregano
- 1 tbsp garlic powder
- 2 tbsp Paprika omit for AIP
- 1 tbsp pepper omit for AIP
- 2 tbsp onion powder
- 1 cup bone broth
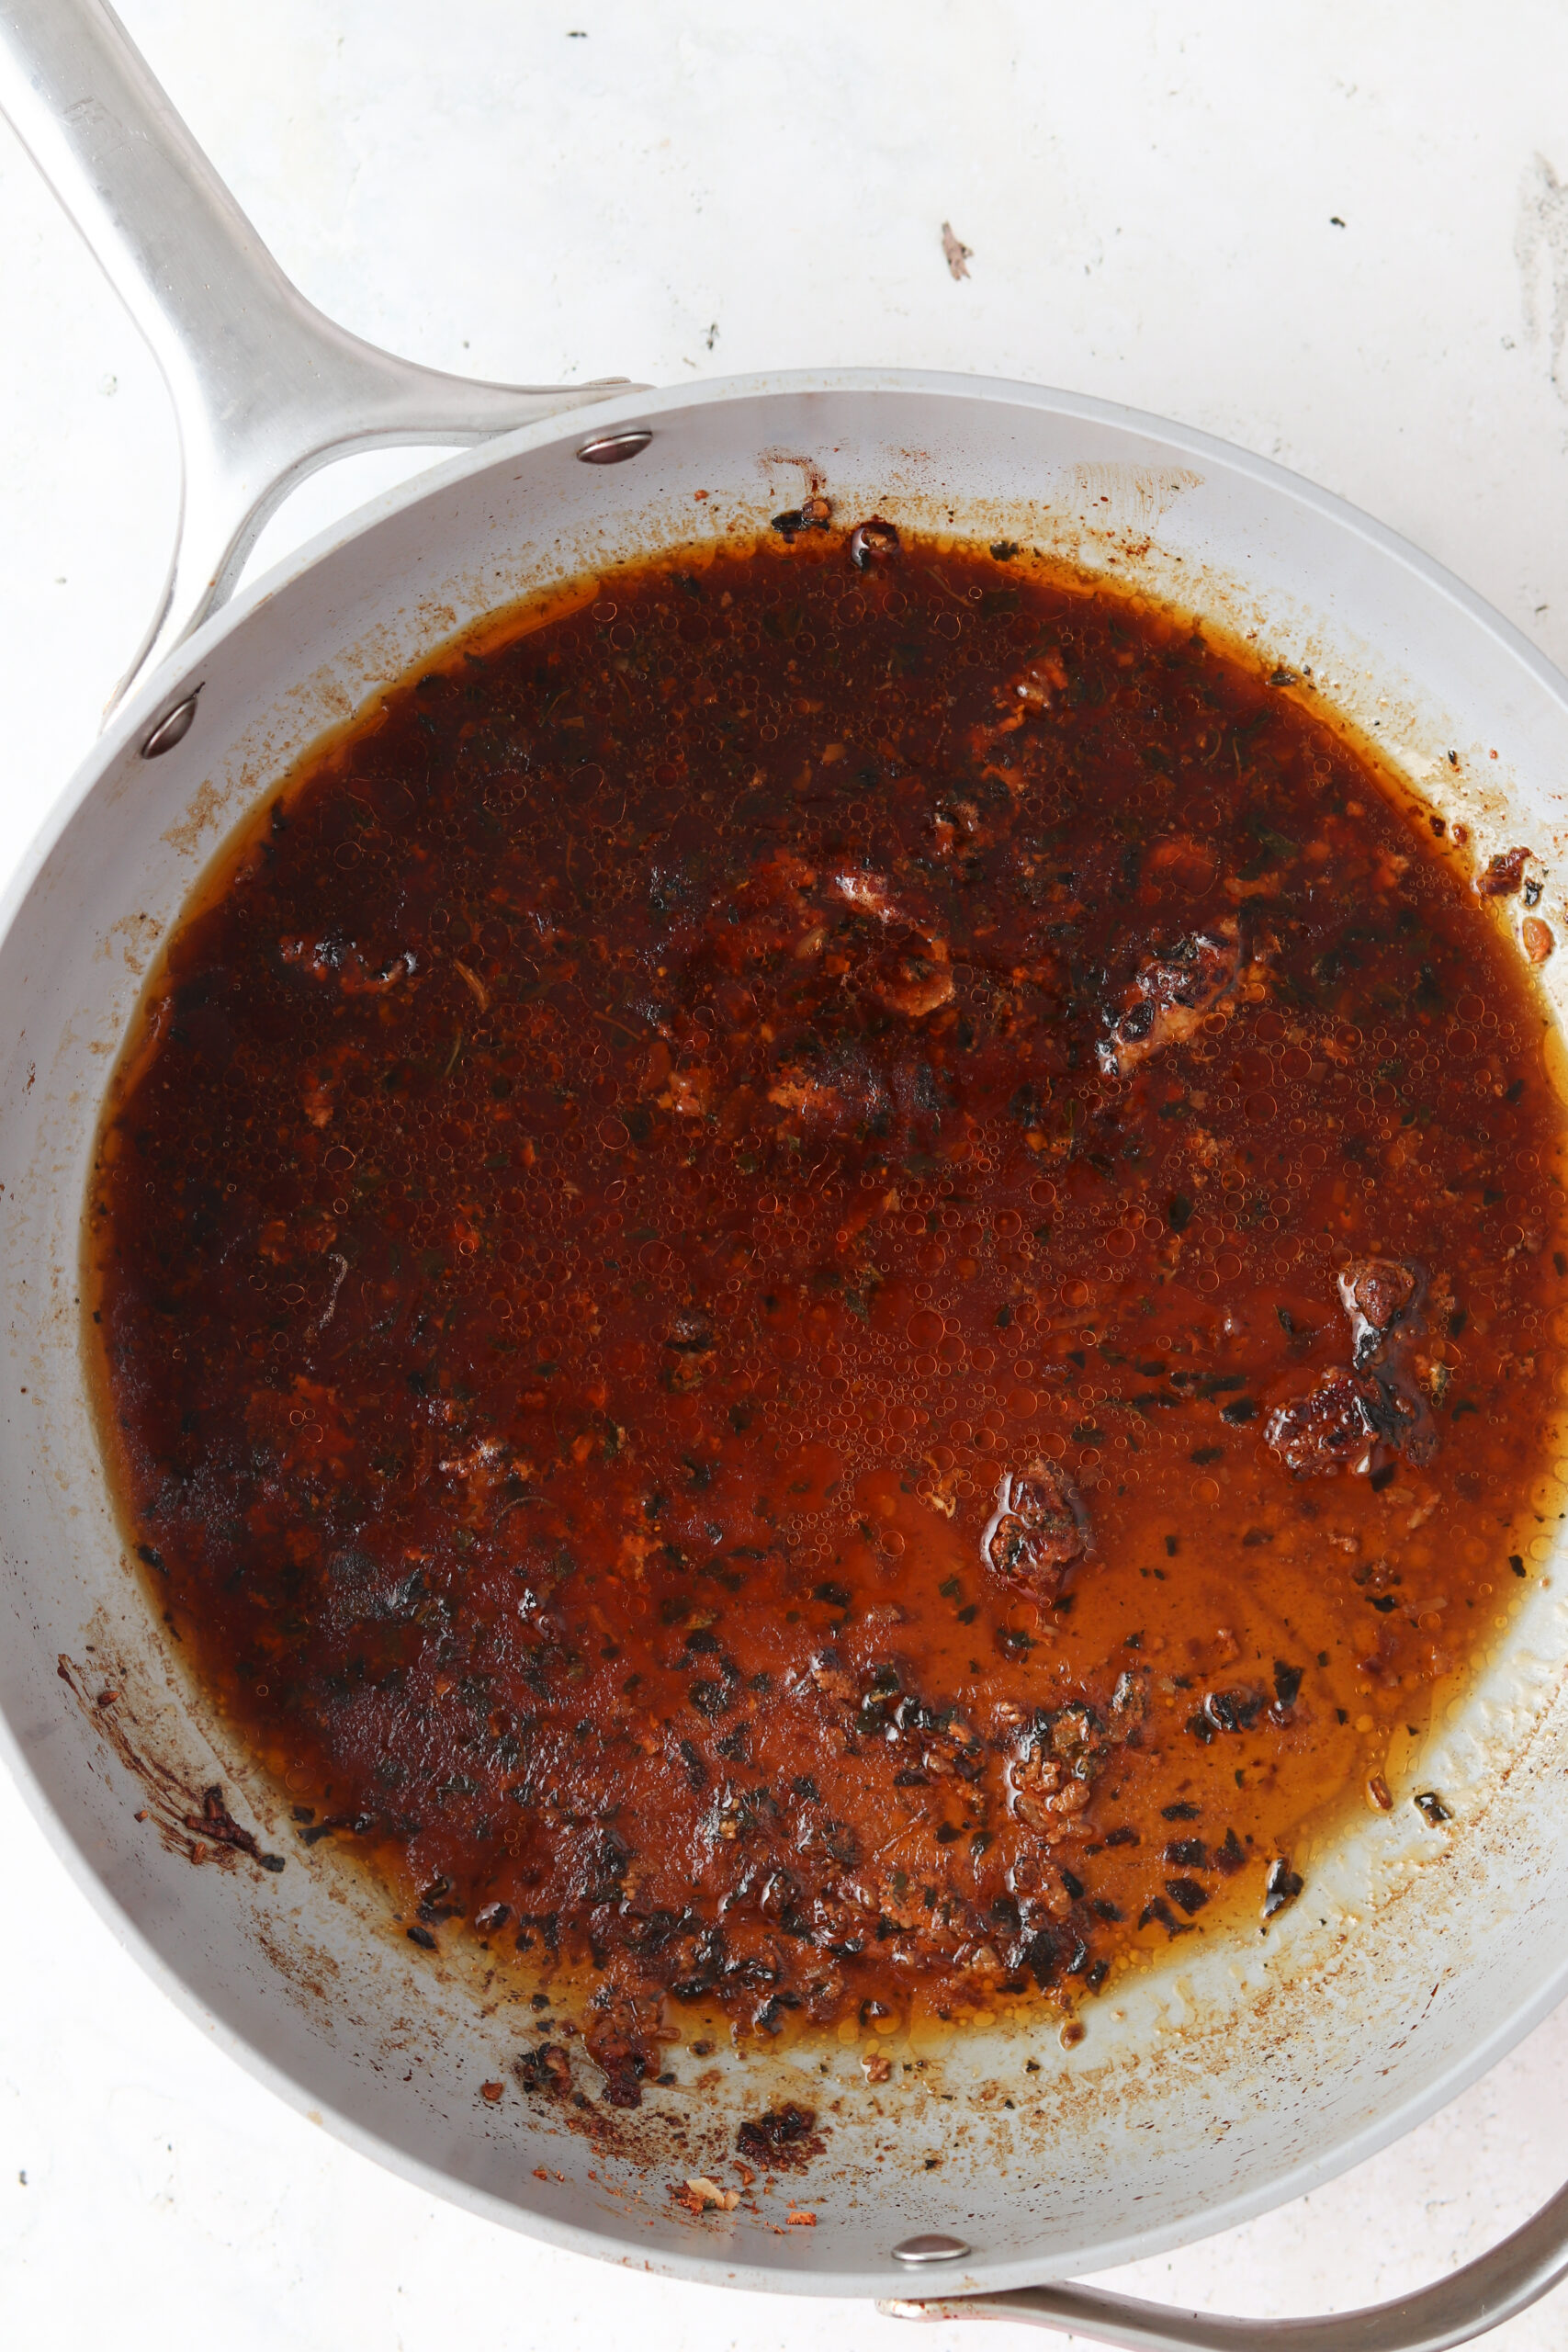
- 2 tbsp ghee
Instructions
For the pork:
- Preheat the oven to 400 degrees F. Add a non-stick pan on the stove on medium to high heat. Let the pan get real hot. Add the ghee. While the pan is getting hot, mix the spices and rub on the pork all over. Add the pork to the pan and cook for 5 minutes, then flip to another side and cook for another 5 minutes. Remove the pork from the pan and add to a baking sheet. Dump the bone broth in the pan on medium heat and scrape the spices, pour the mixture over the pork and bake in the oven for 25 minutes or until there is an internal temp of 145 degrees F.