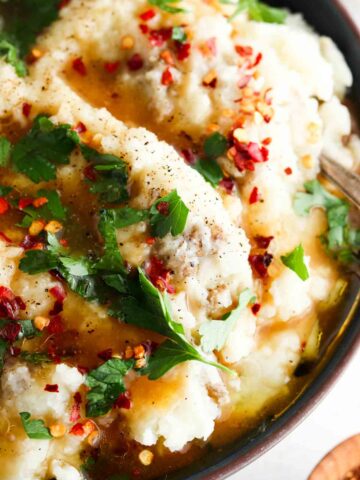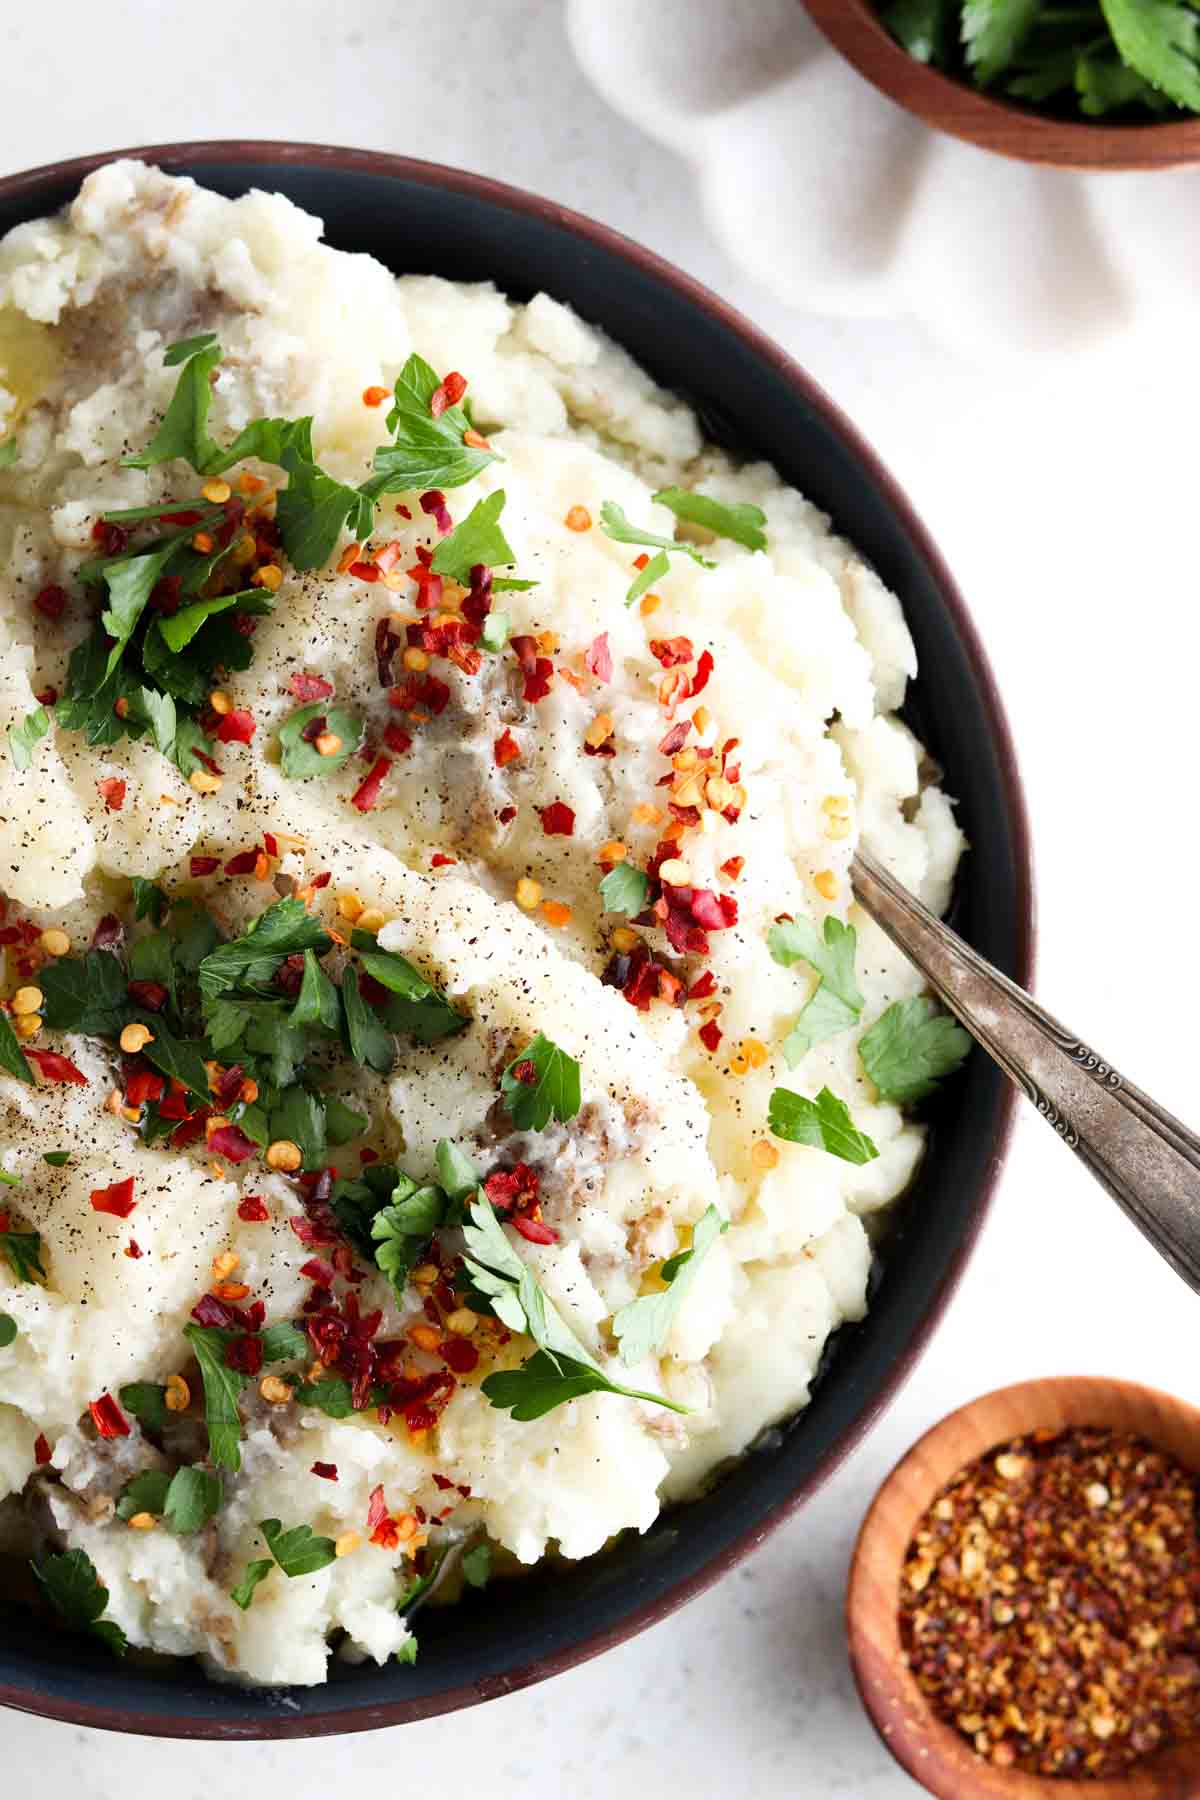
The key to being successful on the Whole30 is planning ahead. While I am a big fan of meal prepping for the week all at once, you can prep and cook as you go. If meal prepping is your thing I highly suggest getting meal prep containers or containers like these so your meals are ready to eat. If you are new here, check out the blog I did about How To Have A Successful Whole30 here. Check out the meal plan below for the Whole30 that started on October 5th below. It is never too late to start  If you are interested in the shopping lists be sure to subscribe to my newsletter to receive the complete shopping list.
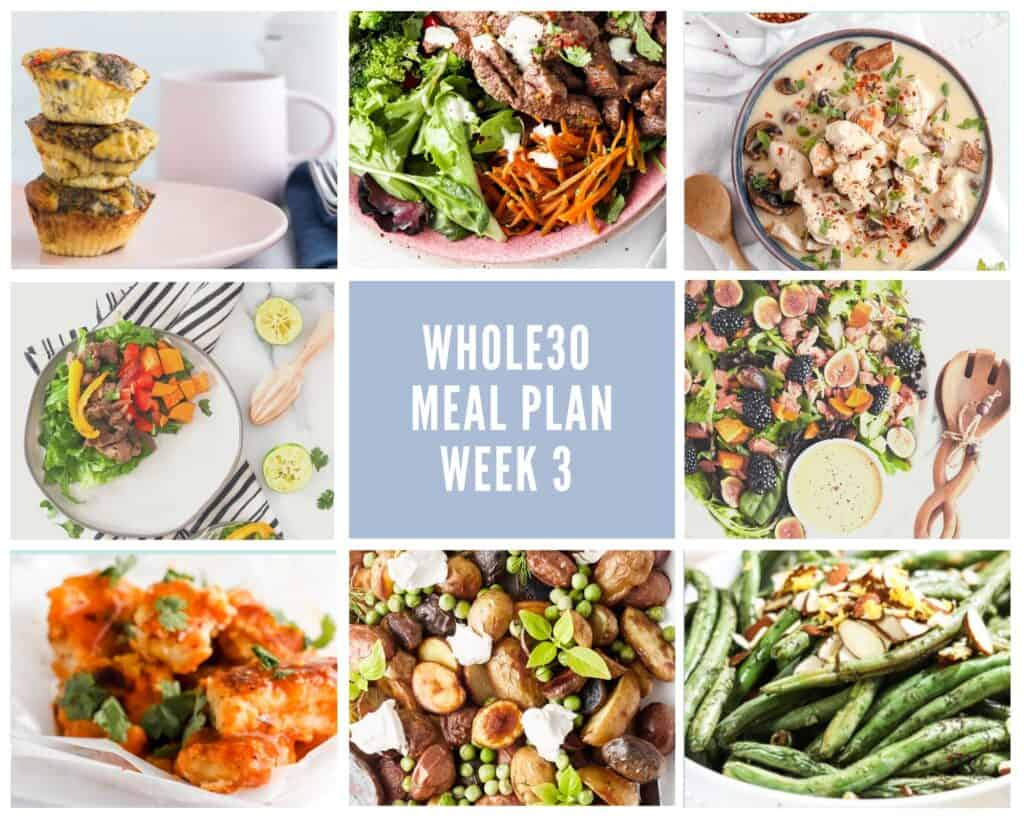
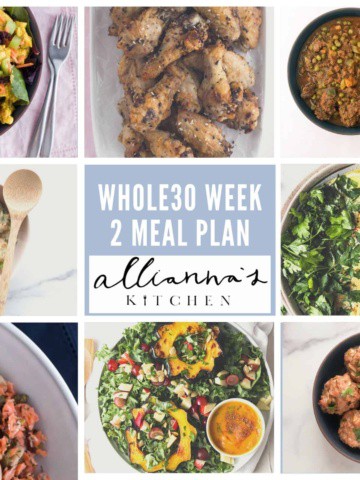
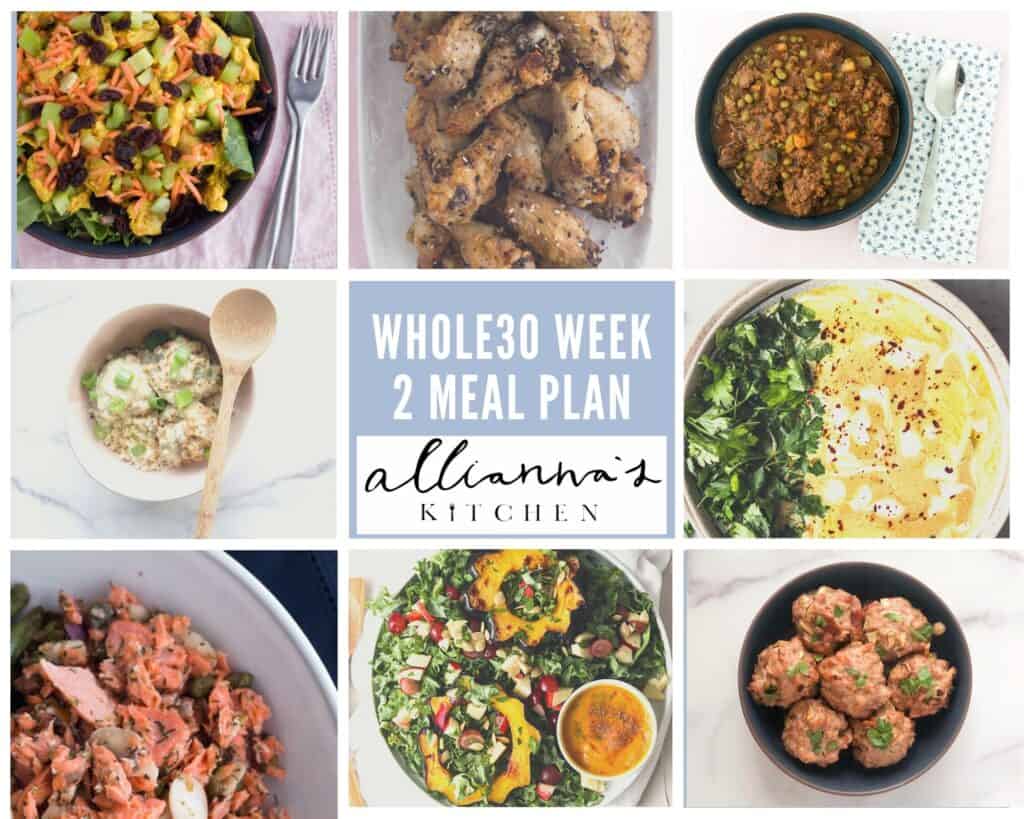
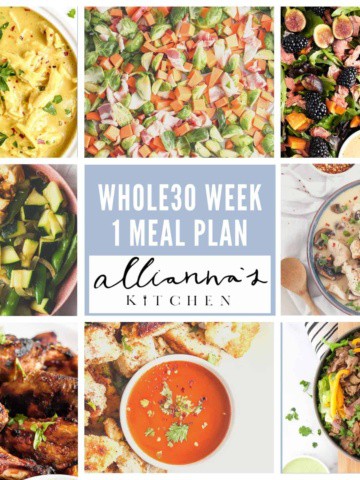
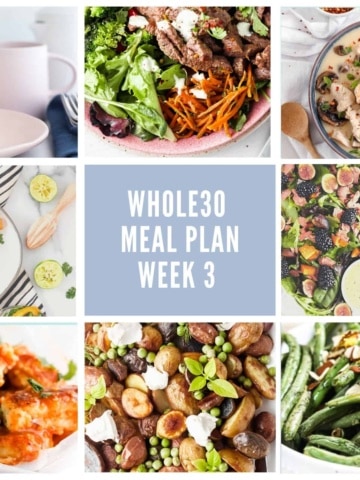
How The Whole30 Meal Plan Works
Included in this post are 7 meals and 1 breakfast. When making the meals for dinner I suggest making an extra portion so you can eat it for lunch. Keep in mind these are an inspiration, so feel free to swap things out. If you have questions or need assistance please comment below. If you make one of my recipes I would so grateful if you left a comment and a star rating review on the recipe in my blog or took a picture and tagged me in it on instagram @alliannaskitchen
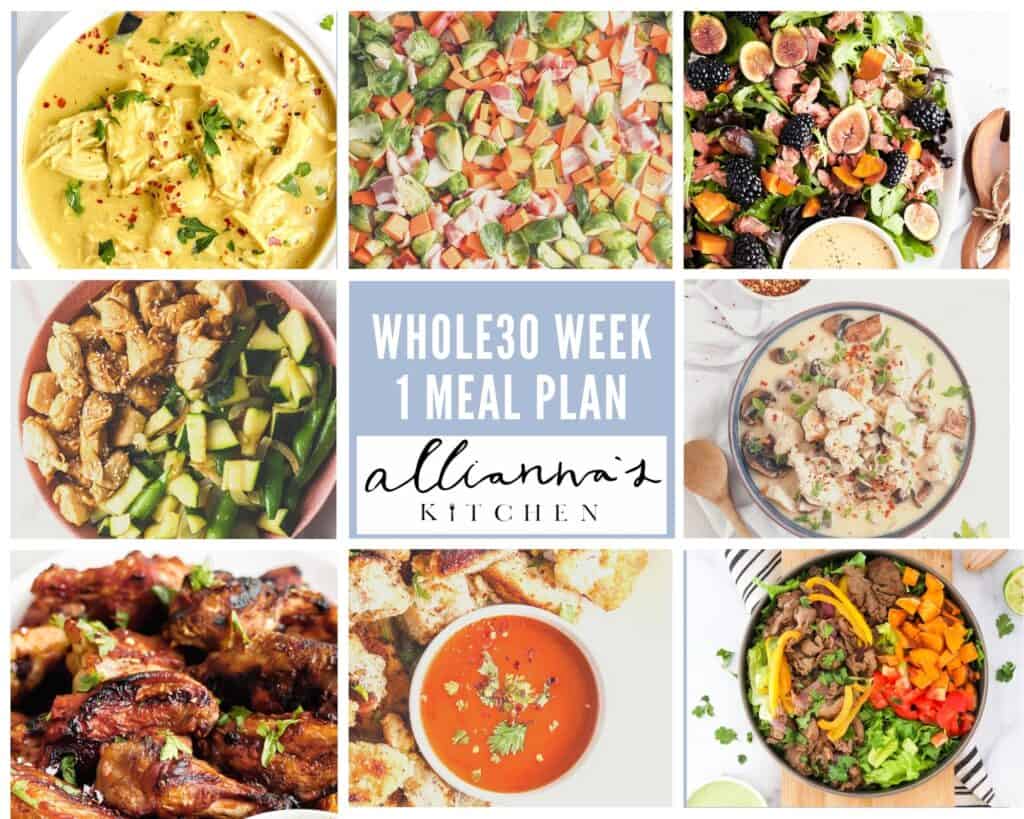
What Is On The Menu
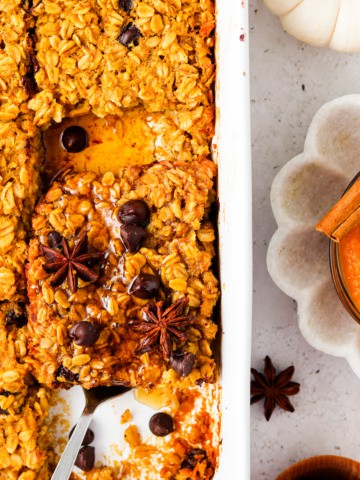
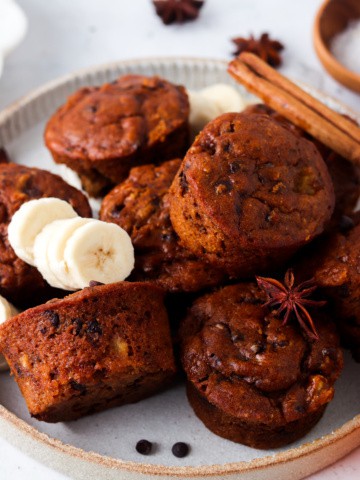
Breakfast: Bacon Egg Muffins
Monday dinner: Banh Mi Steak Bowl
Tuesday lunch: Banh Mi Steak Bowl
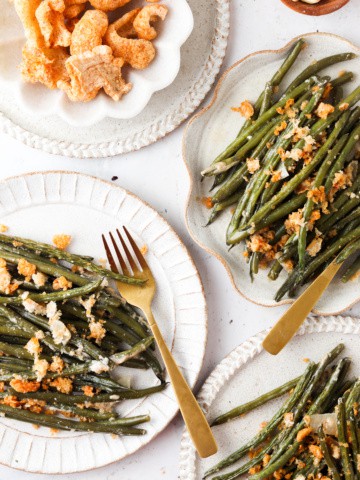
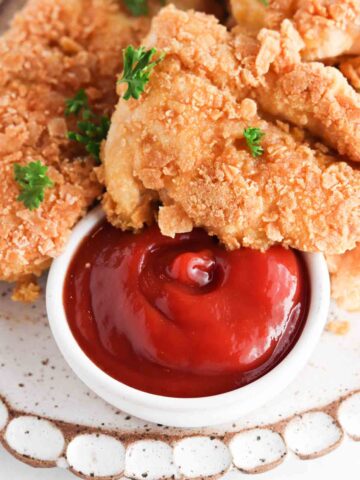
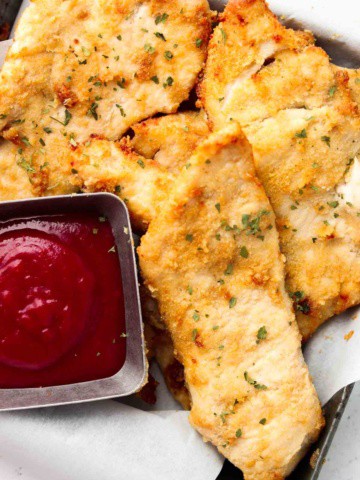
Tuesday dinner: Chicken Nuggets w/ Green Beans
Wednesday lunch: Chicken Nuggets w/ Green Beans
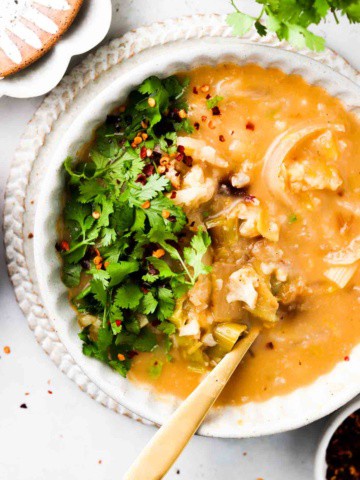
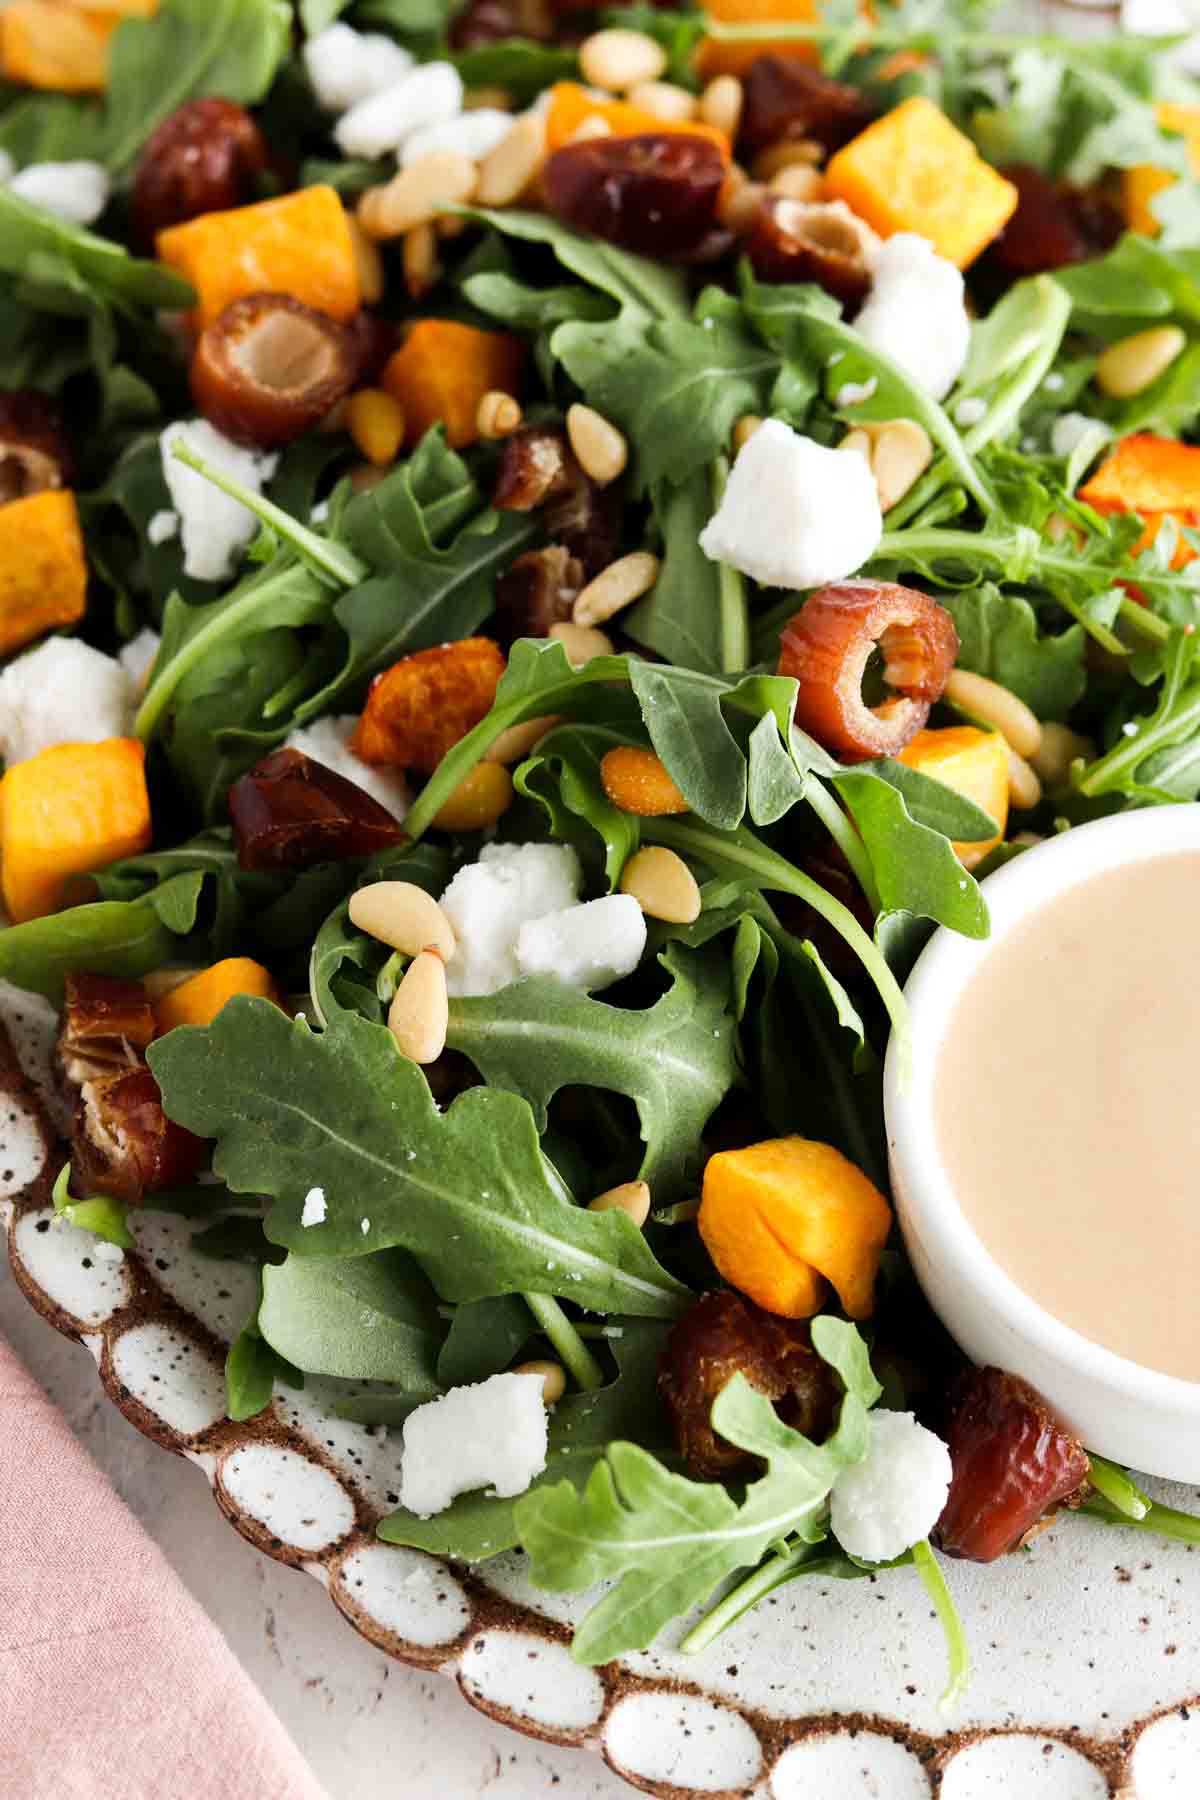
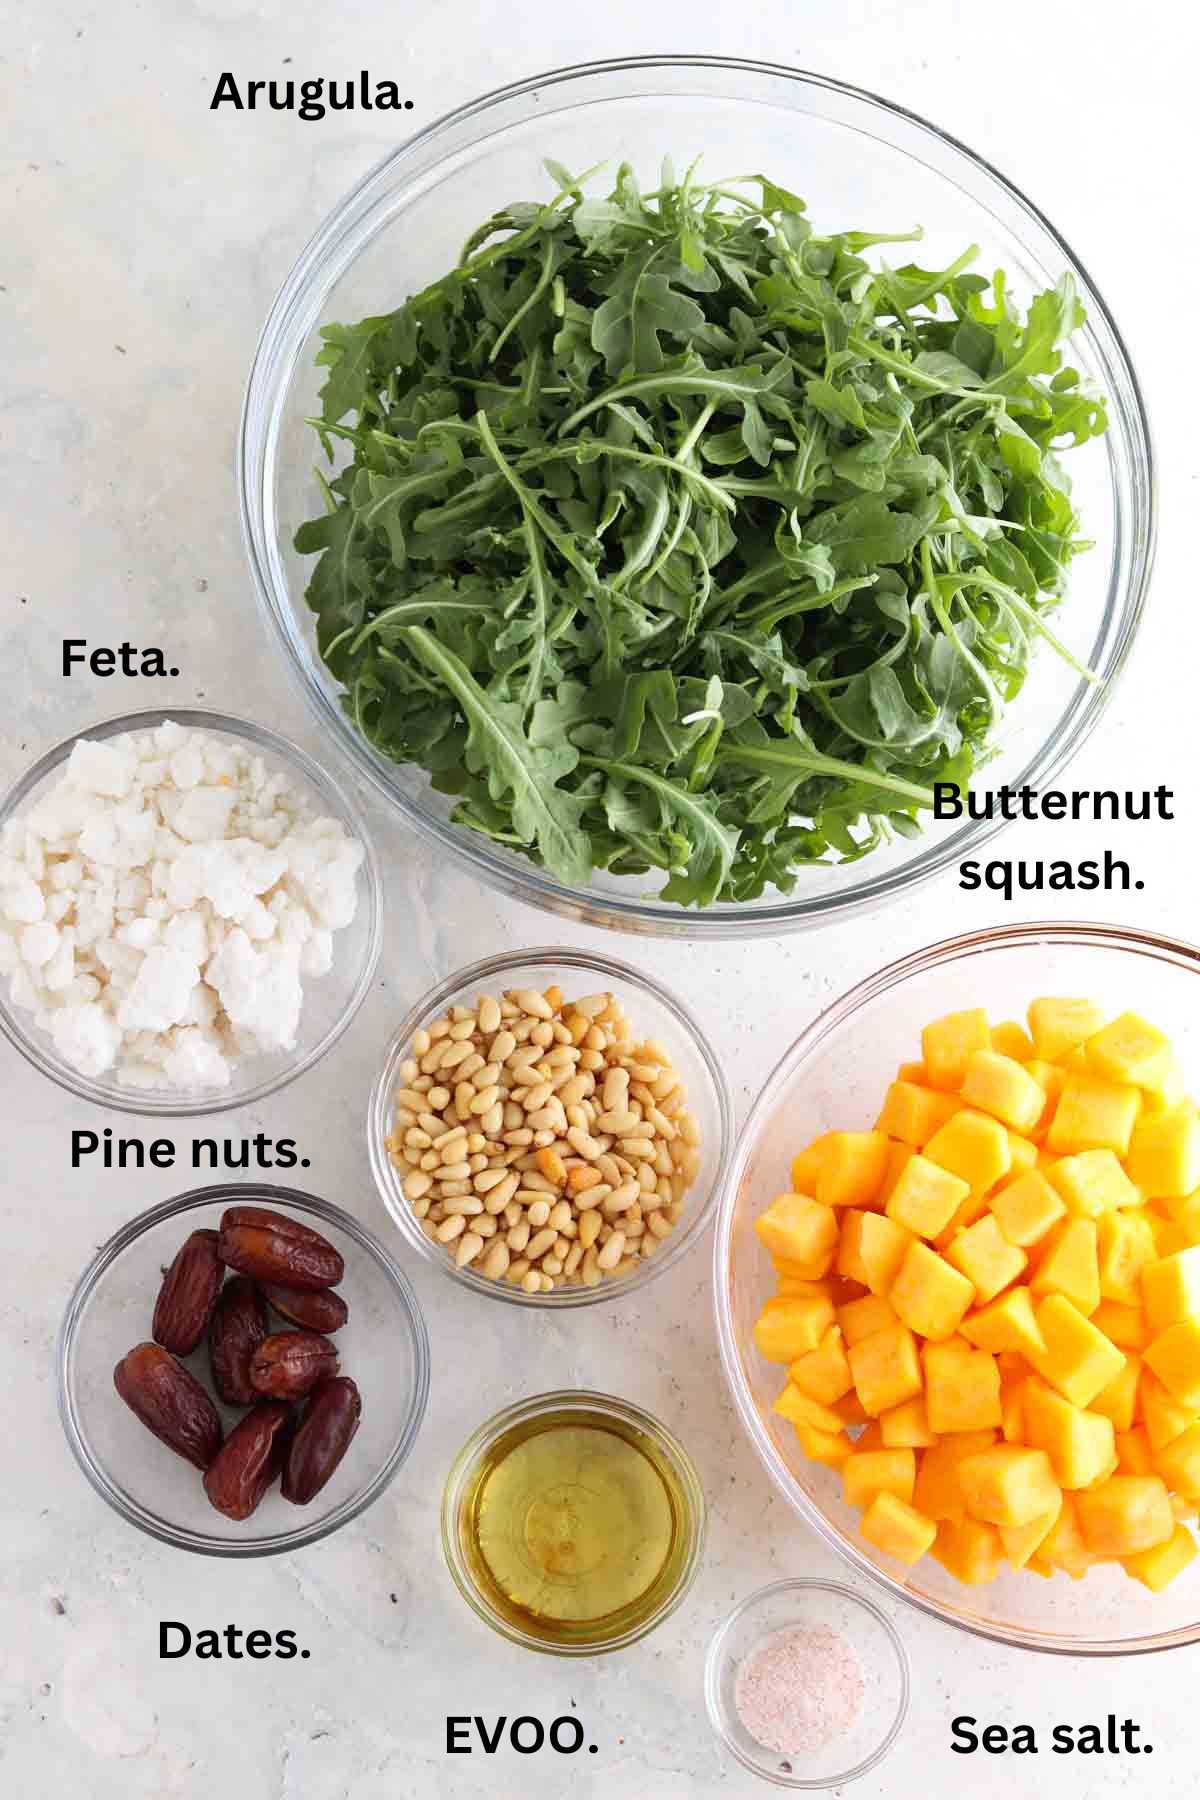
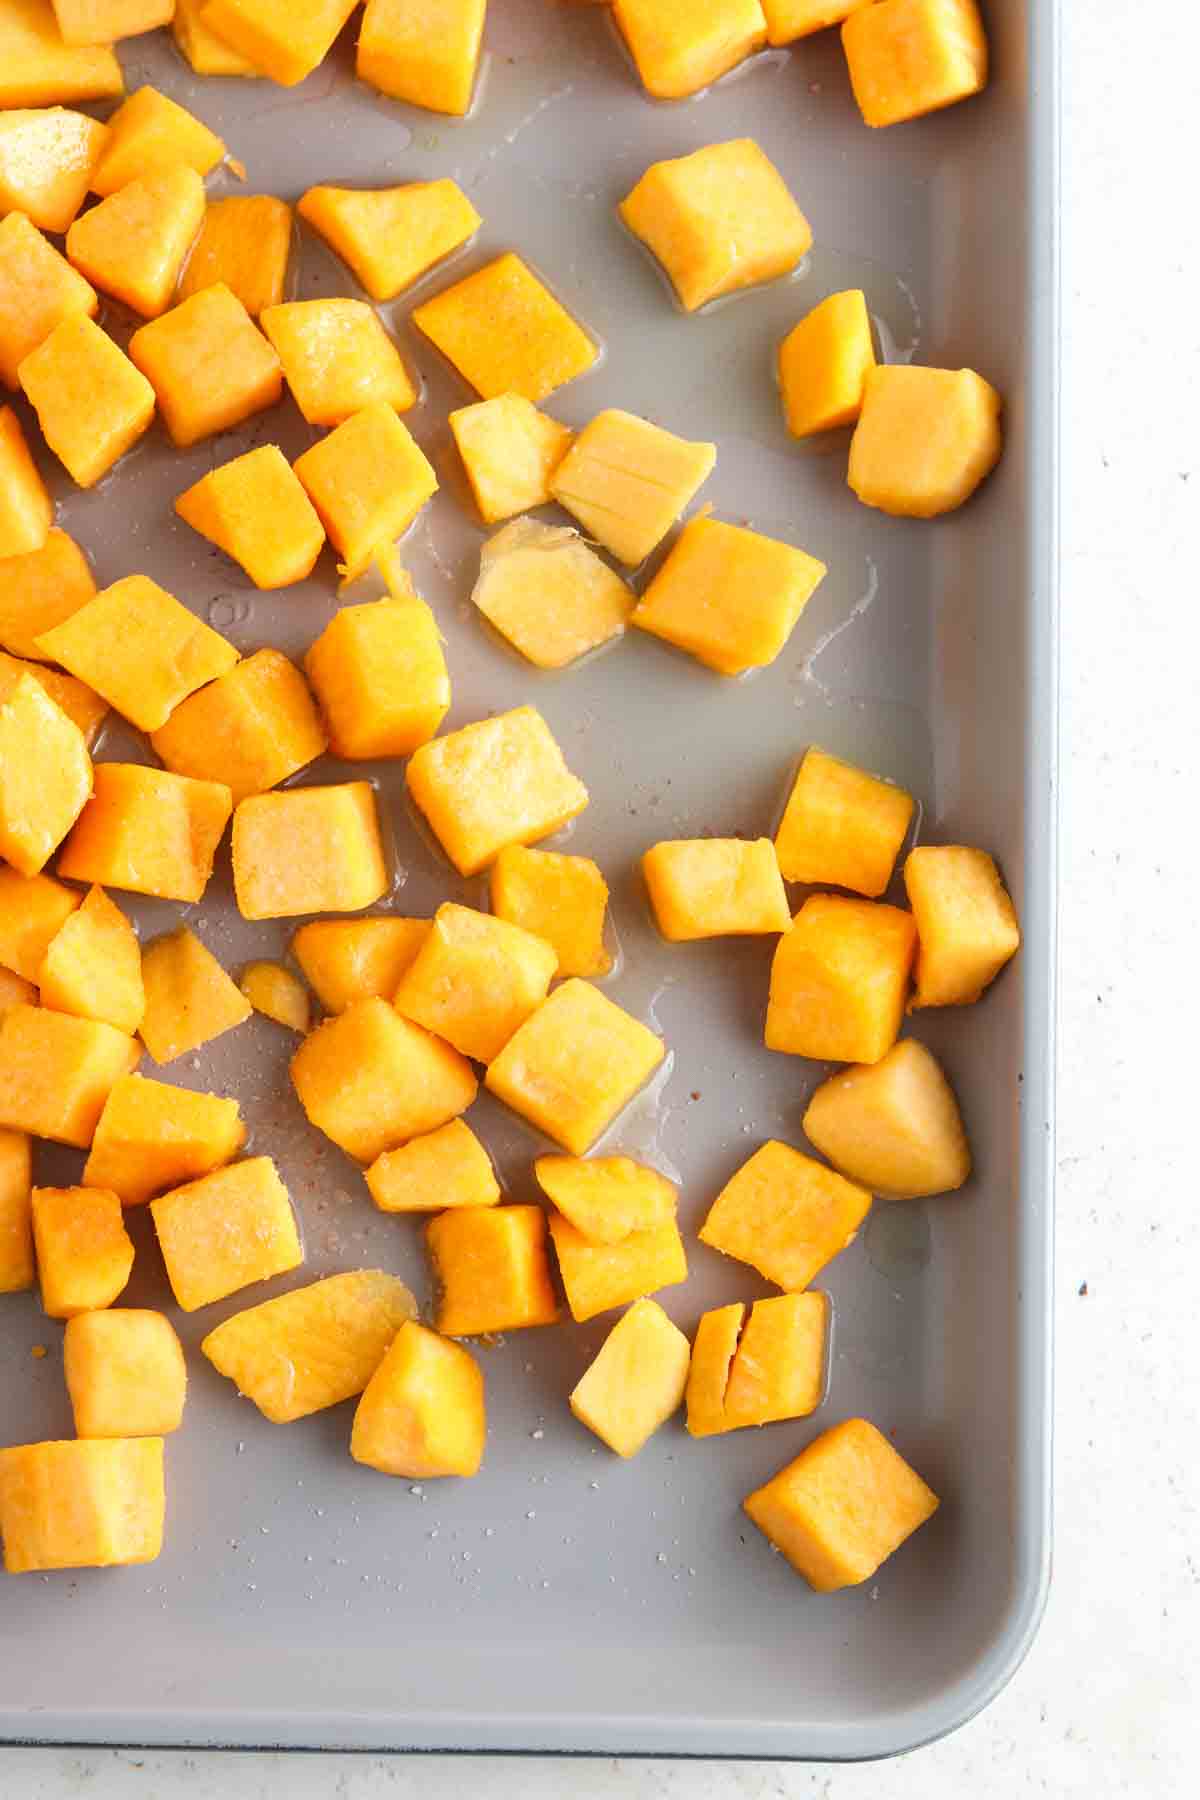
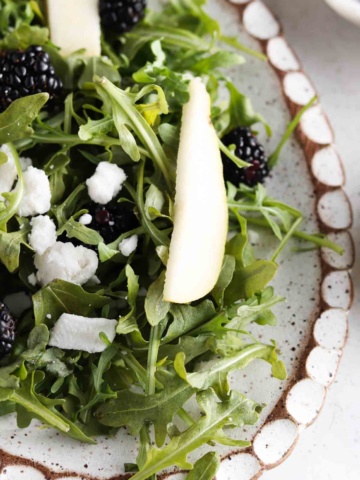
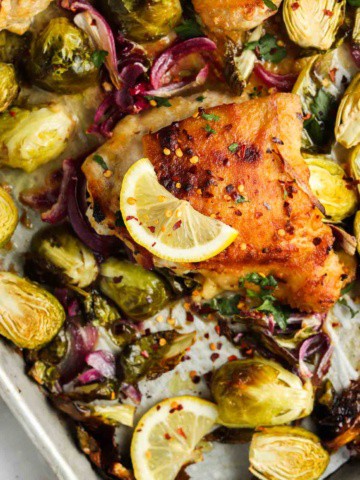
Wednesday dinner: Sweet Potato Blackberry Fig Salmon Salad
Thursday lunch: Sweet Potato Blackberry Fig Salmon Salad
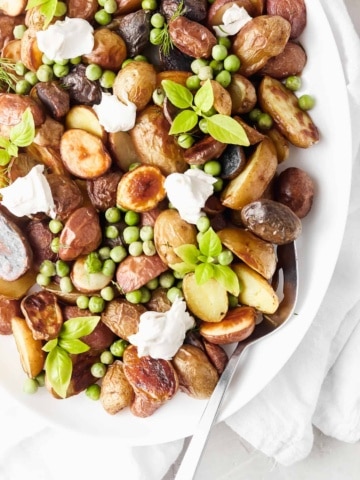
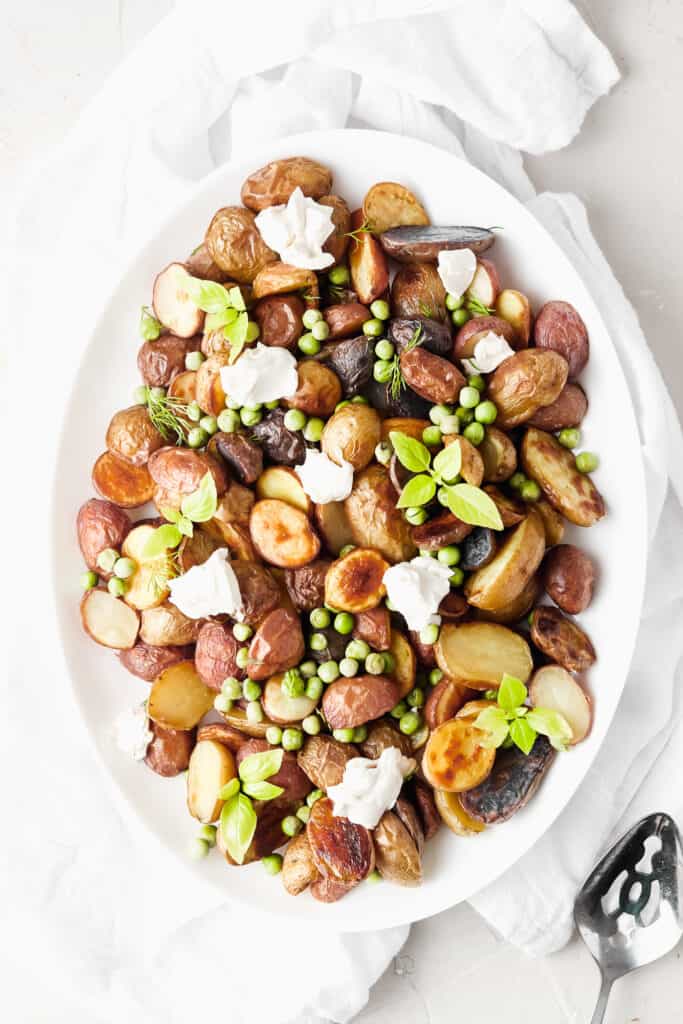
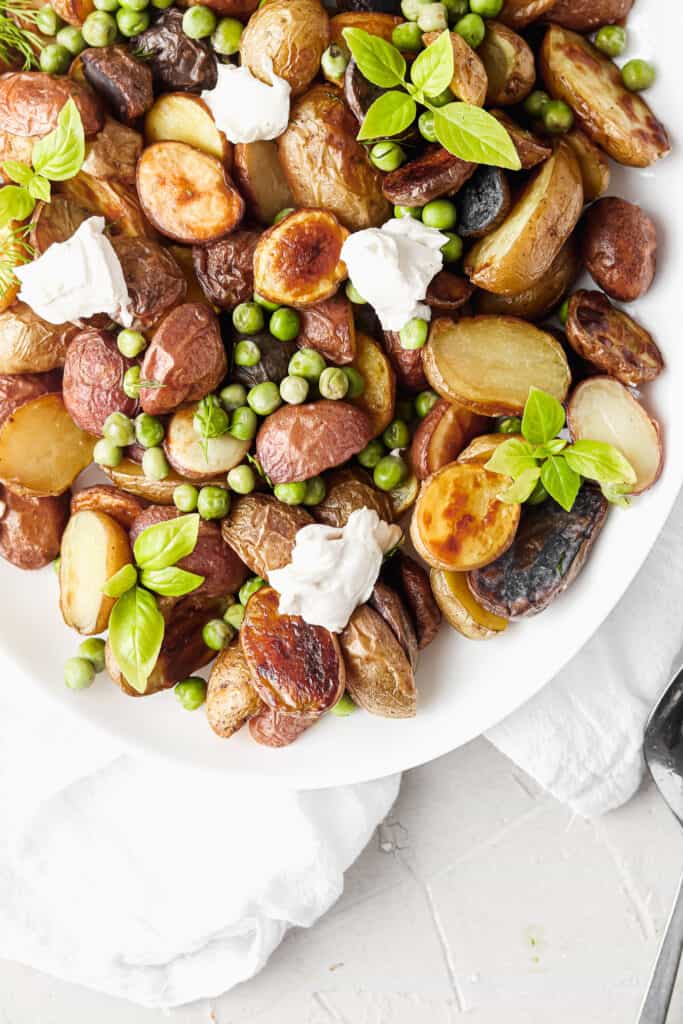
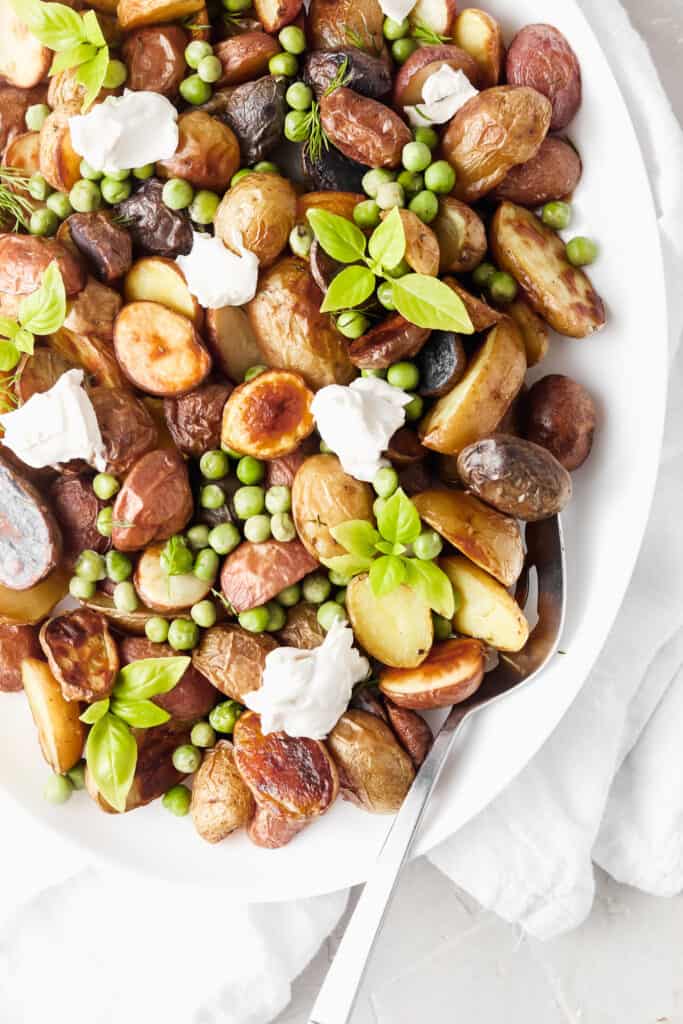
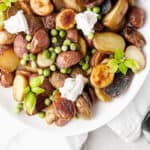
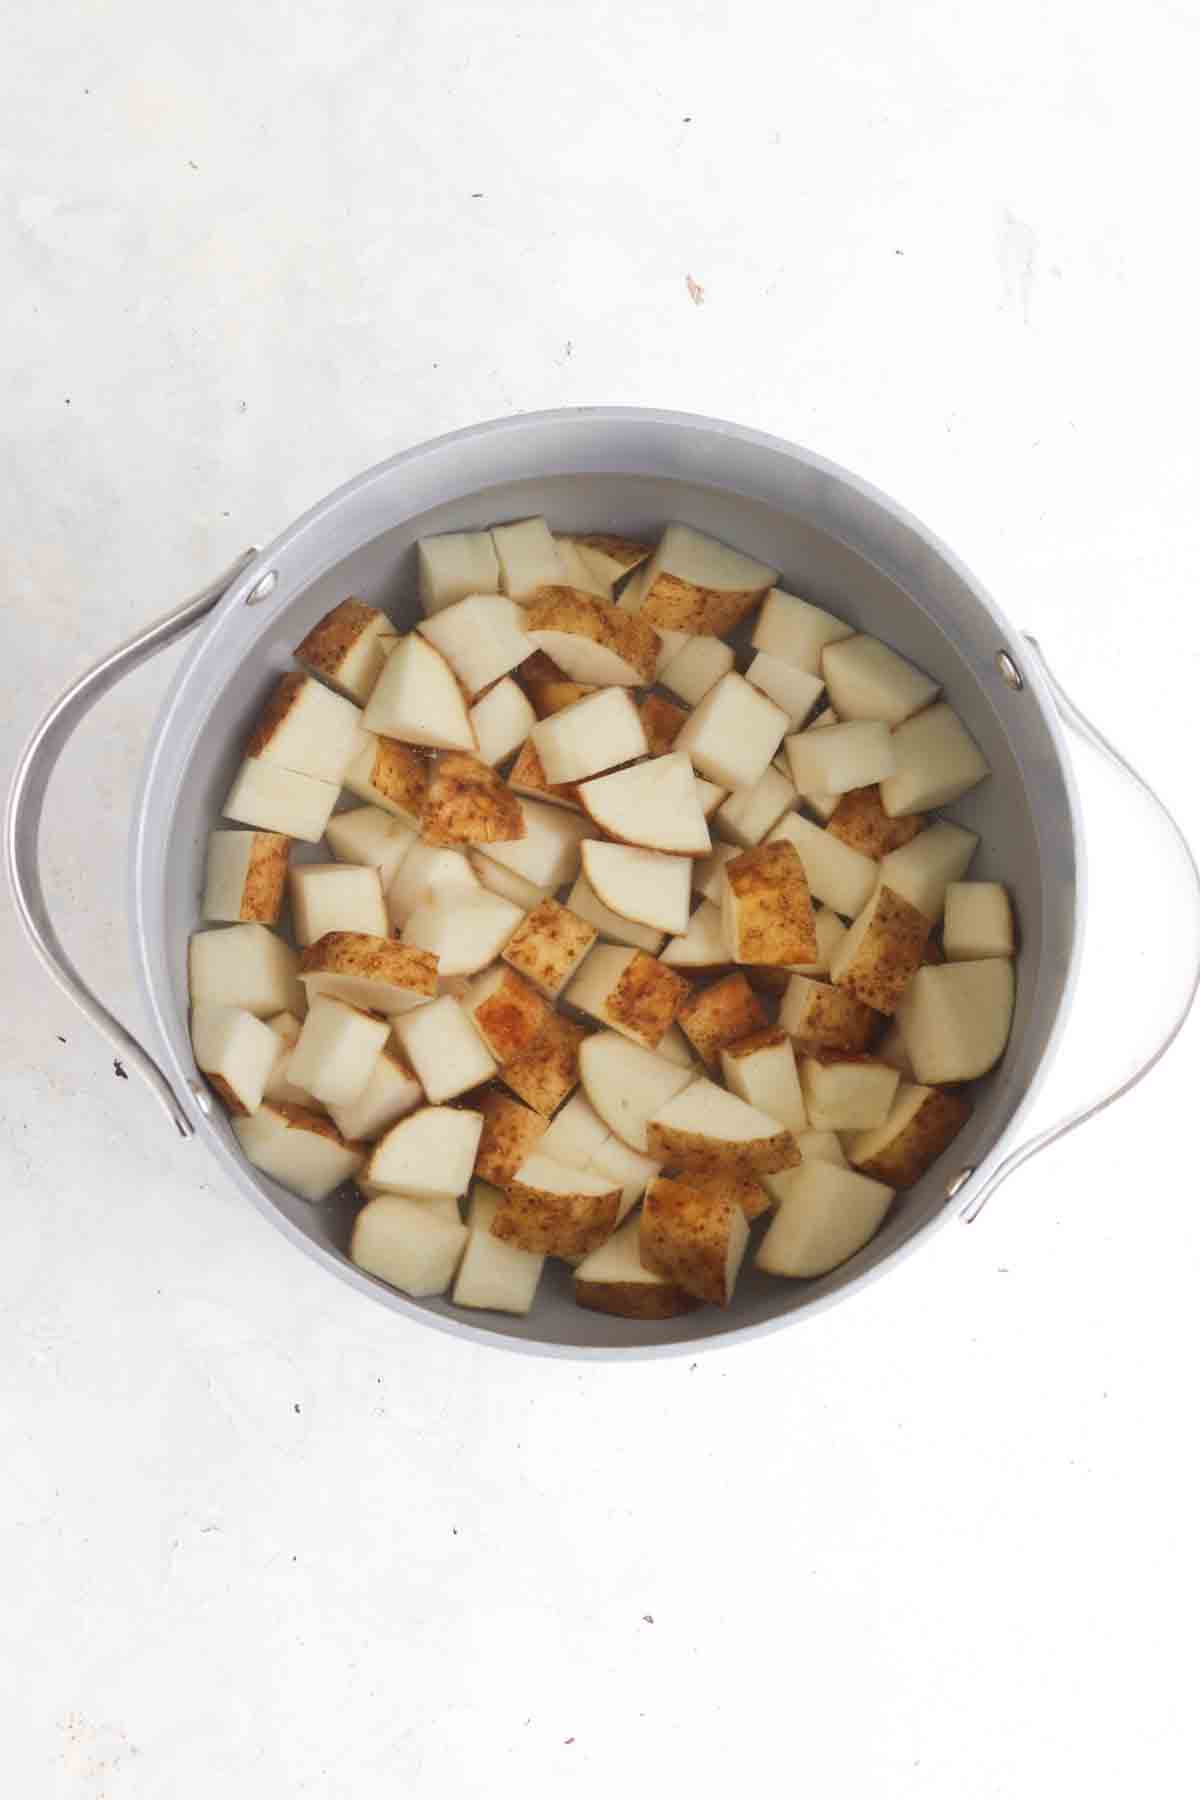
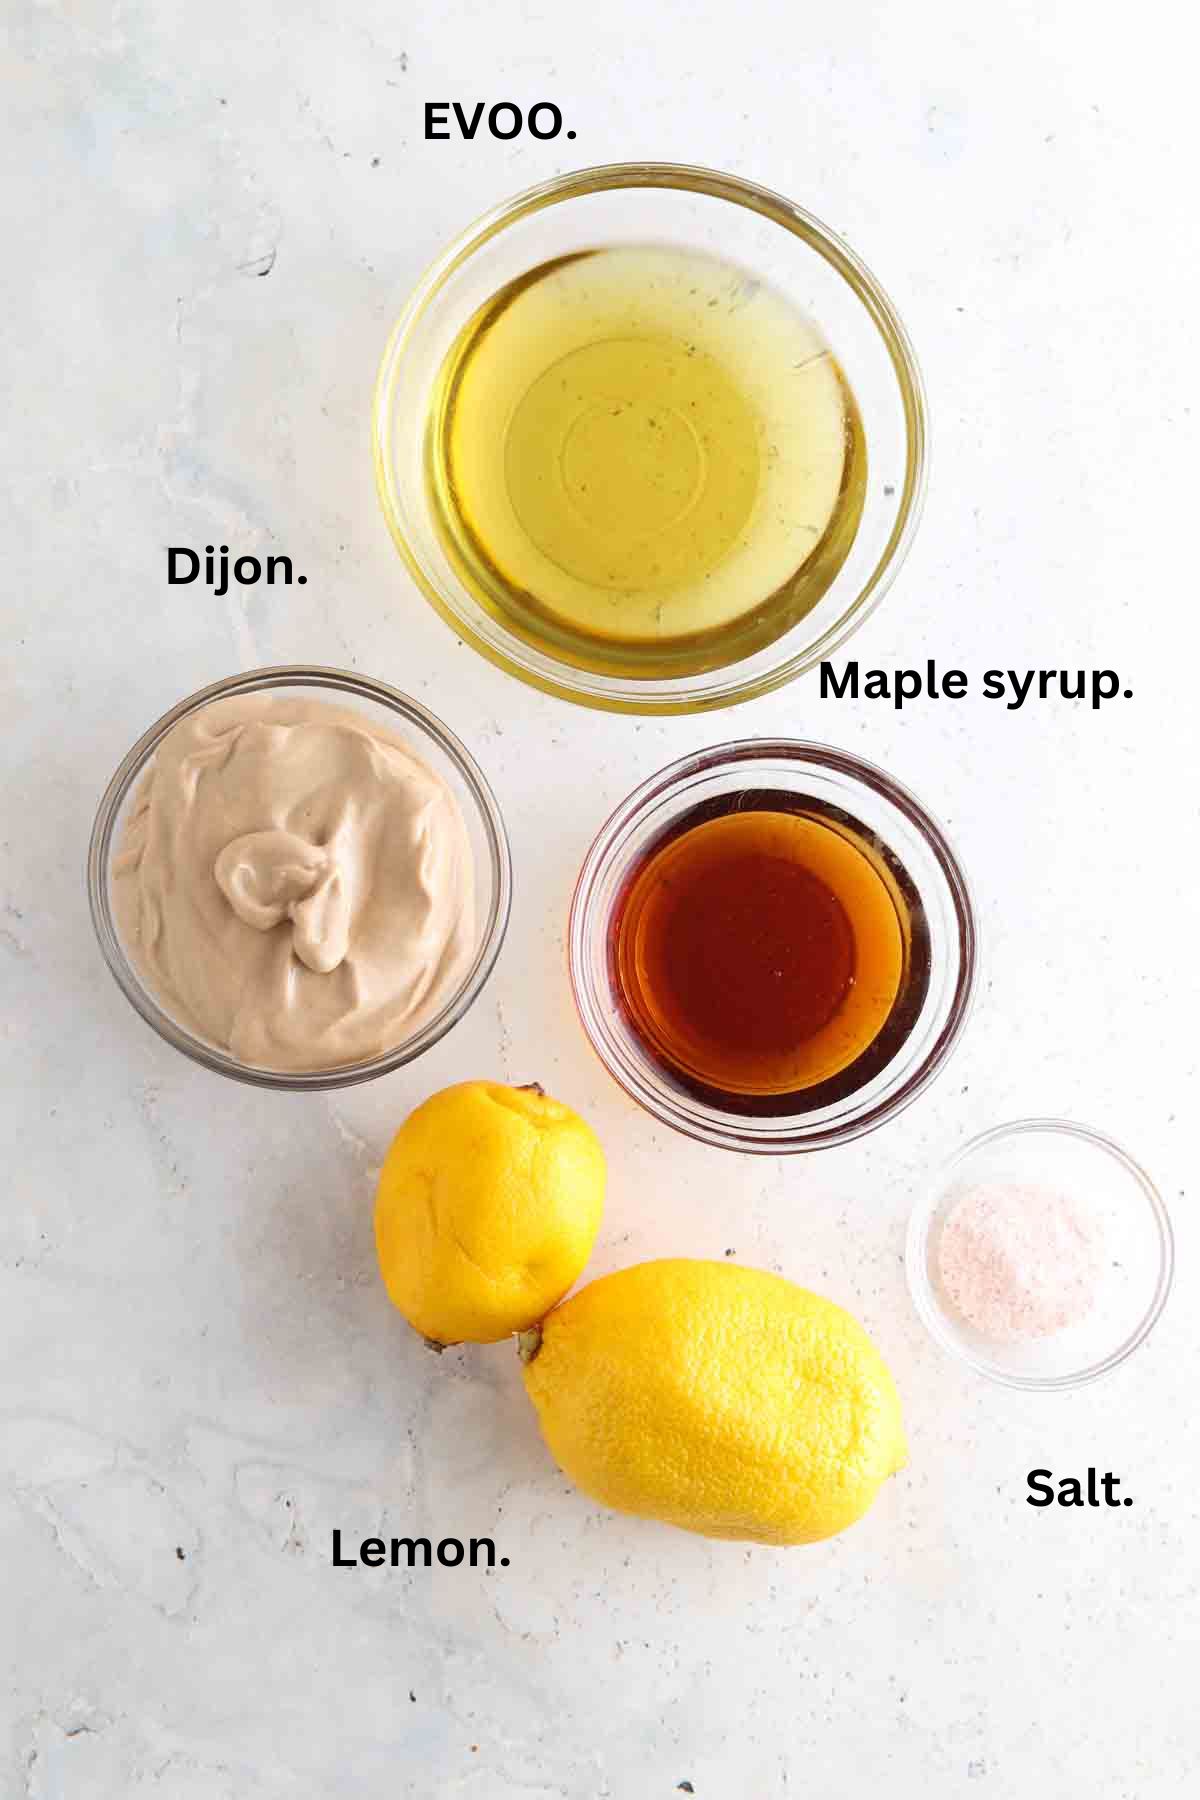
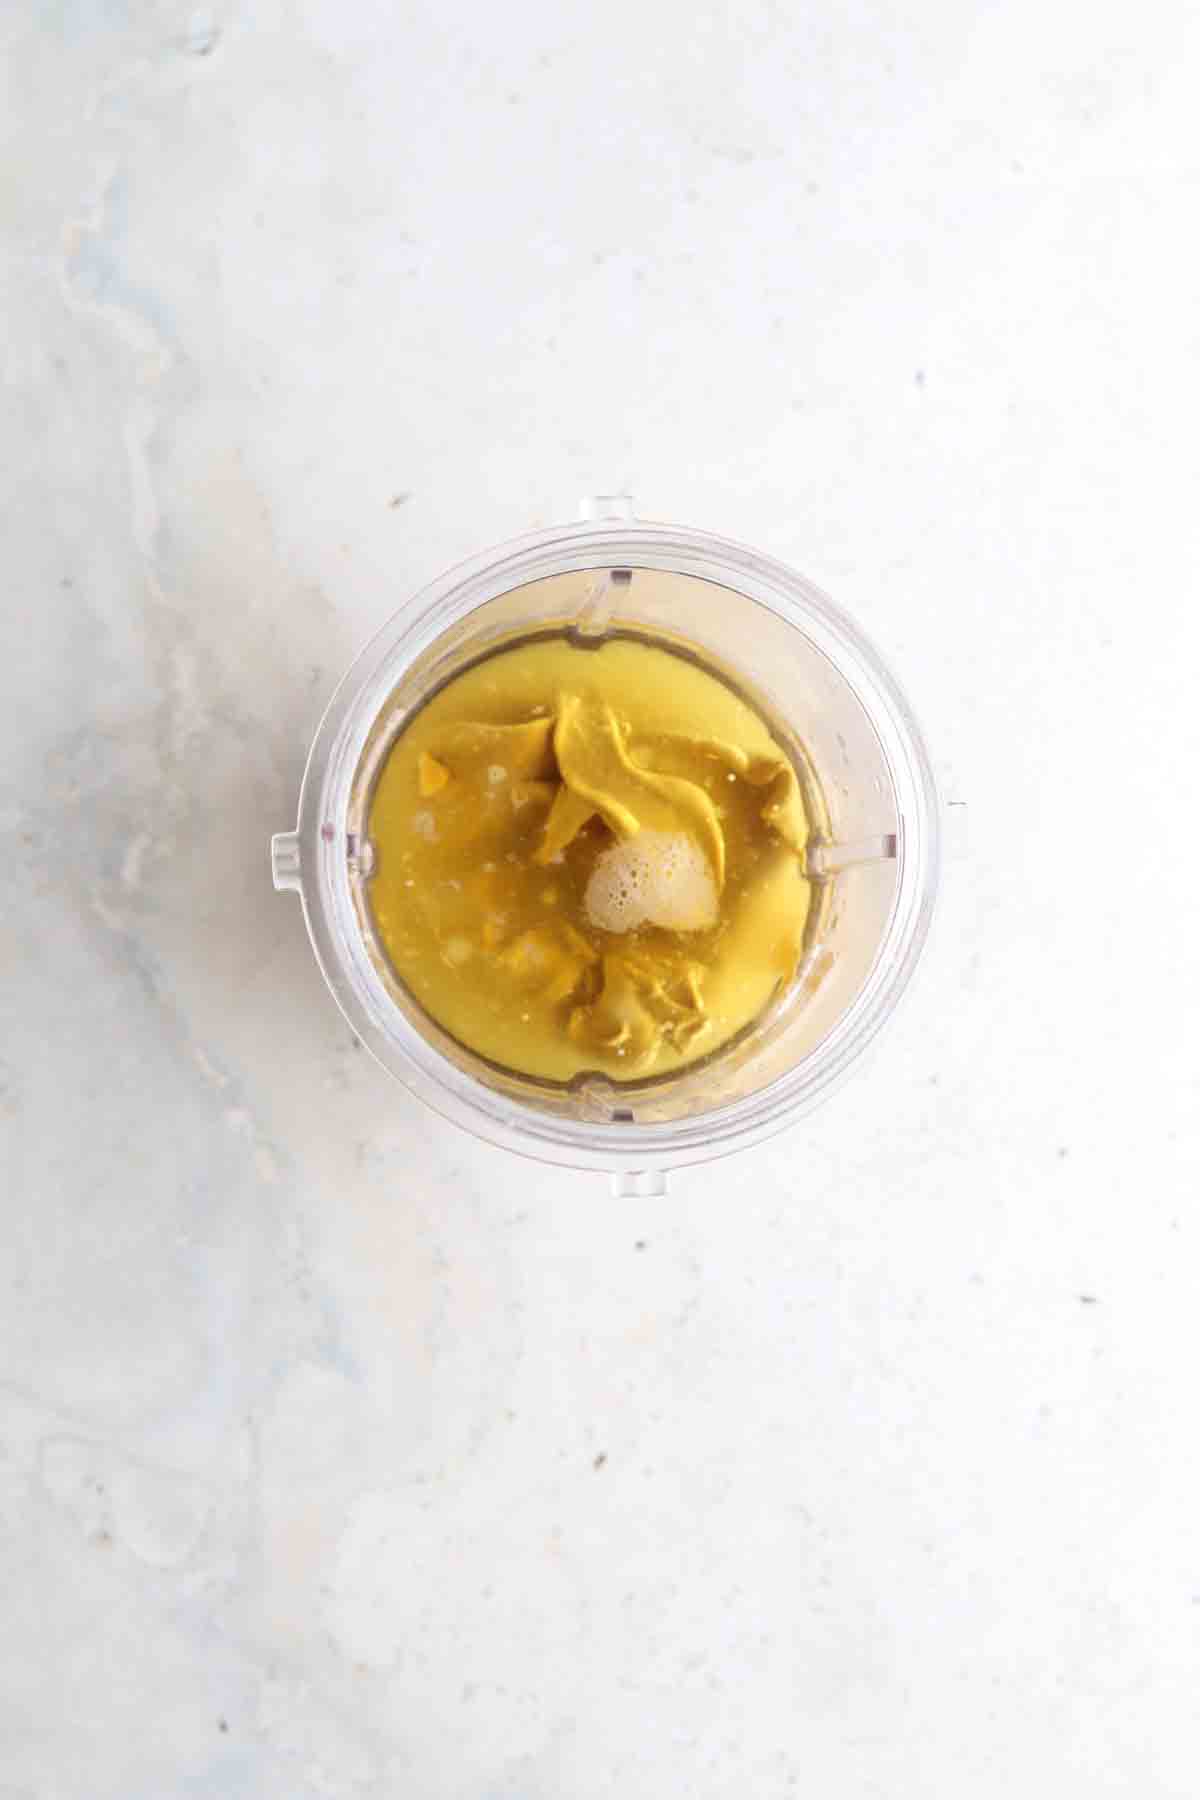
Thursday dinner: Dijon Salmon w/ Crispy Potatoes and Dairy Free Ricotta
Friday lunch: Dijon Salmon w/ Crispy Potatoes and Dairy Free Ricotta
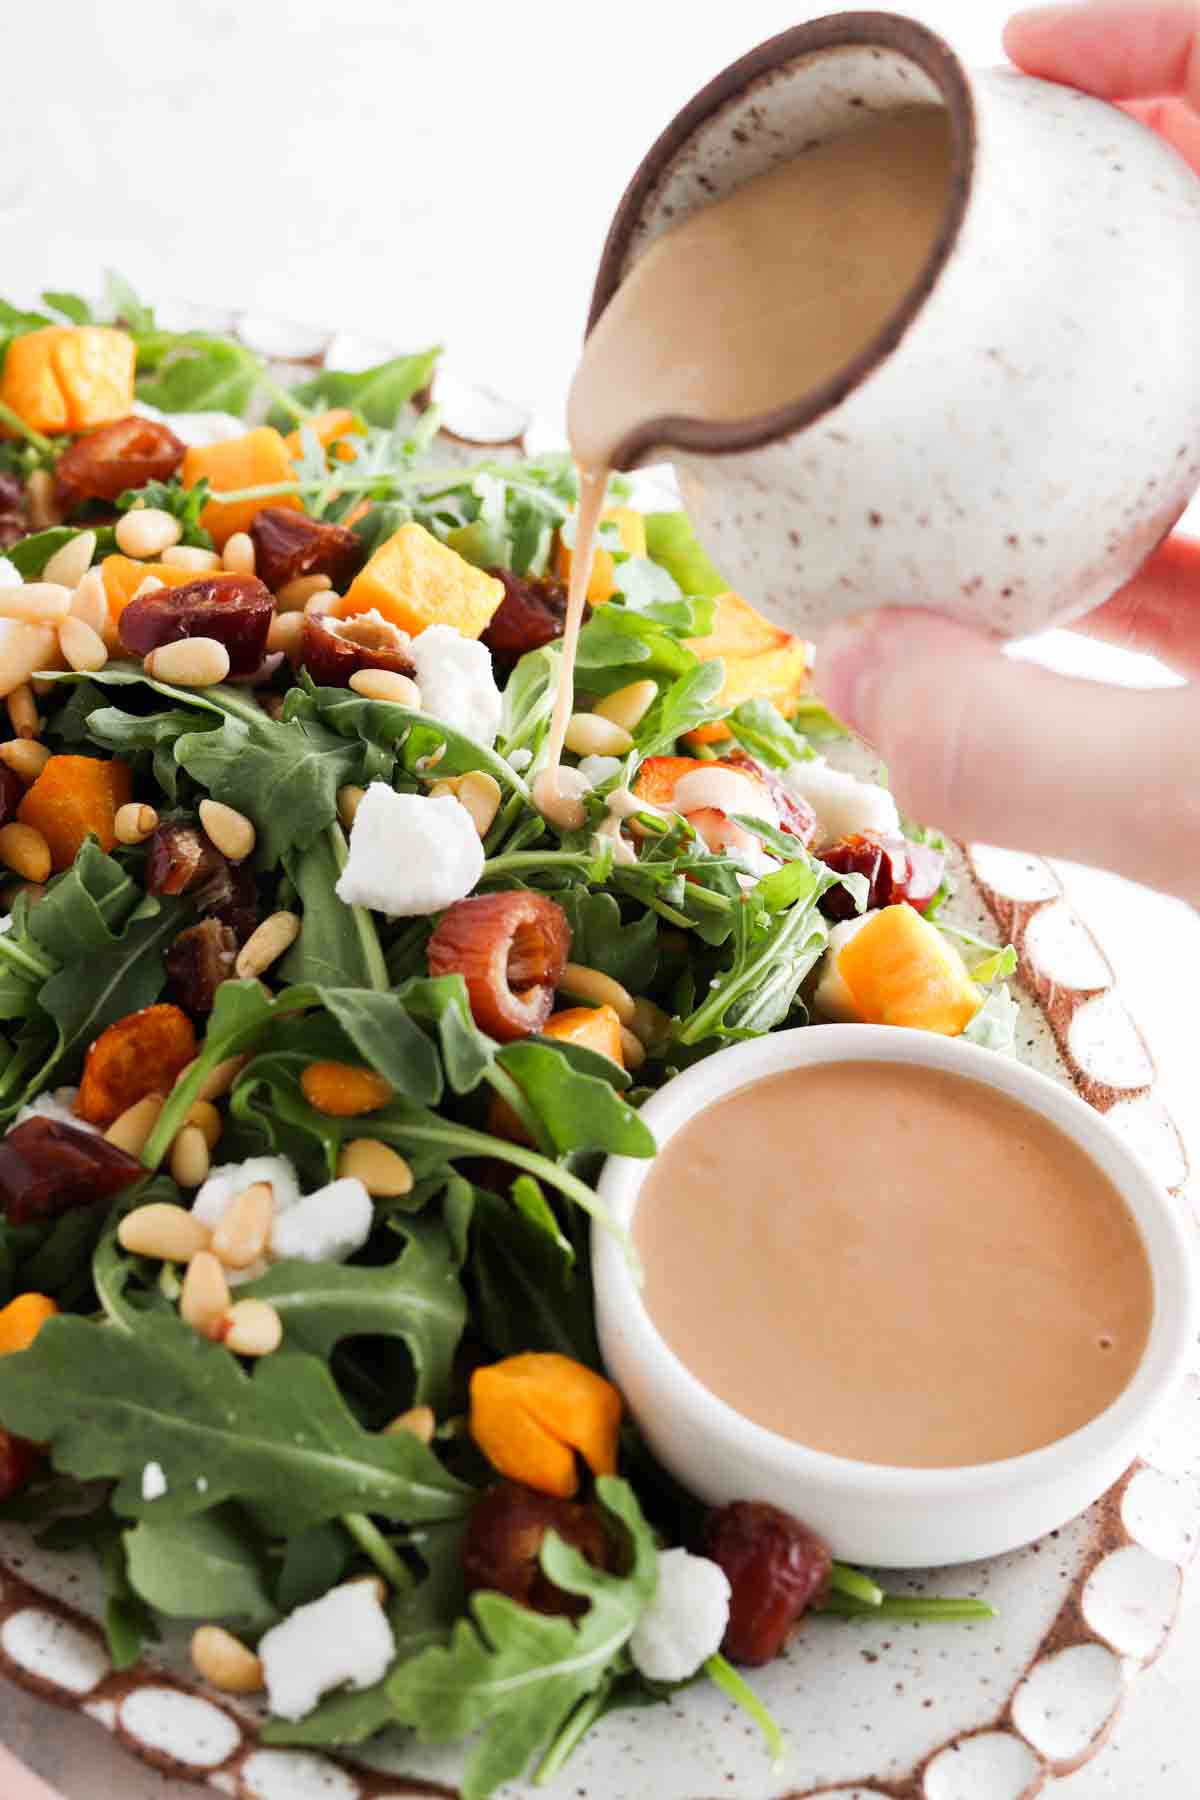
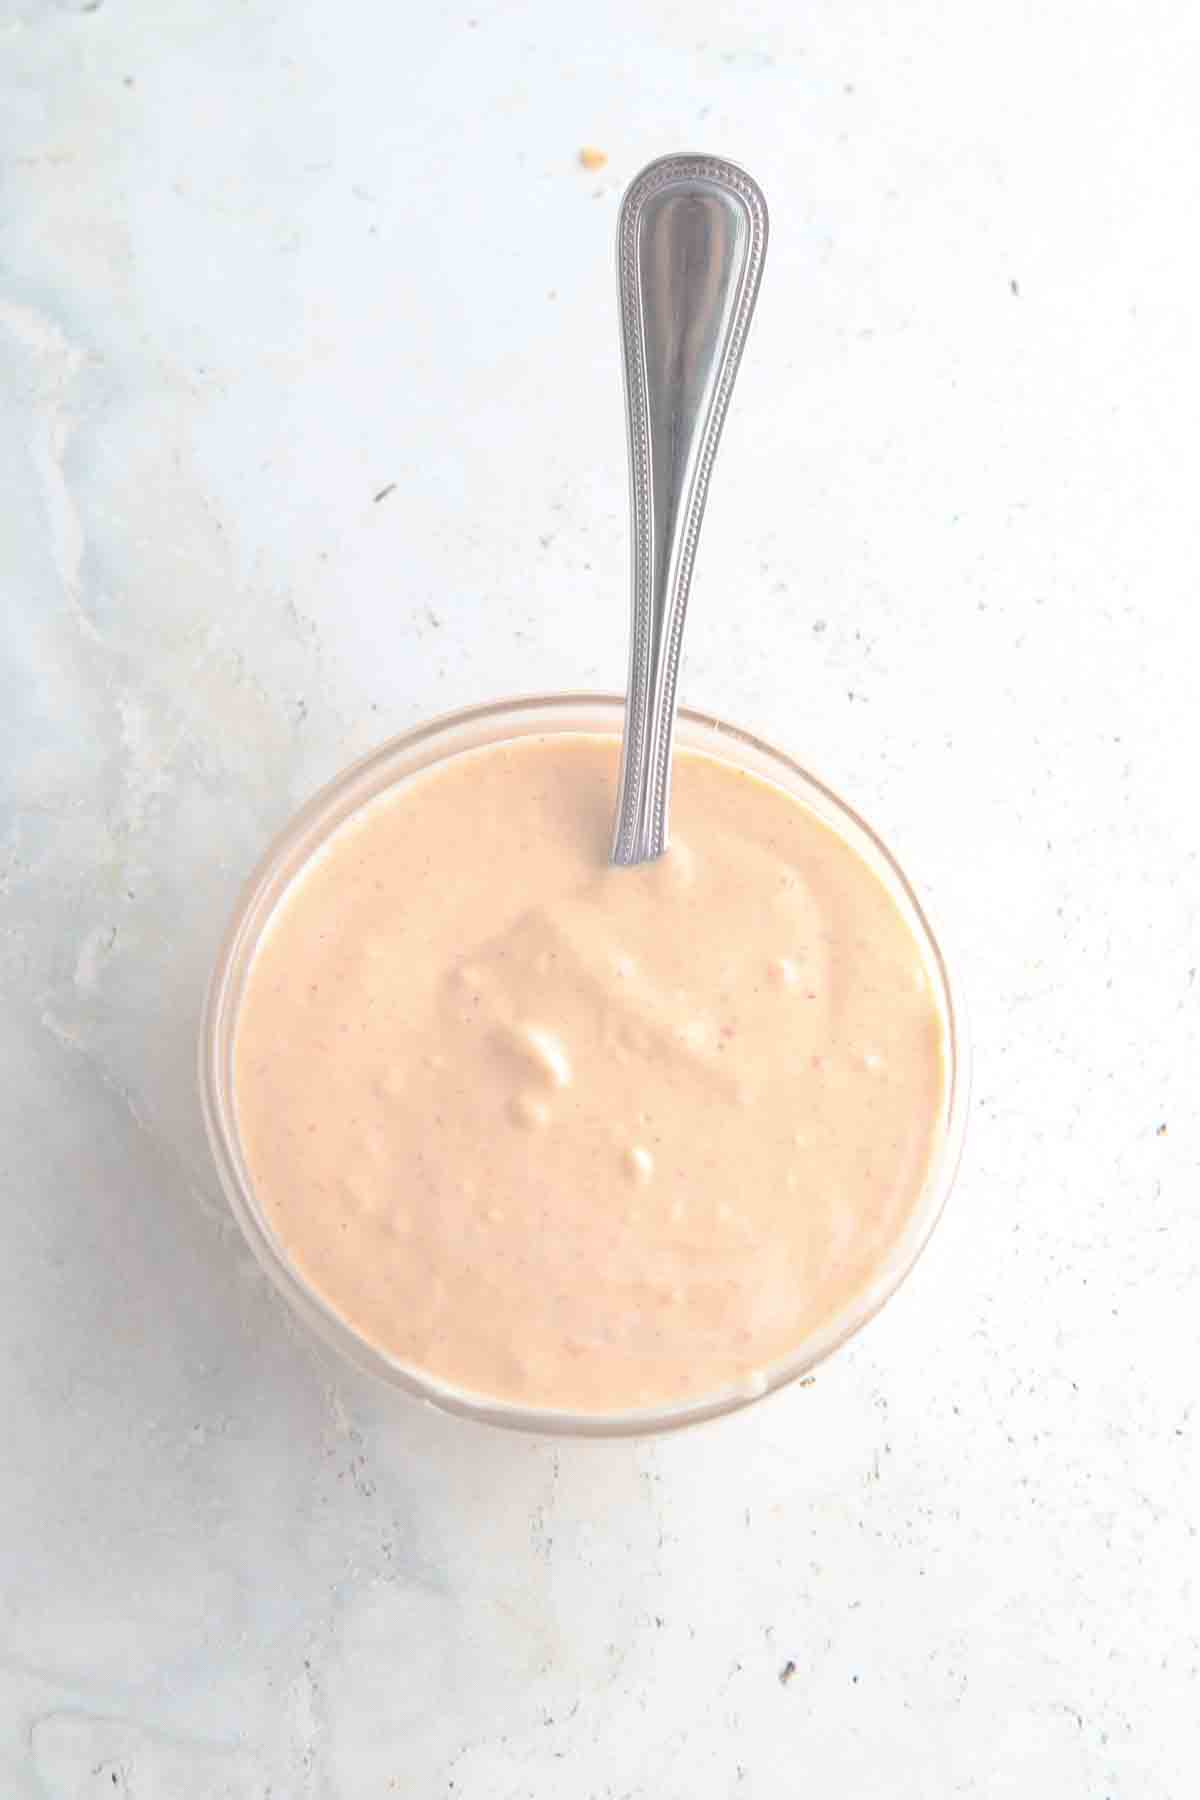
Friday dinner: Steak Salad w/ Avocado Jalapeno Dressing
Saturday lunch: Steak Salad w/ Avocado Jalapeno Dressing
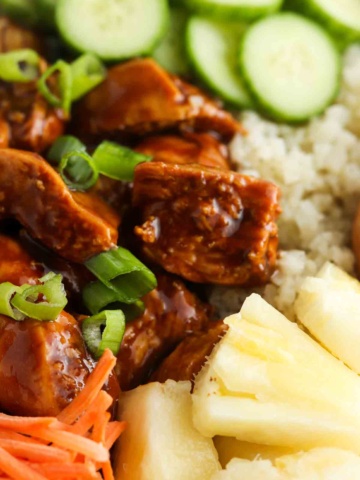
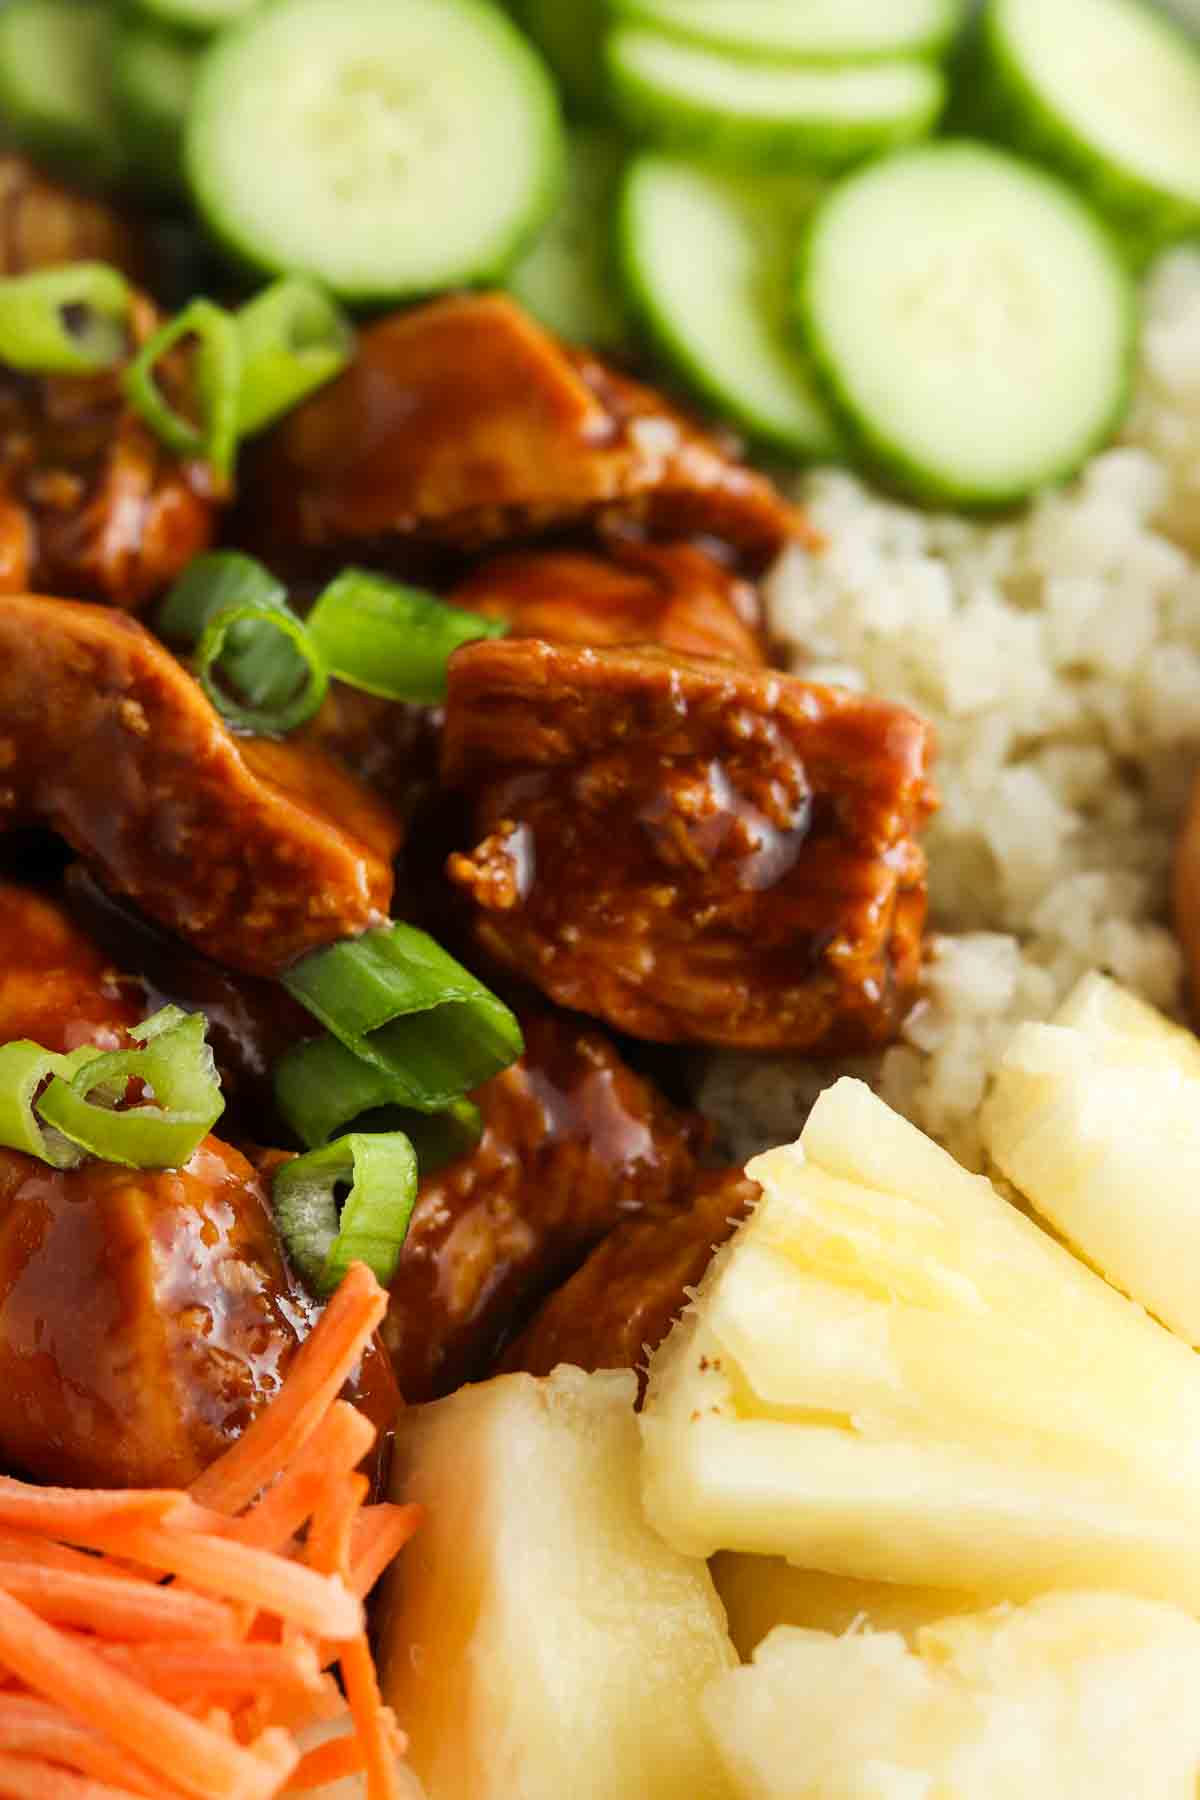
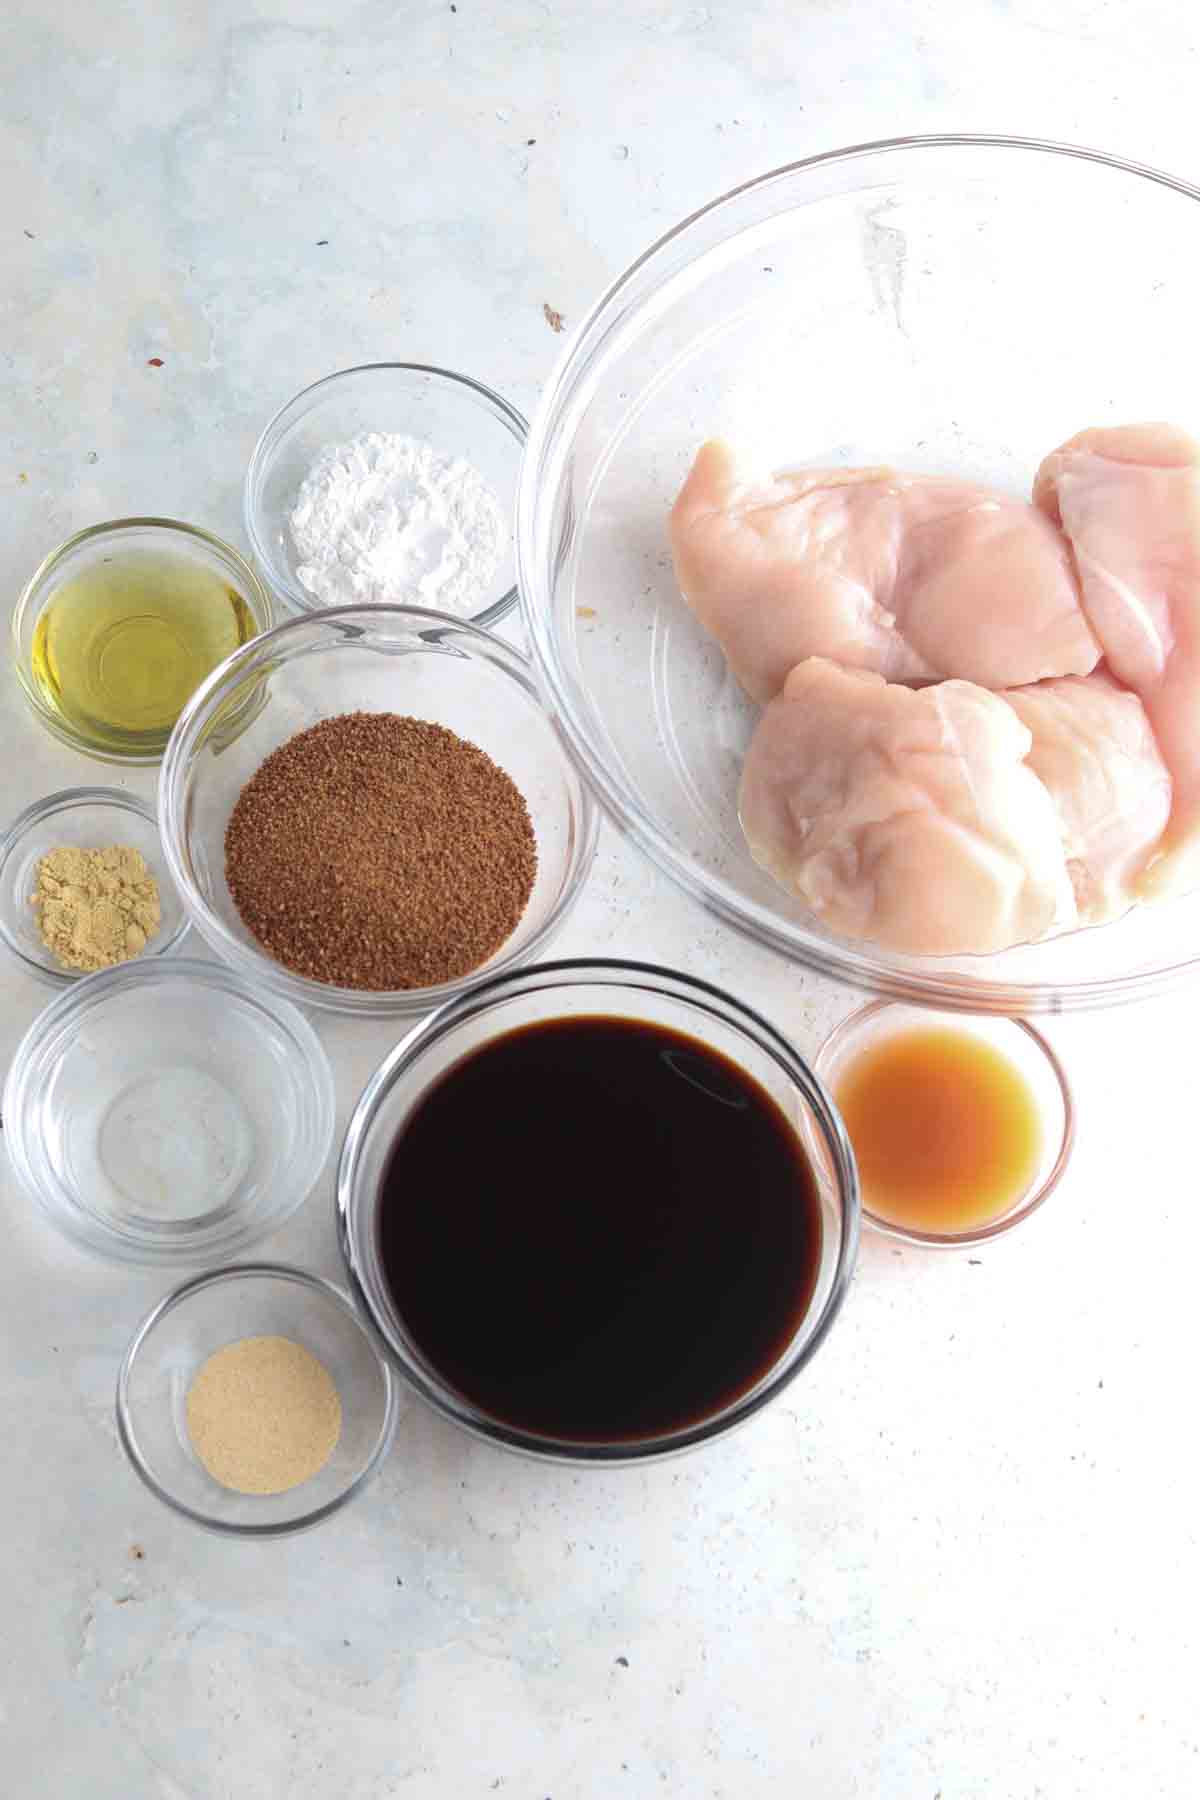
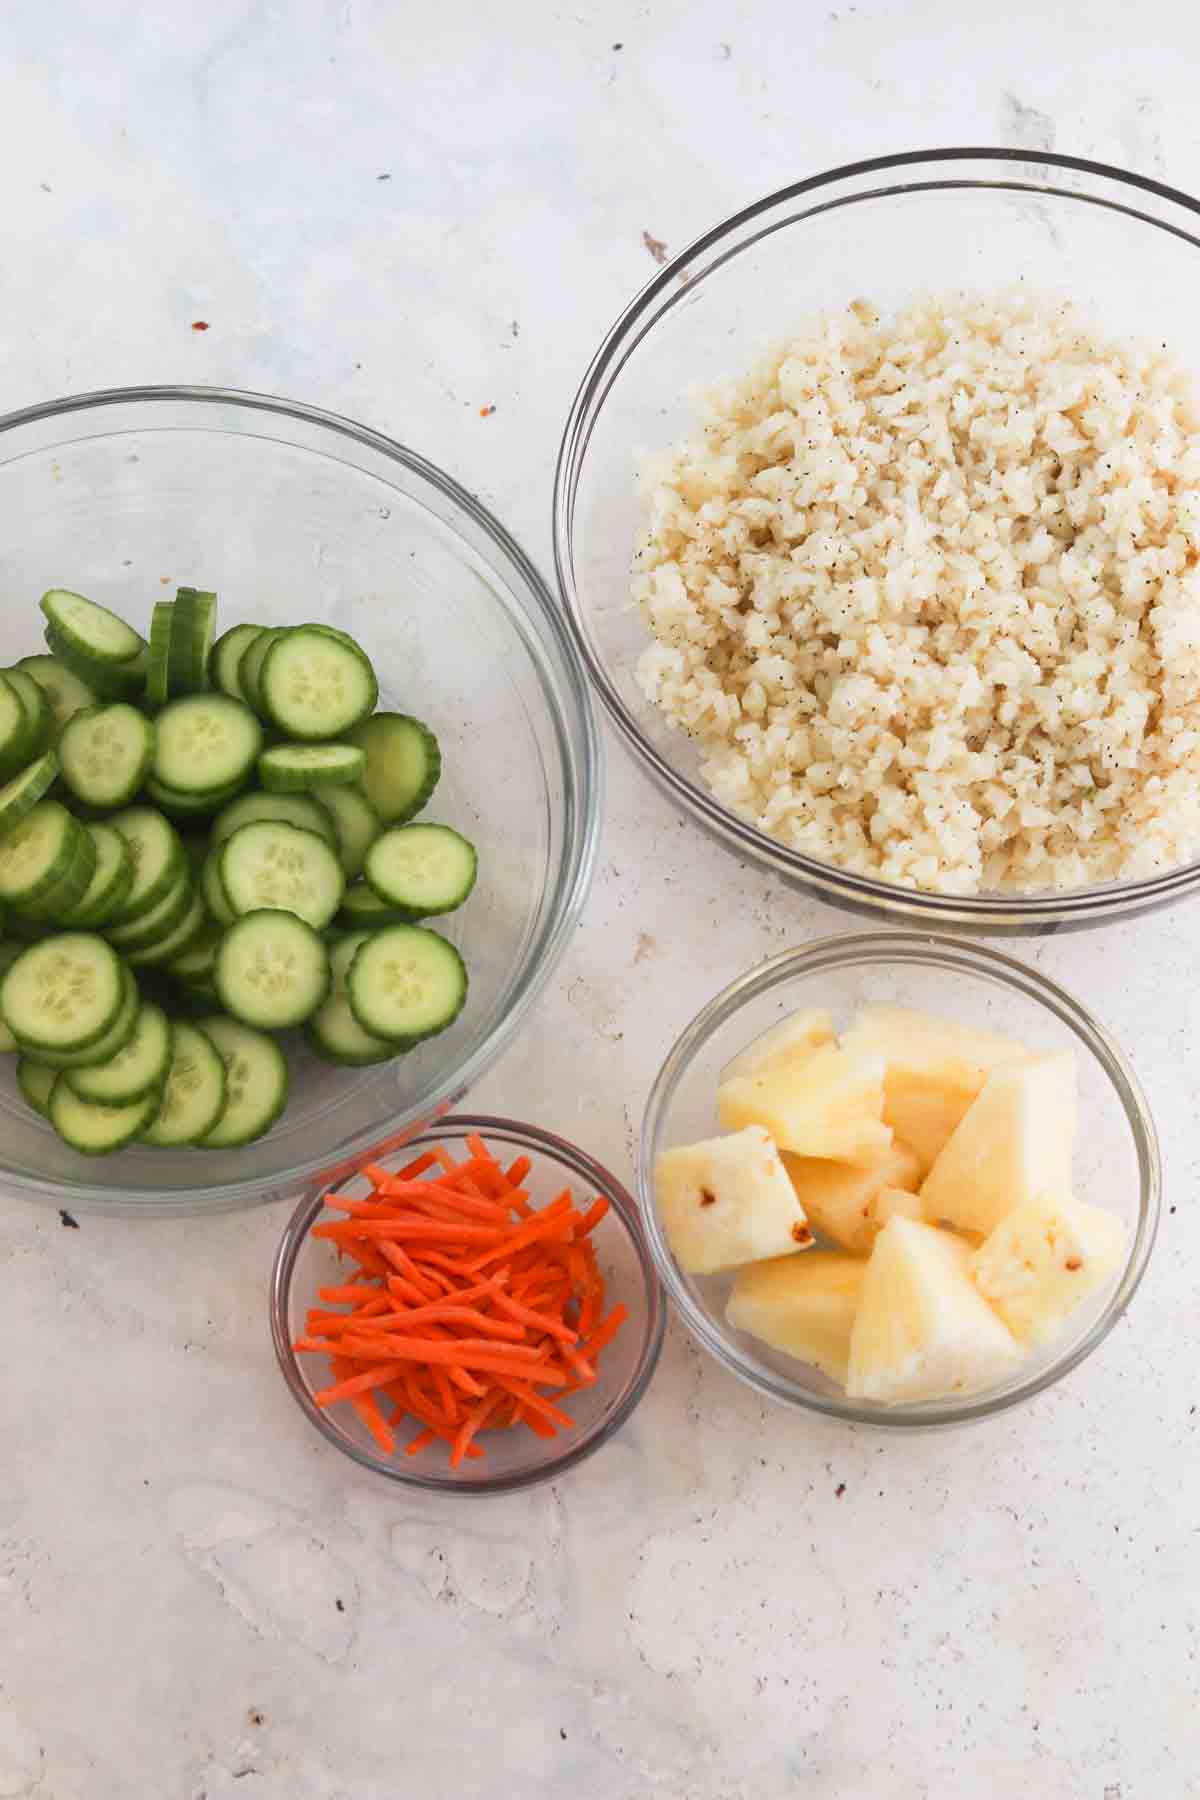
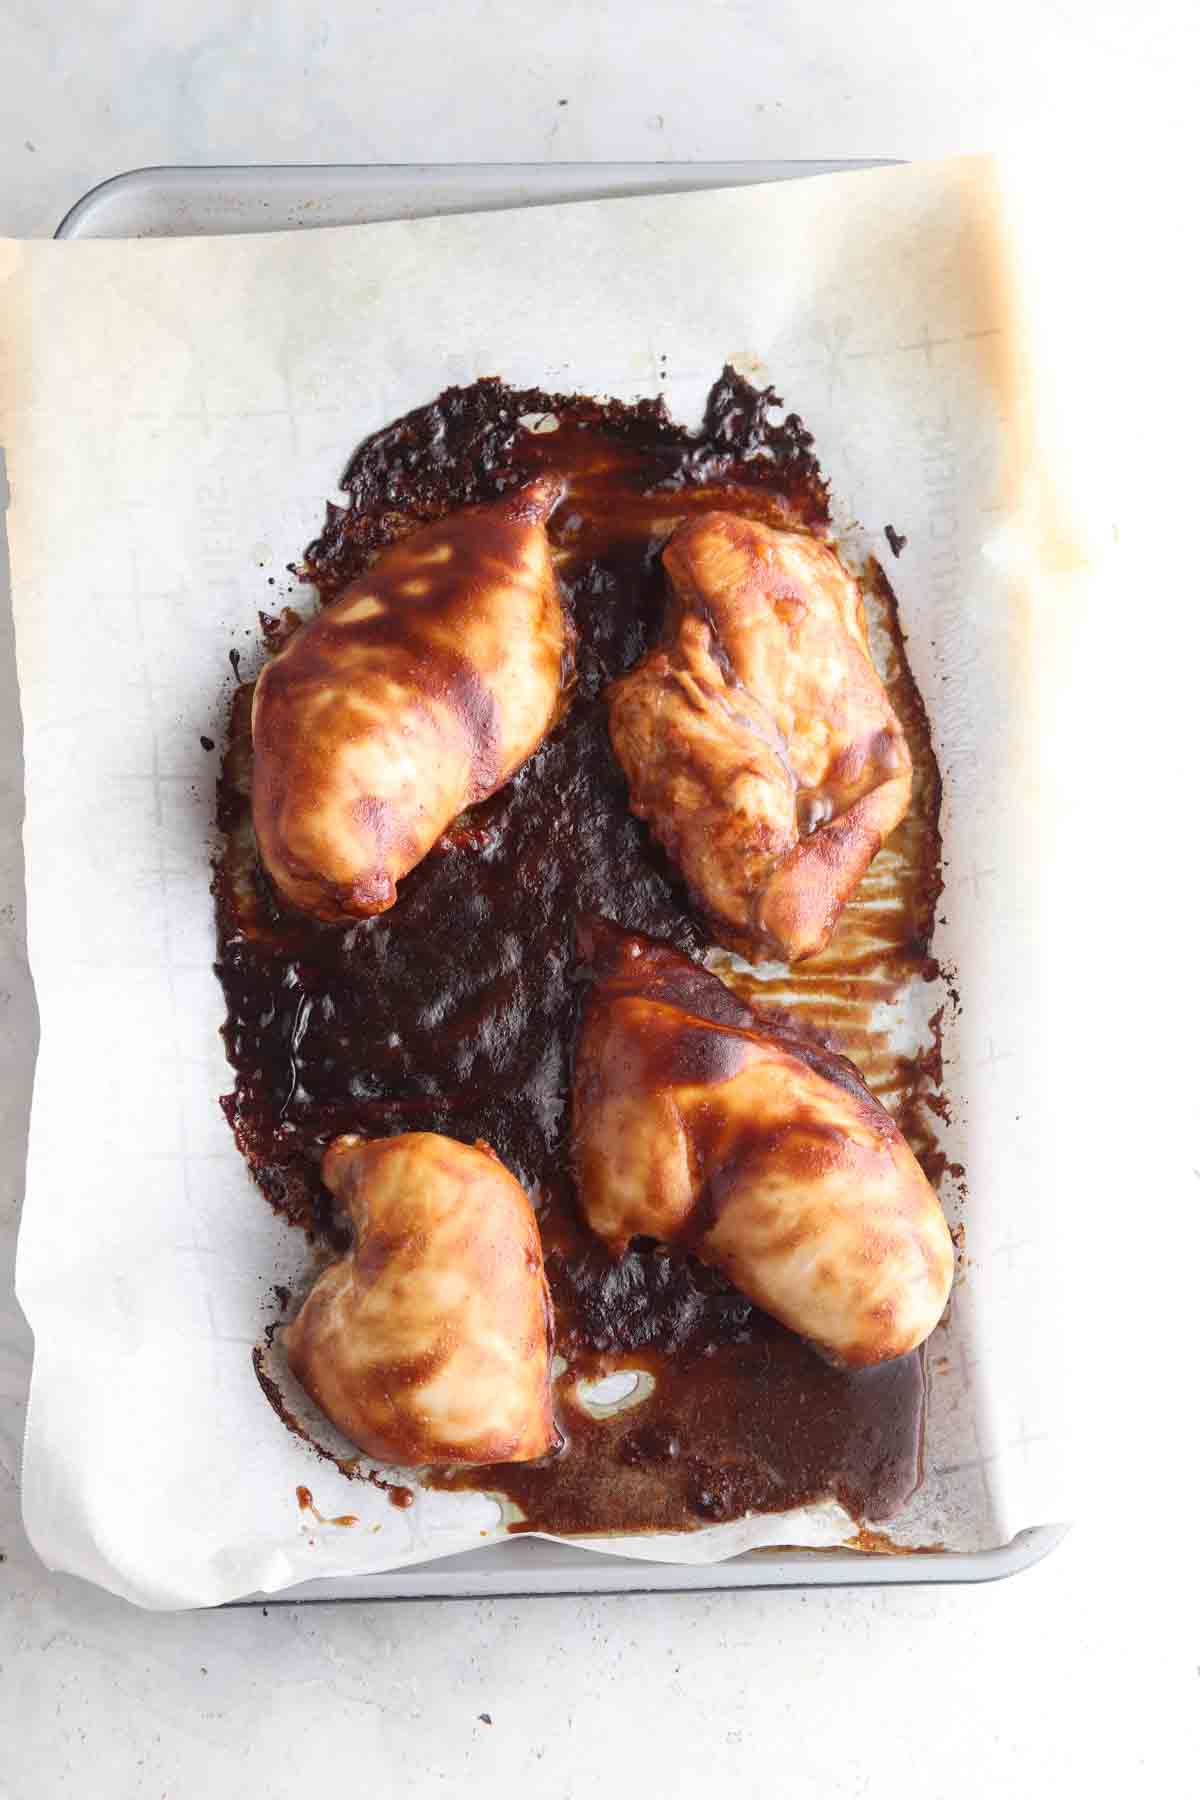
Saturday dinner: Chicken Teriyaki Bowl
Sunday lunch: Chicken Teriyaki Bowl
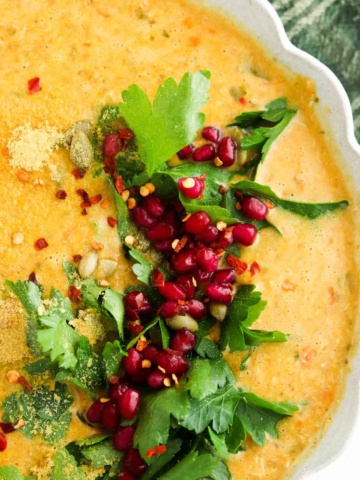
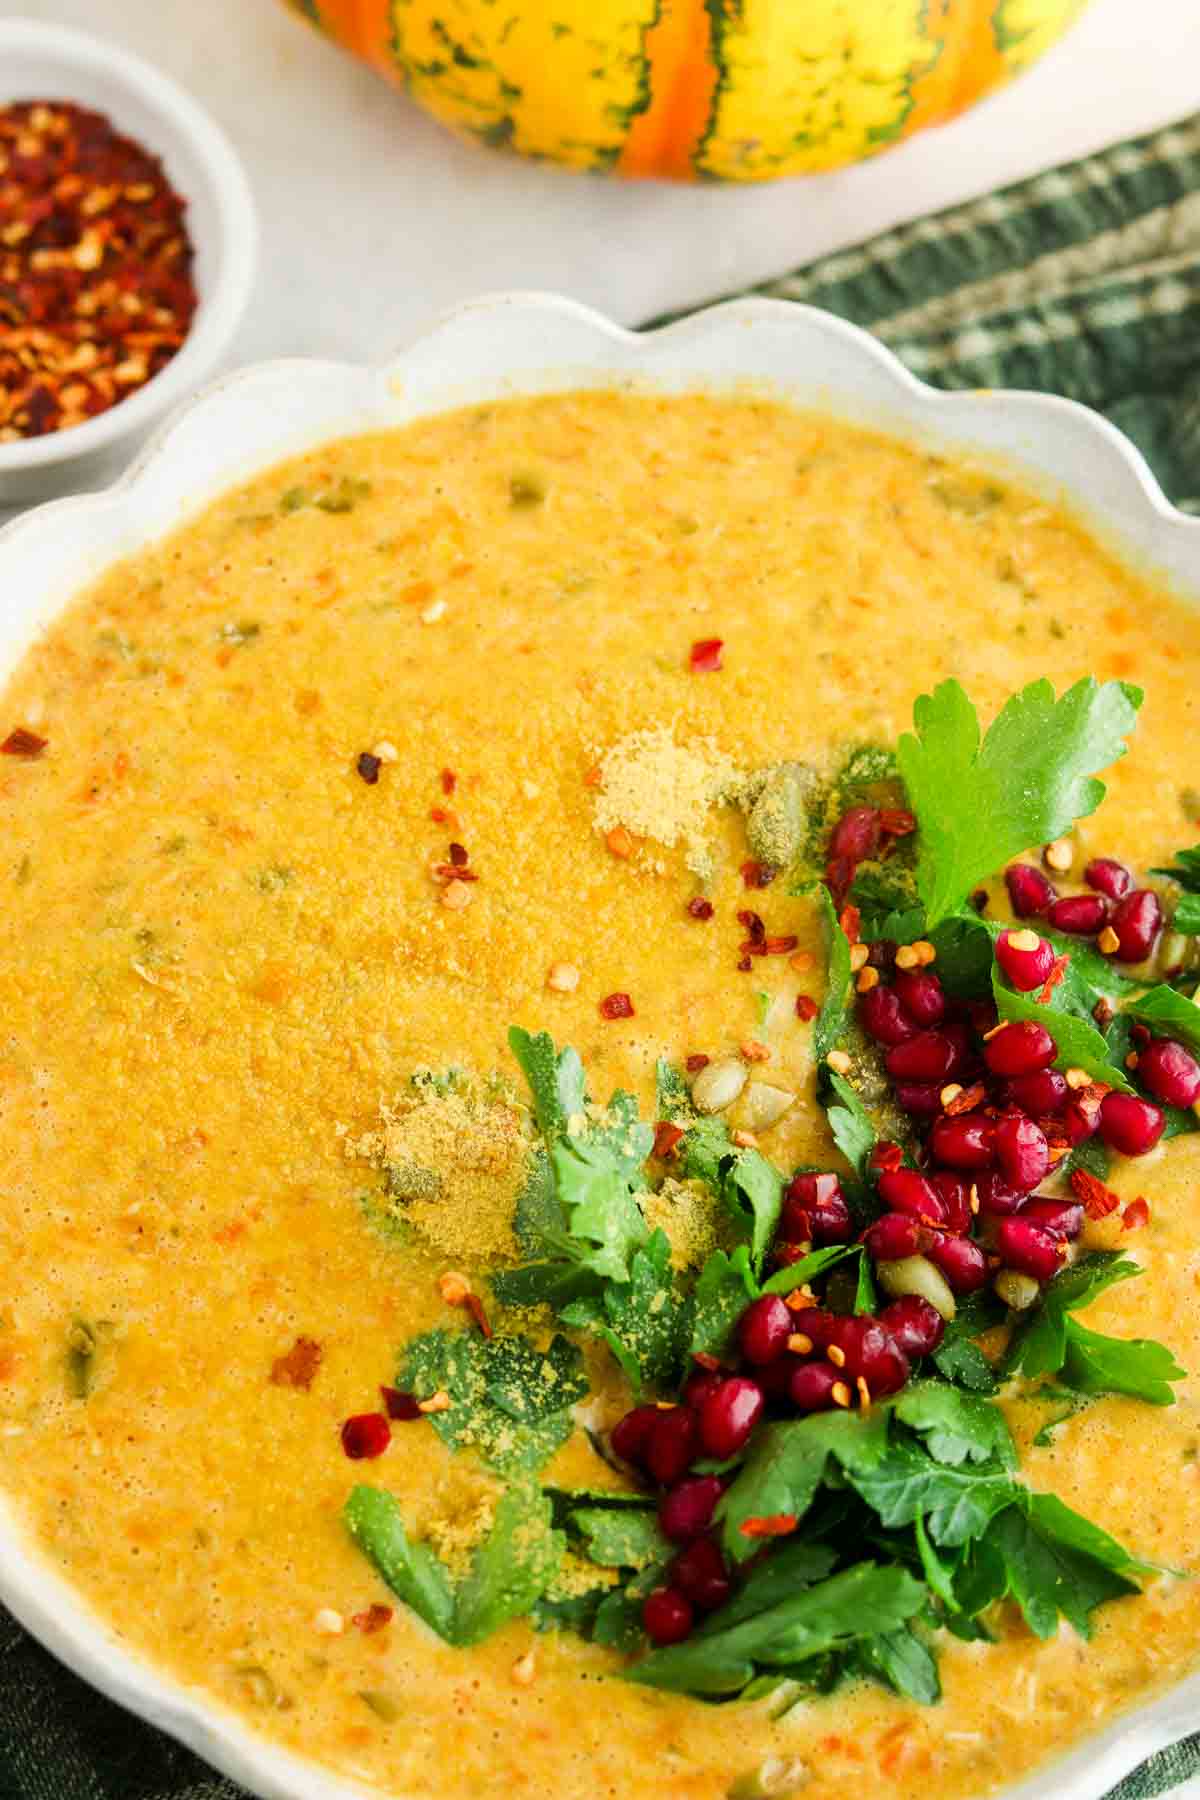
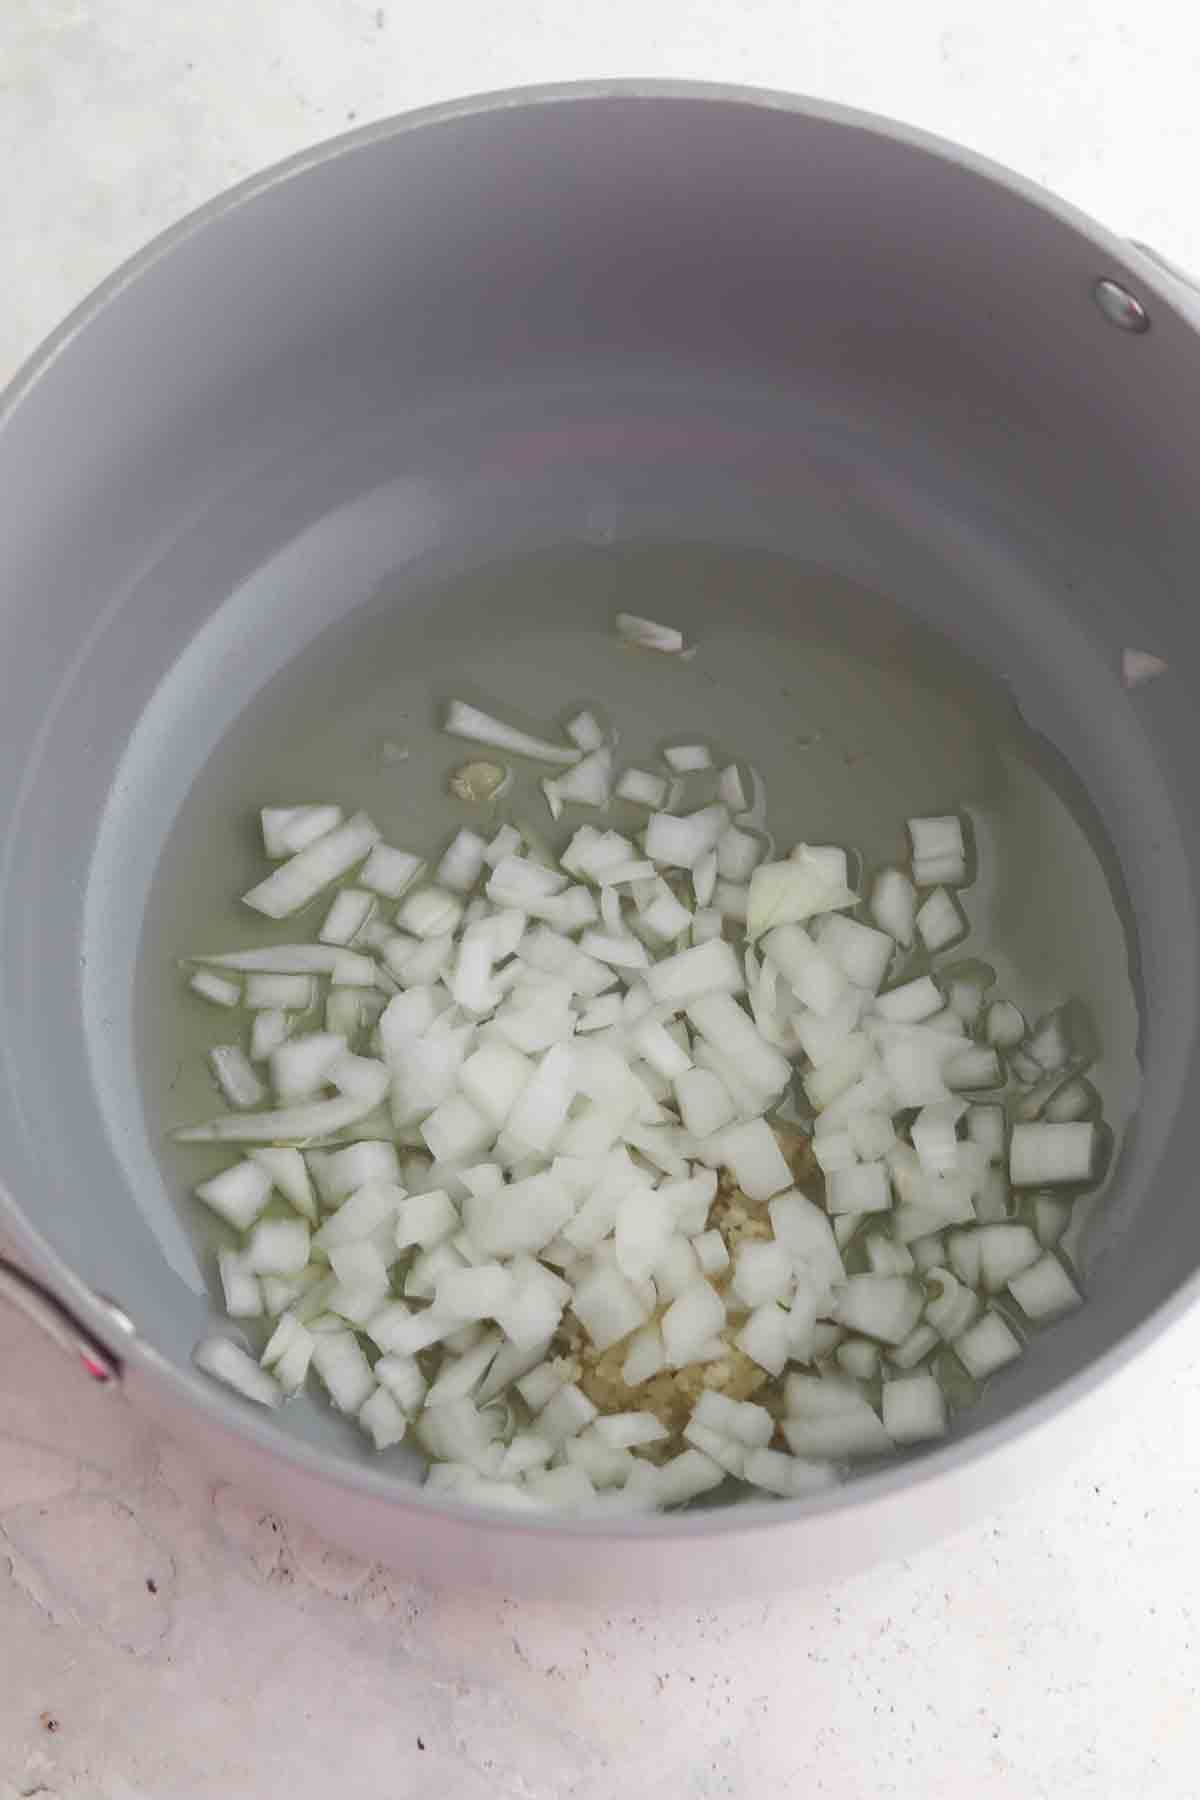
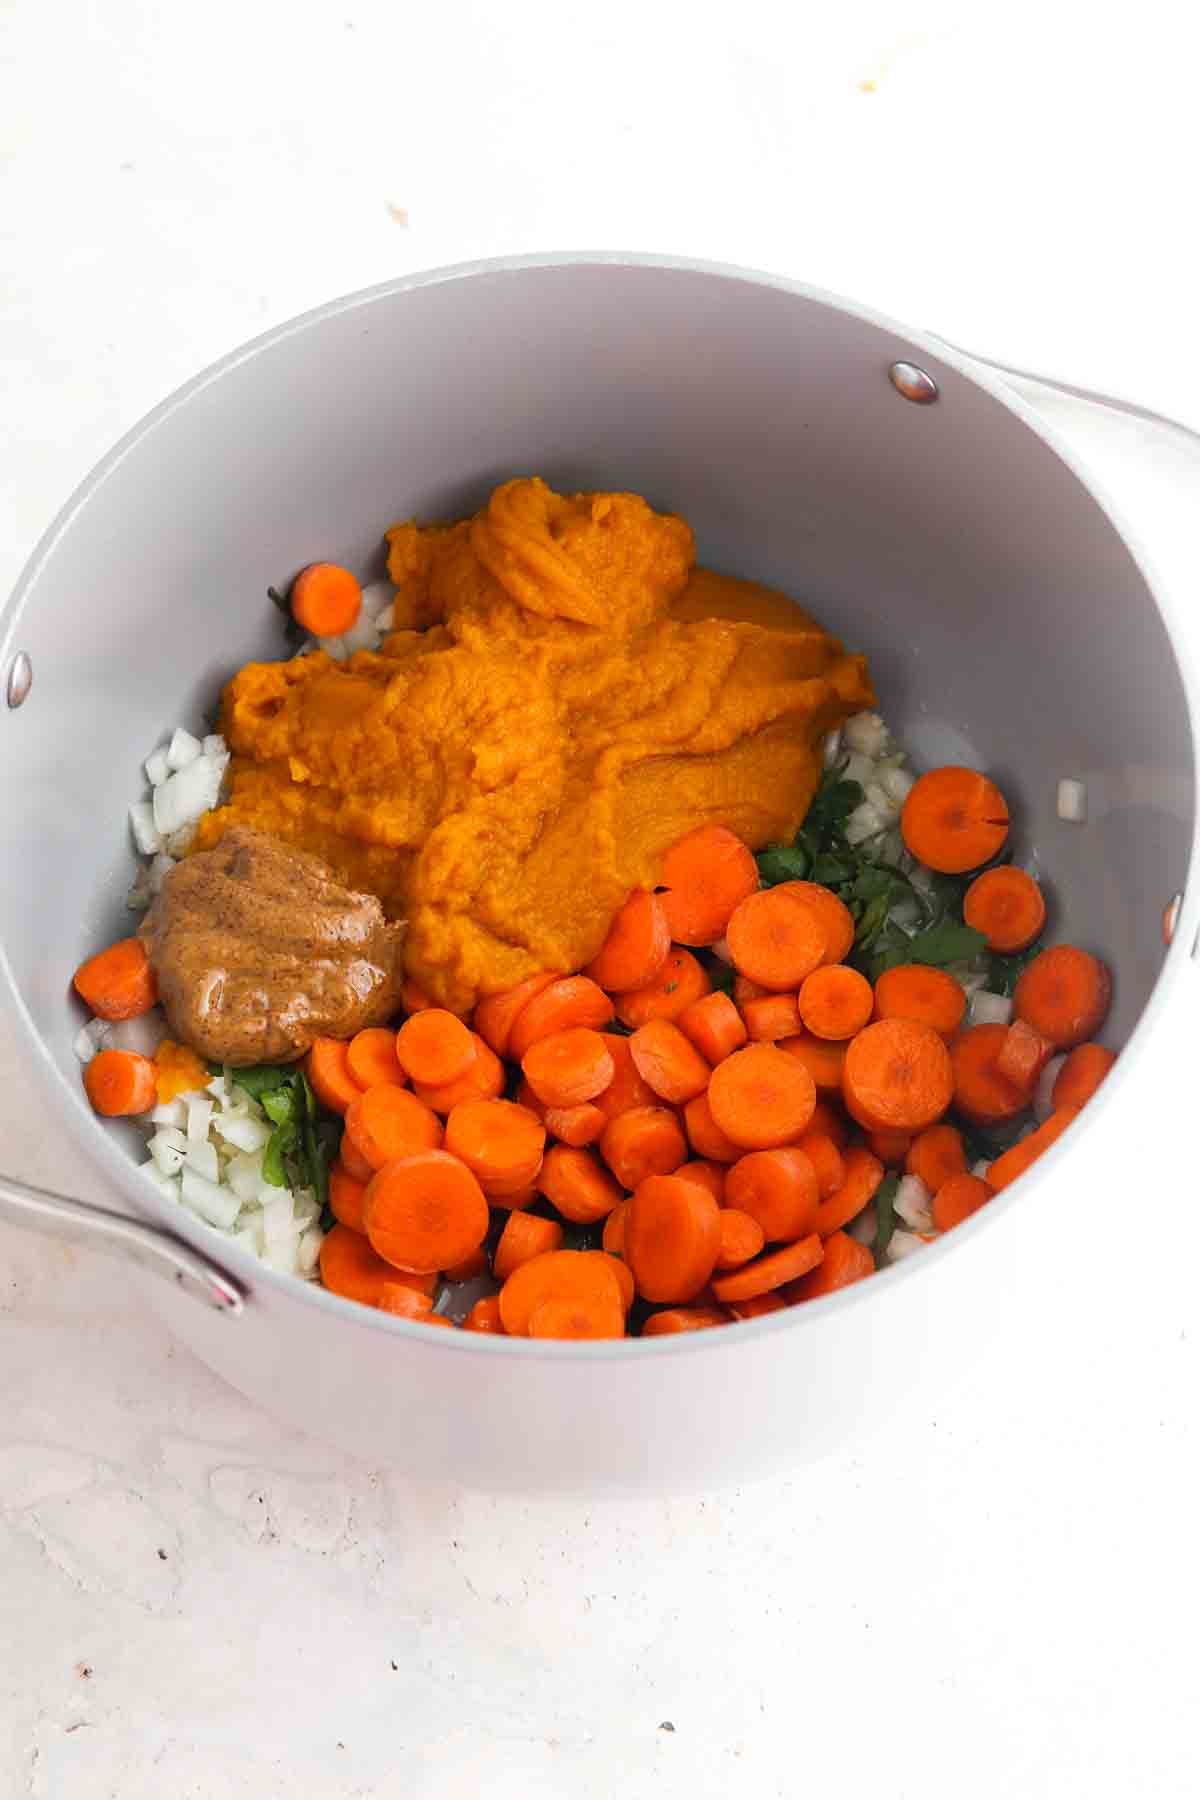
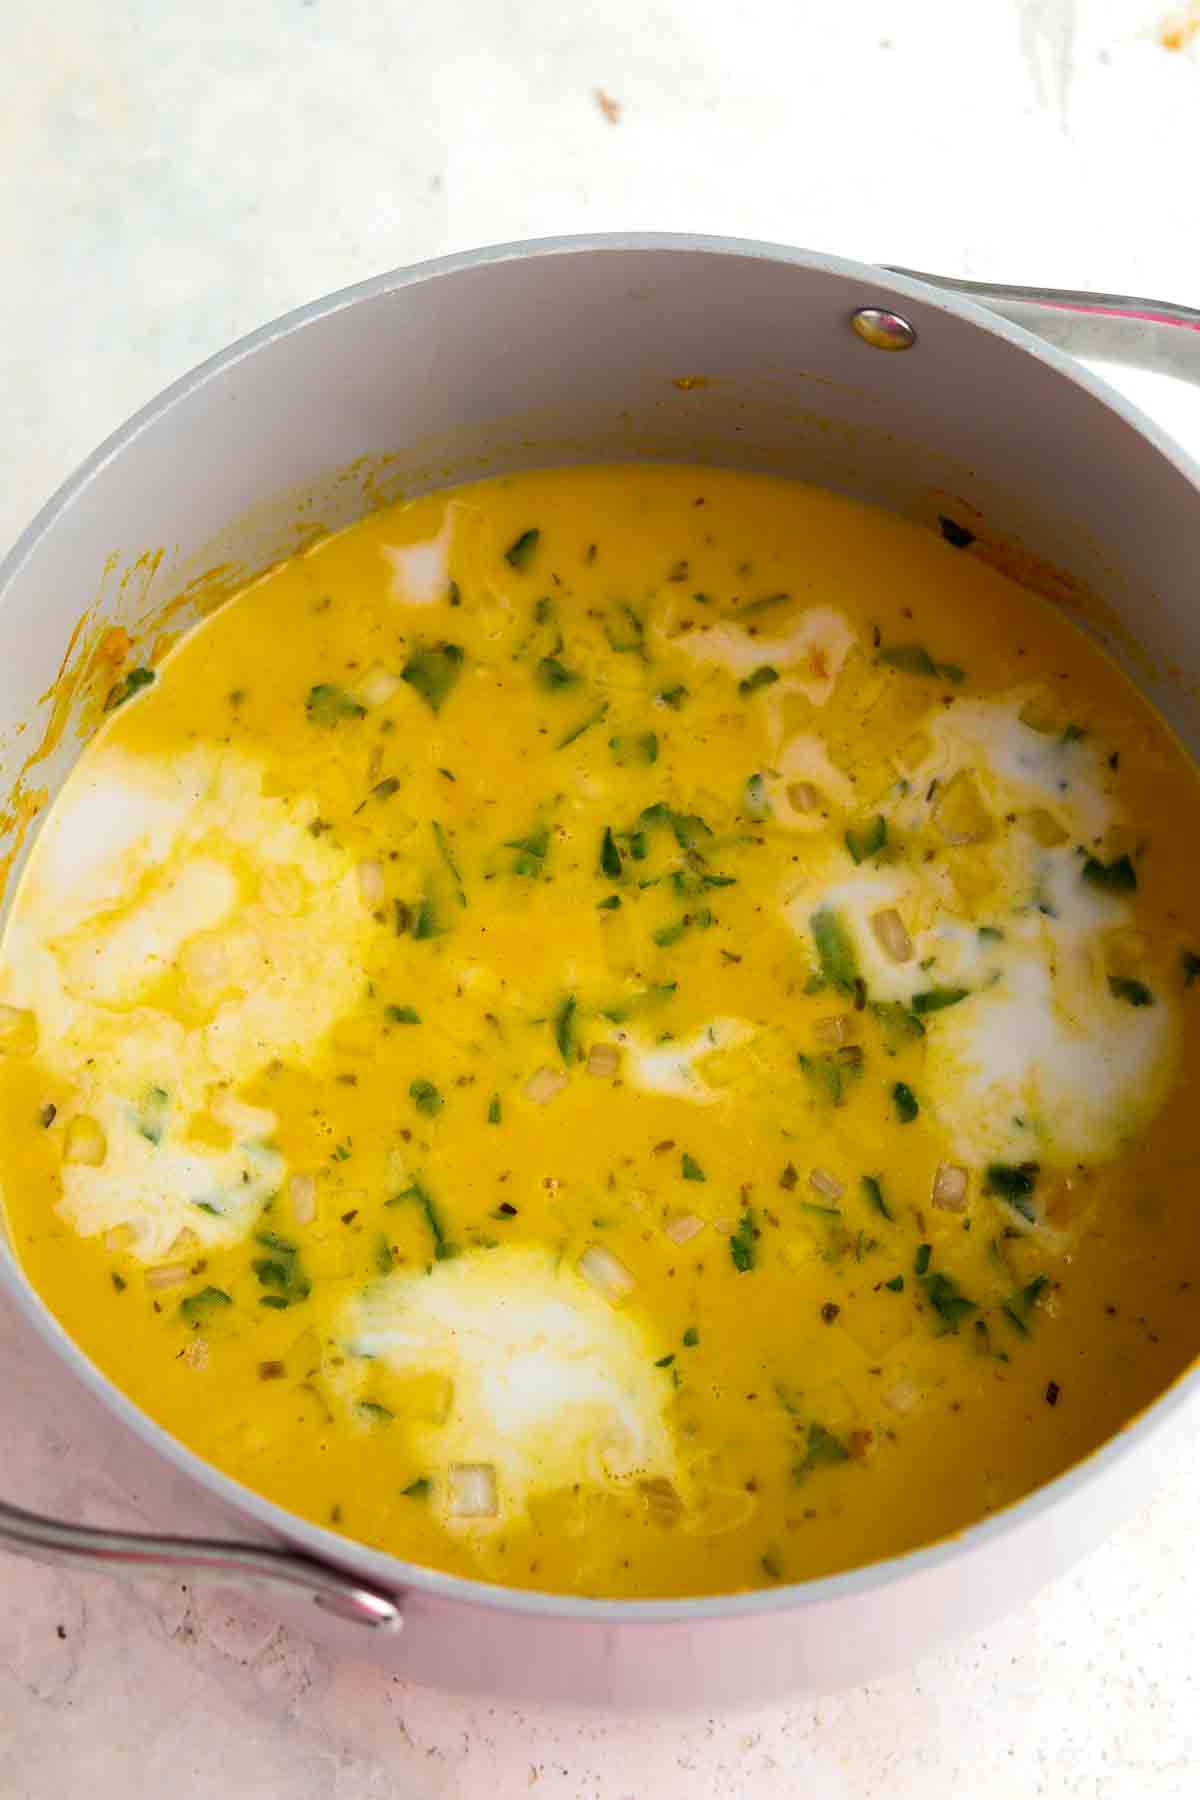
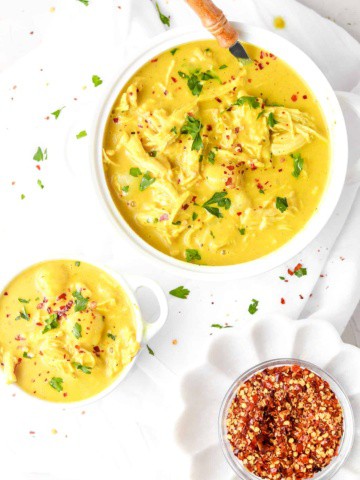
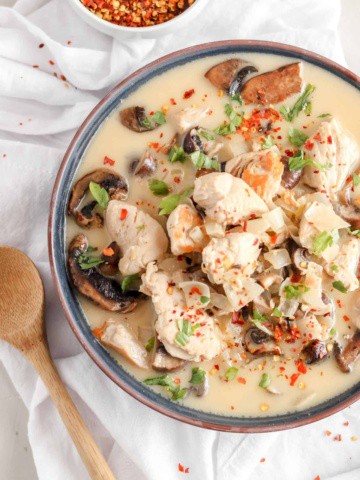
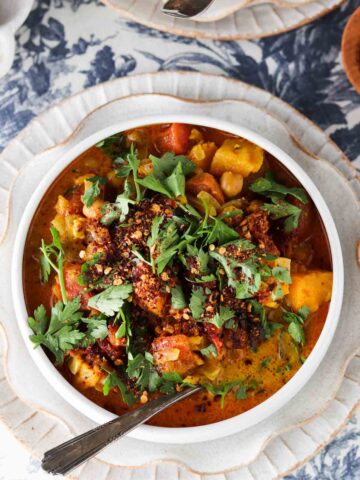
Sunday dinner: Thai Creamy Chicken Coconut Soup
Monday lunch: Thai Creamy Chicken Coconut Soup
If you are interested in the shopping lists be sure to subscribe to my newsletter to receive the complete shopping list.
Do not forget to tag me on instagram @alliannaskitchen with your yummy meals. I am excited to do the Whole30 with you!
If you are looking for more Whole30 weekly meal plans, check out week 1’s meal plan and week 2’s meal plan.