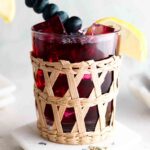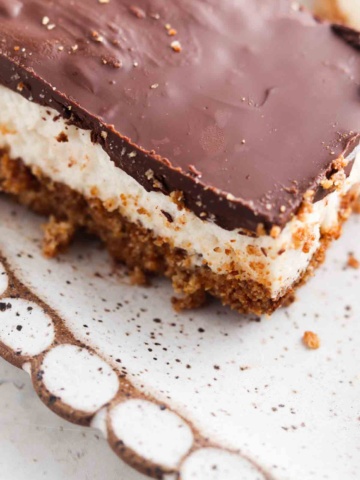
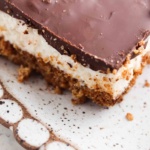
These Gluten Free S’mores Cookie Bars are so fun to make and taste just like everyone’s childhood favorite classic s’mores treats. This recipe has become a summer night essential in our house when having friends over. The gooey golden brown marshmallows combined with the silky classic chocolate in the middle and classic graham cracker crust on the bottom is oh so delicious. This recipe only takes 20 minutes to prep and you can prep it in advance too! It truly makes for a perfect treat.
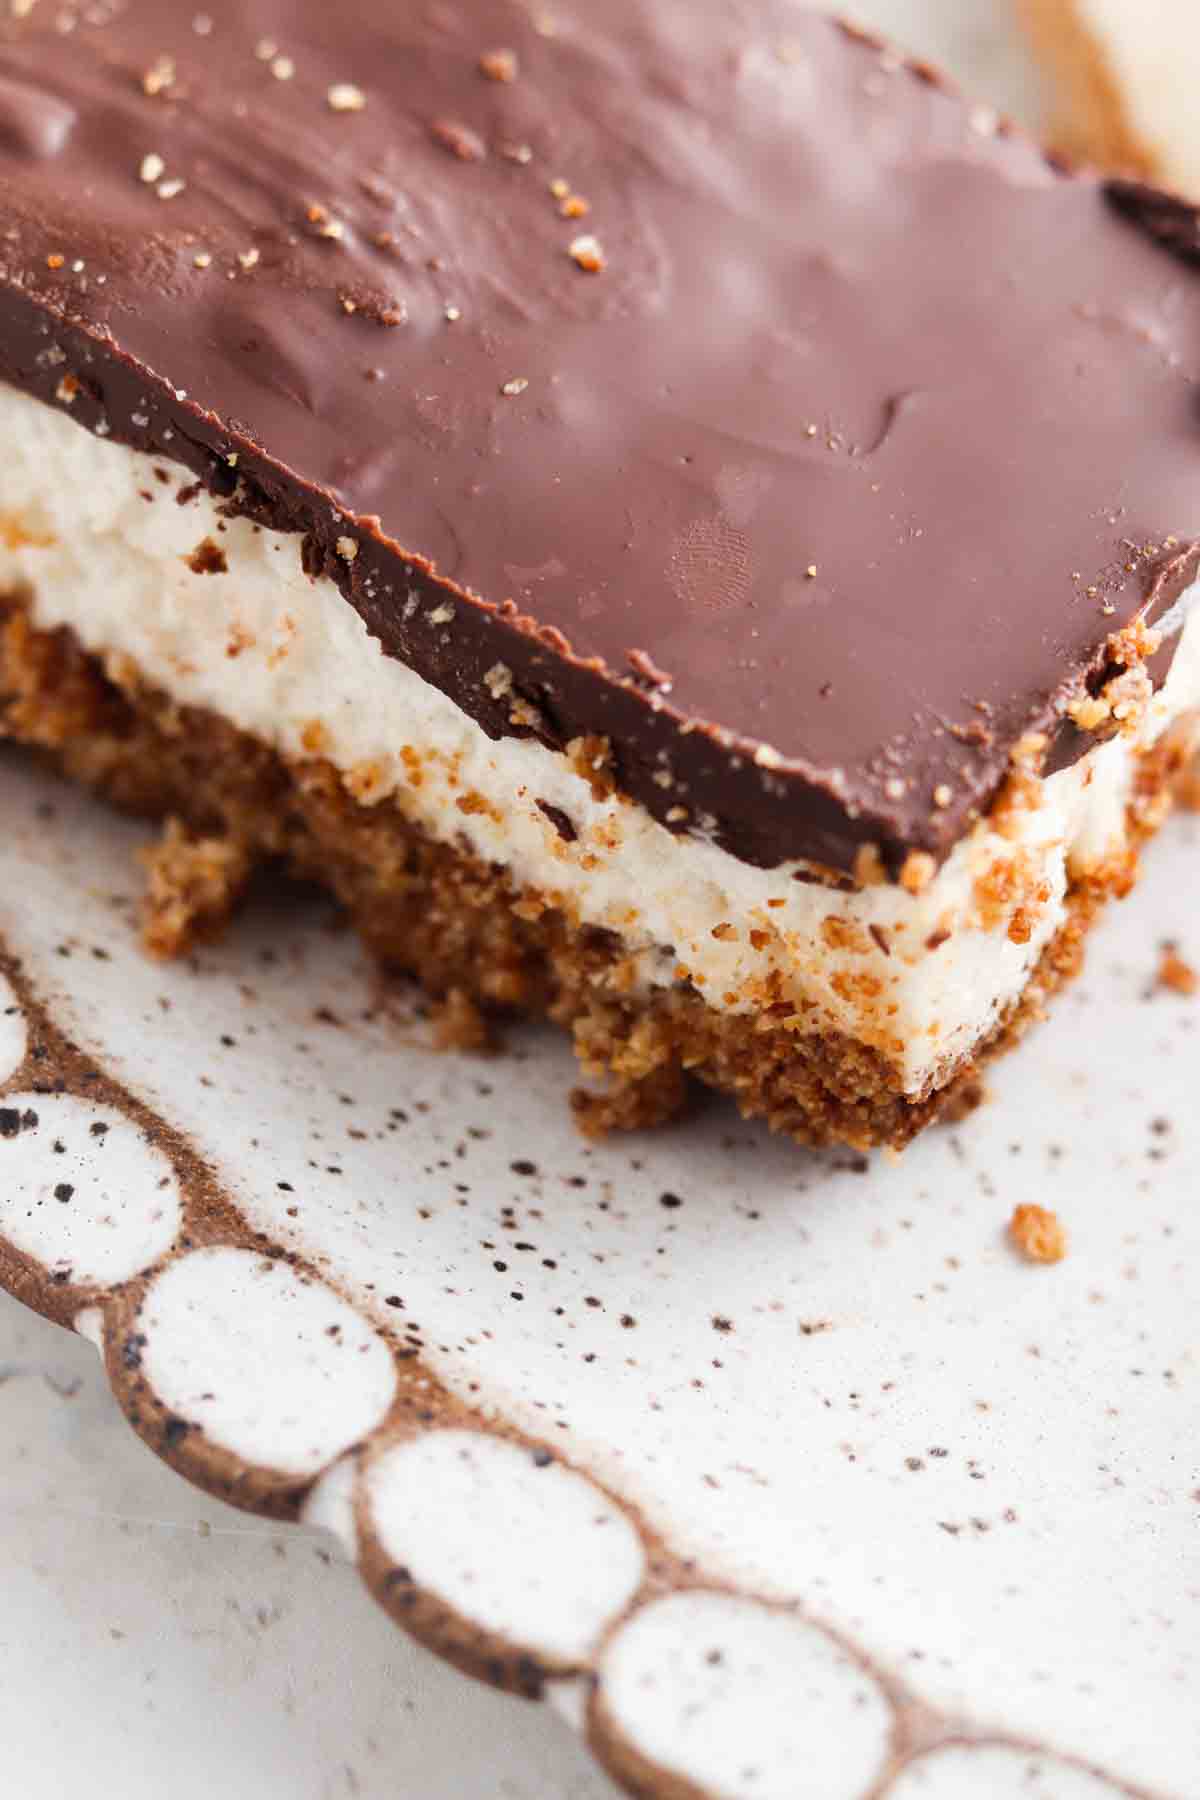
This recipe was inspired by my childhood favorite summer snack, smores! These gluten-free s’mores bars are everything smores should be-fluffy, covered in chocolate, salty but yet sweet. If you love chocolate as much as I do, check out my other favorite chocolate recipes on my blog like my Vegan Chocolate Truffles, Vegan Chocolate Covered Strawberries, Gluten Free Banana Chocolate Chip Muffins, Gluten Free Rice Crispy Treats or my Gluten Free Chocolate Tart.
[feast_advanced_jump_to]Why I Love This Recipe
- My gluten free s’mores bars are naturally dairy free, gluten free, soy free, refined sugar free, egg free and paleo friendly. This recipe is also naturally friendly for those with celiac disease!
- You can make this recipe in advance or whip it up the day of.
- Unlike most traditional s’mores, this recipe is made with homemade marshmallow cream and without corn syrup.
- Save money with this recipe by making your own gf graham crackers crust.
- While we love making this recipe on repeat during the summer, it is also perfect for movie night.
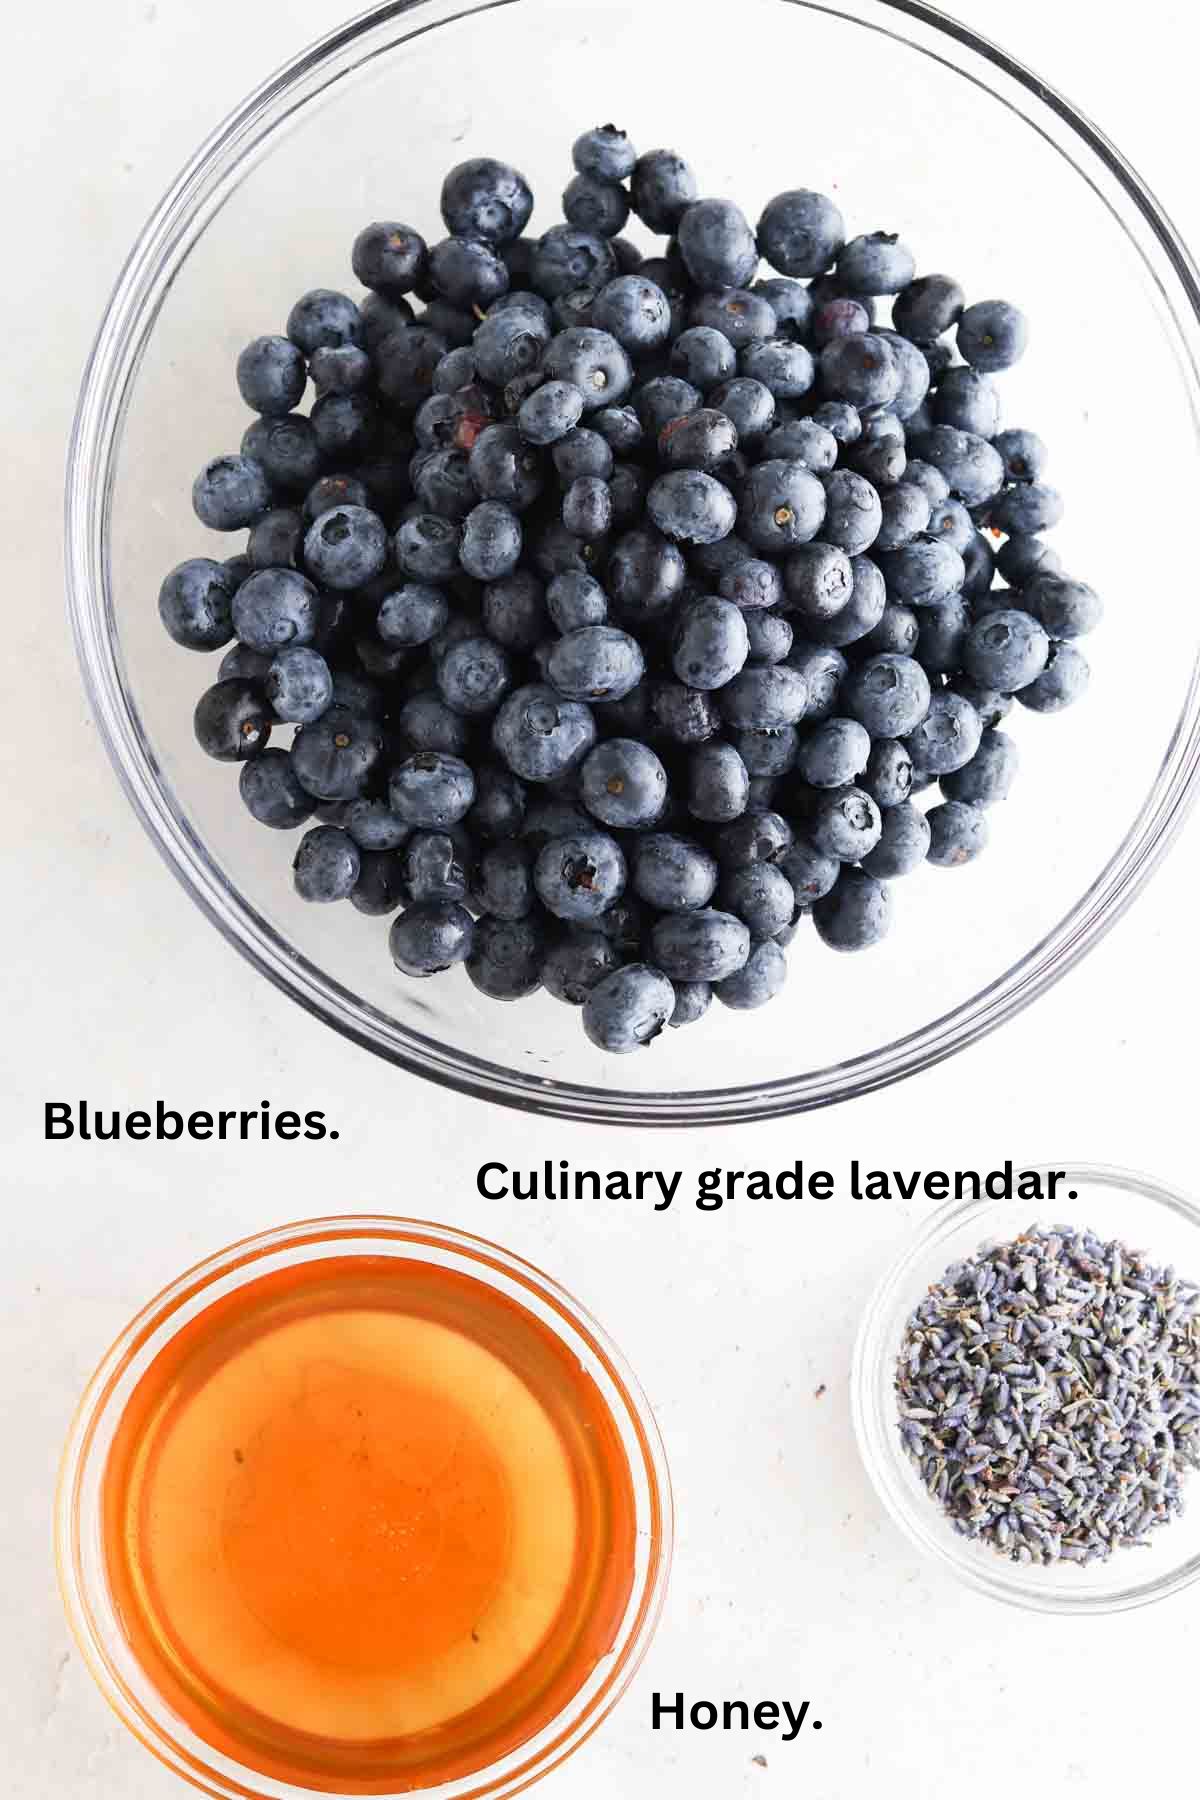
Simple Ingredients
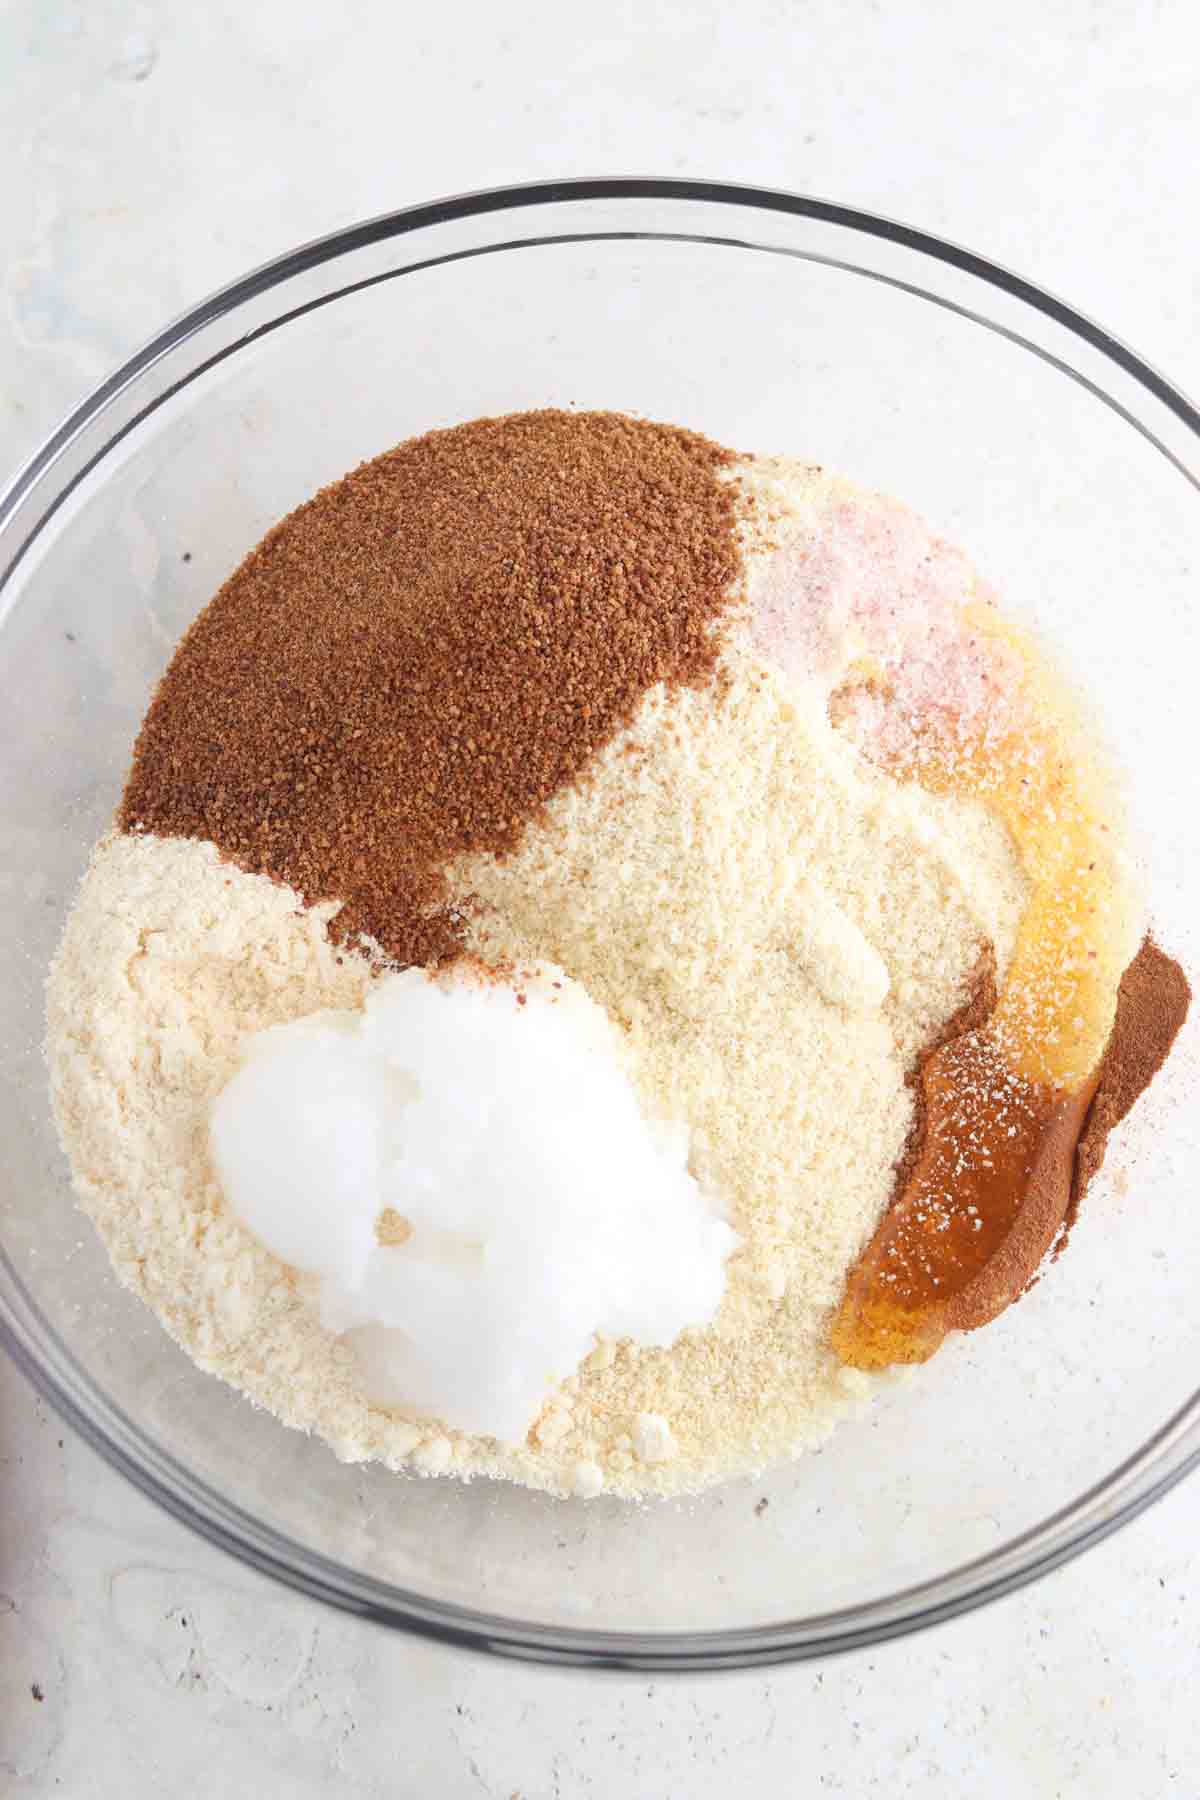
- For the gluten free crust:
- Almond flour and coconut flour-This is the base of the crust.
- Coconut sugar and honey-To add some sweetness to the crust.
- Sea salt and cinnamon-To taste.
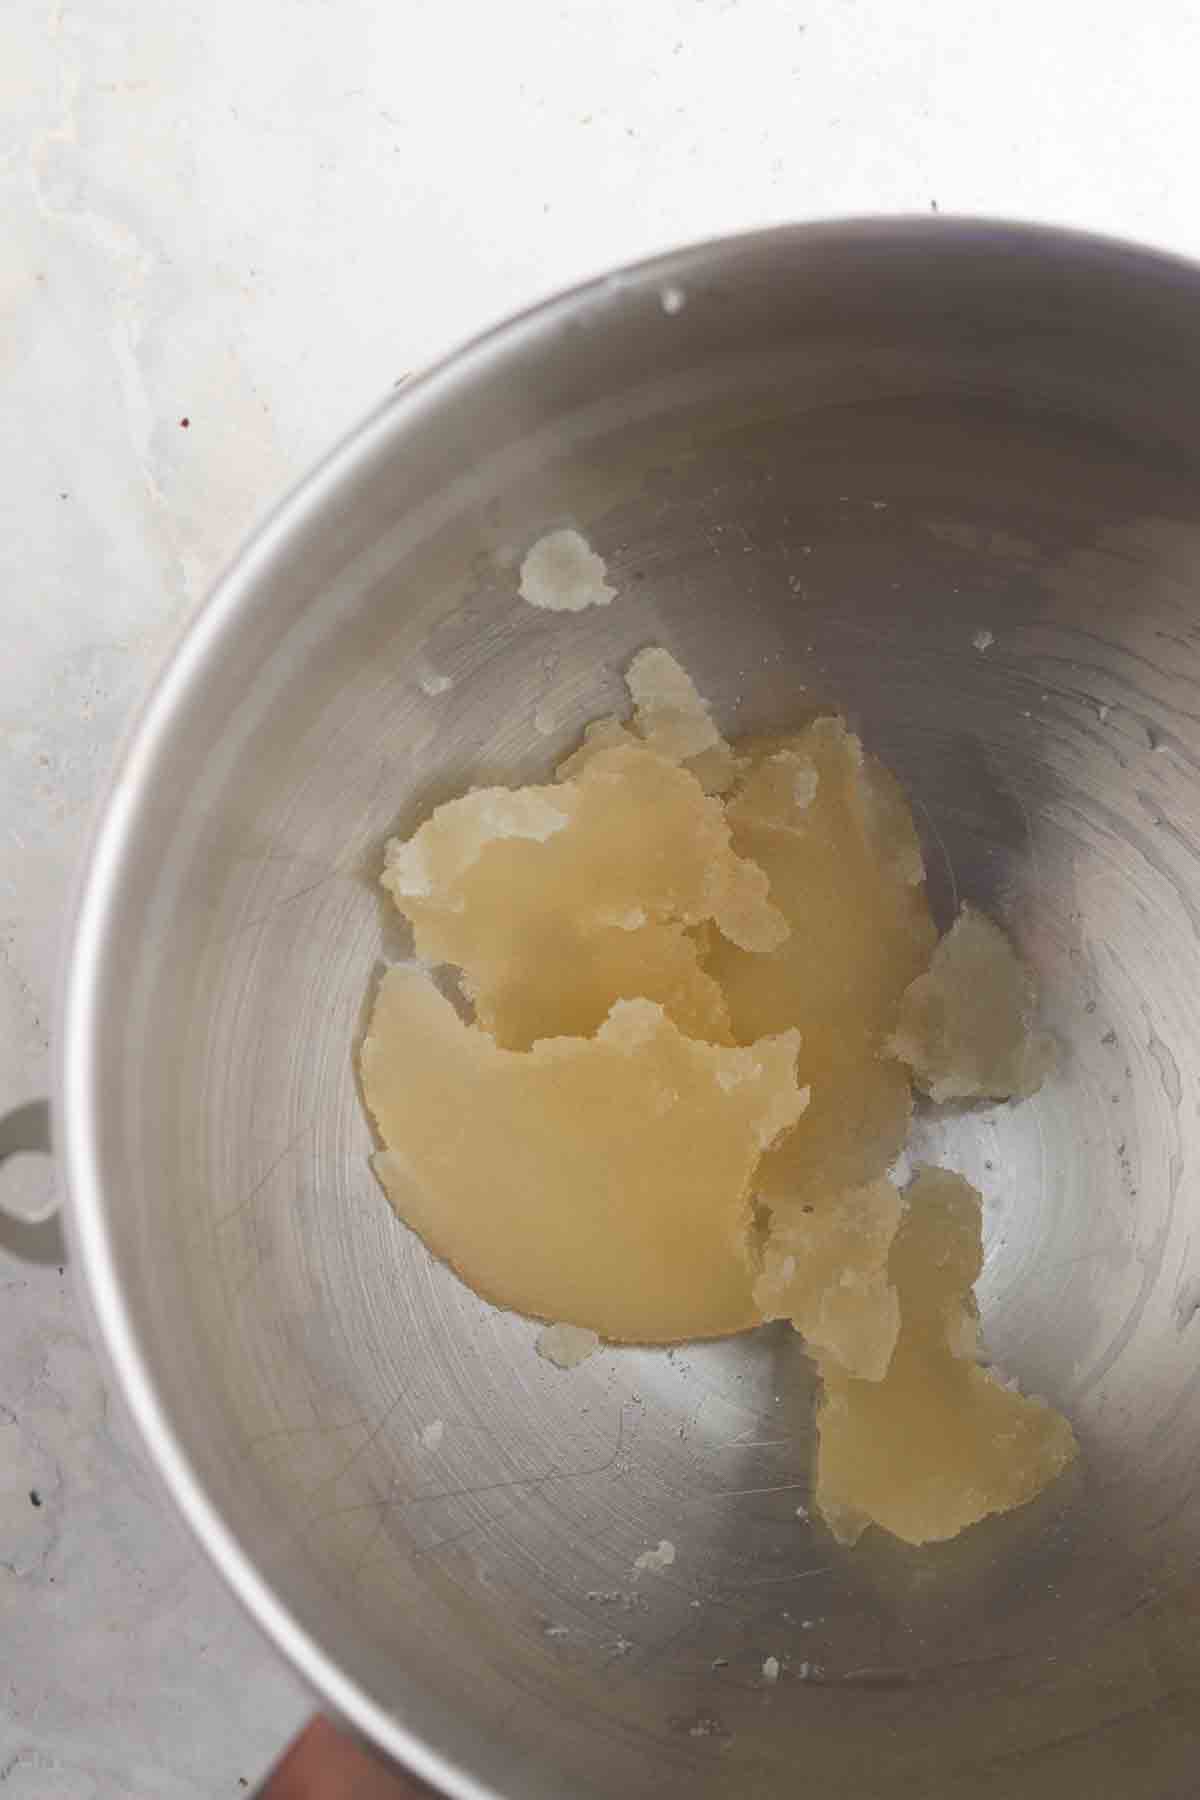
- Melted butter-This helps hold the crust together.
- Avocado oil-To spray the pan with.
- For the gooey marshmallow fluff:
- Water and gelatin-This is what holds everything together.
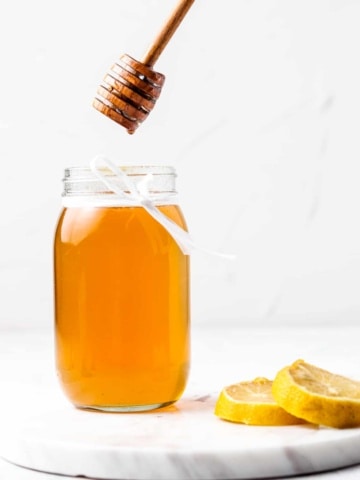
- Honey-For flavor and taste.
- For the chocolate topping:
- Chocolate-I am dairy free so I use dairy free chocolate but any kind of chocolate will work! Hu or enjoy life semi-sweet chocolate chips are my favorites. You can also use chopped up hershey bars.
See the recipe card below for a full list of ingredients and measurements.
Substitutions and Variations
- Sugar-You can also use maple sugar or brown sugar in place of coconut sugar.
- Butter-Ghee, dairy free butter or coconut oil also work! I like using the Homemade Ghee recipe on my blog.
- Marshmallows-You can use store bought regular marshmallows or mini marshmallows, or vegan marshmallows but nothing compares to homemade!
- Flaky sea salt-If you like the sweet and salt combo, be sure to sprinkle some salt on top!
This recipe has not been tested with other substitutions or variations. If you replace or add any ingredients, please let us know how it turned out in the comments below!
Step By Step Instructions
Recipe Tips and Tricks
- Tip #1: Make sure you whisk your marshmallow fluff long enough! It can take up to 10 minutes. You will be shocked how it changes in texture and appearance with time.
- Tip #2: Do not skip on letting the recipe set. If you do this, the marshmallow will ooze out.
Recipe FAQs
This recipe can last for up to 5 days in the fridge.
I do nog suggest swapping out the flour. The coconut flour and almond flour combo is what I have found works best.
Some are, but they tend to have other ingredients in them that I try to stay away from like corn syrup.
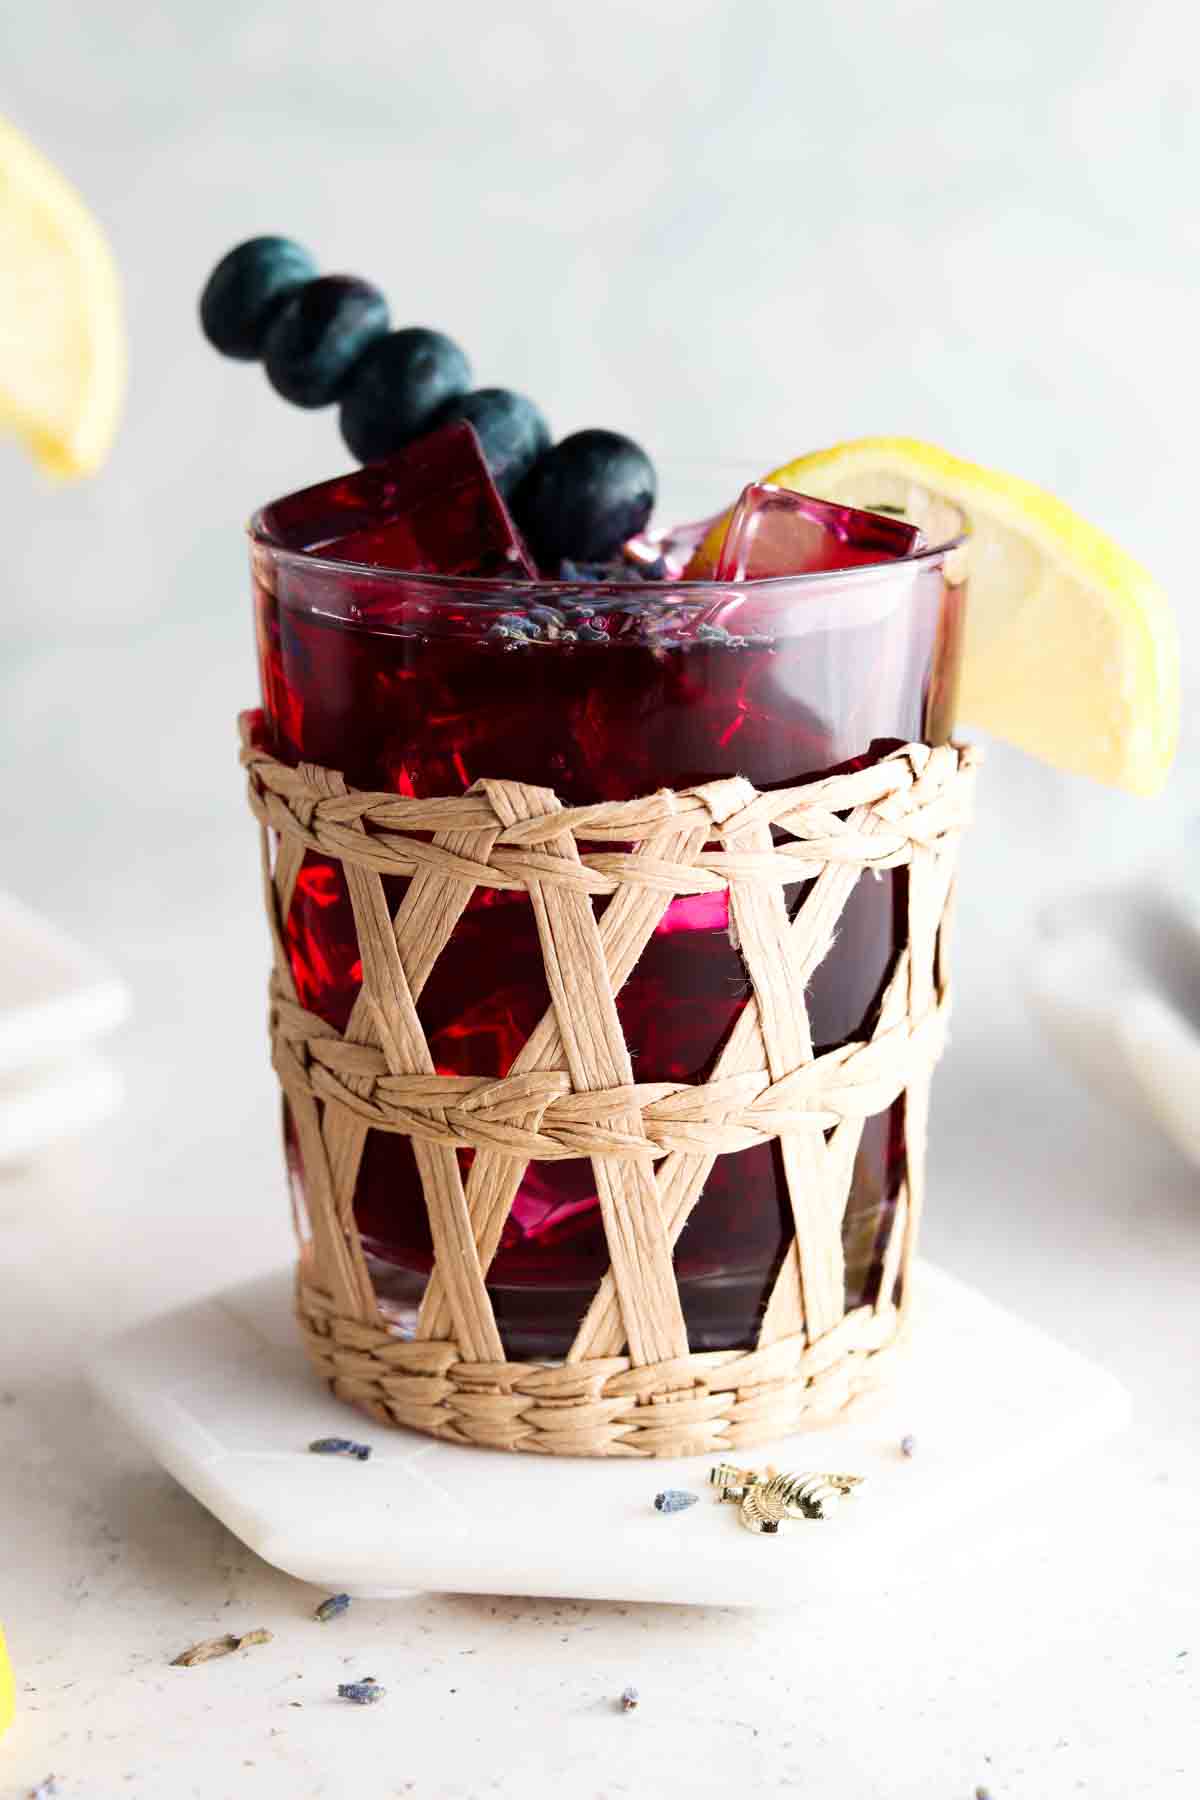
Other Gluten Free Desserts You Will Love
Are you trying to eat healthier?
Check out my healthy swap guide!
Gluten Free Smores Cookie Bars
Equipment
- mixing bowl
- Hand mixer or kitchen aid
- Large casserole dish Ideally 9 by 13
Ingredients
For the crust:
- 1 1/4 cup Almond flour
- 1/4 cup Coconut flour
- 1/4 cup Coconut sugar
- 1/2 tsp Ground cinnamon
- 1/4 tsp Sea salt
- 1/3 cup Butter Or ghee, coconut oil or dairy free butter. Make sure whatever you use is melted!
- 1 tbsp Honey
For the marshmallow fluff:
For the chocolate topping:
- 1 cup chocolate I like dairy free chocolate
Instructions
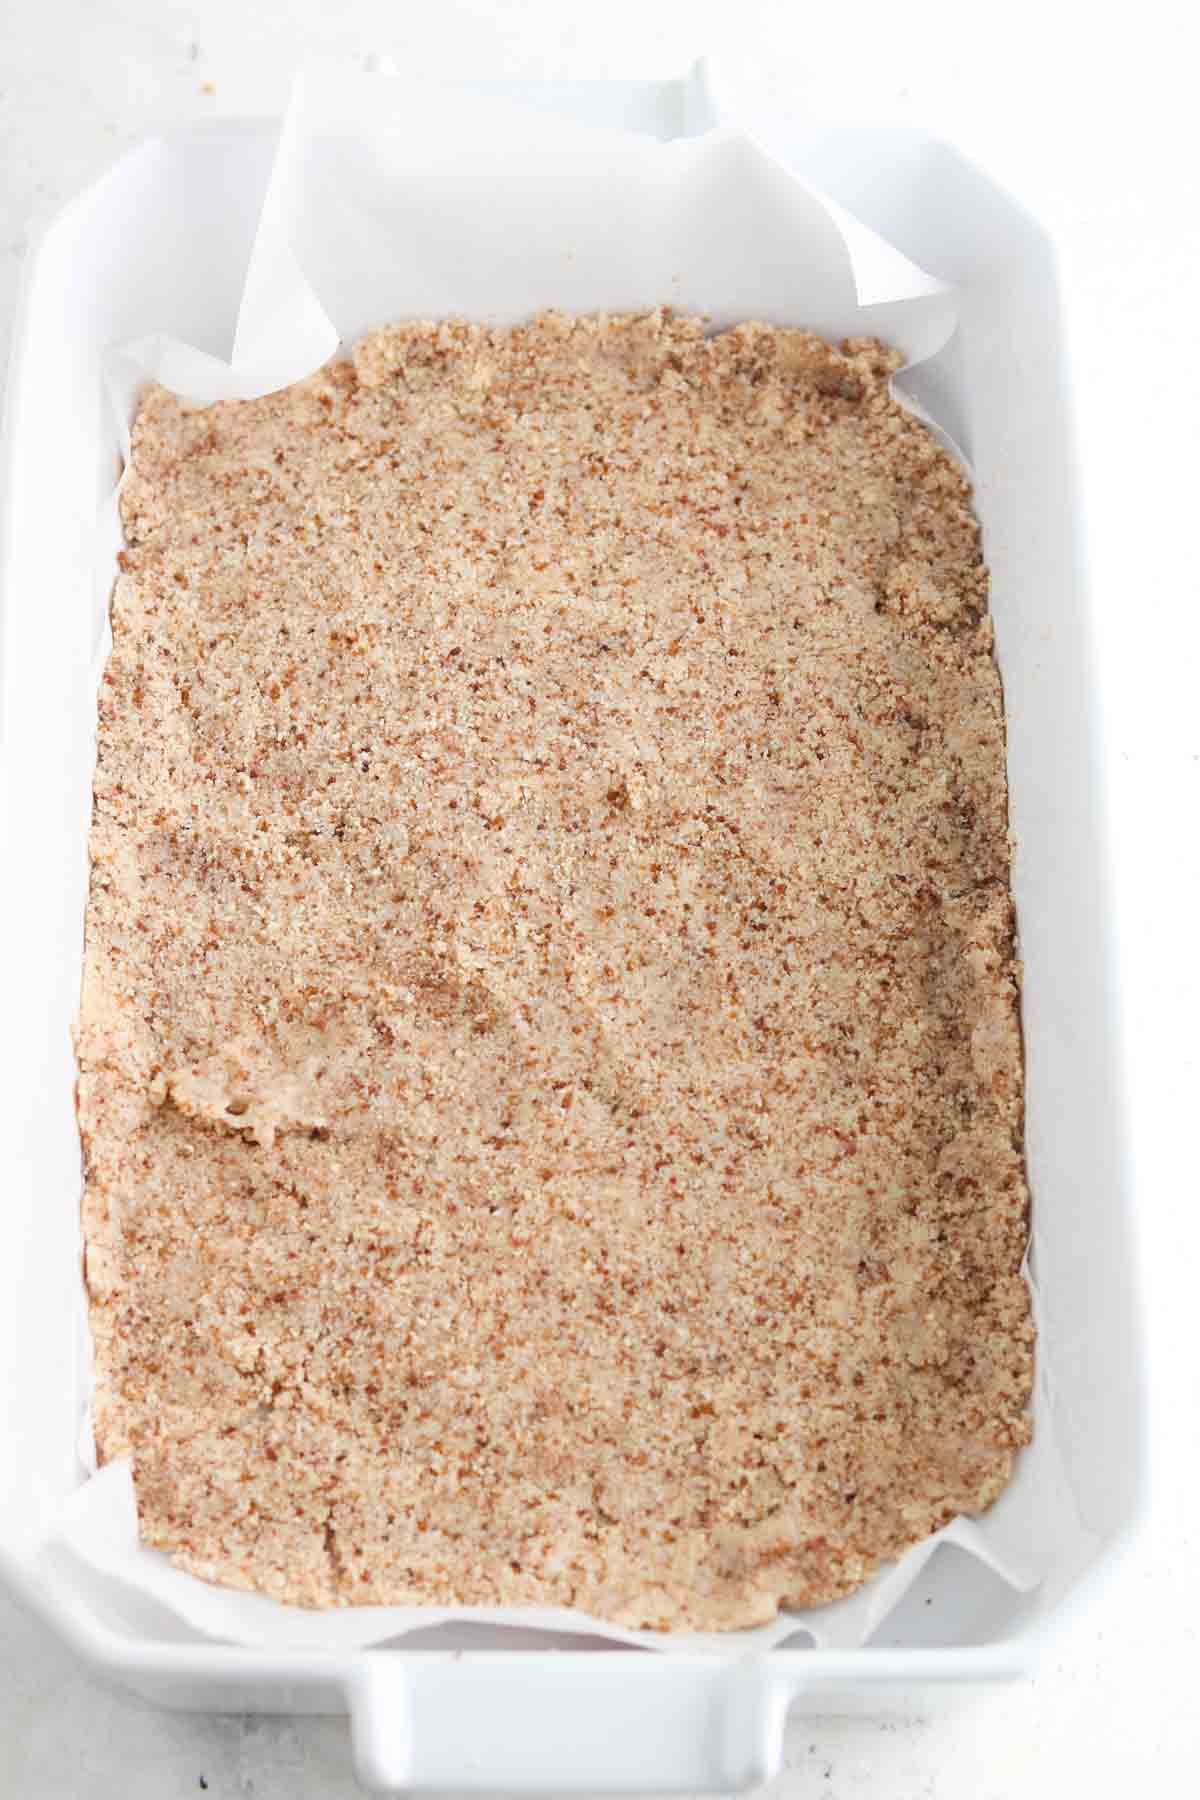
- Preheat the oven to 350 degrees F and line an 8 by 8 baking sheet with parchment paper. Now spray the pan so the crust does not stick. Combine the ingredients for the curst in a large bowl and mix well throughout.
- Now, press down on the crust and evenly spread it out. Bake in the oven for 20 minutes or until golden brown. Once the crust is cooked remove from the oven and set aside until you are ready to assemble the bars.
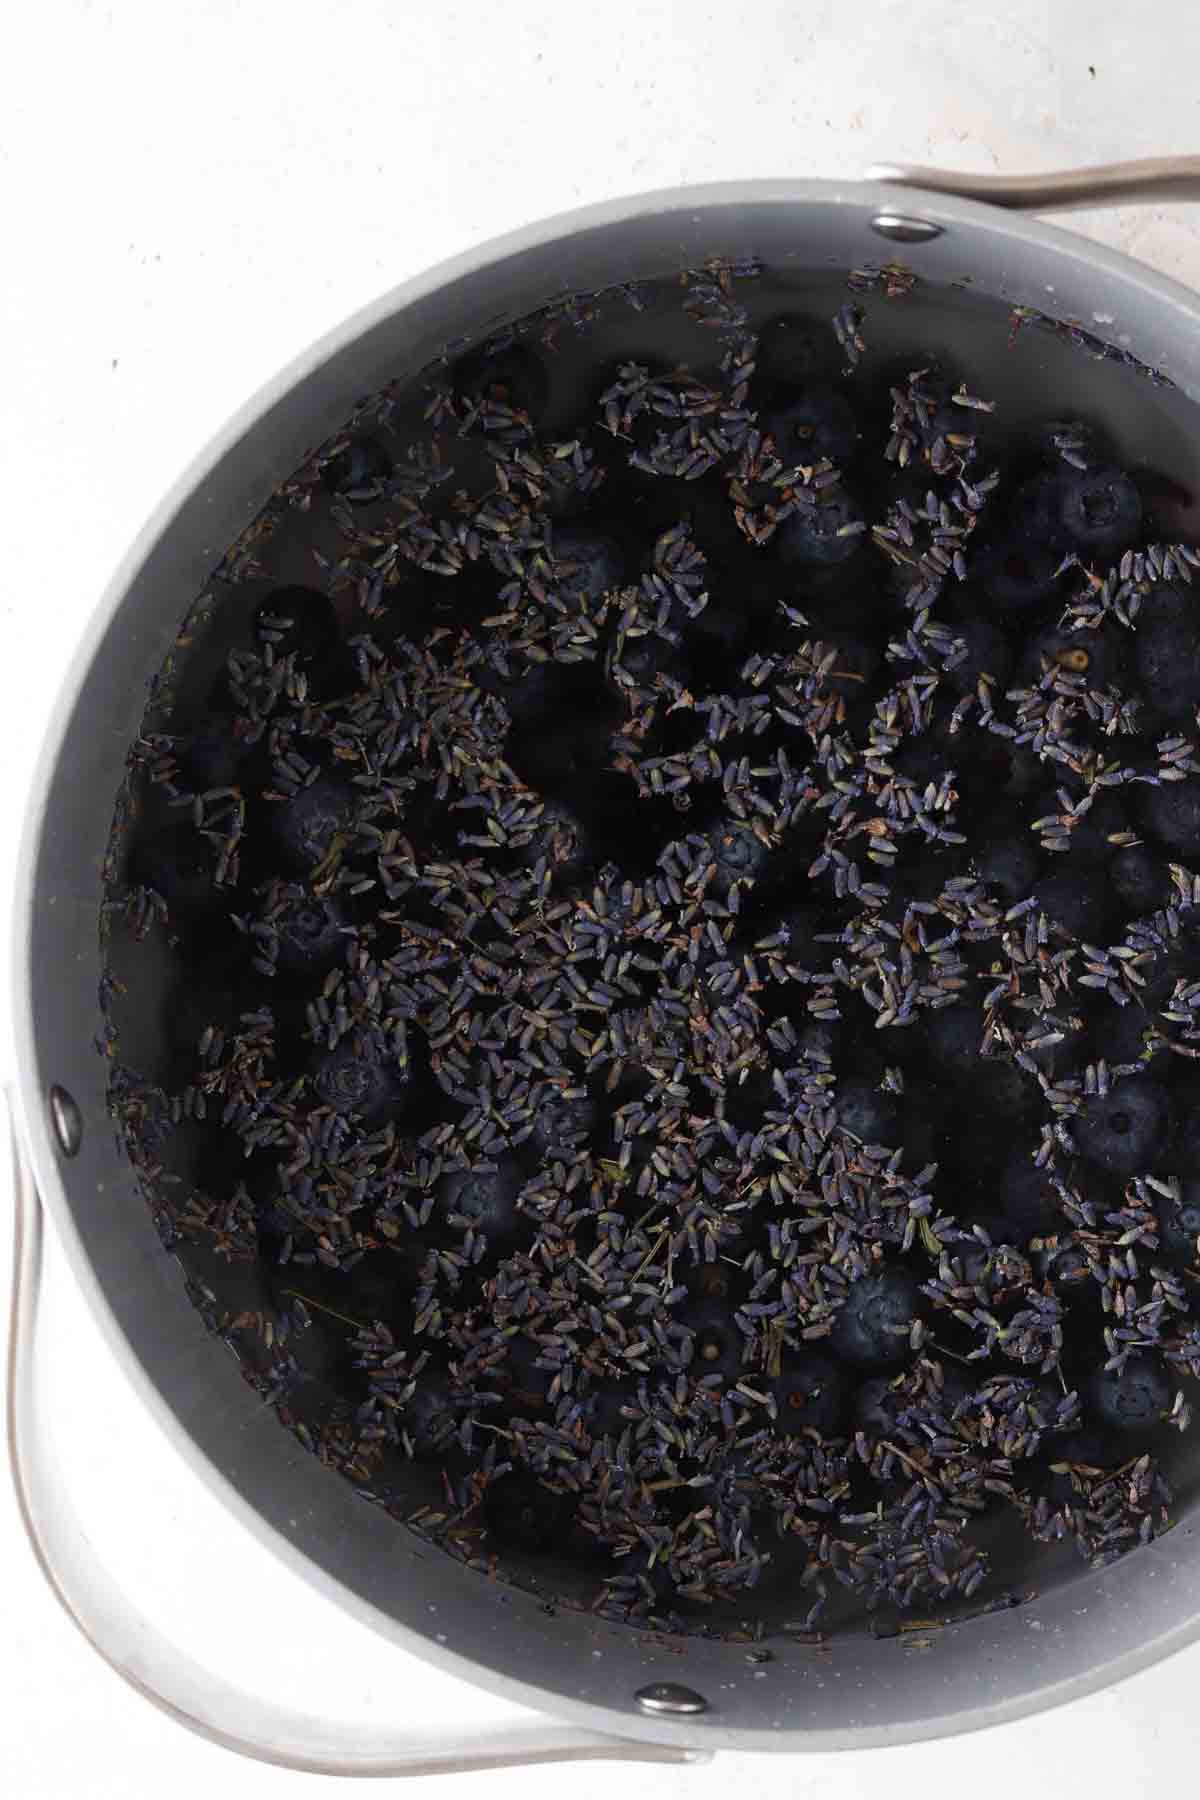
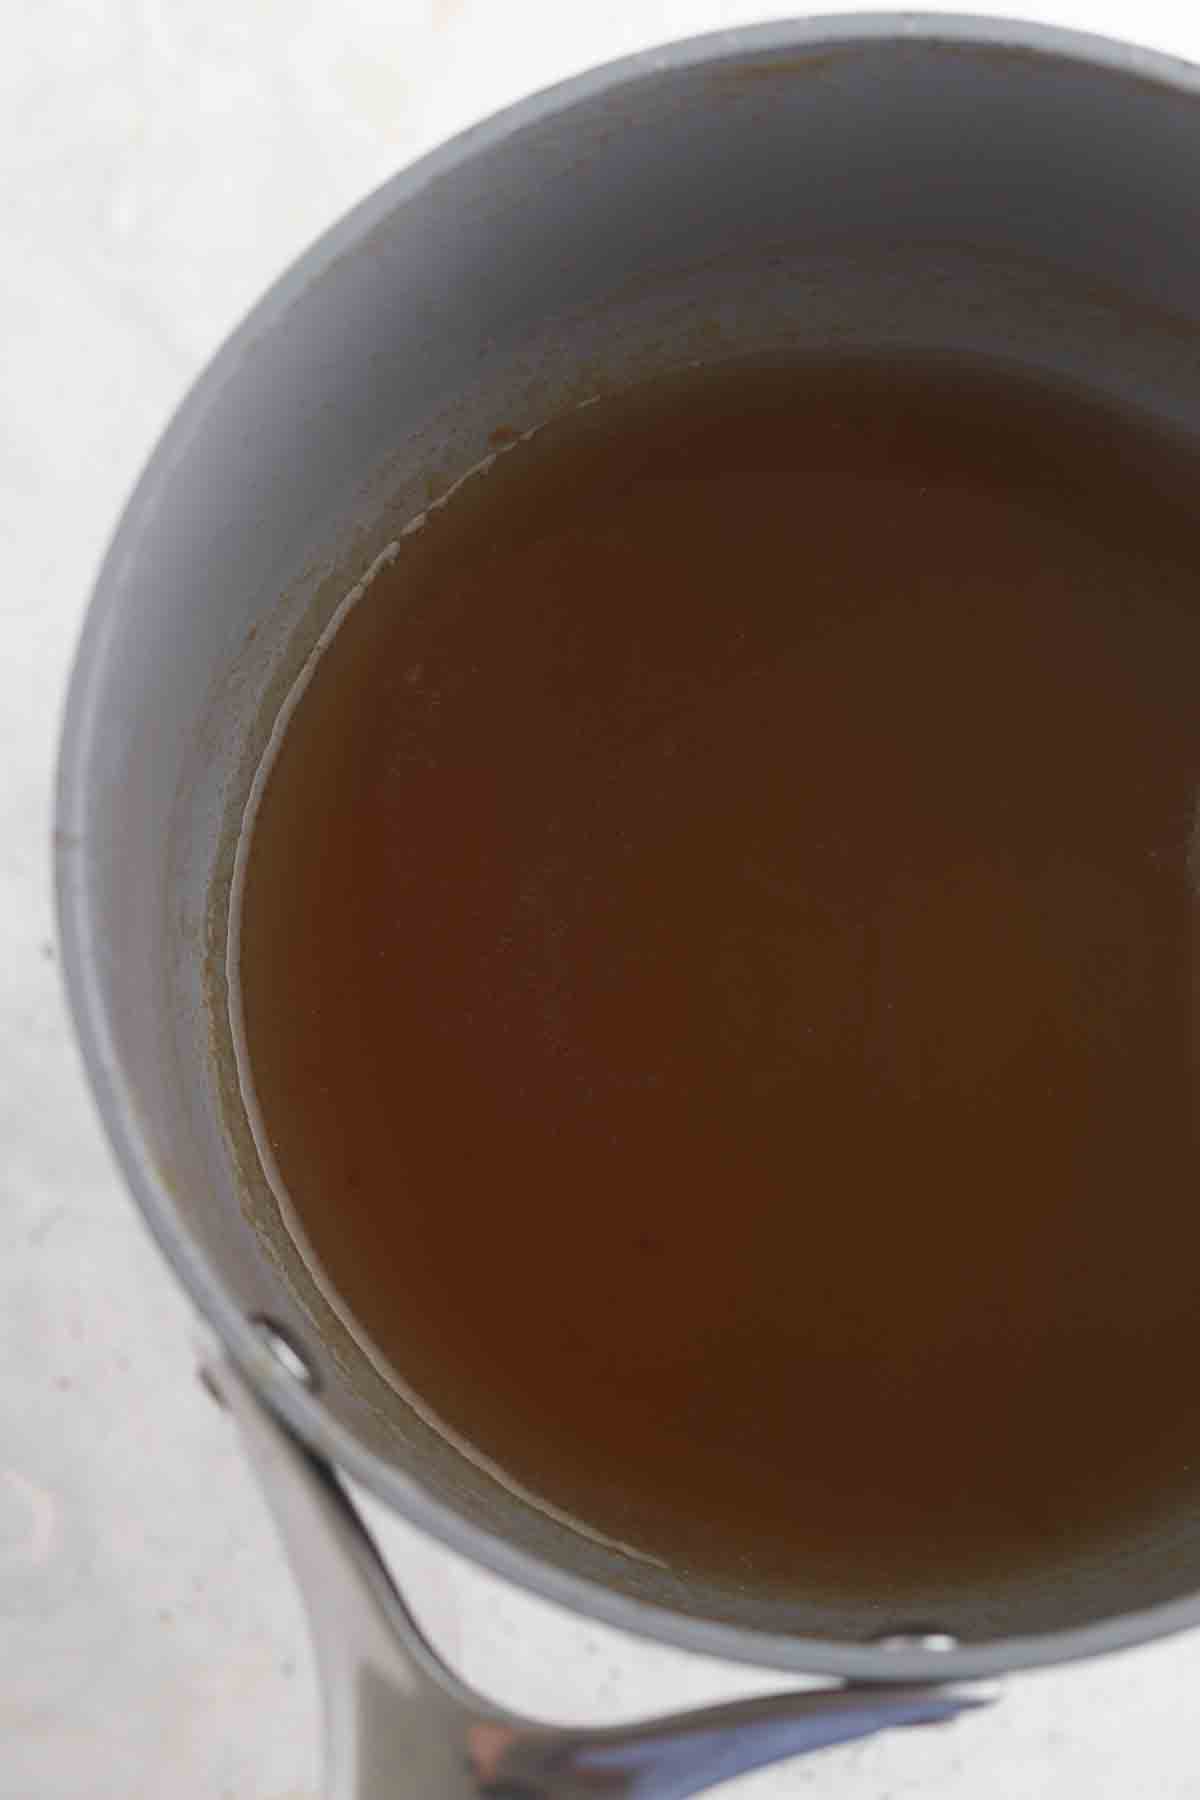
- Now, make the marshmallow creme by first pouring the water in a bowl. Then sprinkle the gelatin over the water and stir briefly then allow it to sit and bloom.
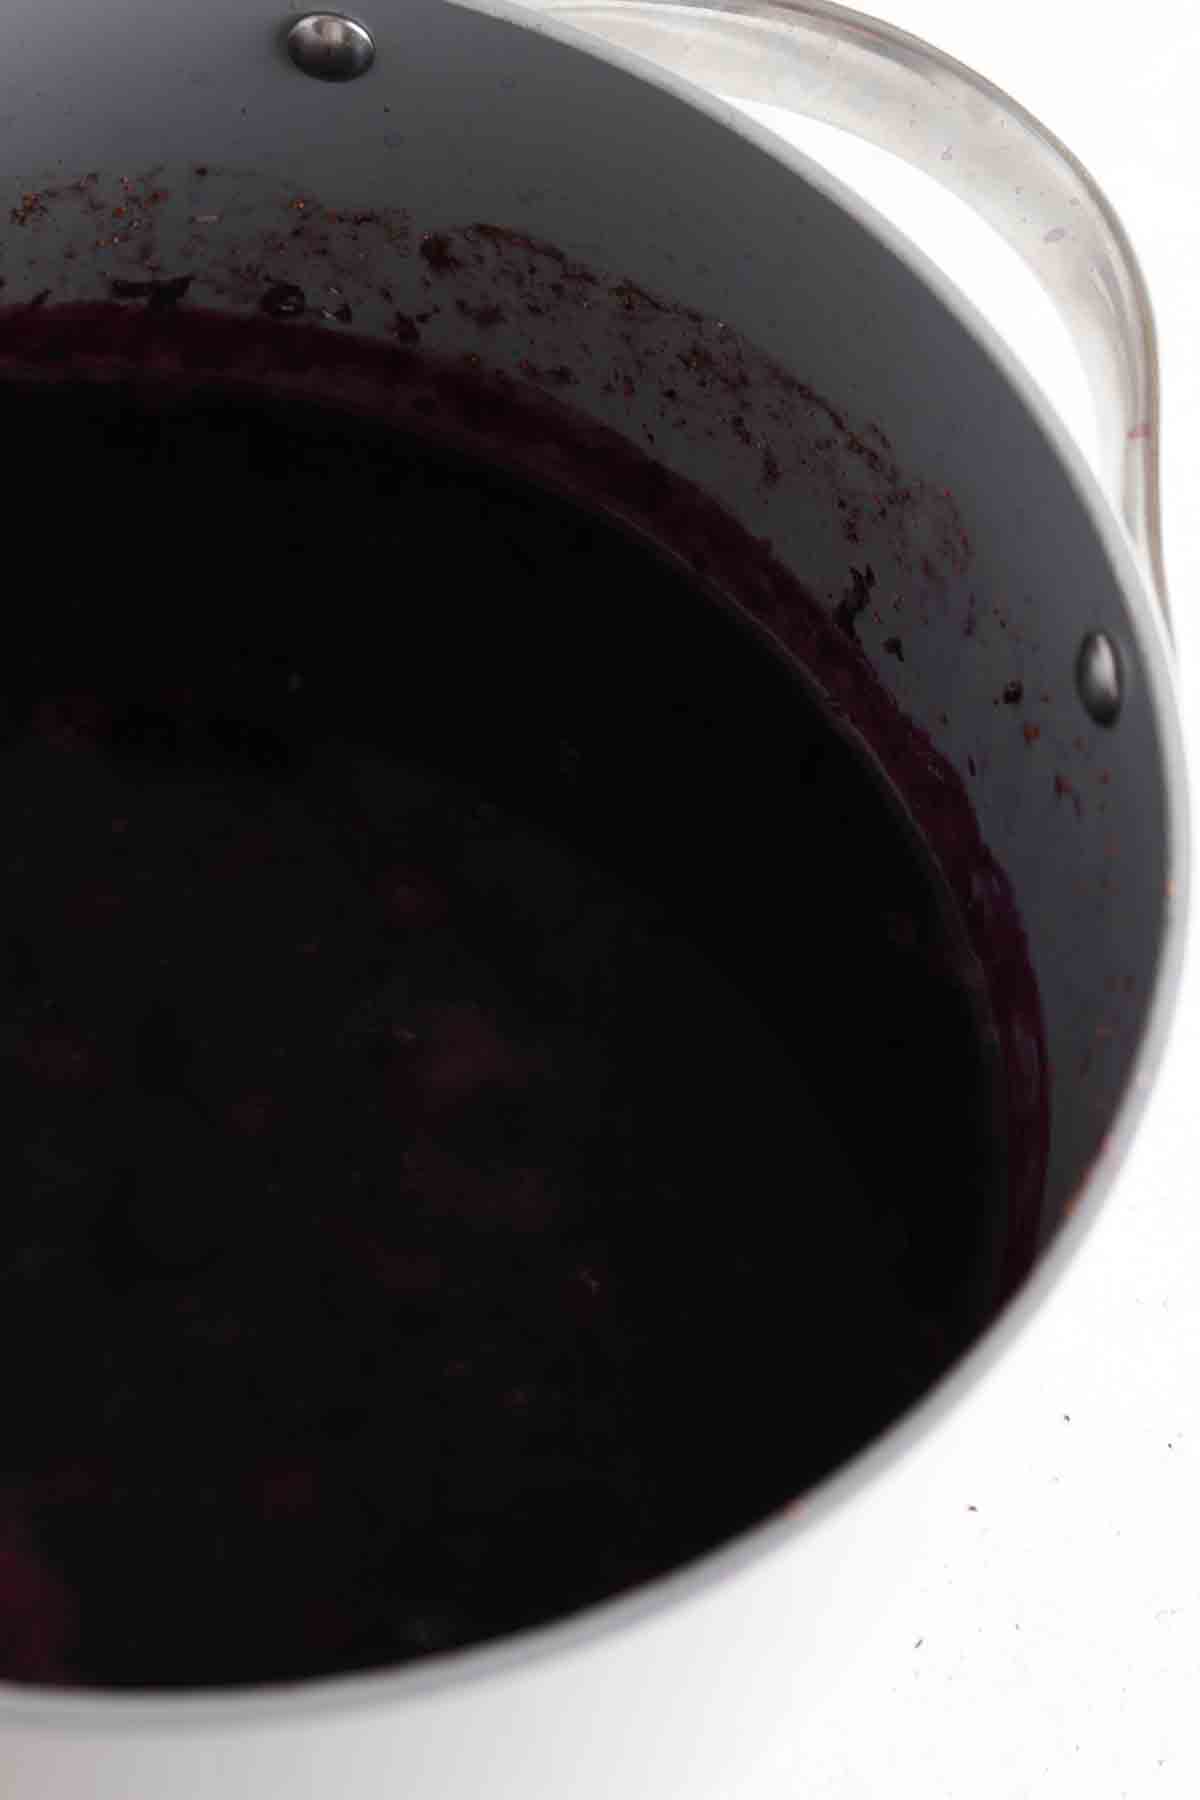
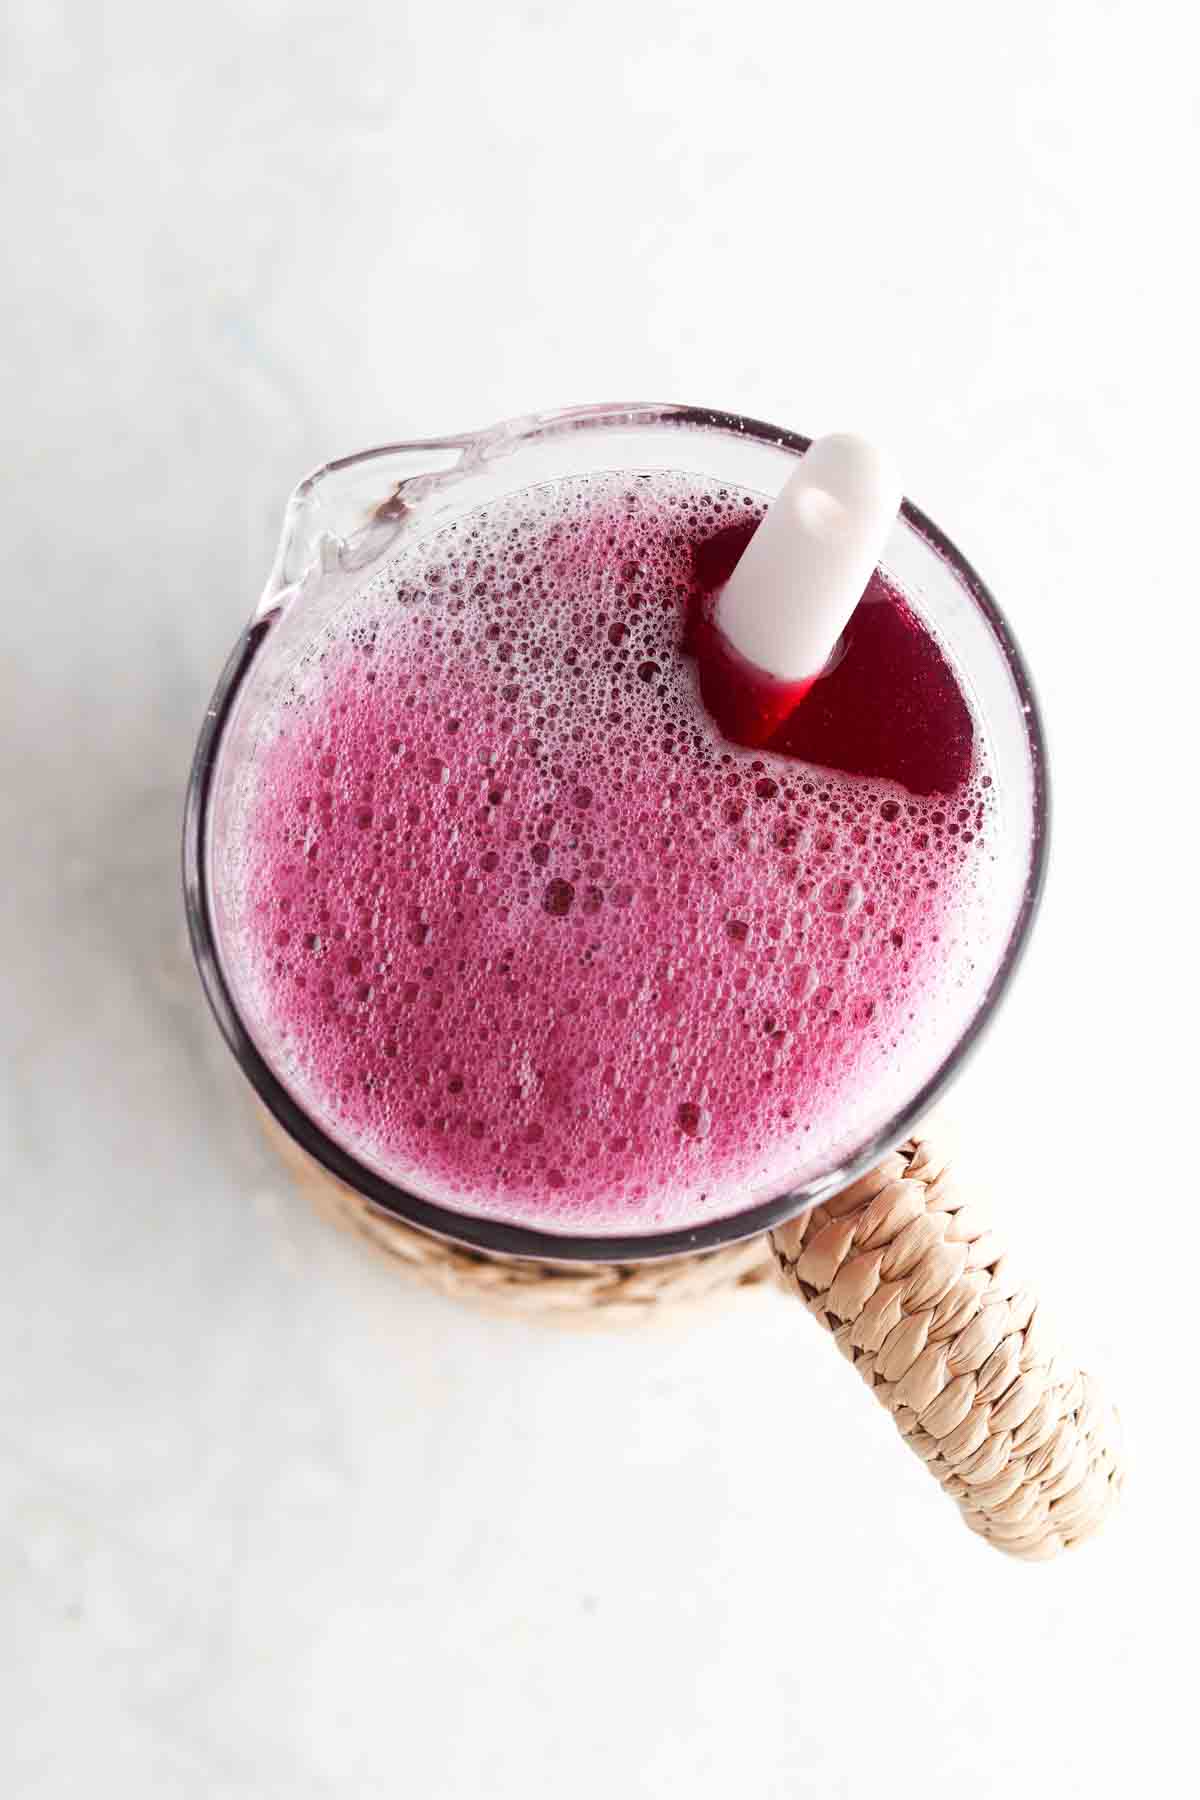
- Add the remaining water and honey to a sauce pan and bring to a boil for 6 minutes.
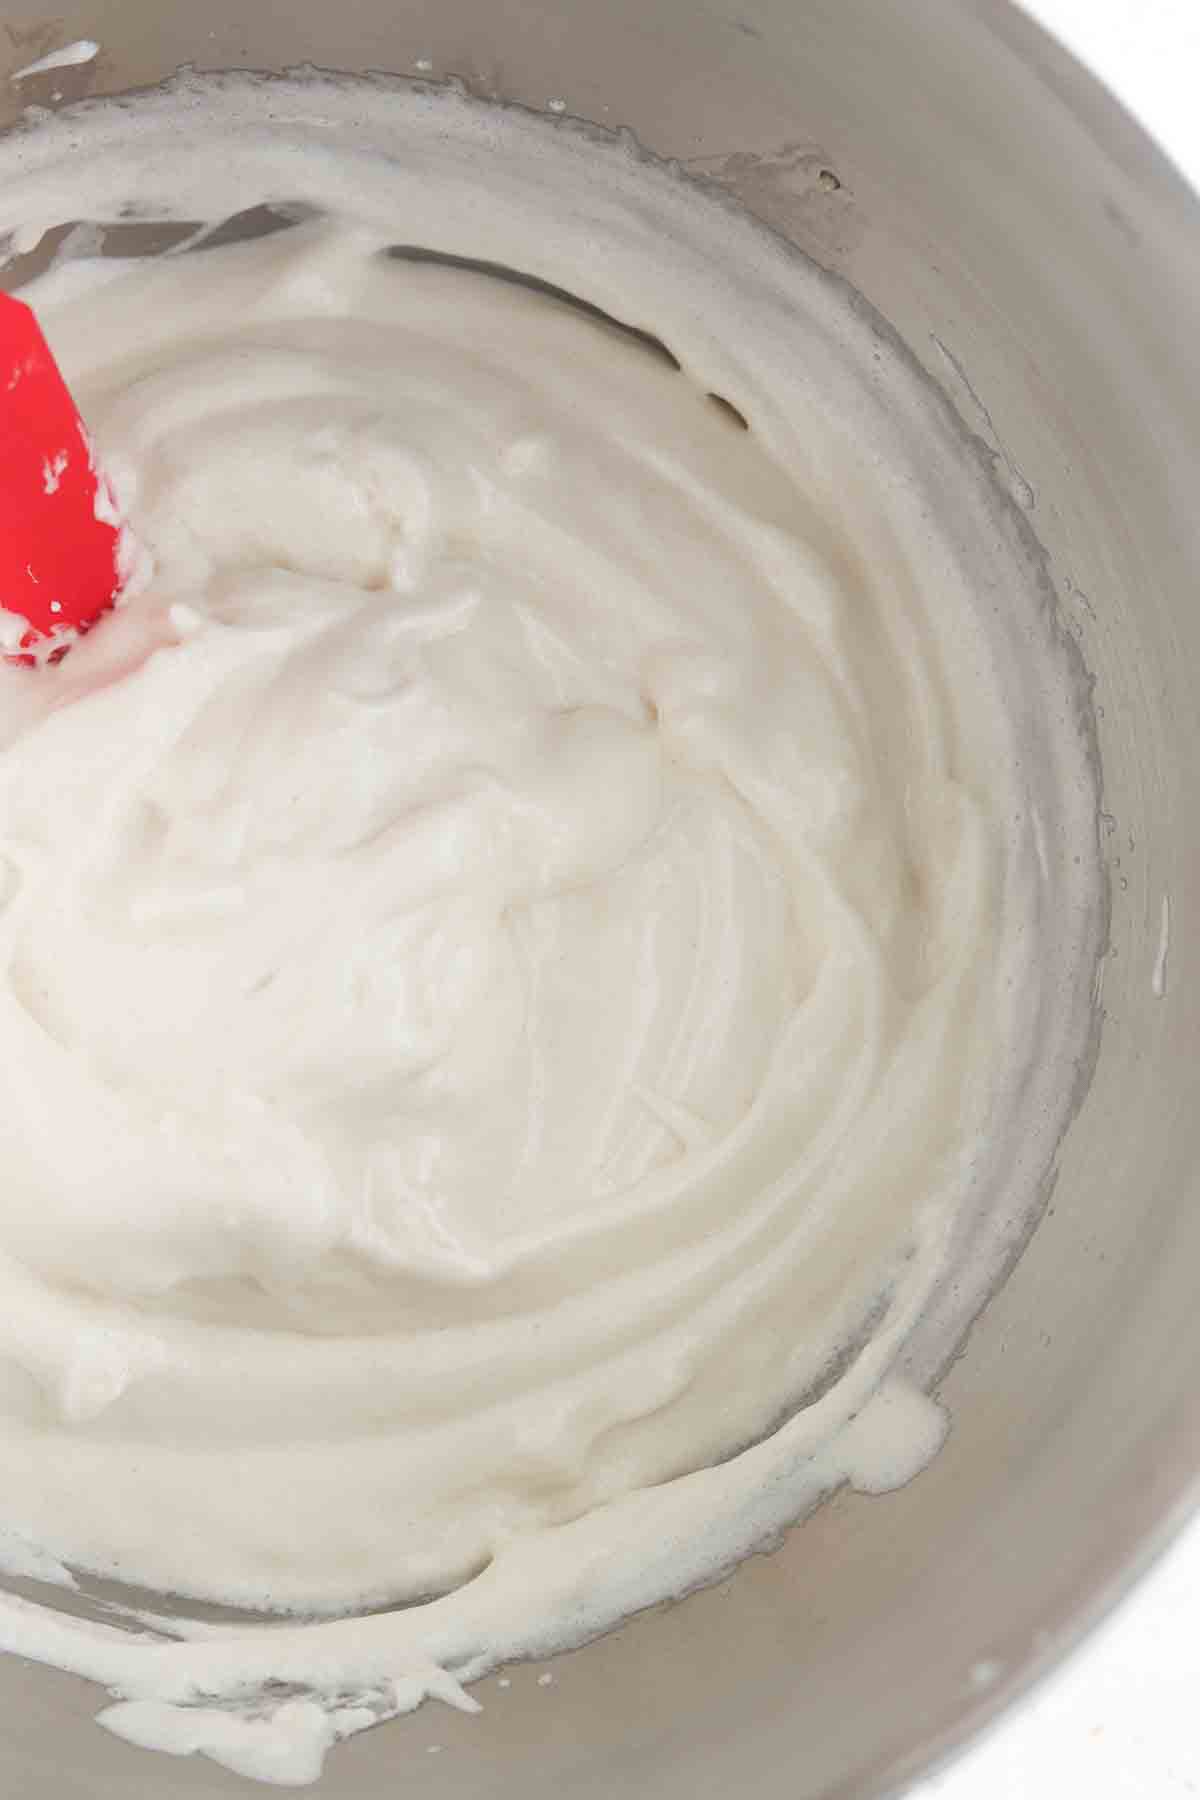
- With the electric hand mixer in one hand or using a kitchen aid, slowly pour the honey mixture into the gelatin mixture while beating non-stop to combine until the mixture turns white. This could take up to 10 minutes.
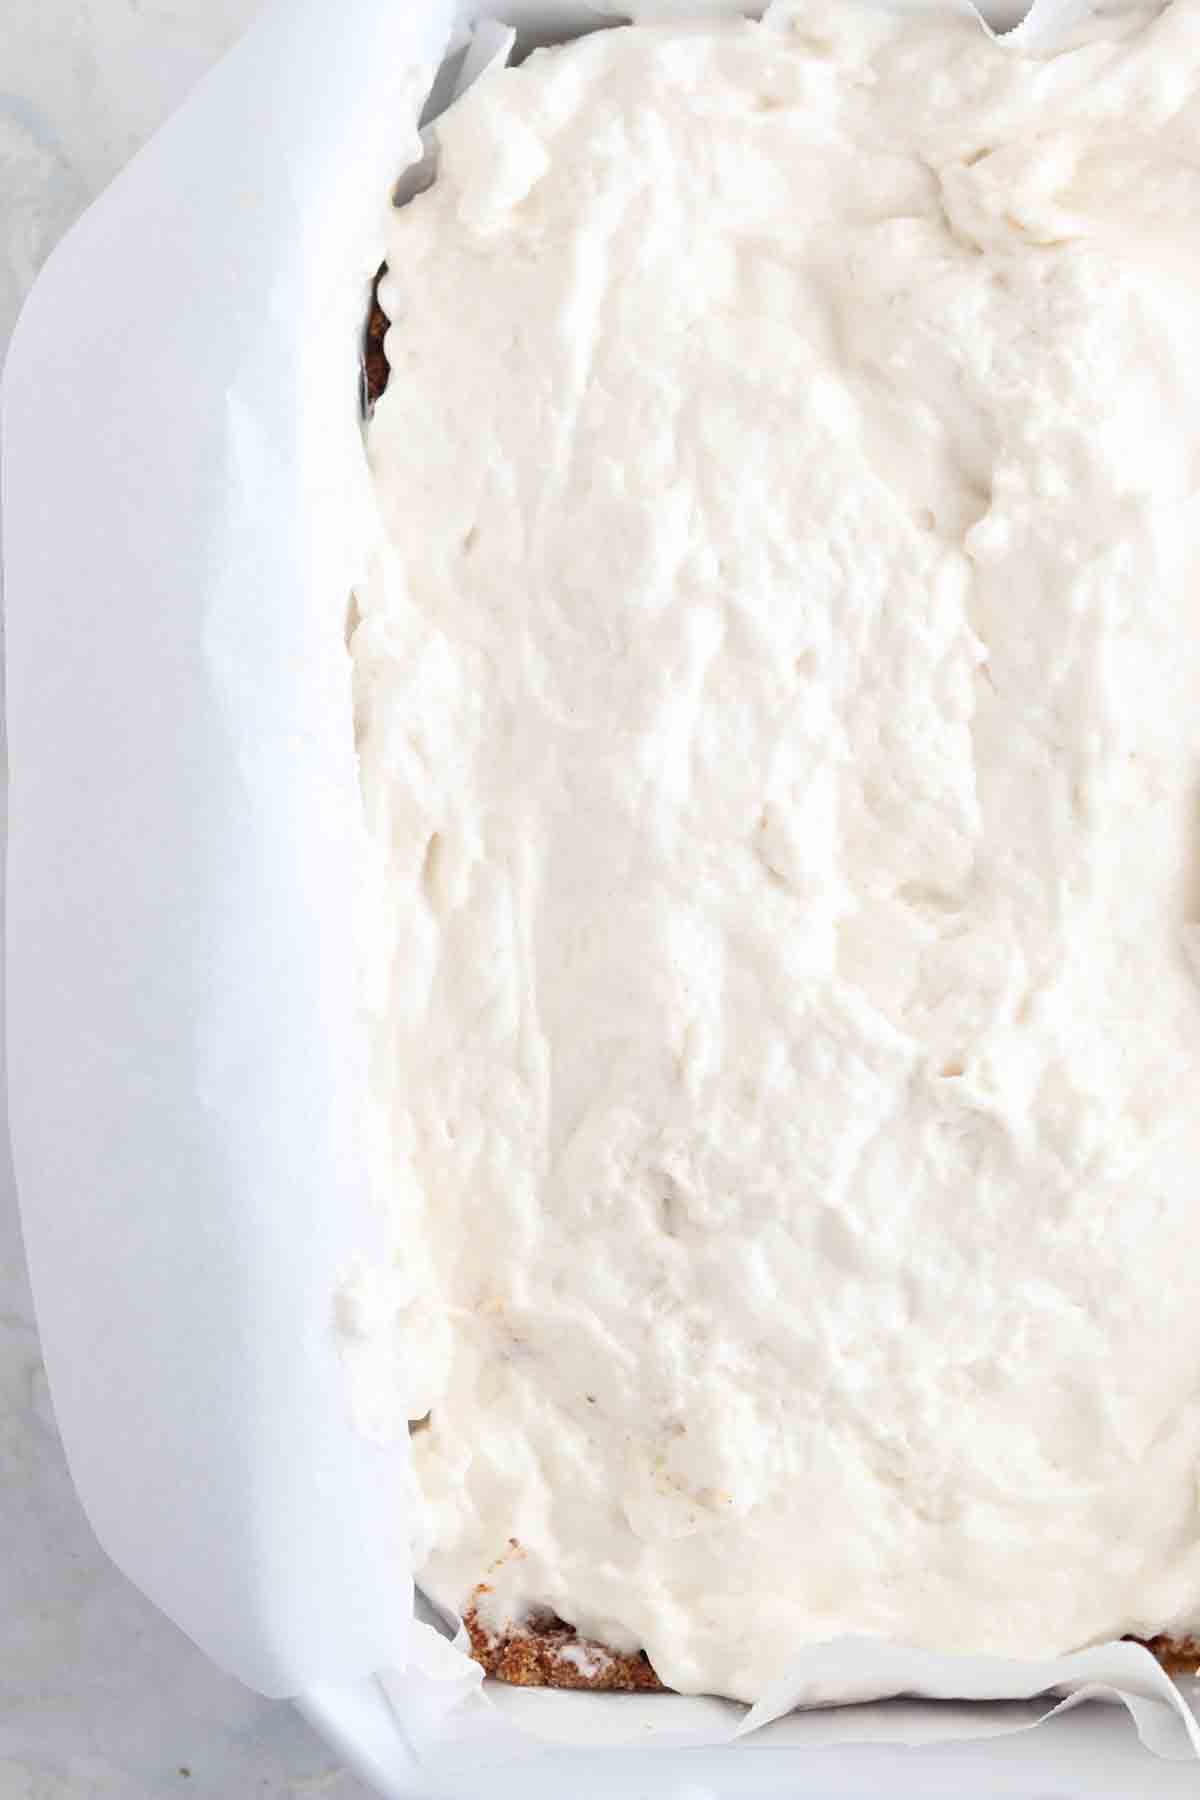
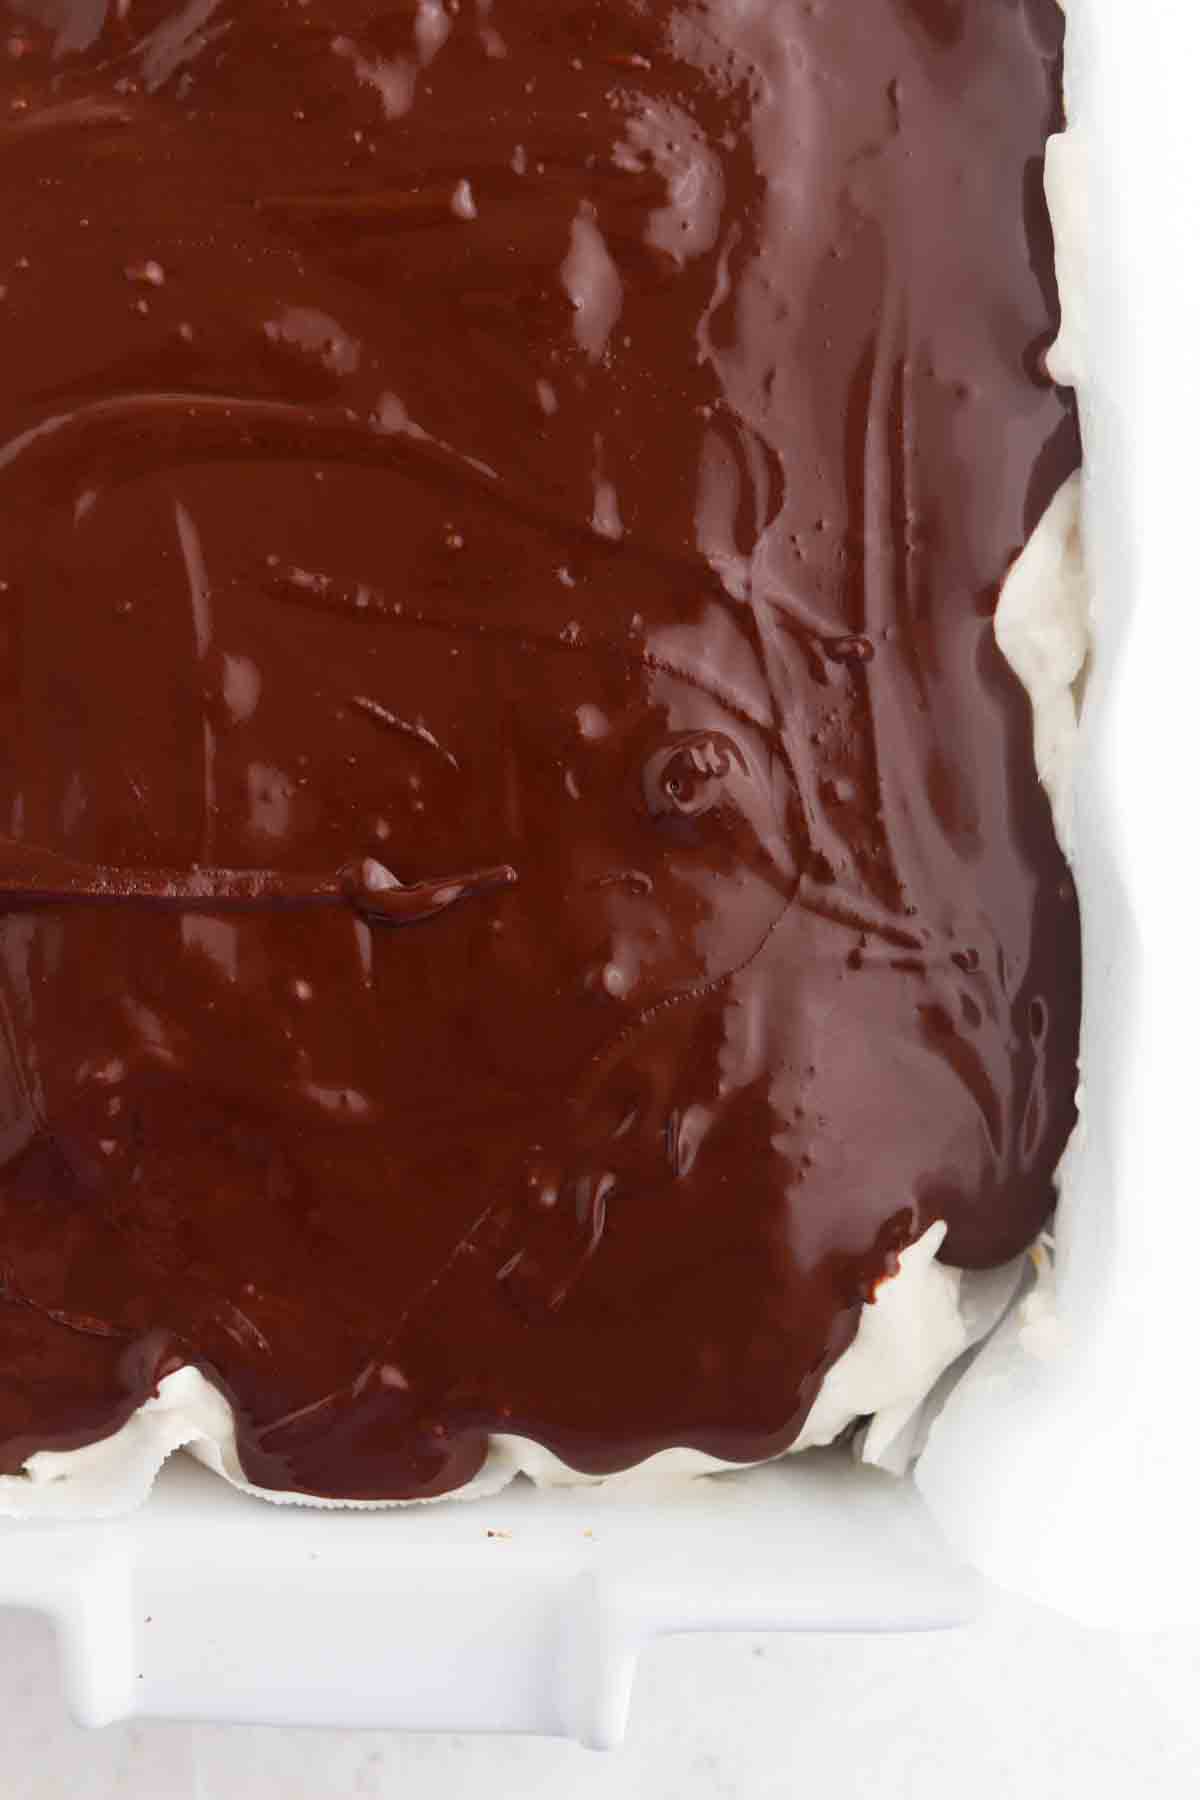
- Once the mixture is white and fluffy, pour it over the graham cracker crust and allow it to set for 1 hour.
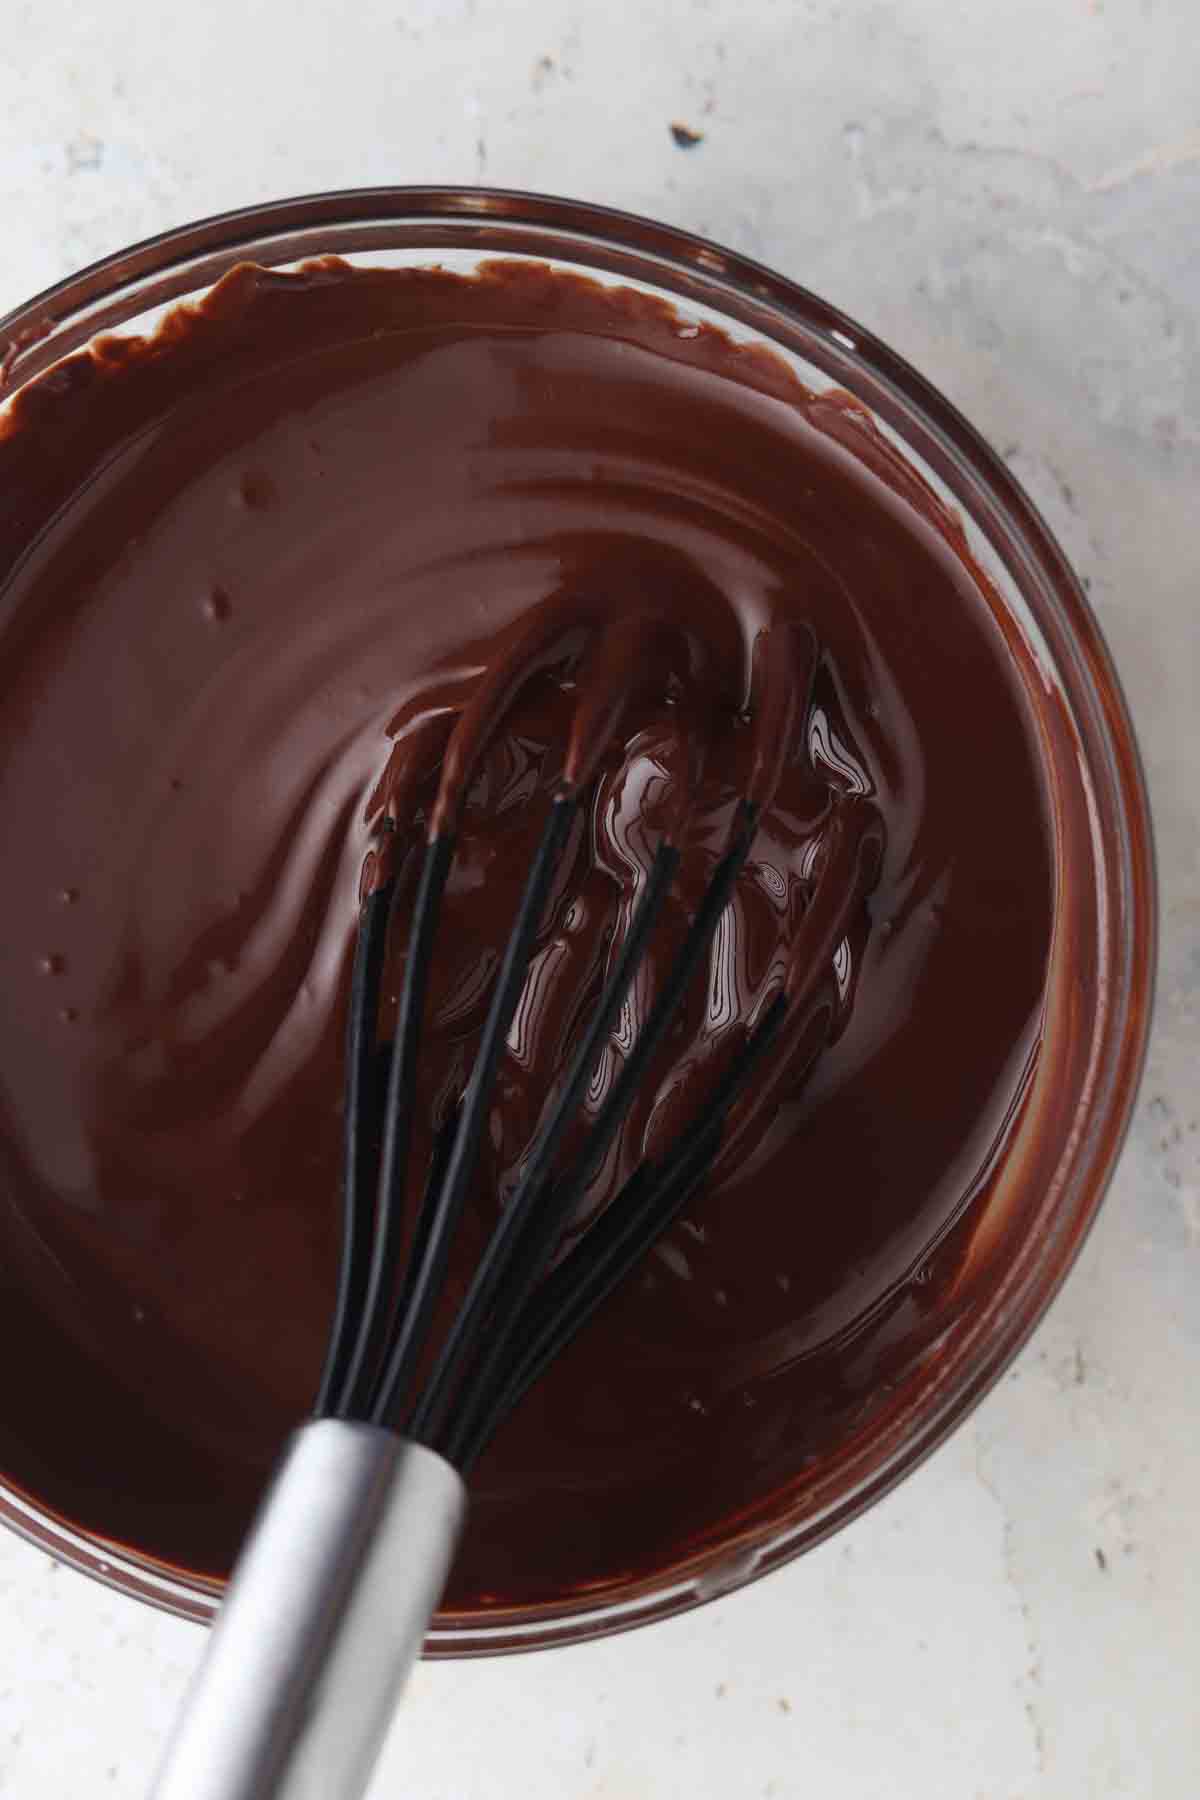
- Once the mixture has set, melt the milk chocolate in a microwave-safe bowl in the microwave by cooking it in 30 second increments and whisk in between until the chocolate is silky smooth.
- Then, drizzle the chocolate over the marshmallow mixture and allow it to set for 30 minutes in the fridge prior to serving.