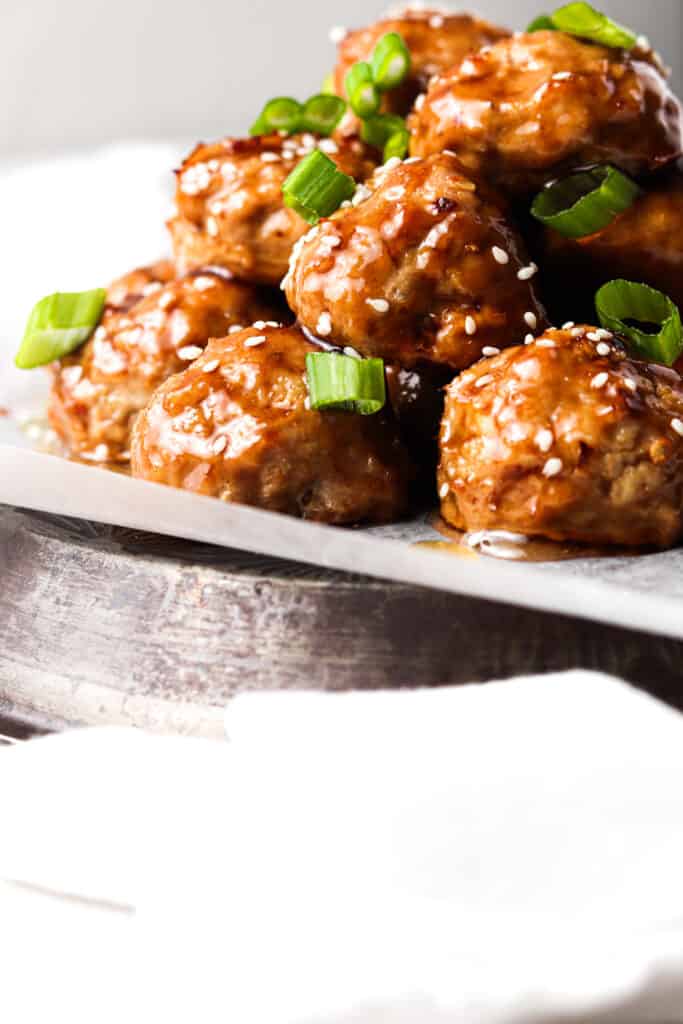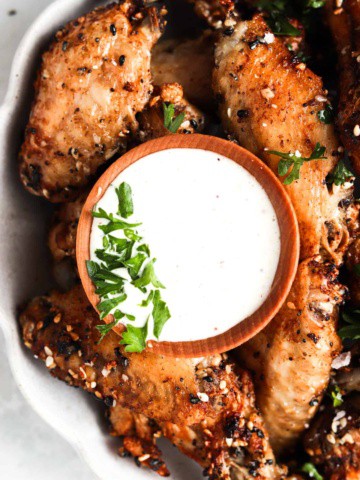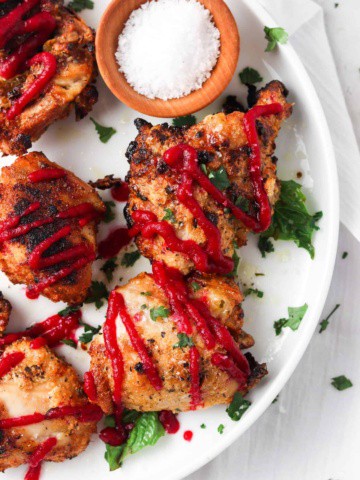
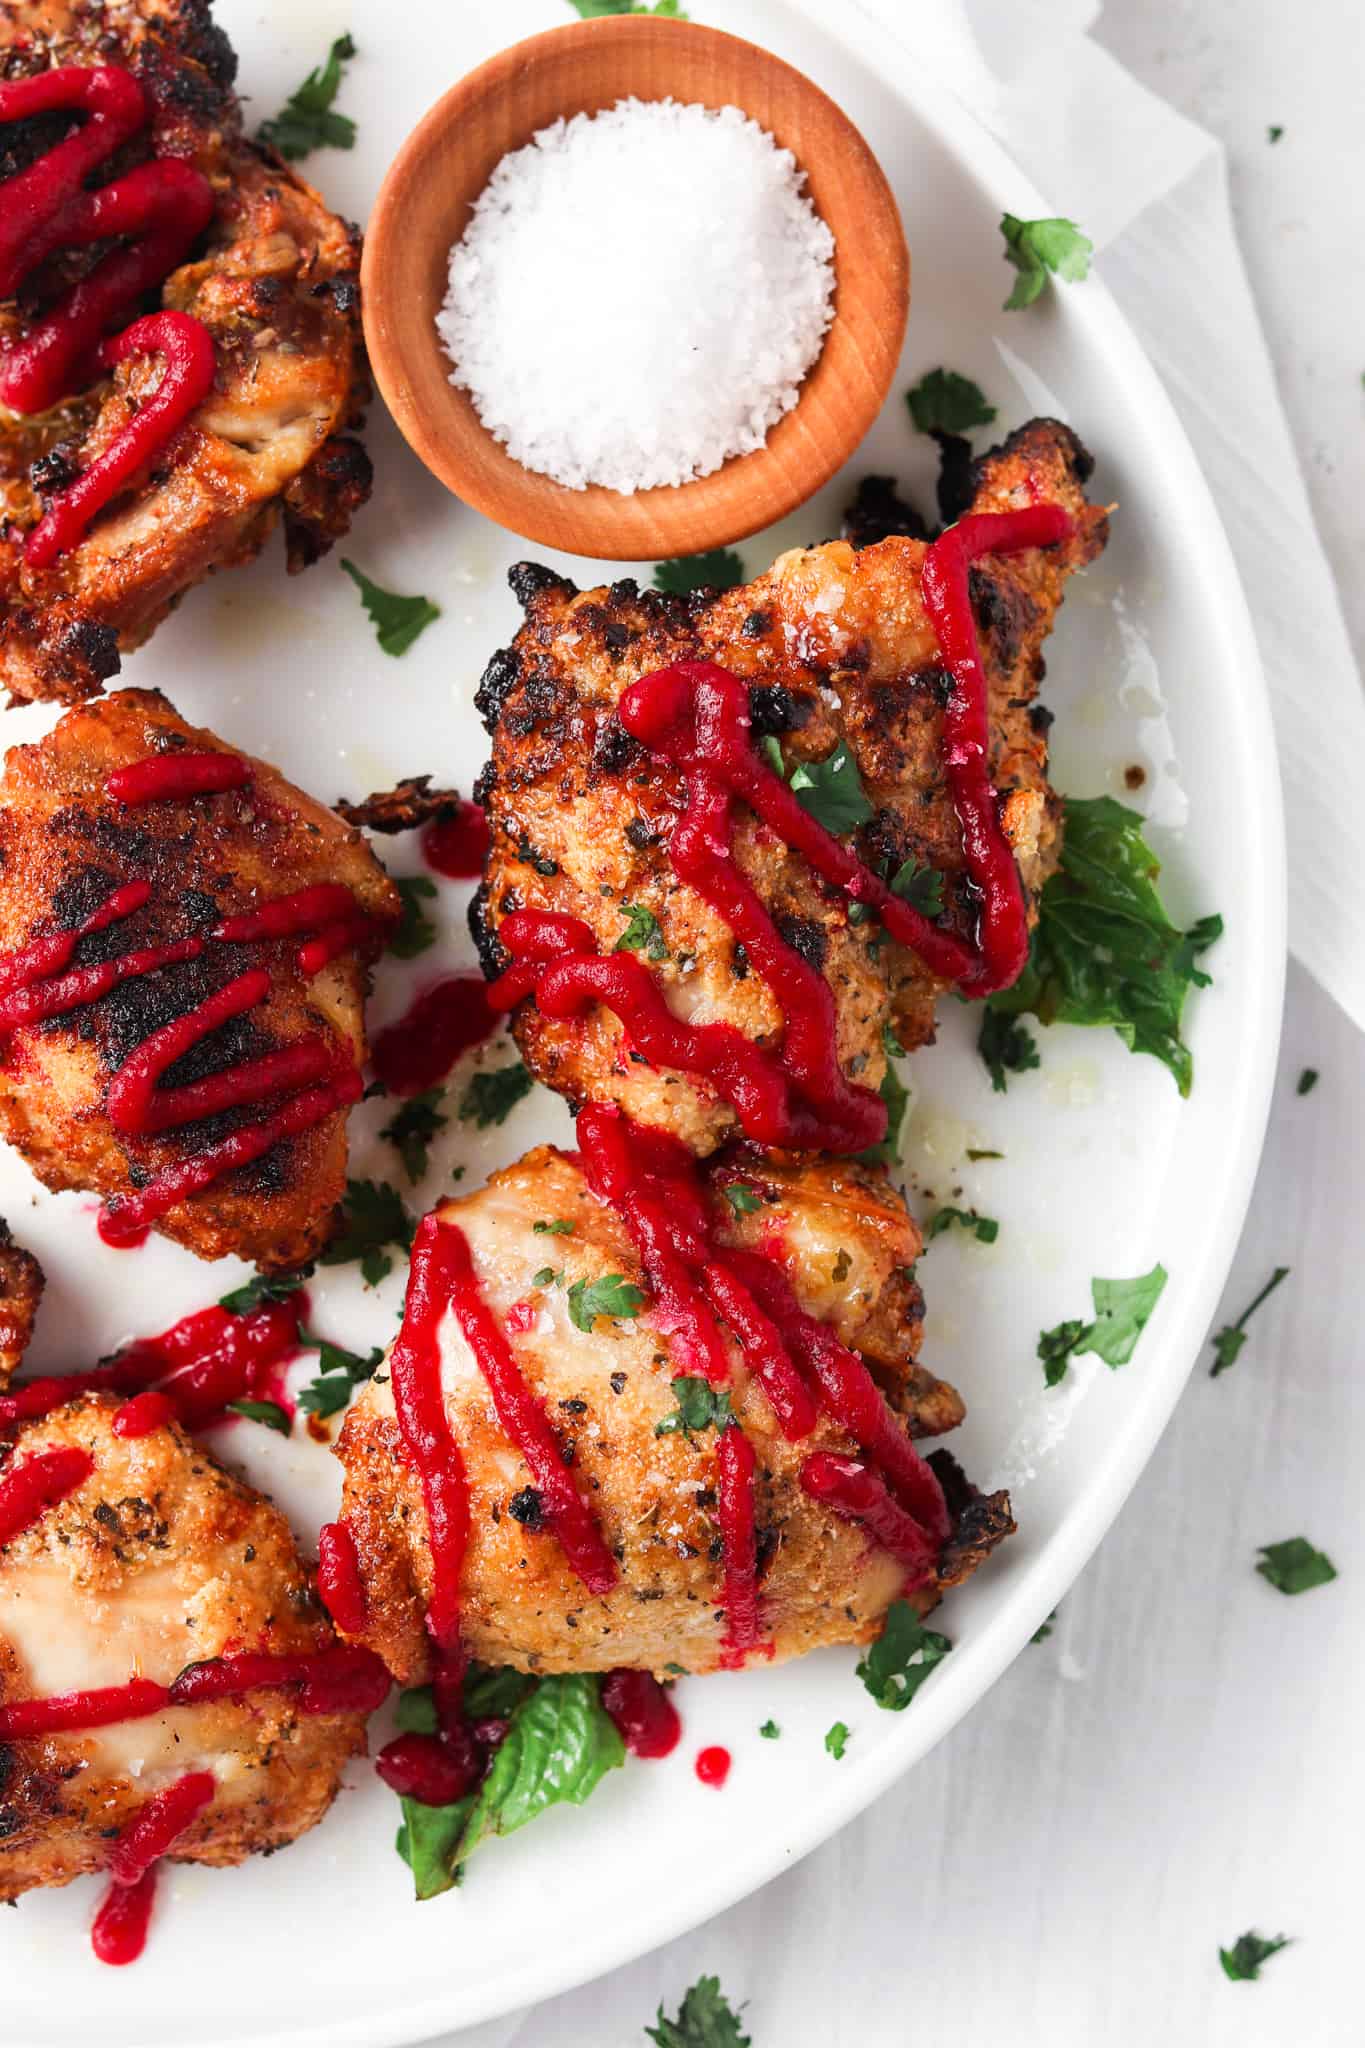
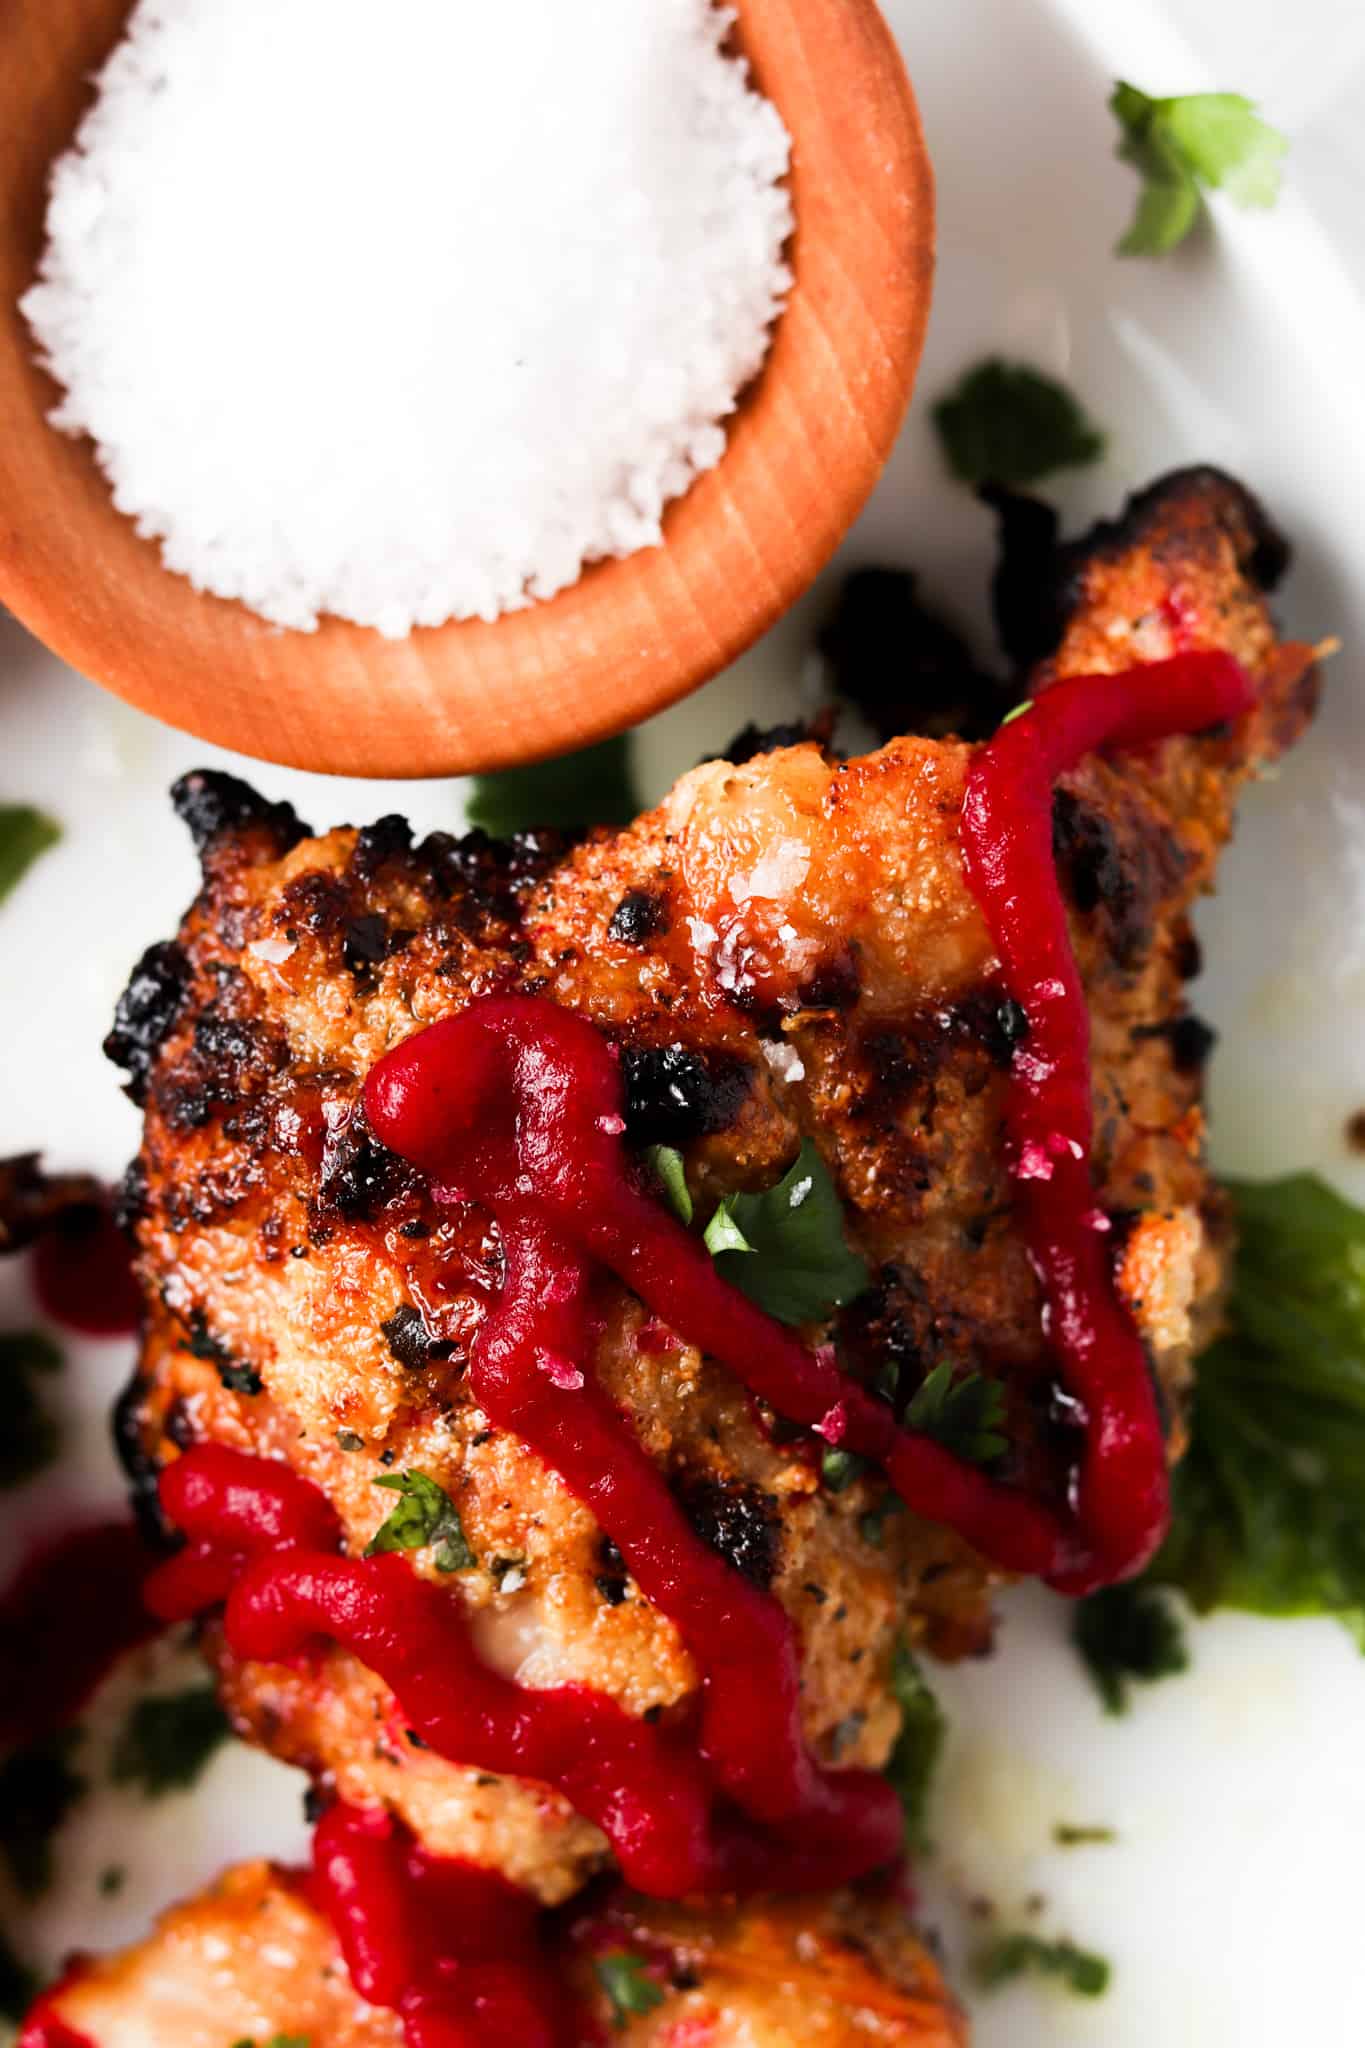
These Crispy Garlic AIP Chicken Thighs are the perfect dinner that both you and your family will love to eat. The arrowroot powder acts as the breading and makes these chicken thighs oh so delicious. This recipe is naturally Whole30 and Paleo friendly. This crowd pleasing dish takes less than 10 minutes to prepare which makes it an easy to go for all of your weekly dinner needs.
This recipe is a great way to feel like you are eating those nostalgic fast food recipes without all the additives and unhealthy ingredients! If you love this recipe, you will also love my AIP Turkey Breast in a Maple Garlic Sauce, Gluten Free Fried Chicken, and Keto Chicken Tenders recipes on my blog.
[feast_advanced_jump_to]Why You Will Love This Recipe
- This recipe is simple to make and is a crowd favorite.
- You can pair this recipe with just about anything!
- Kids will love this recipe.
- This recipe is naturally gluten free, dairy free, soy free, autoimmune protocol (AIP) friendly, and nut free.
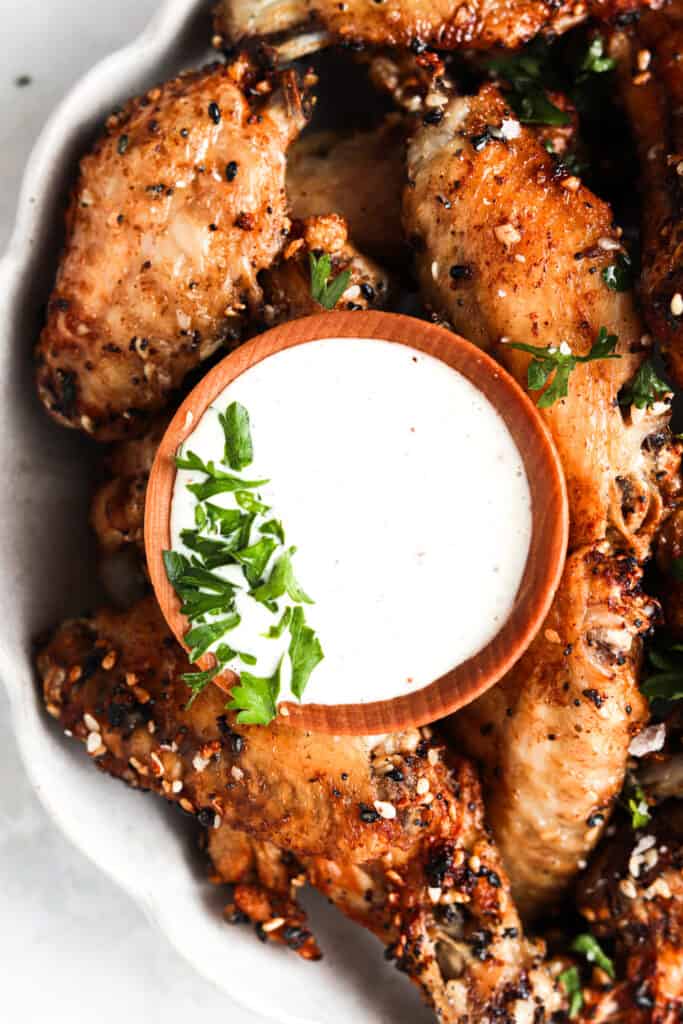
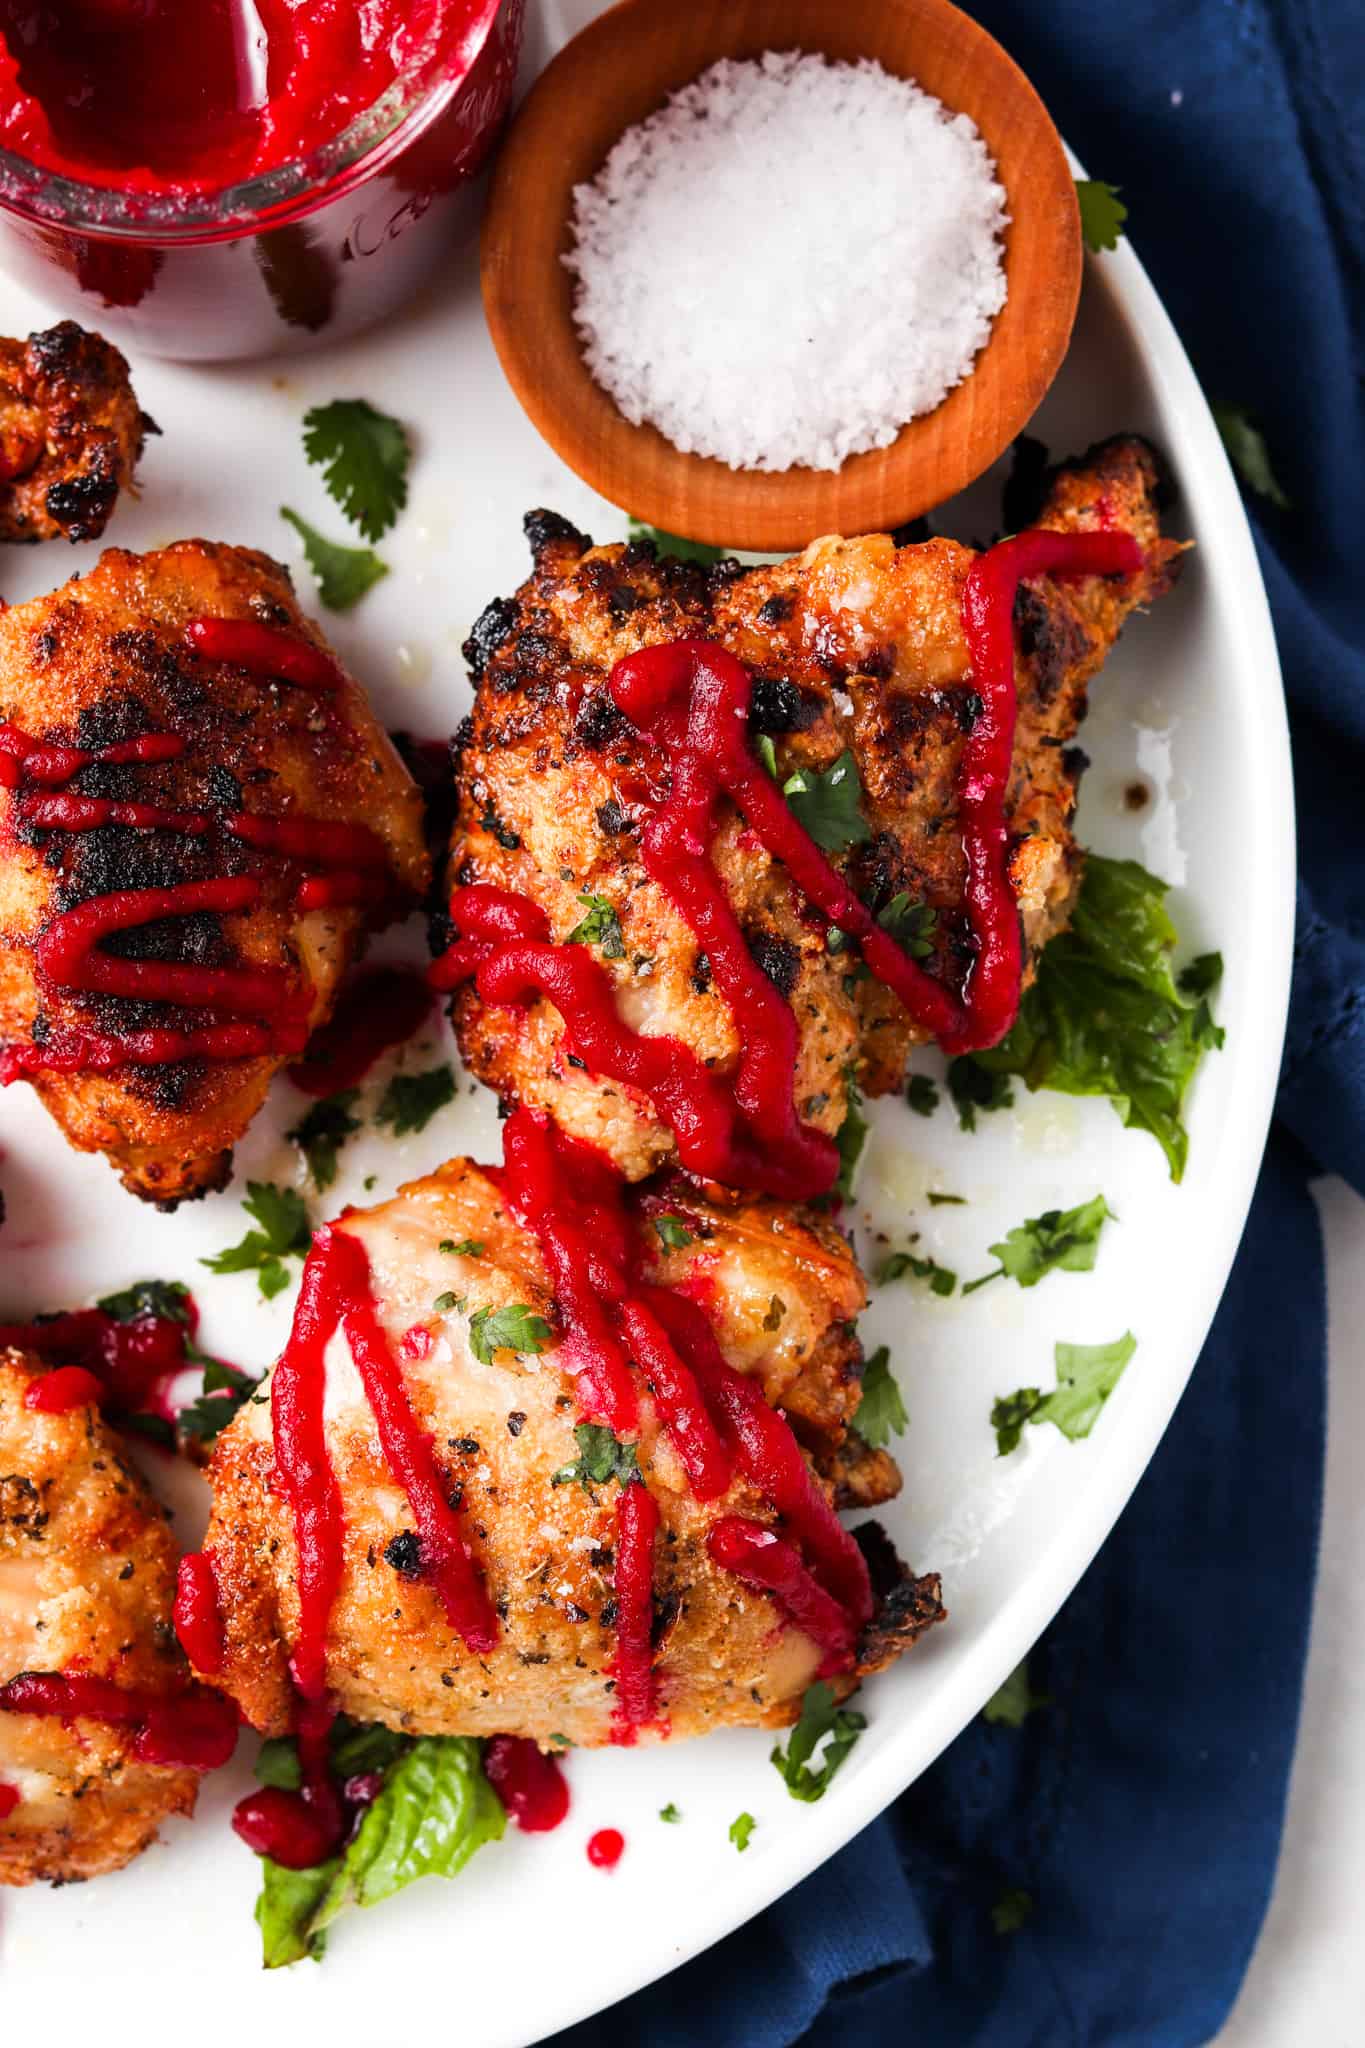
- You can pair it with a variety of dipping sauces. I enjoy pairing it with my AIP Ketchup.
- This recipe is a great alternative to a crispy classic we grew up eating!
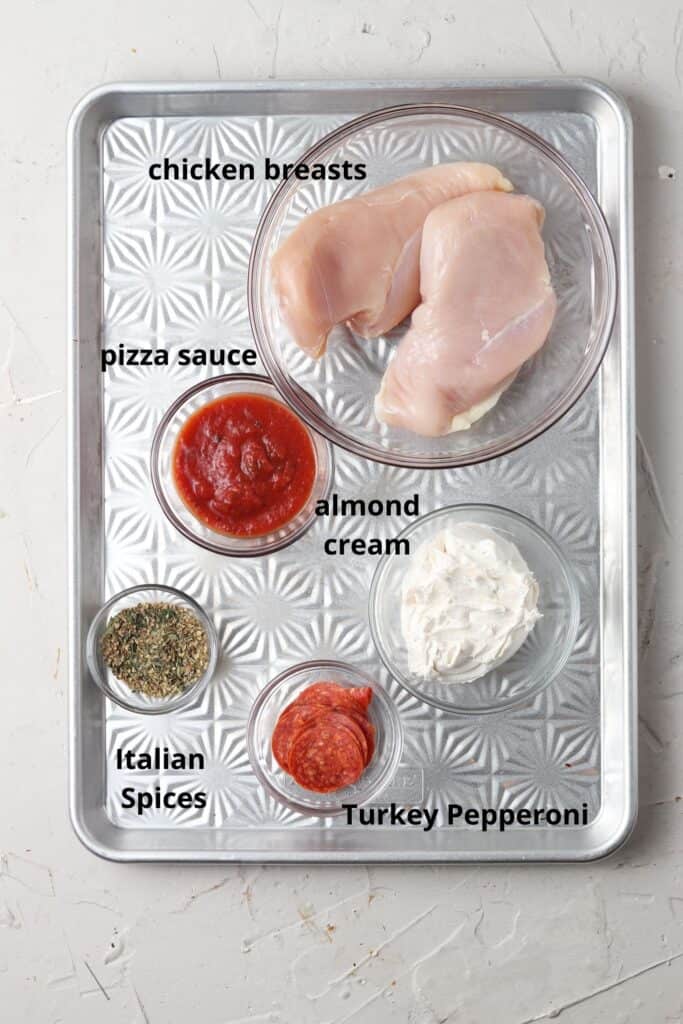
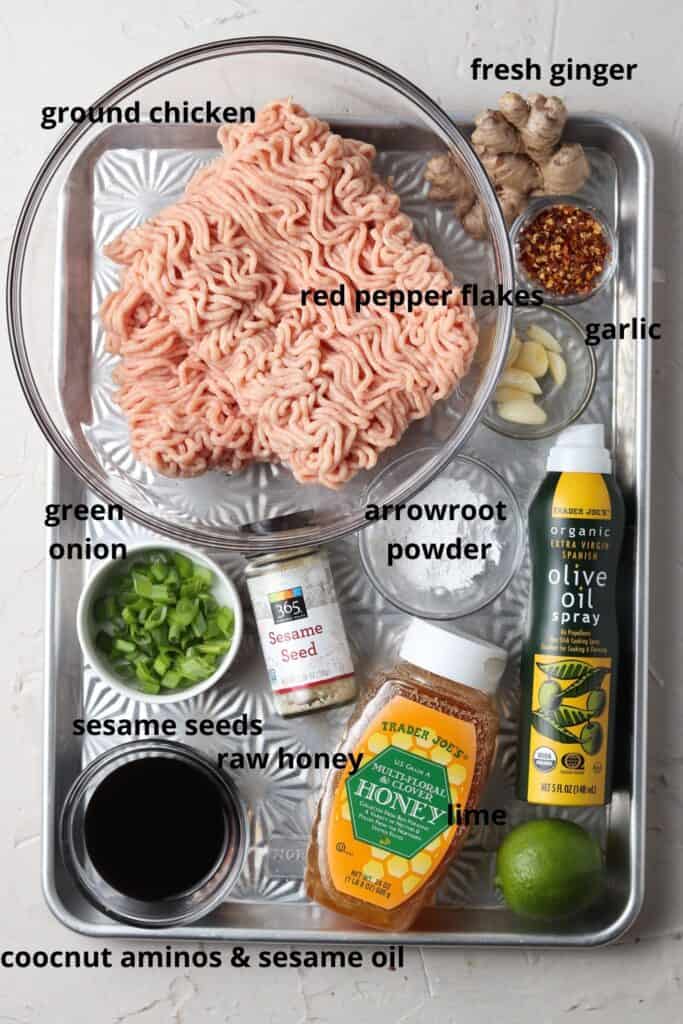
Ingredients
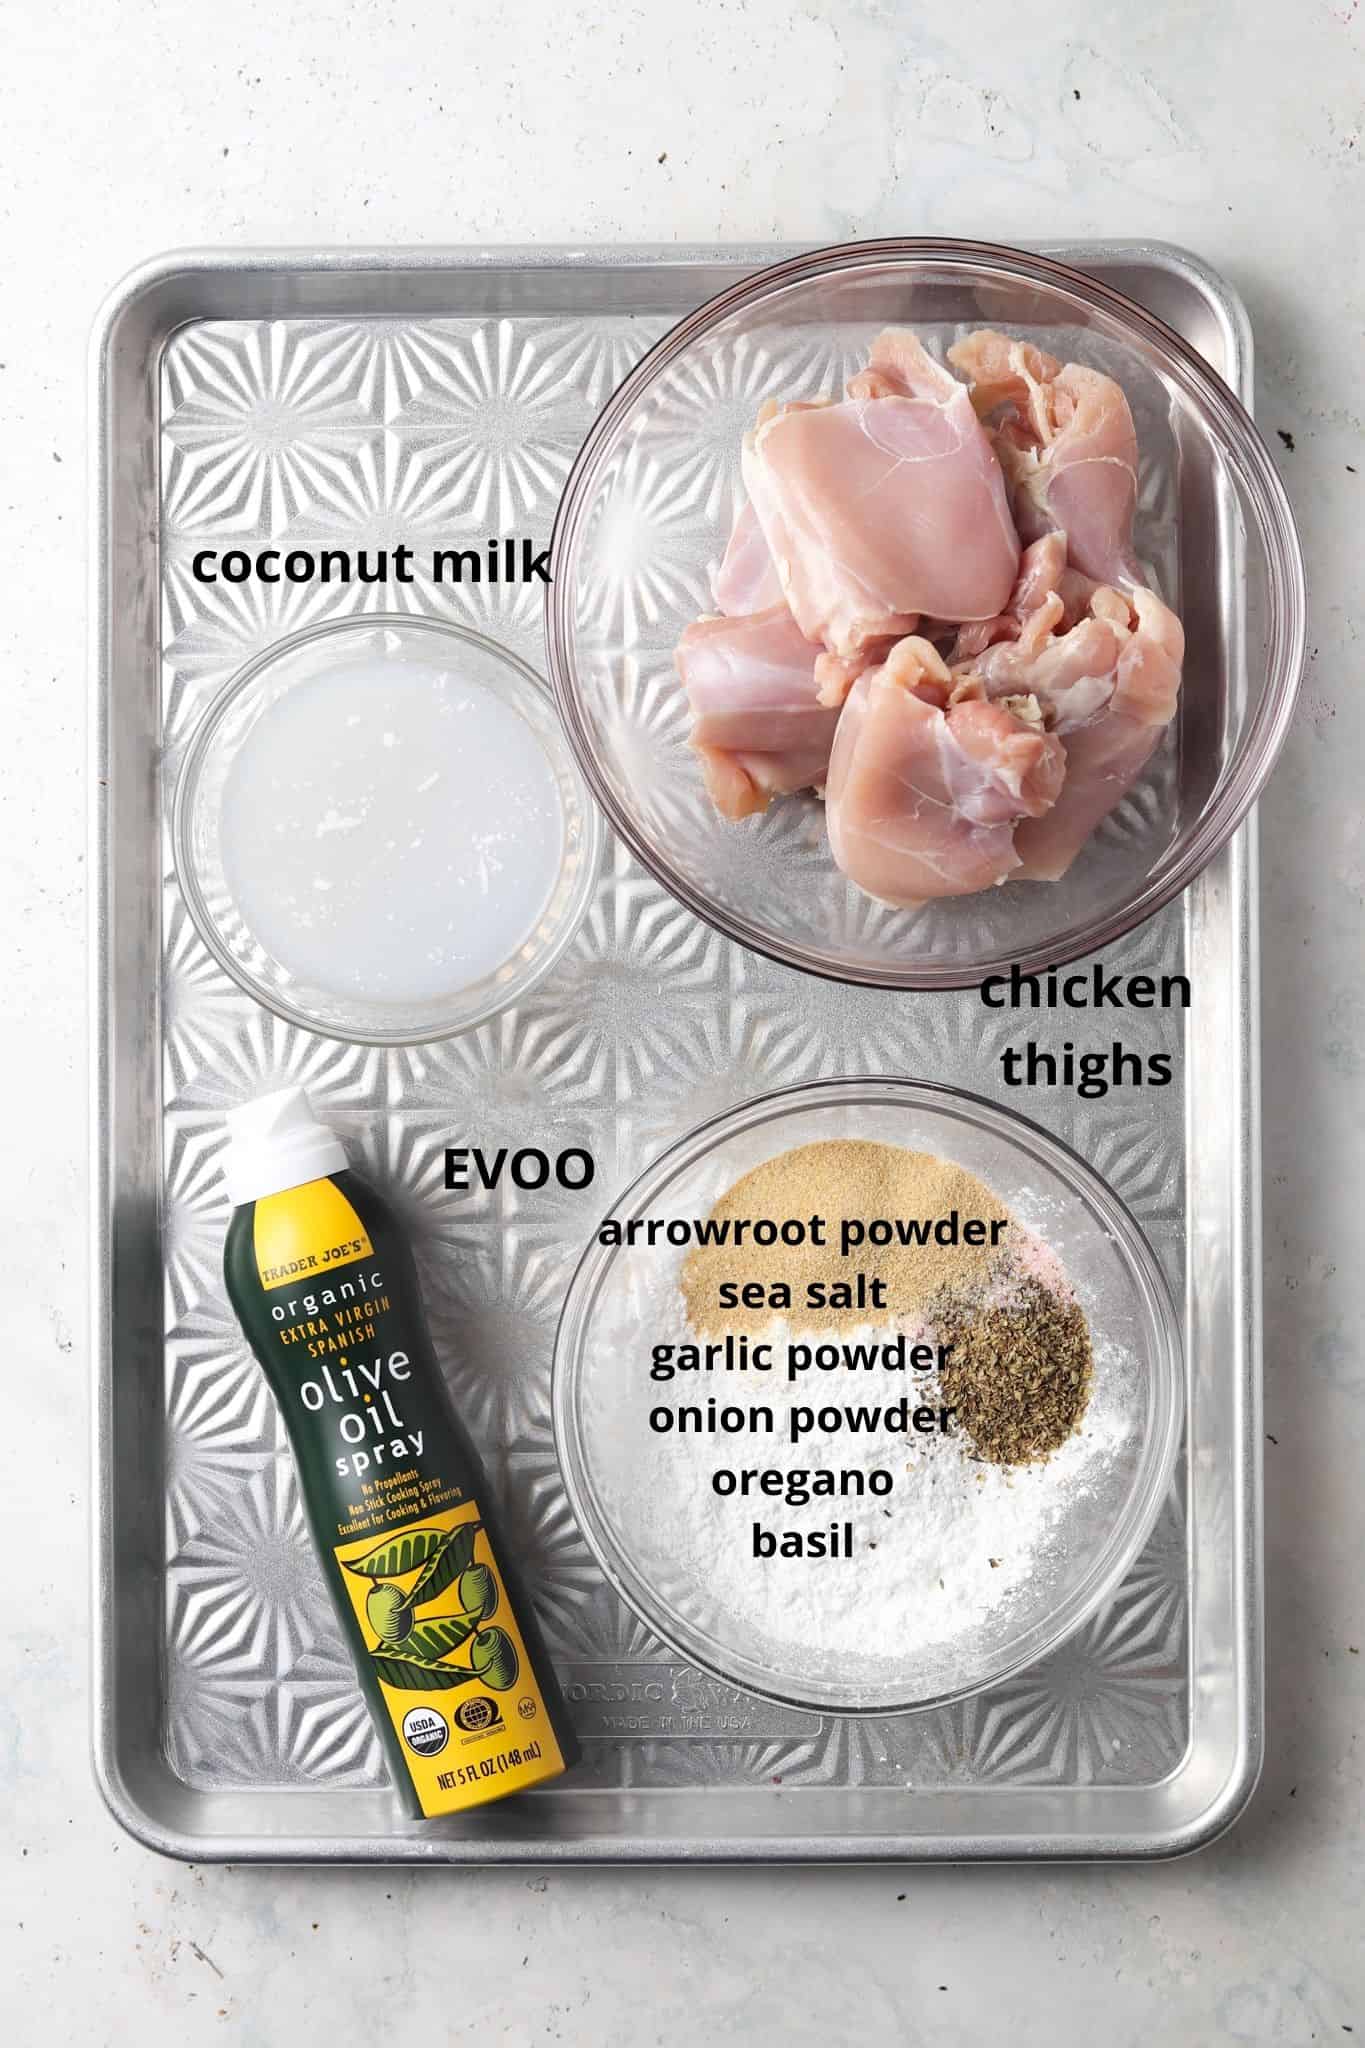
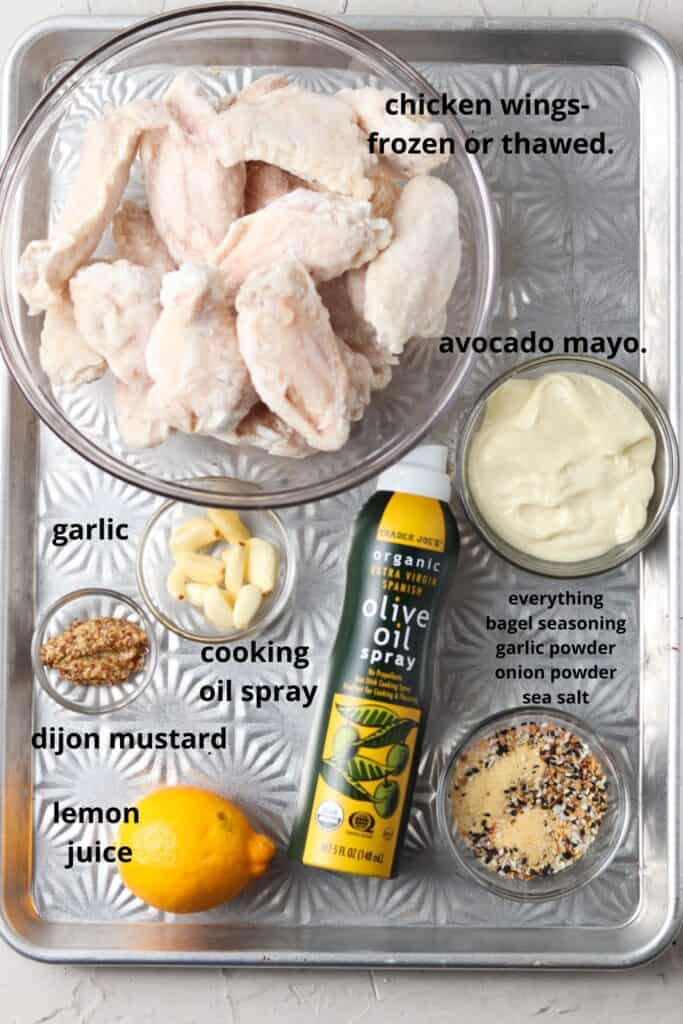
- Chicken thighs-You can use chicken breasts, however I prefer thighs for this recipe for the simple reason that thighs have more flavor.
- Arrowroot powder-Arrowroot powder is my go to cooking starch in AIP cooking. Arrowroot is very similar to corn starch in terms of what it does in recipes. I do not suggest subbing arrowroot with another flour.
- Cooking spray-I love using Trader Joe’s olive oil cooking spray. It comes in handy for so many of my recipes. You could use avocado oil in place of olive oil, however I tend to try to stay away from avocado oil for the pure reason that it can be hard to find a bottle that doesn’t smell rancid. Spices & salt-Feel free to great creative here. If you are not doing AIP you can add in ½ tsp of paprika to give this chicken a nice kick. I personally love a lot of salt but if you are one that is really sensitive to salt, you can cut back. Again the arrowroot will take care of making this AIP chicken dish crispy, but the seasoning is what will give it flavor.
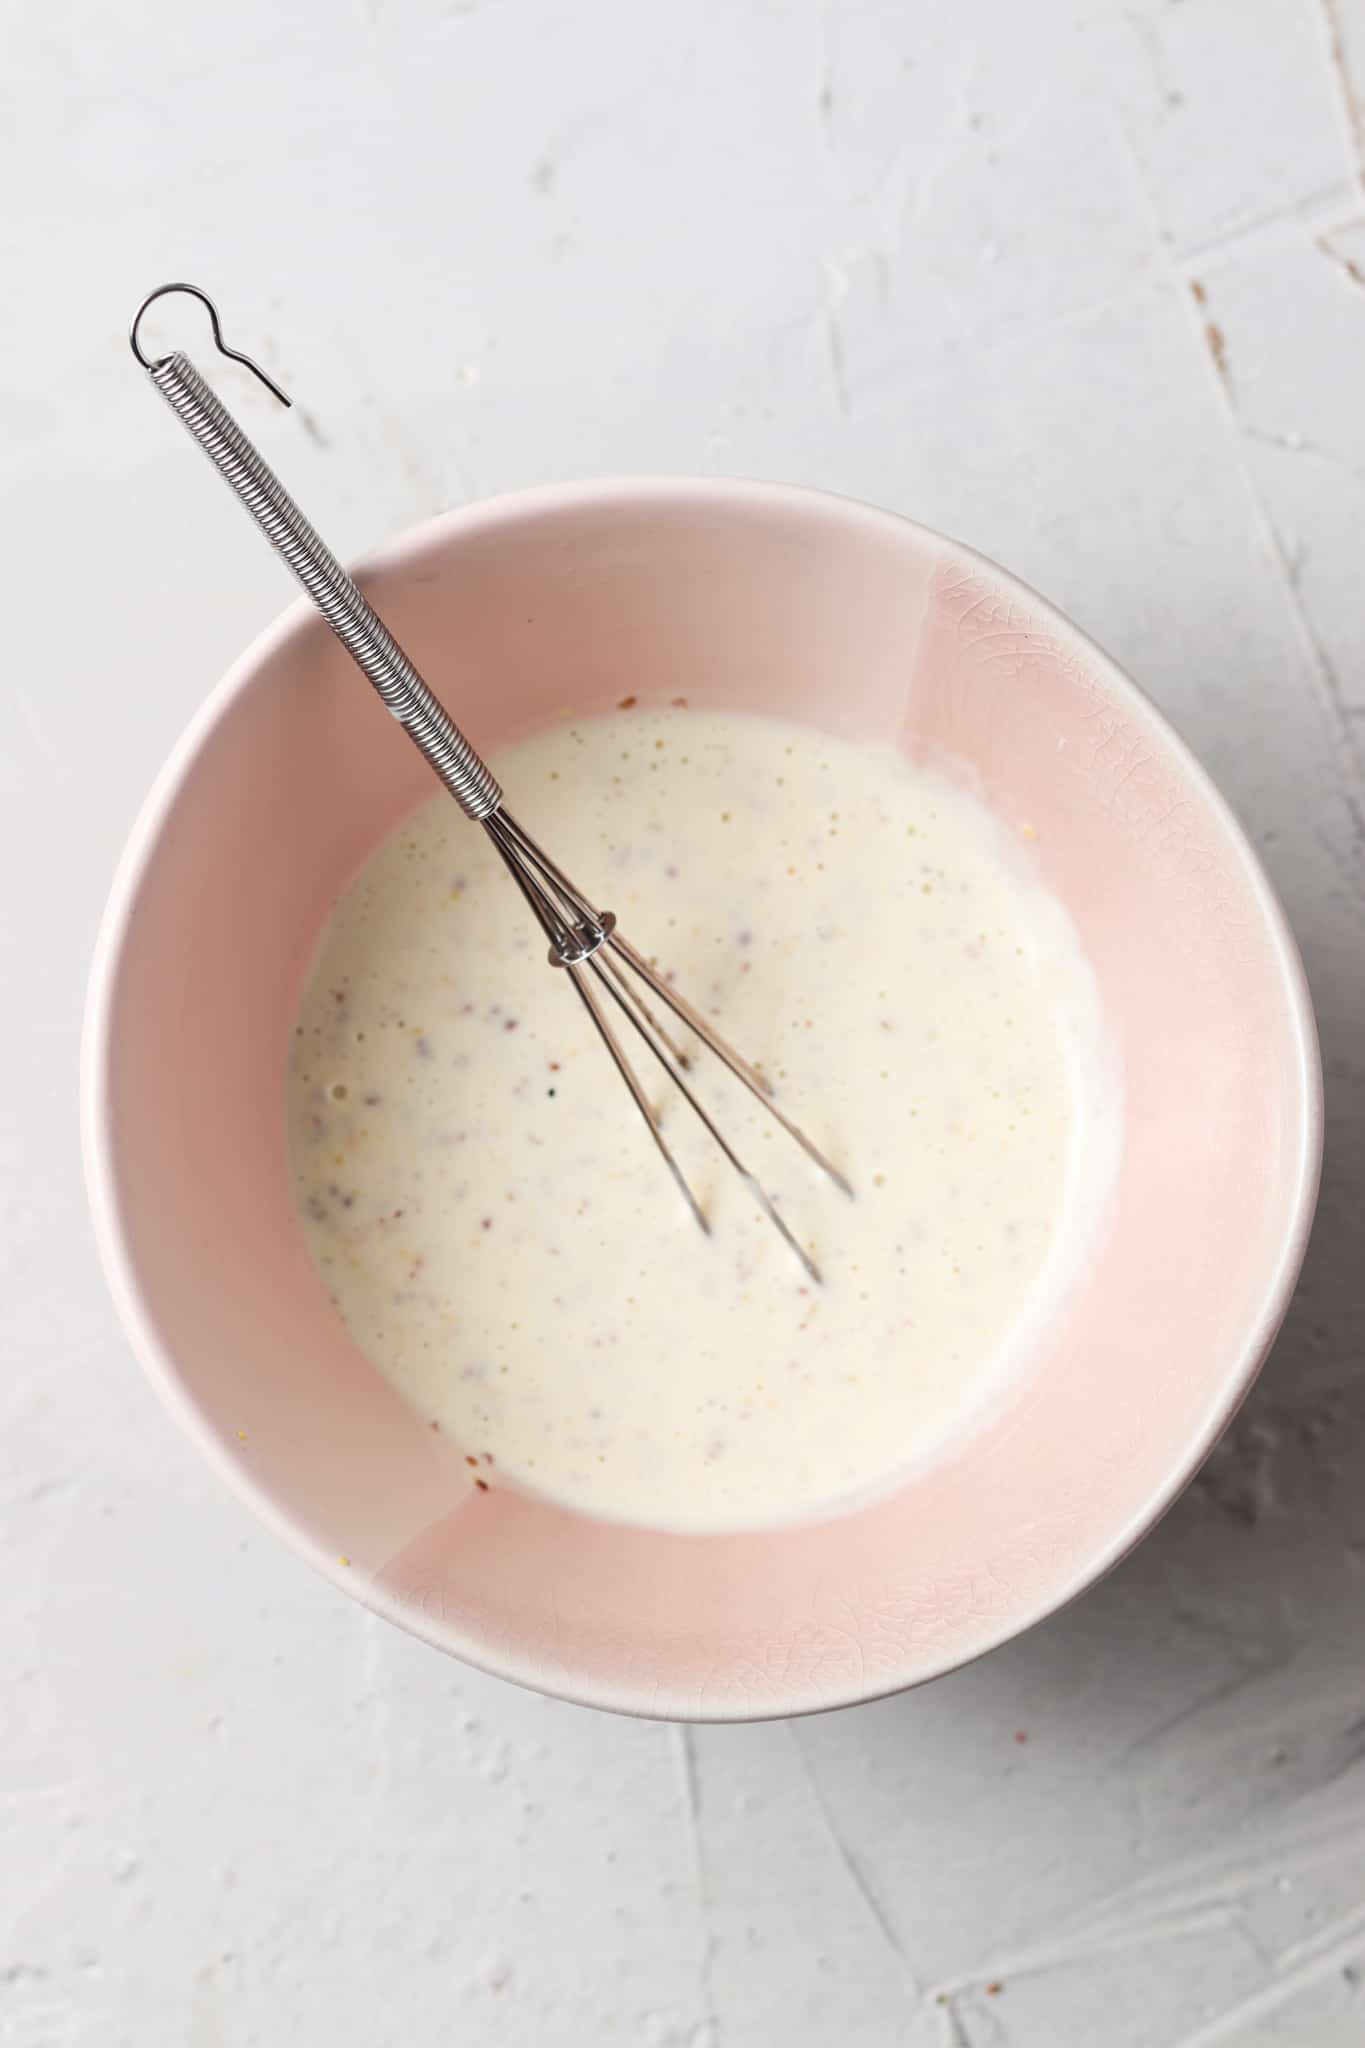
- Coconut milk-I use coconut milk in place of eggs. This will help the breading and spices to stick to the chicken. If you are not doing AIP you can sub this with almond milk or 1 whisked egg.
See the recipe card below for a full list of ingredients and measurements.
Substitutions And Variations
- You can switch the dipping sauces to change the flavor profile of the chicken.
- To make this recipe even more simple, you can buy your favorite autoimmune protocol (AIP) friendly pre-made dipping sauces.
This recipe has not been tested with any other substitutions or variations. If you try something else out please let me know how it turns out in the comments below!
Step By Step Instructions
Equipment
Expert Tips
- Tip # 1: You can make this recipe with full chicken thighs or you can slice the thighs into strips to make tenders.
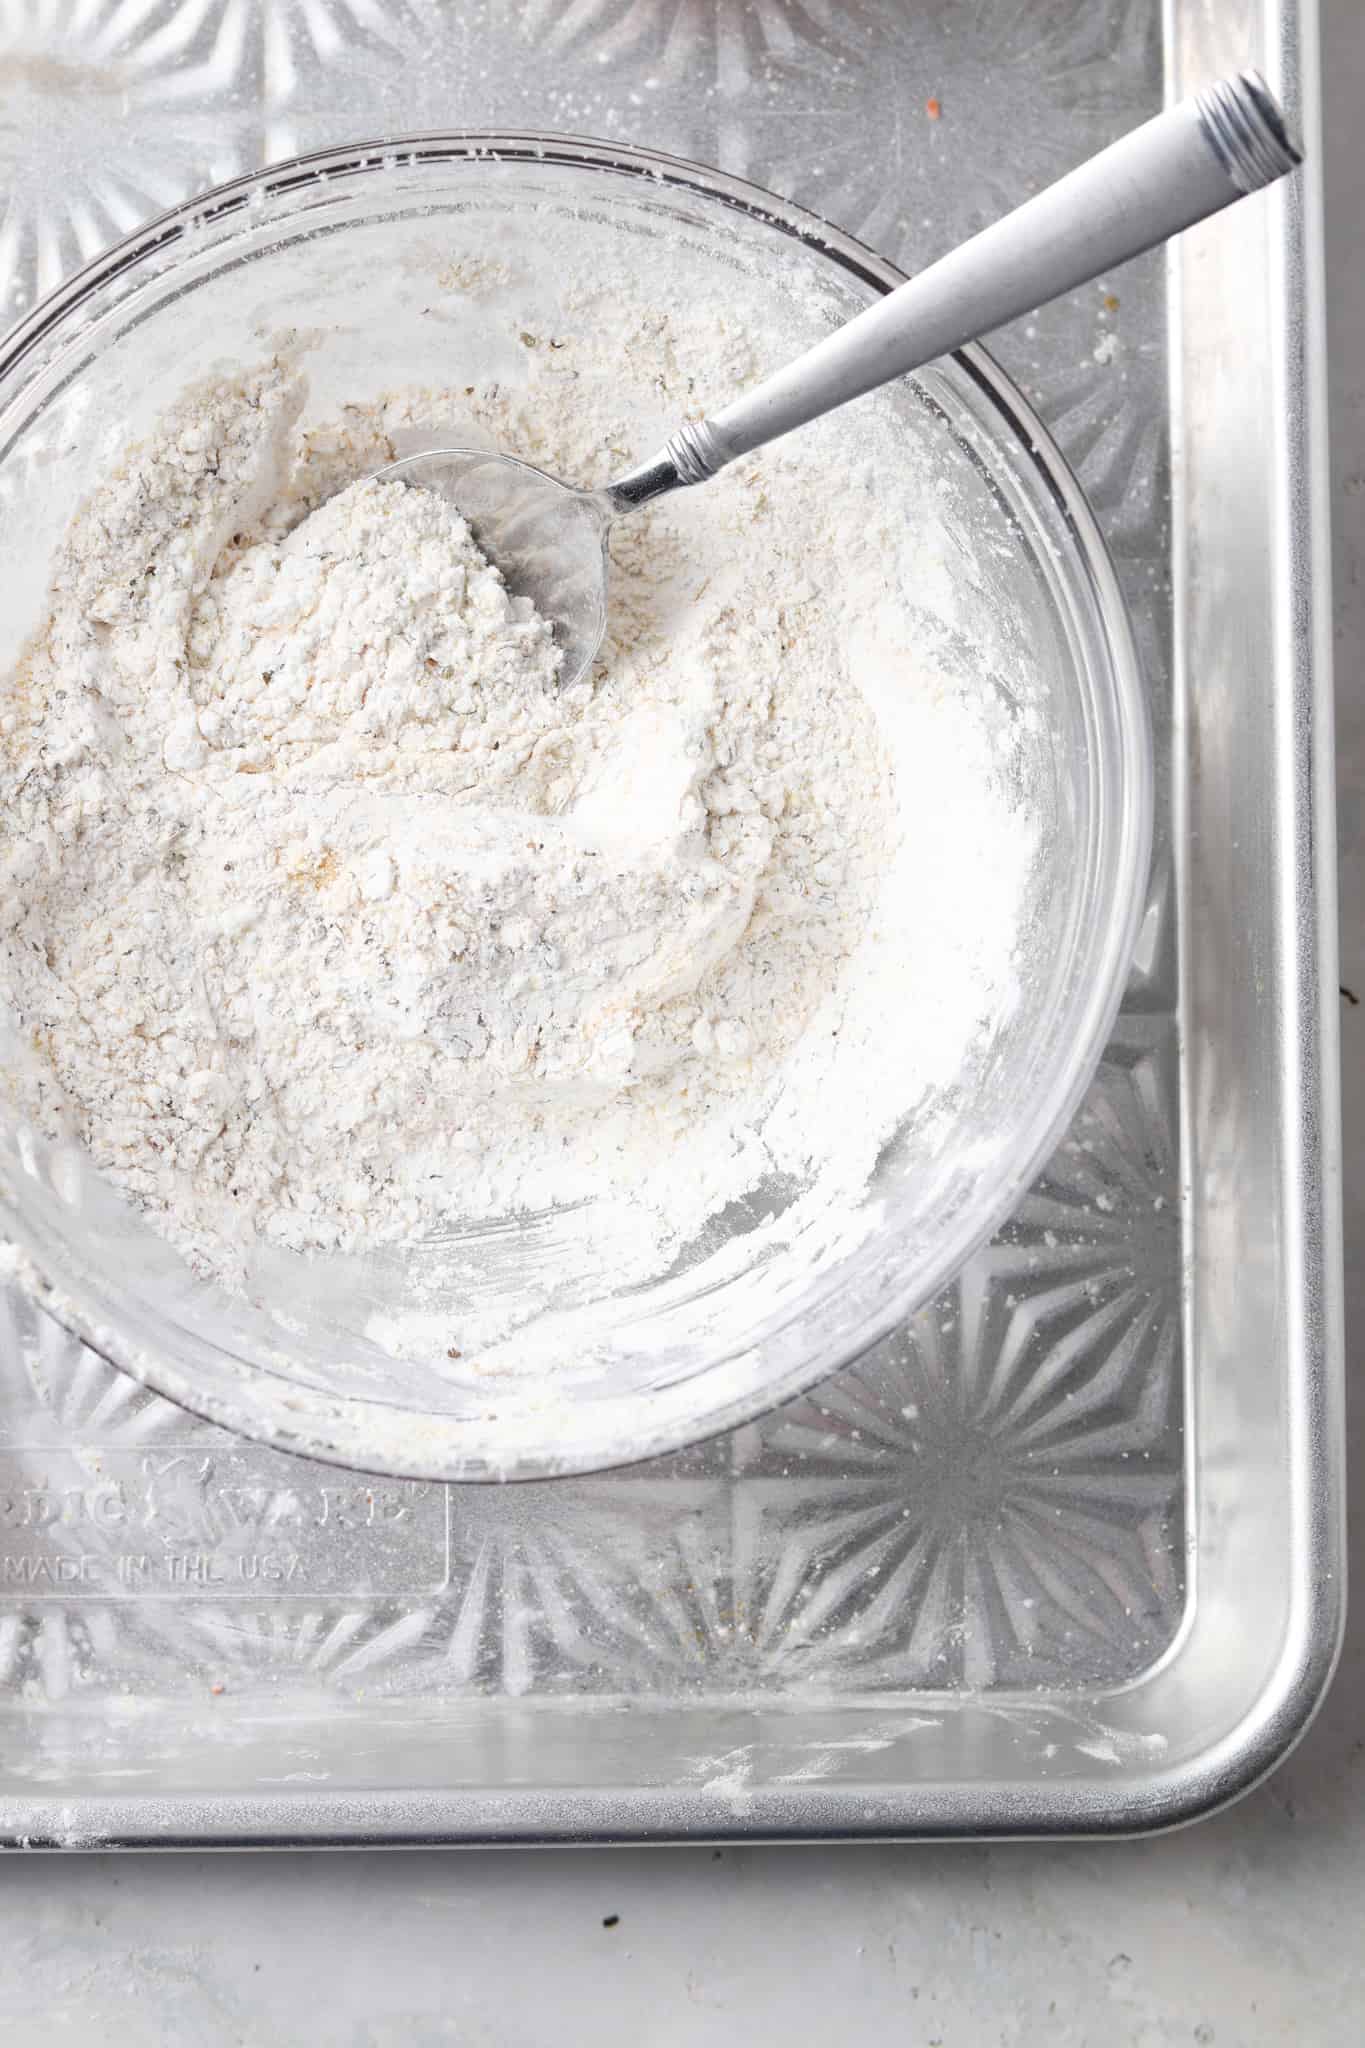
- Tip # 2: Make sure that the arrowroot mixture evenly coats the chicken so that there are no exposed areas of chicken.
- Tip # 3: Make sure to throw away the arrowroot mixture when you are done since it had raw chicken in it.
Recipe FAQ
Yes, however, you will more than likely have to cook the chicken longer. I have yet to test this recipe with the bone in.
I also prefer using the stovetop or toaster oven for reheating my recipe. I put it in the toaster oven for 3-5 minutes until it is warm all the way through.
You can serve this recipe on a platter or individually on a plate!
Storage Instructions
- This recipe can be stored in the refrigerator for 5 days in an air tight container.
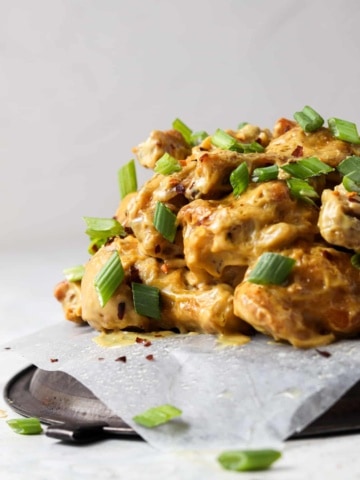
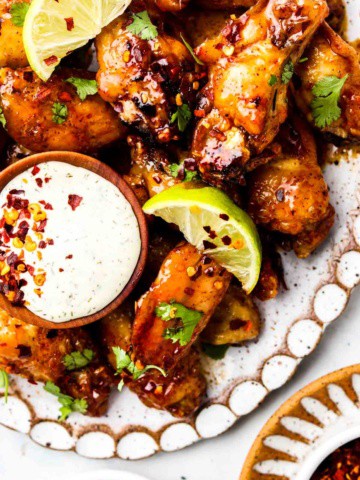
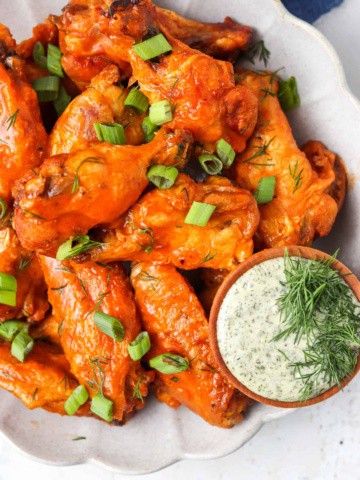
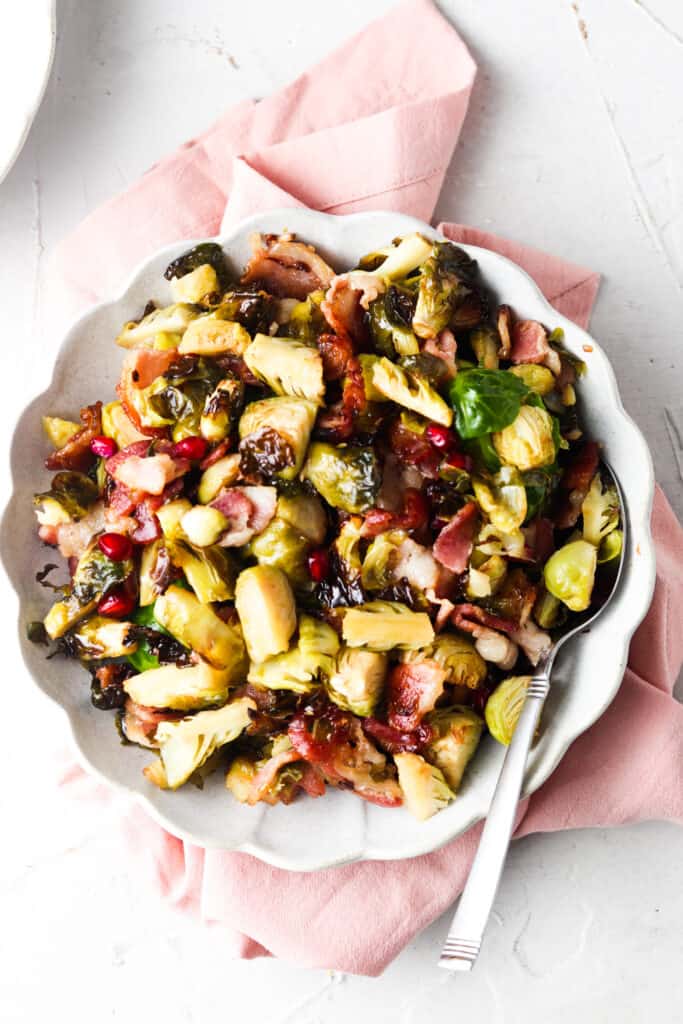
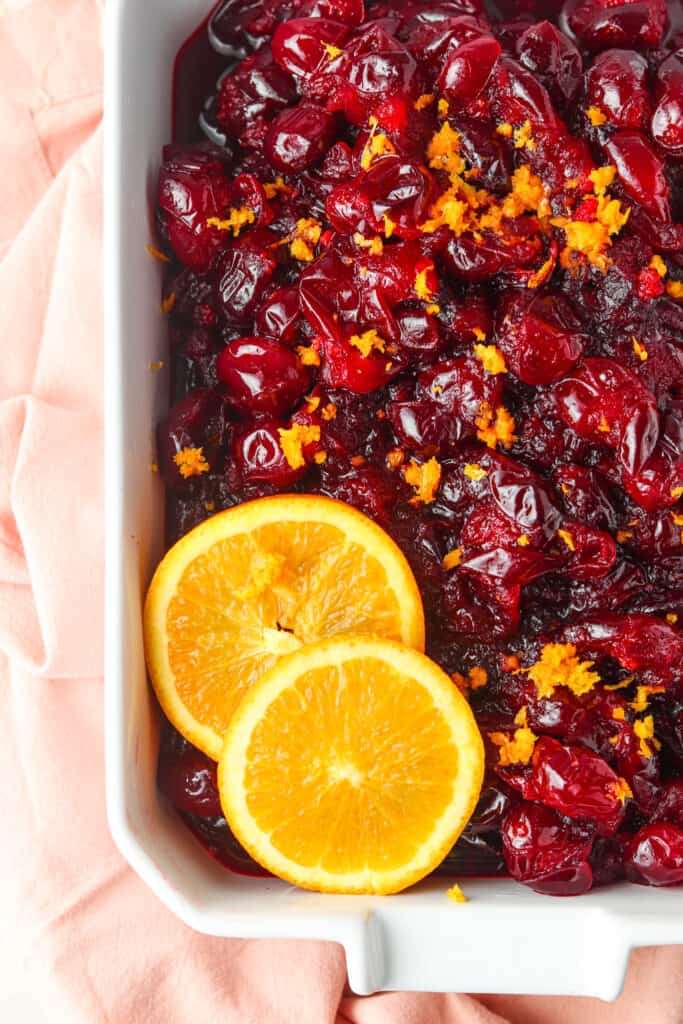
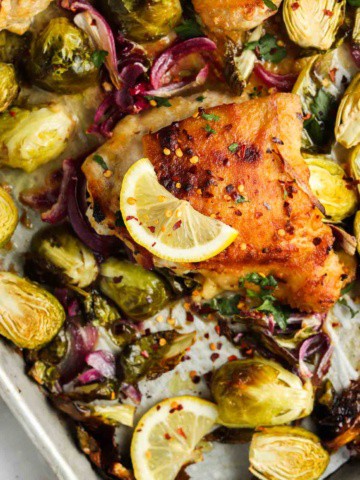
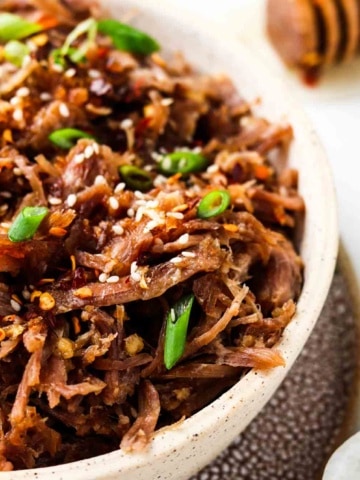
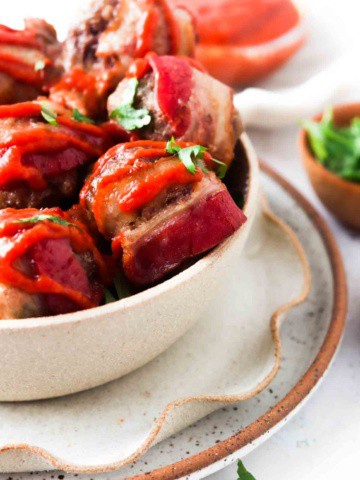
Other AIP Recipes You Will Love
Are you interested in a guide of my go to healthy alternatives?
Download your FREE guide below
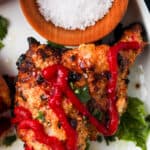
Crispy Air Fried AIP Chicken Thighs (Paleo, Whole30, Keto)
Equipment
- 3 mixing bowls
- Fork
- tongs
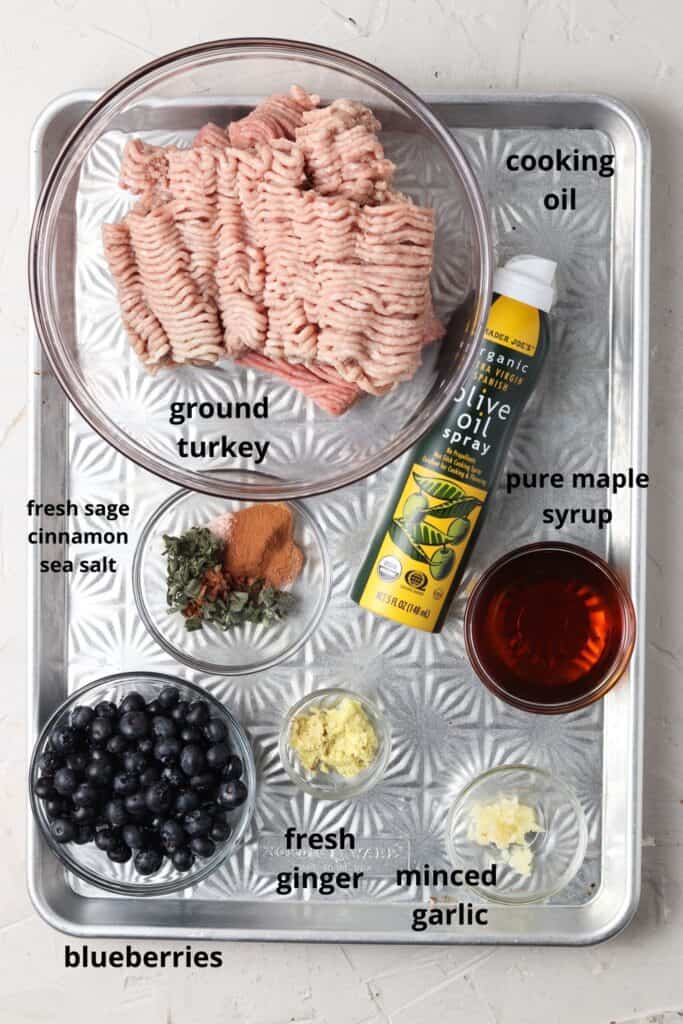
Ingredients
- 1 pound chicken thighs boneless
- 1 cup coconut milk
- 1/2 cup arrowroot powder or cassava flour
- 2 tbsp garlic powder
- 1 tbsp onion powder
- 1/2 tsp dried oregano
- 1/2 tsp dried basil
- 1/2 tsp sea salt
- cooking oil spray
Instructions
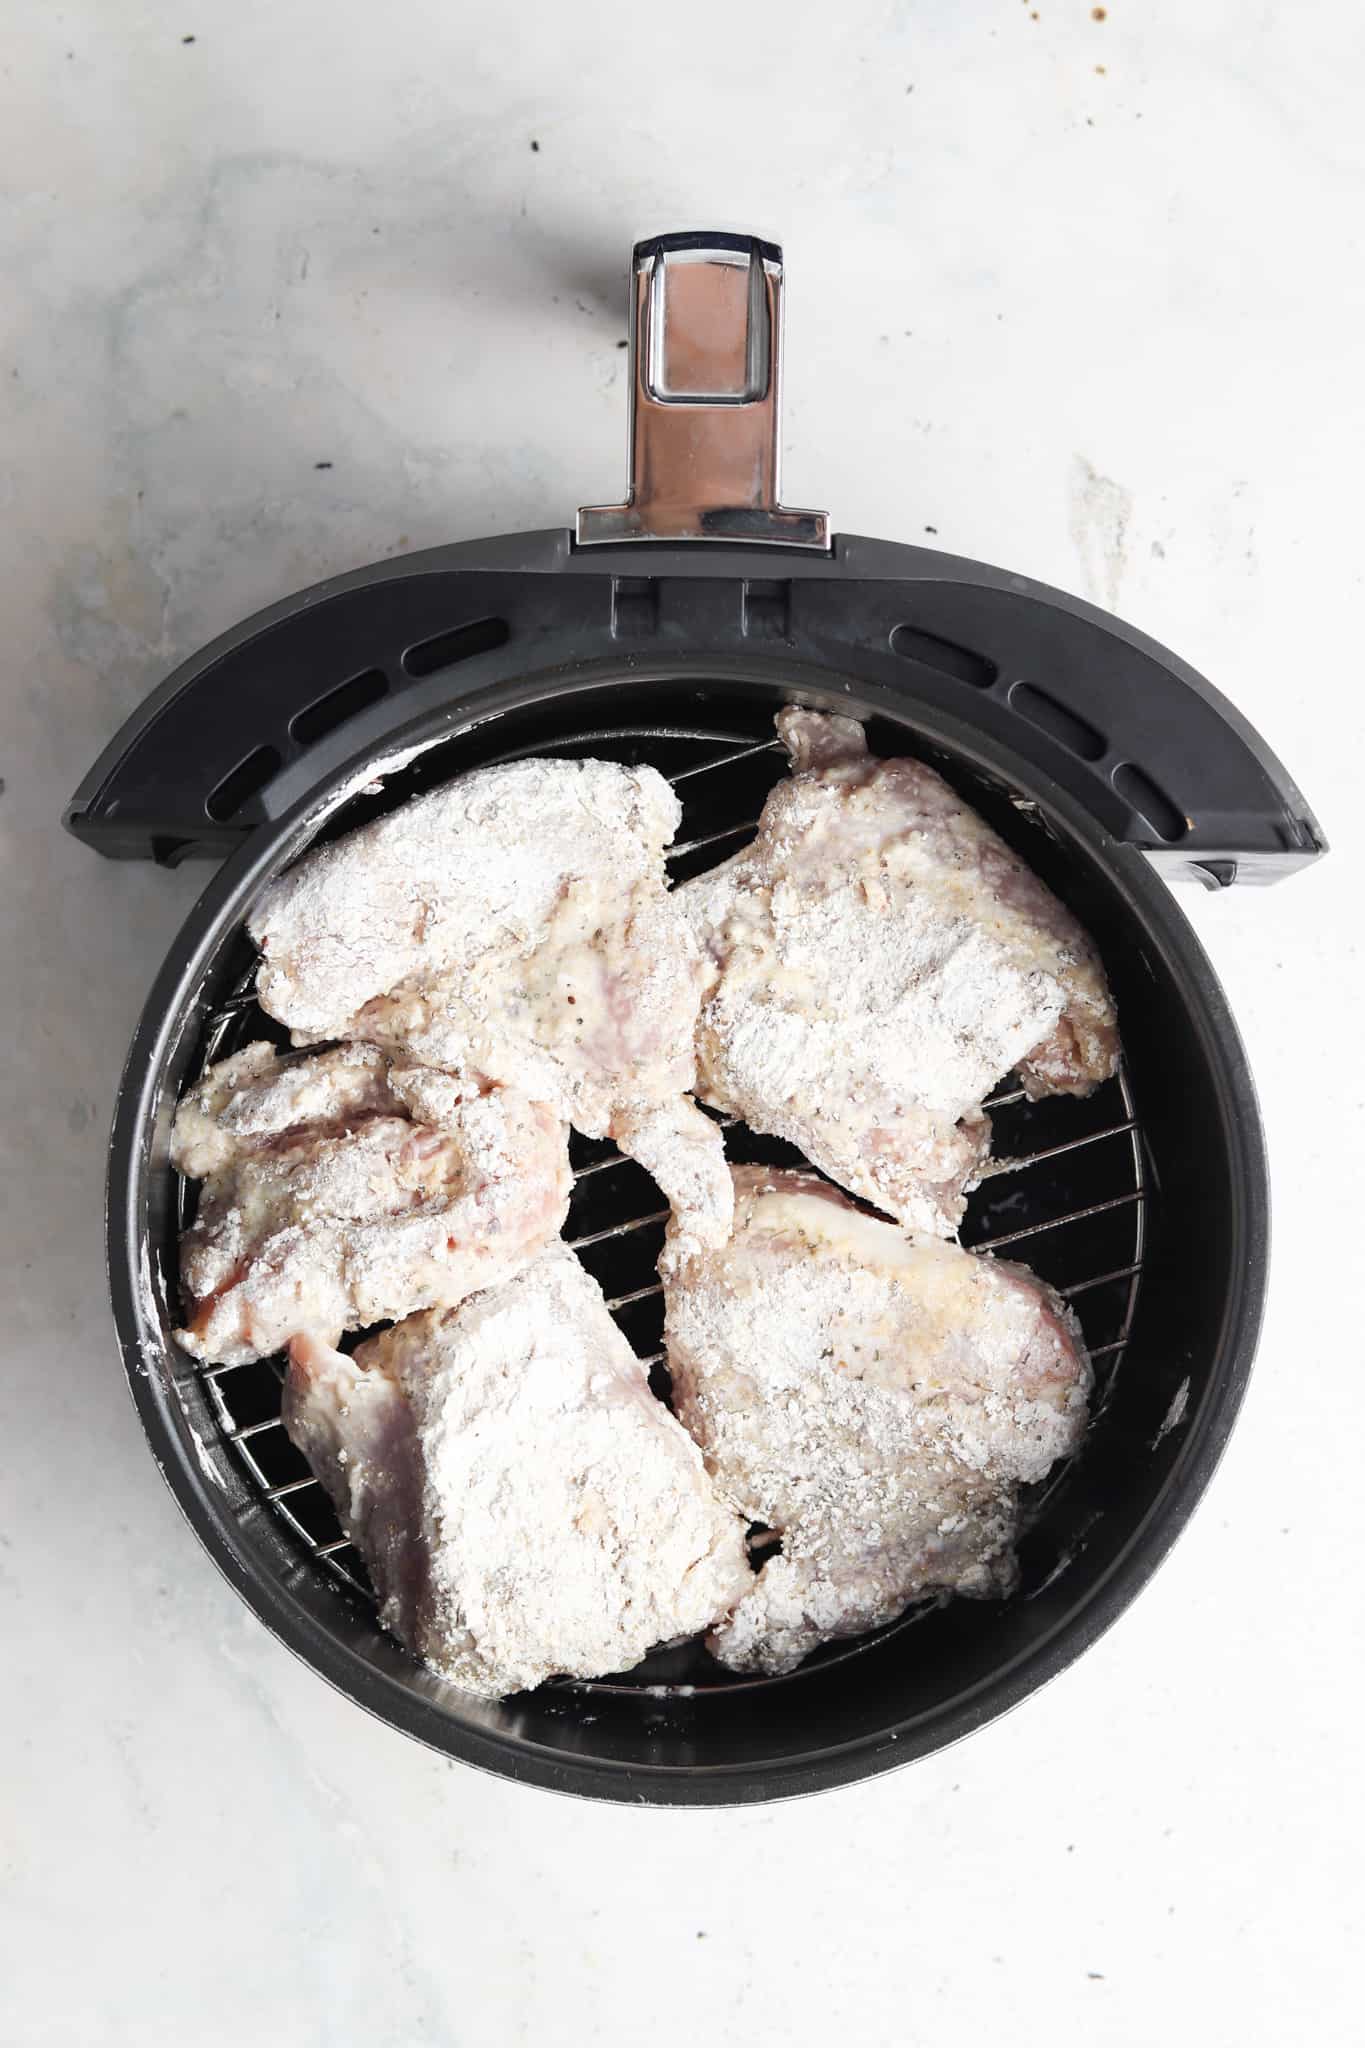
For The Air Frying Option:
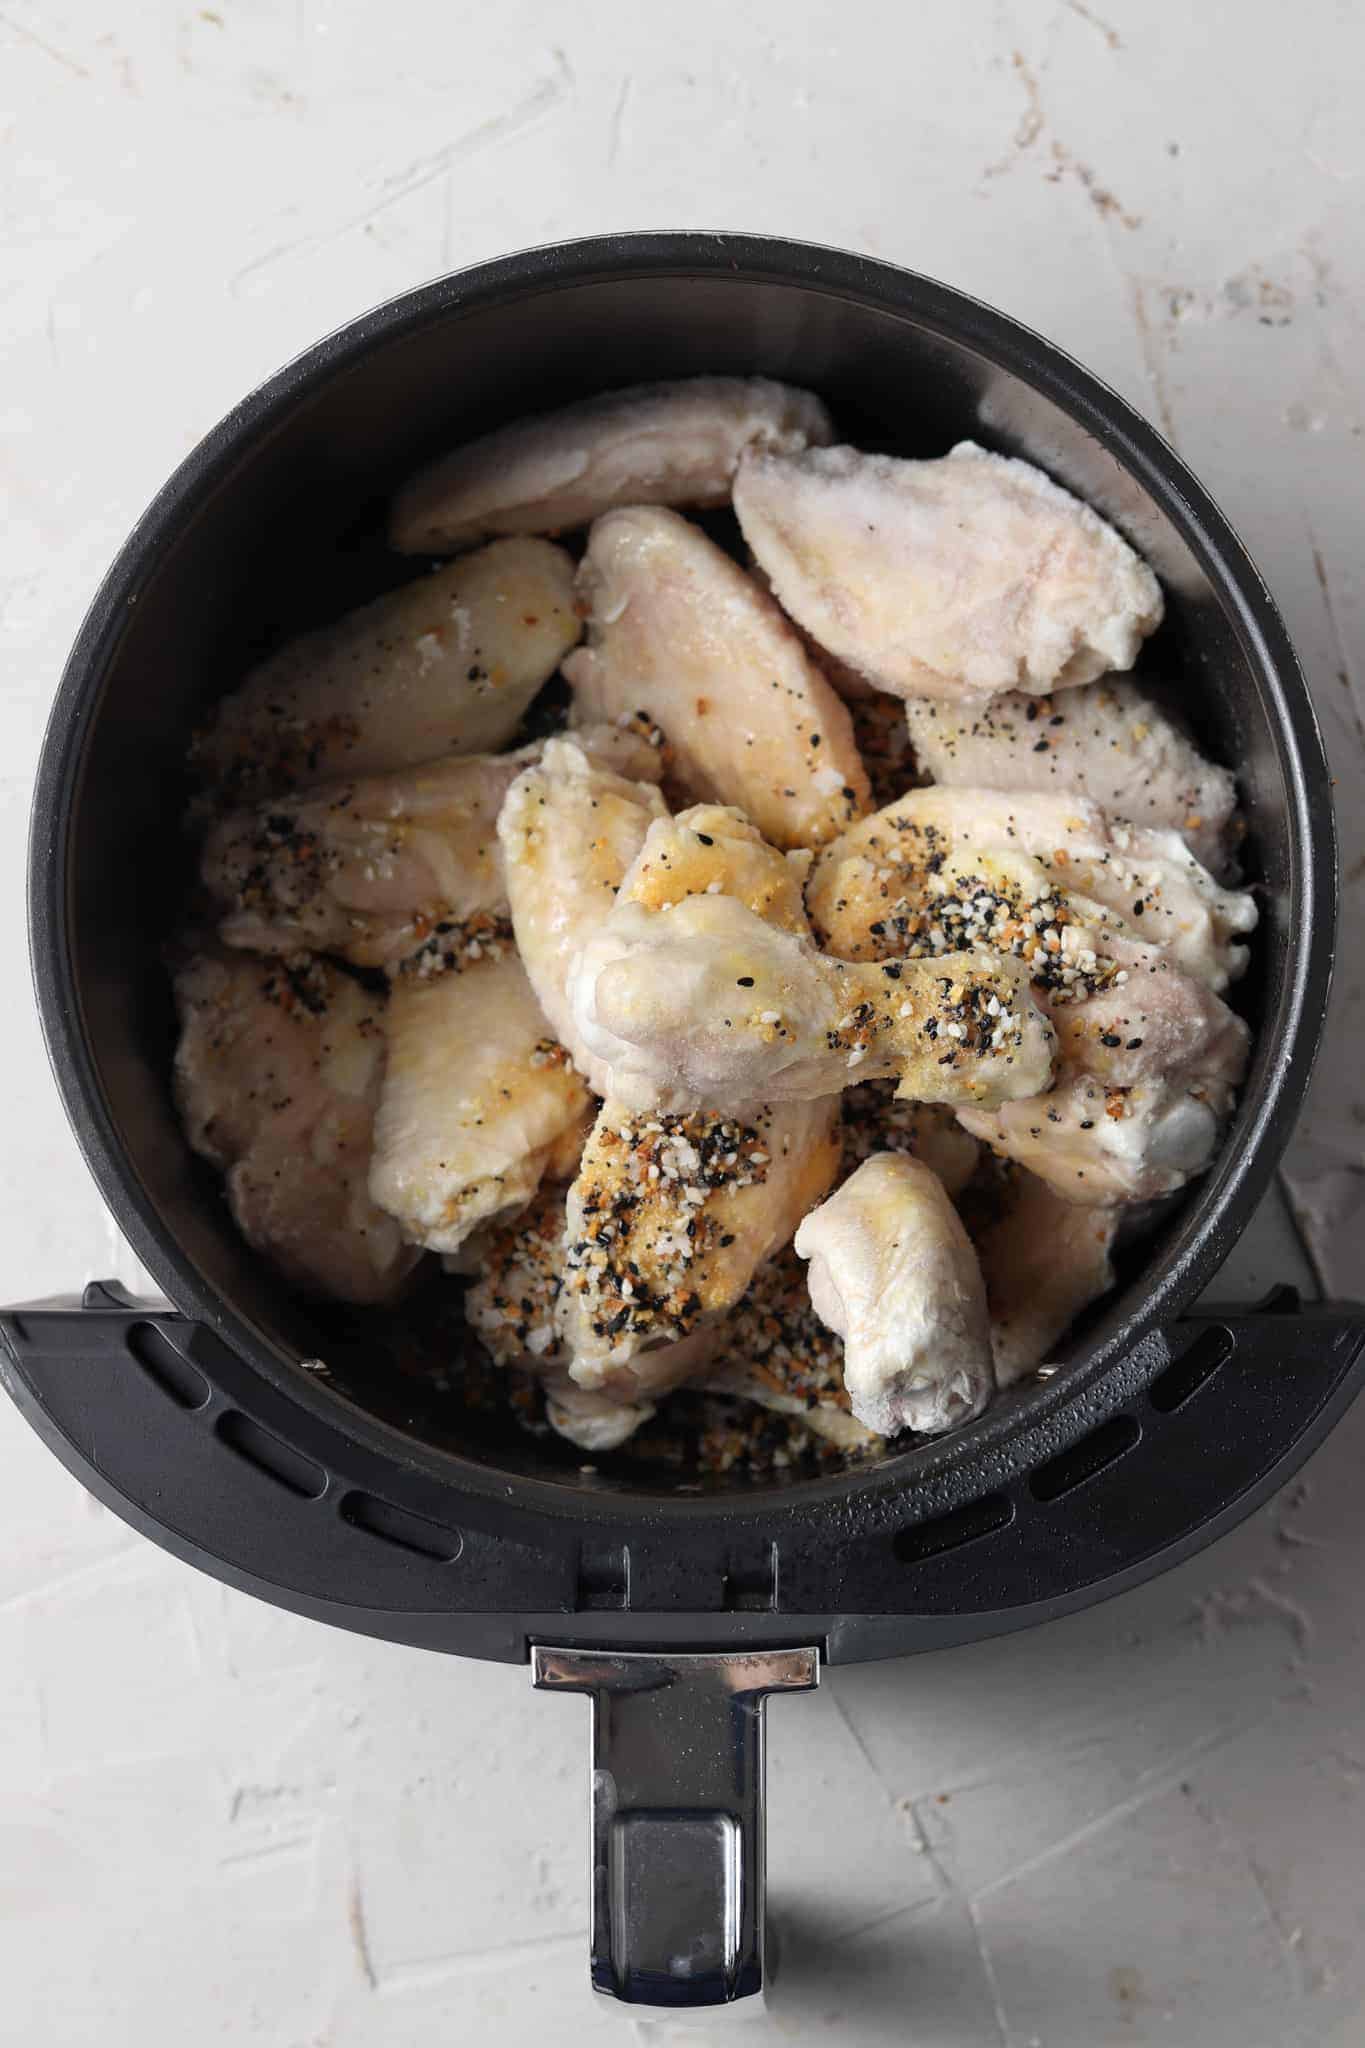
- Add the added rack into your air fryer (this allows the chicken to cook on both sides.) Spray the rack. Preheat the air fryer to 400 degrees F.
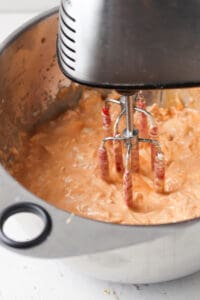
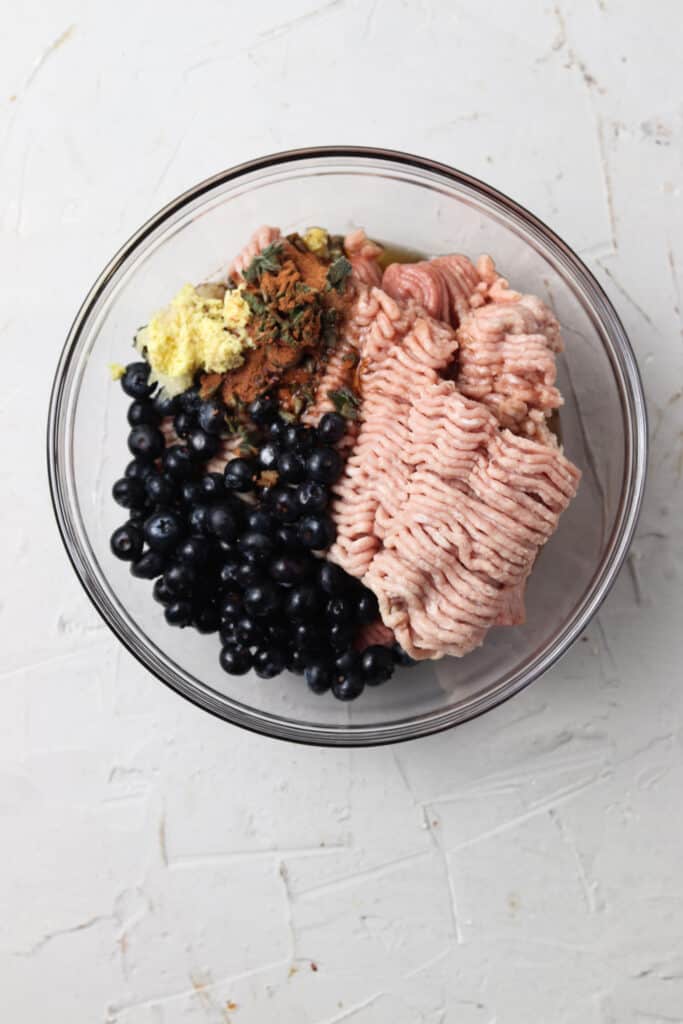
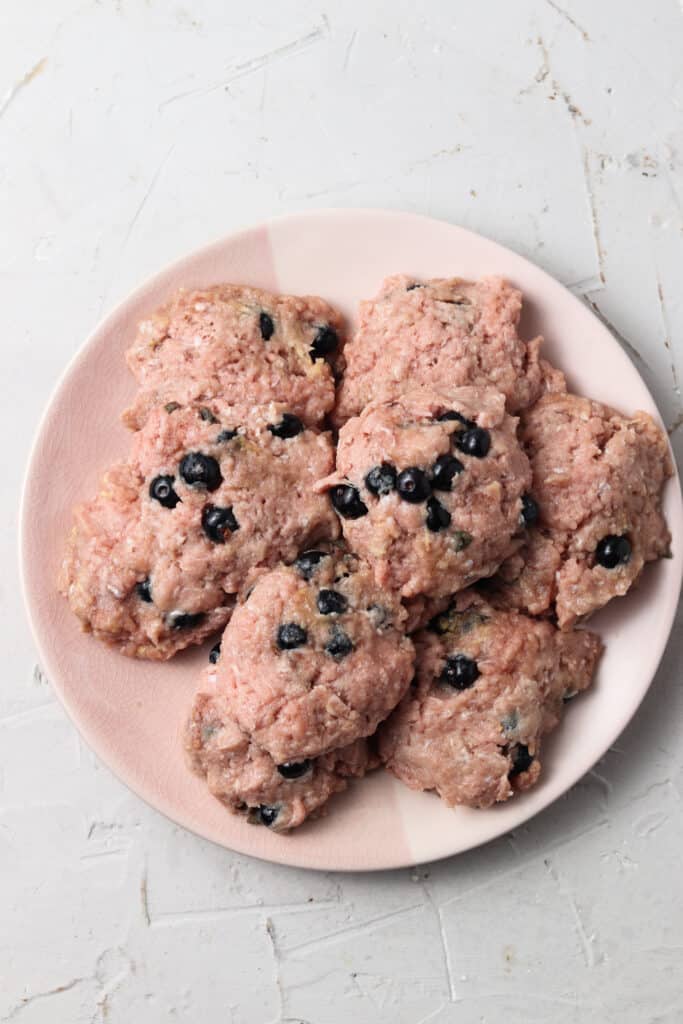
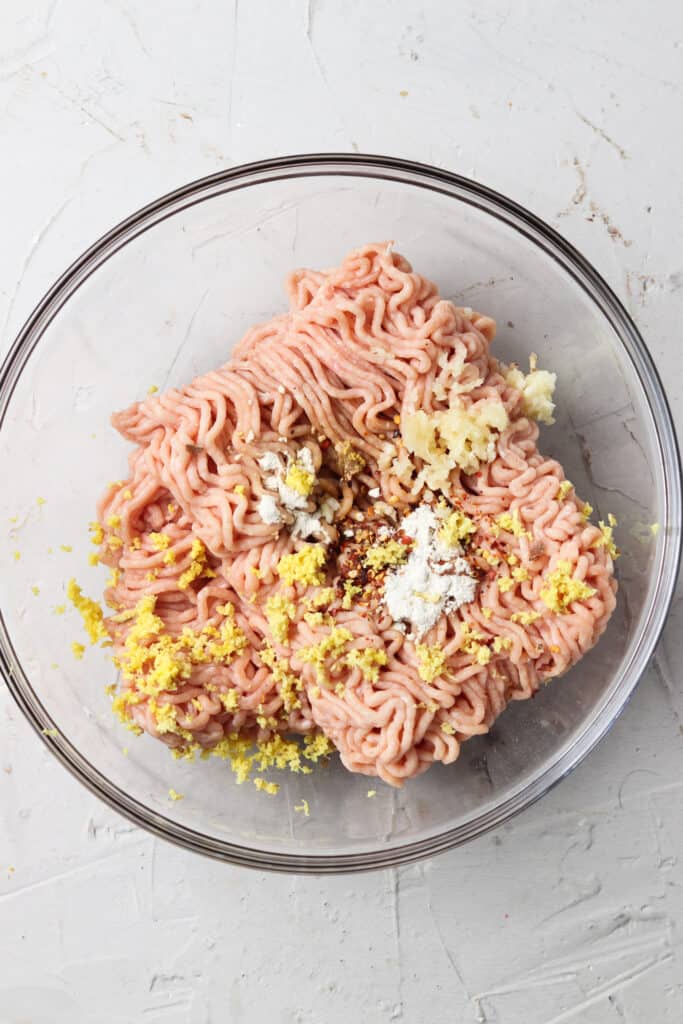
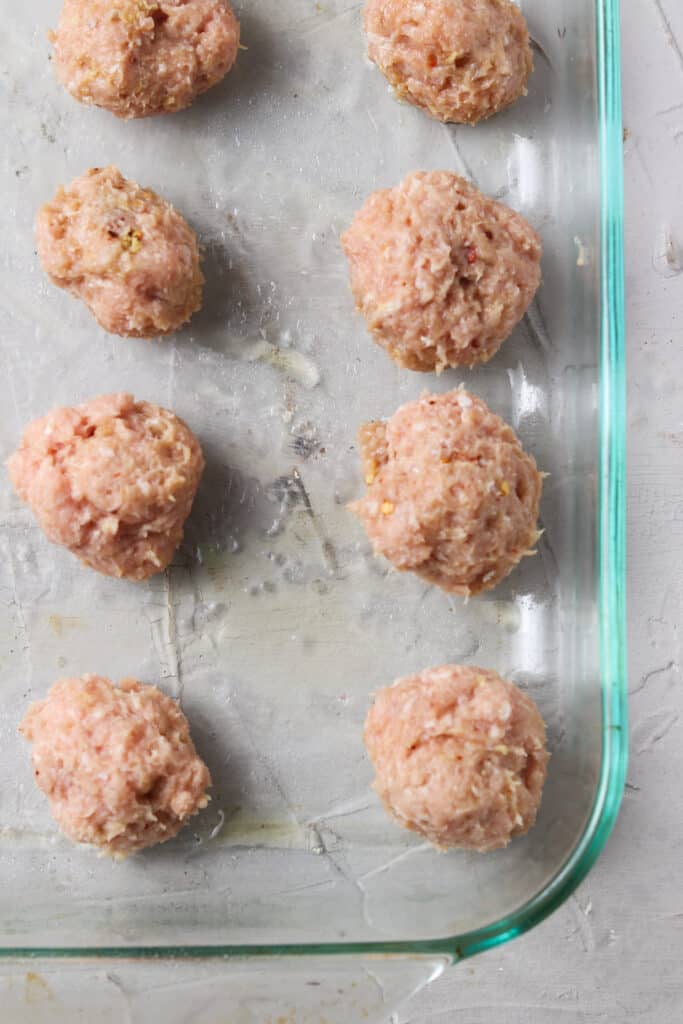
- Place the coconut milk in a small bowl. Then, place the arrowroot and spices in another bowl, and mix the mixture evenly with a fork. Trim any access fat off of the chicken thighs. Dip the chicken thighs in the coconut milk, then dip the thighs on both sides into the spice and arrowroot mixture. Let the chicken sit on a cutting board once it is coated for 5 minutes to allow the mixture to harden and re-dip the chicken in the cassava flour mixture. This will help the breading stick.
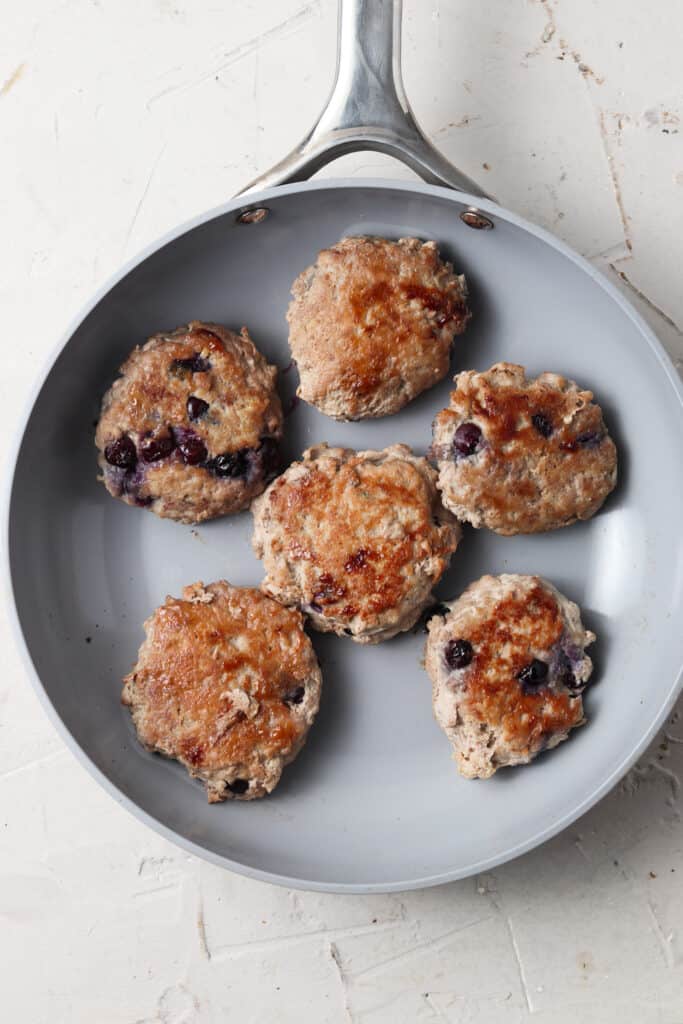
- Place the chicken thighs in the air fryer for 10 minutes. After the 10 minutes is up, use your tongs and flip. Add the remaining arrowroot and herb mixture to the side and give the chicken a nice spray with your cooking oil of choice. This will prevent the chicken from drying out. Bake for another 10 minutes.
For The Oven Option:
- Preheat the oven to 400. On a nonstick baking sheet spray the pan, then lay down your chicken thighs, spray the top with a quick spray of oil. Bake for 10 minutes, then flip. Add the remaining arrowroot/ herb mix to the other side as well as give it a generous spray of olive oil to prevent the chicken from burning. Cook the chicken for an additional 10 minutes. You will know if the chicken is done cooking once it reaches 165 degrees with a meat thermometer or the center is no longer pink.