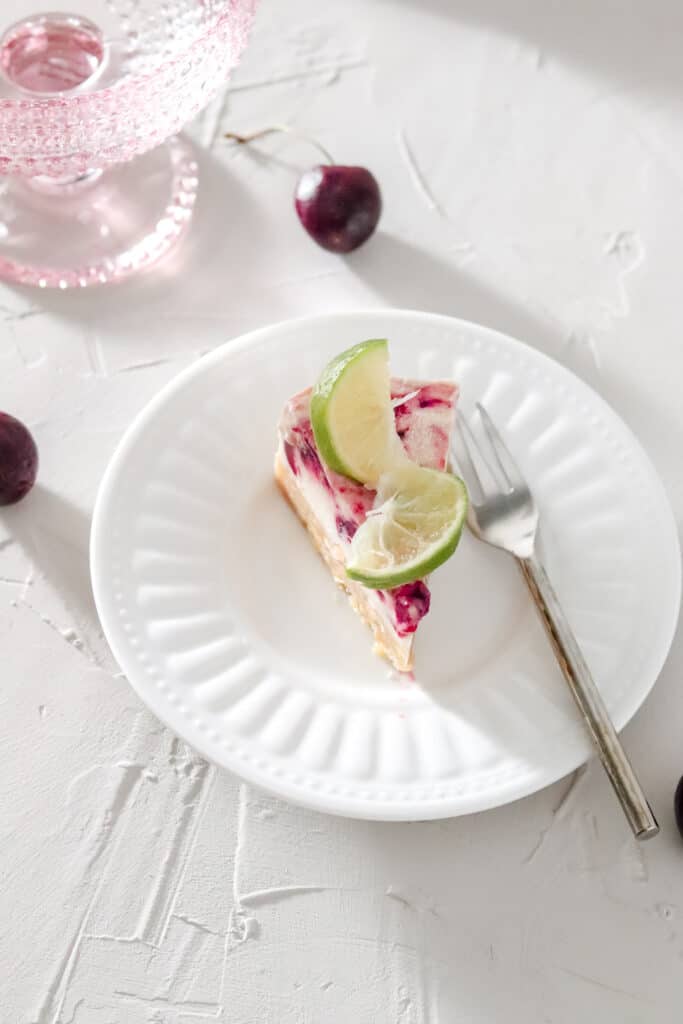
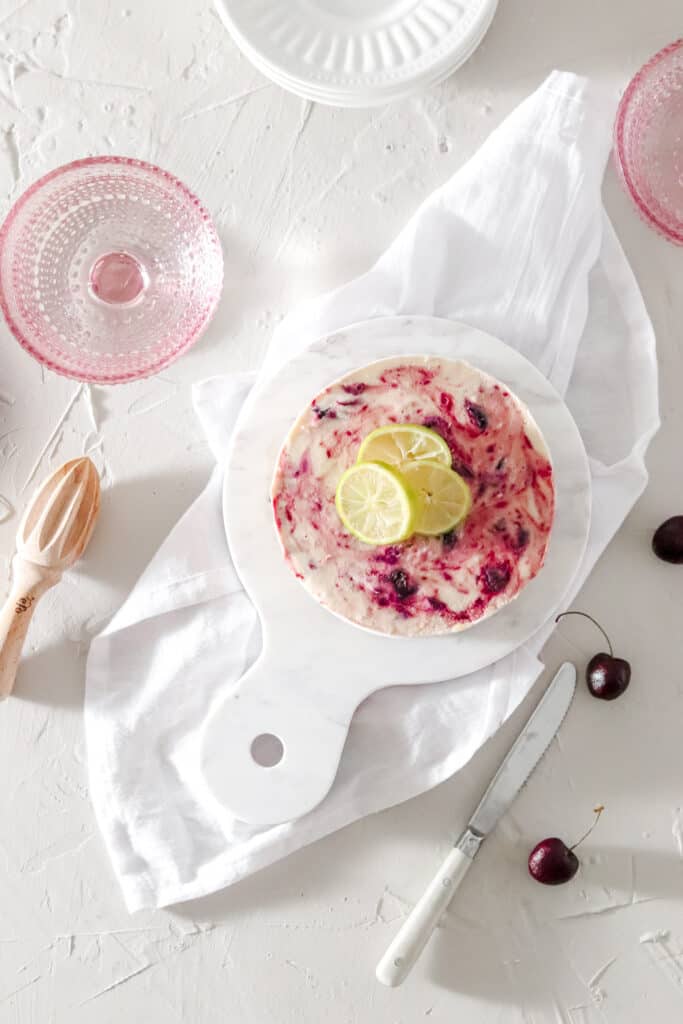
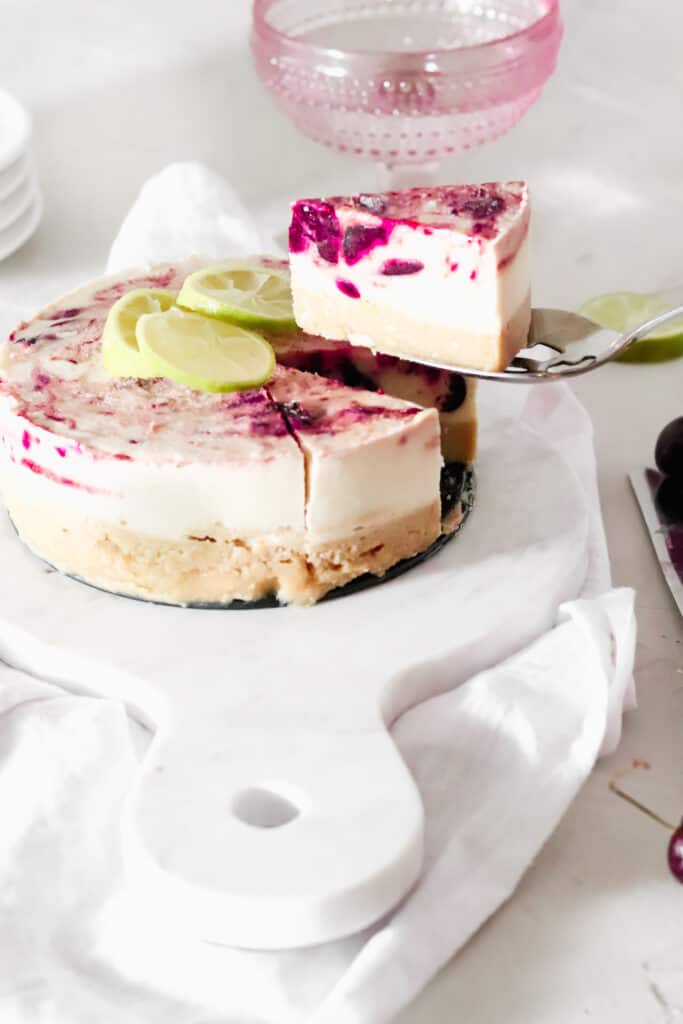
This vegan and gluten free no bake cherry lime cheesecake is the perfect light summer treat. The sweet lime filling topped with the tart cherry sauce and the no bake sweet crust makes this treat both easy and delicious!
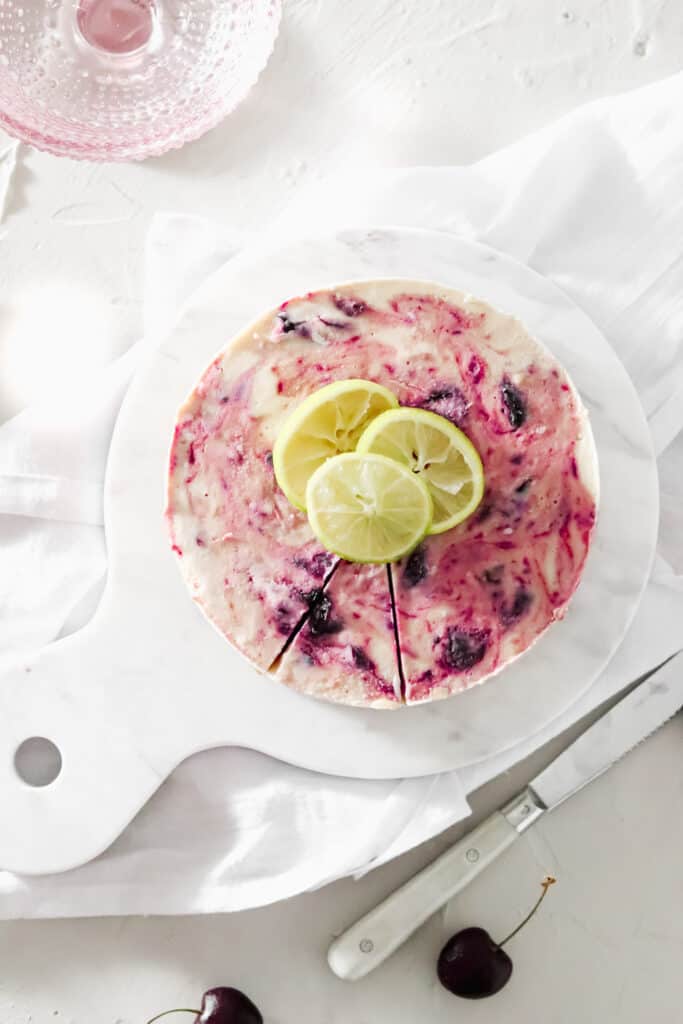
With cherry season here I am wanting to eat all of the cherries. The combination of lime and cherry hits the spot! When I first went dairy free, I thought I would never be able to eat one of my favorite desserts again: cheesecake, but boy was I wrong! My dairy loving friends say you can’t even tell this cheesecake is vegan! The Kite Hill Brand is my go to vegan cream cheese brand. The crust is absolutely divine, what I love most about it is that 1.) It’s super light 2.) You do not have to bake it.
Now for the cherry sauce adds the perfect touch to the lime filling. You can use this cherry sauce for much more than just this recipe. You can add it to your ice cream, on top of my go to pancakes and even pound cake!
If you like this recipe you may also like the following: peanut butter vegan cheesecake, paleo chocolate ganache tart, paleo chocolate chip cookies

Vegan & Gluten Free No Bake Cherry Lime Cheesecake
Ingredients
For the filling:
- 1- 8 ounce container of Kite Hill dairy free cream cheese
- ¼ cup almond milk
- ½ cup honey
- 1 tablespoon coconut oil
- 1 teaspoon vanilla
- 2 limes juiced
For the crust:
- ½ cup peanuts
- 1 cup almond flour
- ⅓ cup maple syrup
- 2 tablespoons coconut oil
Instructions
- Using a spring loaded 6 inch pan, either spray or wipe the pan with olive oil or coconut oil to prevent the cheesecake from sticking.
- Place all of the cheesecake crust ingredients in the food processor for 30-60 seconds. This will create a sticky crust like consistency.
- Once the spring loaded 6 inch pan is coated with oil, add the crust to the pans. Make sure the crust is pushed down evenly.
- Now, rinse out the food processor and get rid of any remaining crust fragments.
- Add the filling to the food processor and blend for 15- 30 seconds.
- Pour the filling into the spring loaded 6 inch pan over the crust.
- Now, place the cherry sauce ingredients in a small sauce pan on medium heat and continuously whisk using a fork or mini whisk for 10 minutes. You must continue to whisk or the arrowroot will form one big clump. Whisking it will help form a syrup like consistency.
- Once the sauce has cooled for 10 minutes pour it in the food processor. I use my ninja.
- Processor for 20 seconds, this will break up some of the cherry chunks.
- Now with a spoon, dump 3 separate clumps of cherry sauce in different spots on the cheesecake.
- Using a toothpick swirl in the cherry sauce. (You do not want to mix it, just swirl it.)
- Place the cheesecake in the freezer for at least 8 hours, you can keep it in the freezer for more than 6 hours. Take the cheesecake out 10 minutes prior to serving.
- ENJOY!
- Take a picture of your yummy creation and tag me @alliannaschneider. I would love to see!
- PS-I love when you share the links to my recipes with your friends and family 🙂
Notes

Lori says
So good!! Such a great spring recipe!
Allianna Moximchalk says
Thanks for your review, Lori!
Maura says
This recipe was so yummy! It was easy to make even with kids! The recipe was flexible & Allianna helped me make sure using regular cream cheese & lemon flavor would turn out. Thank you!!!