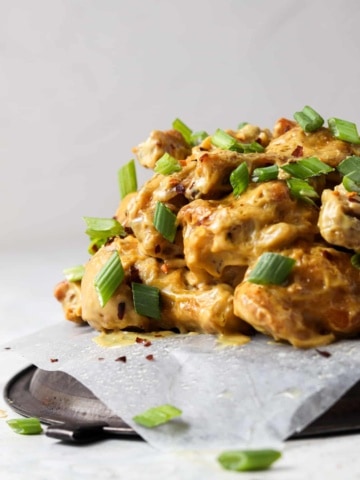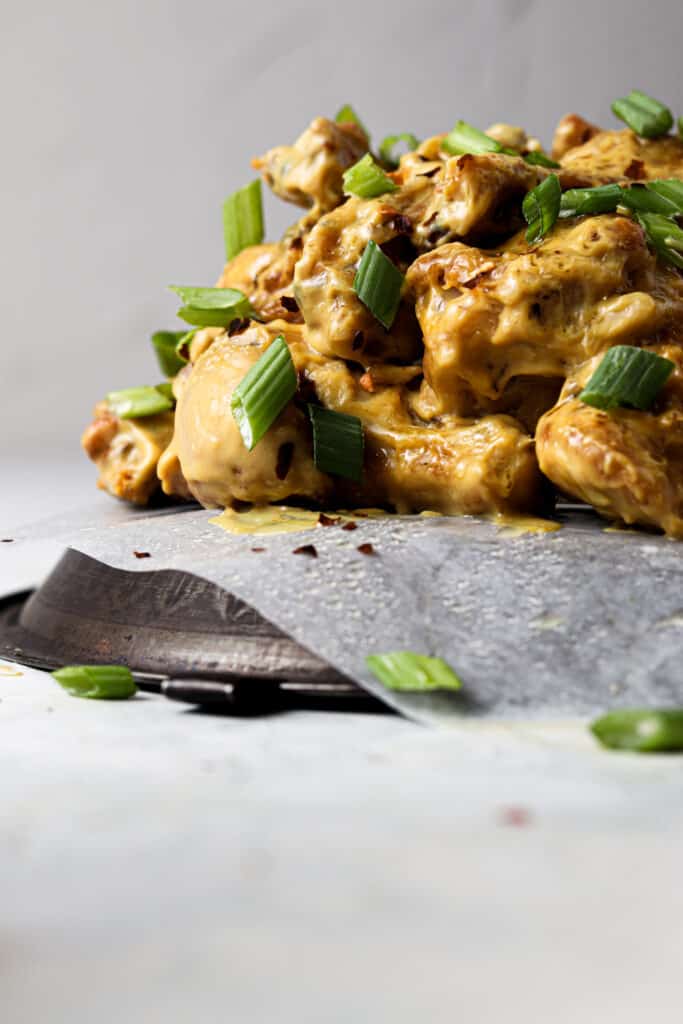
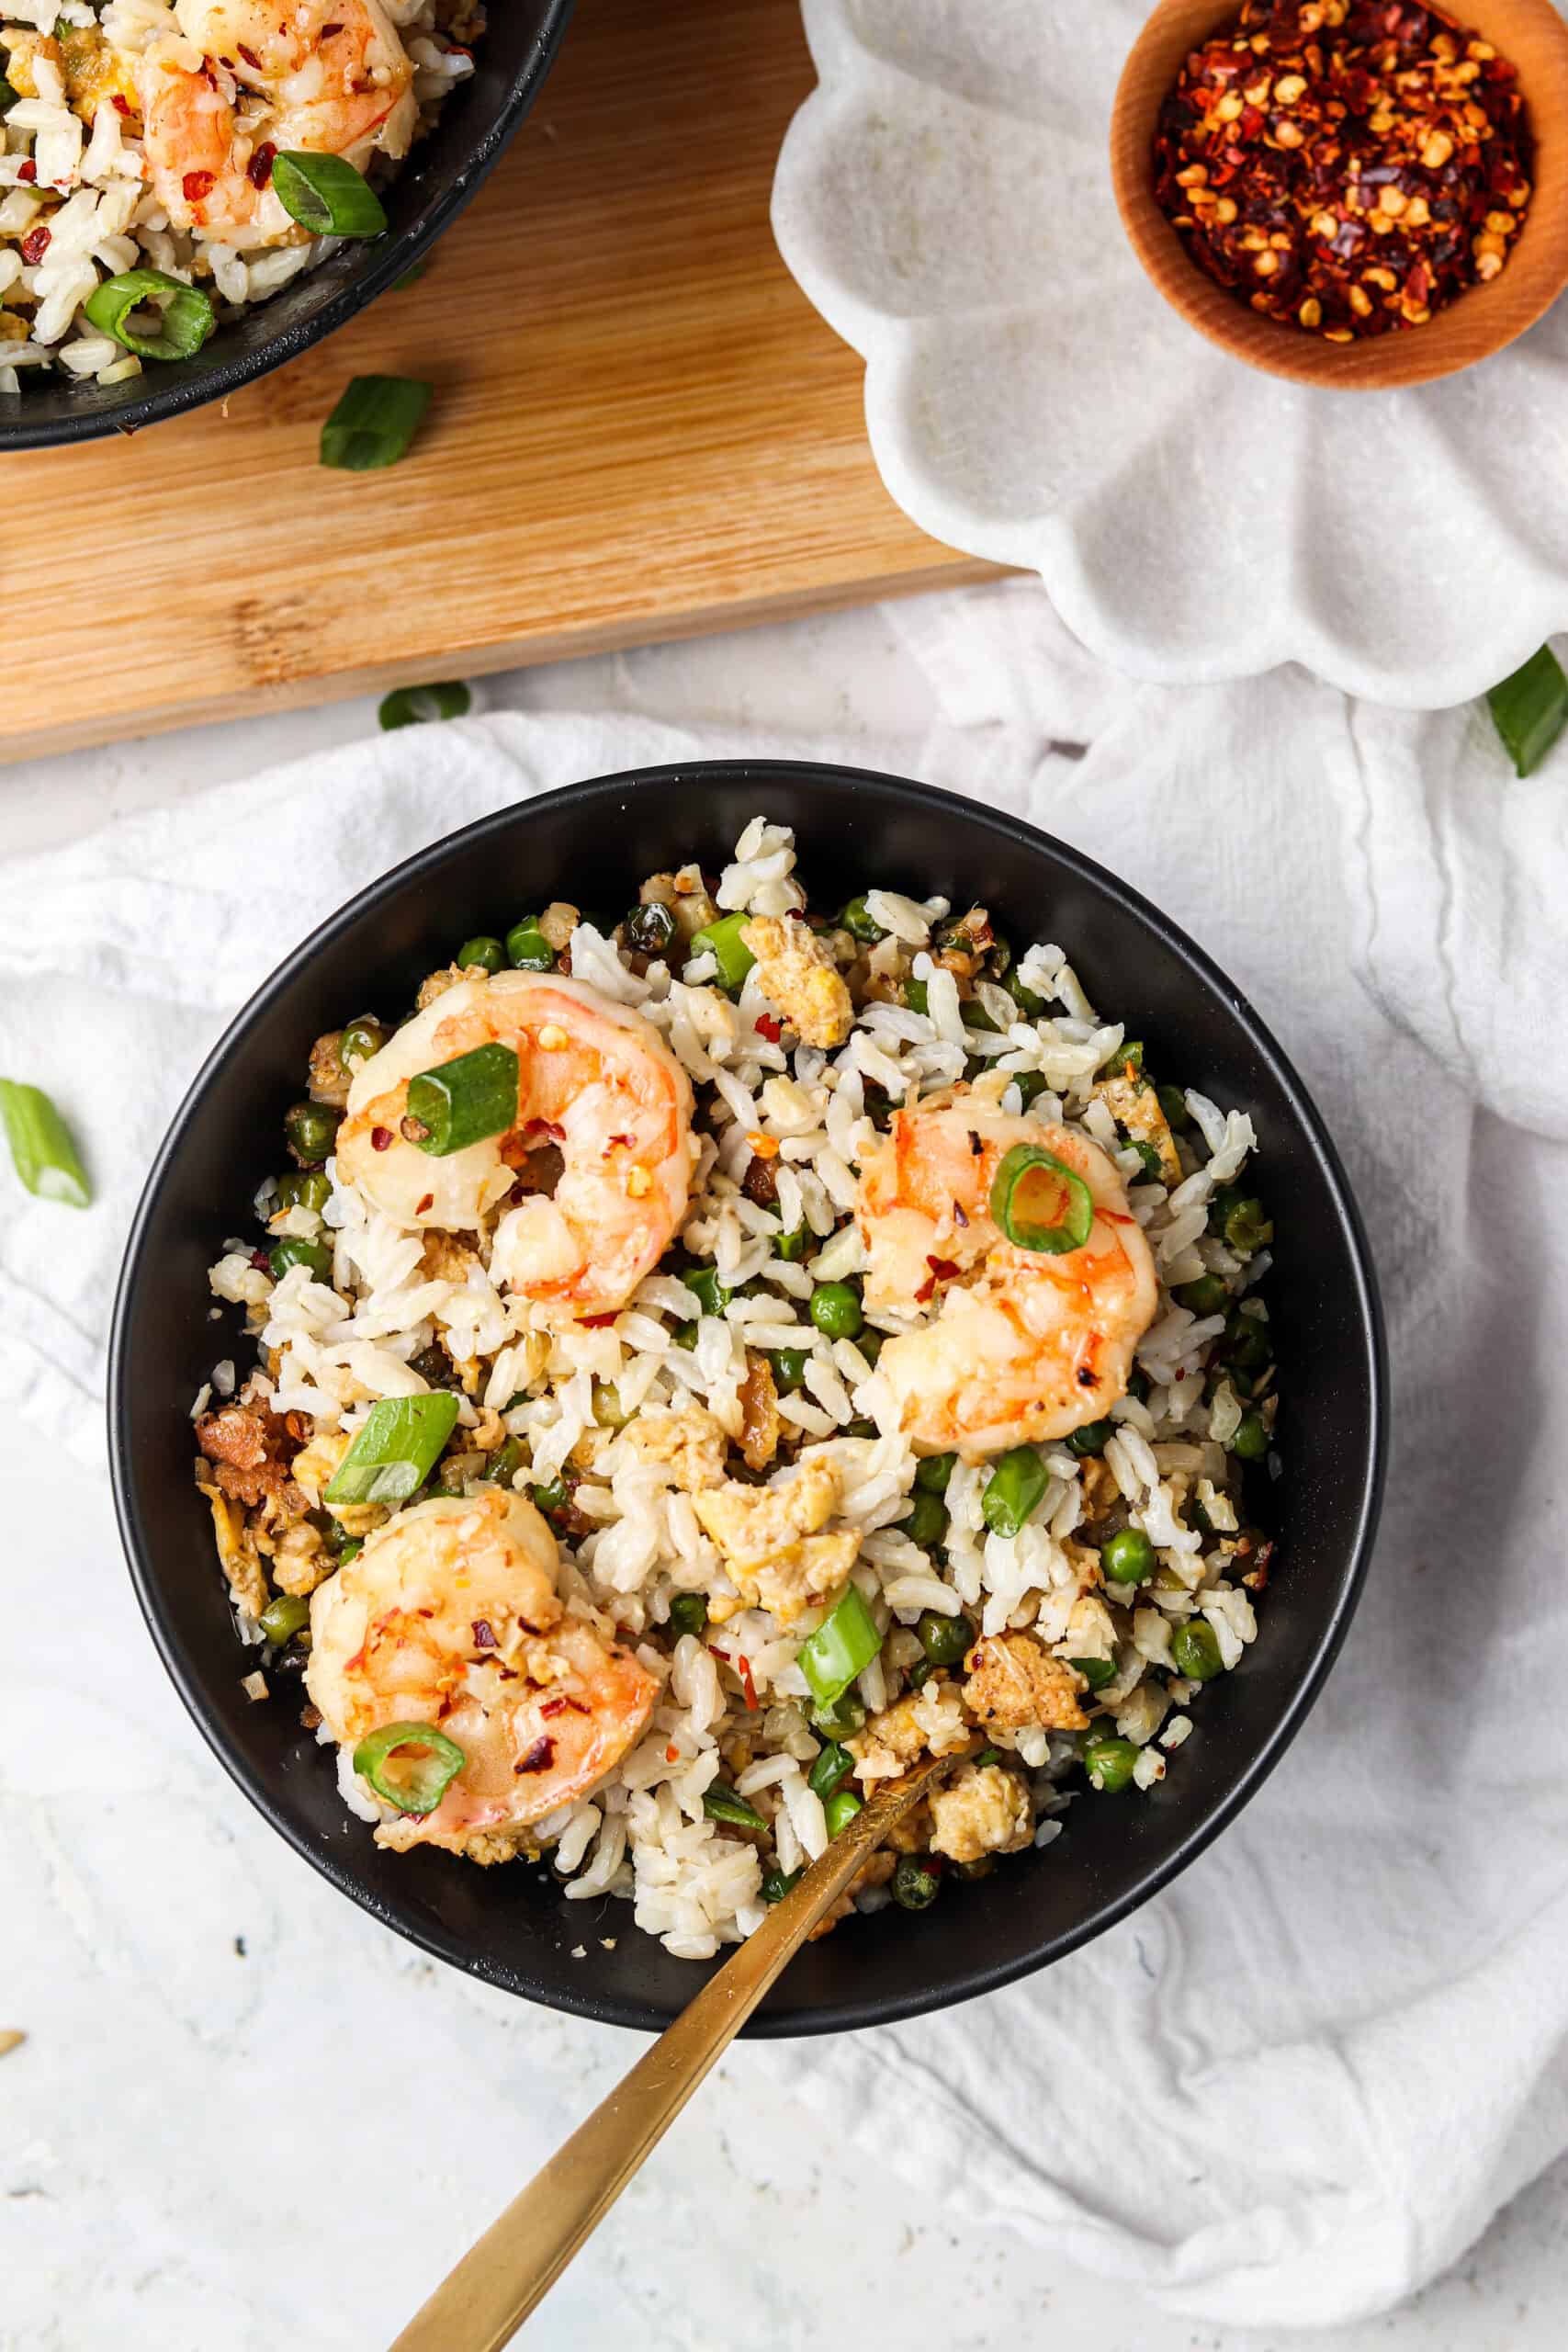
This Shrimp Fried Cauliflower Rice dish tastes just like Chinese take out yet it is made with cauliflower instead of brown rice. This recipe is super simple and kid friendly. The fresh ginger combined with the green onions makes this dish oh so delicious. This recipe won’t even make you miss the rice.
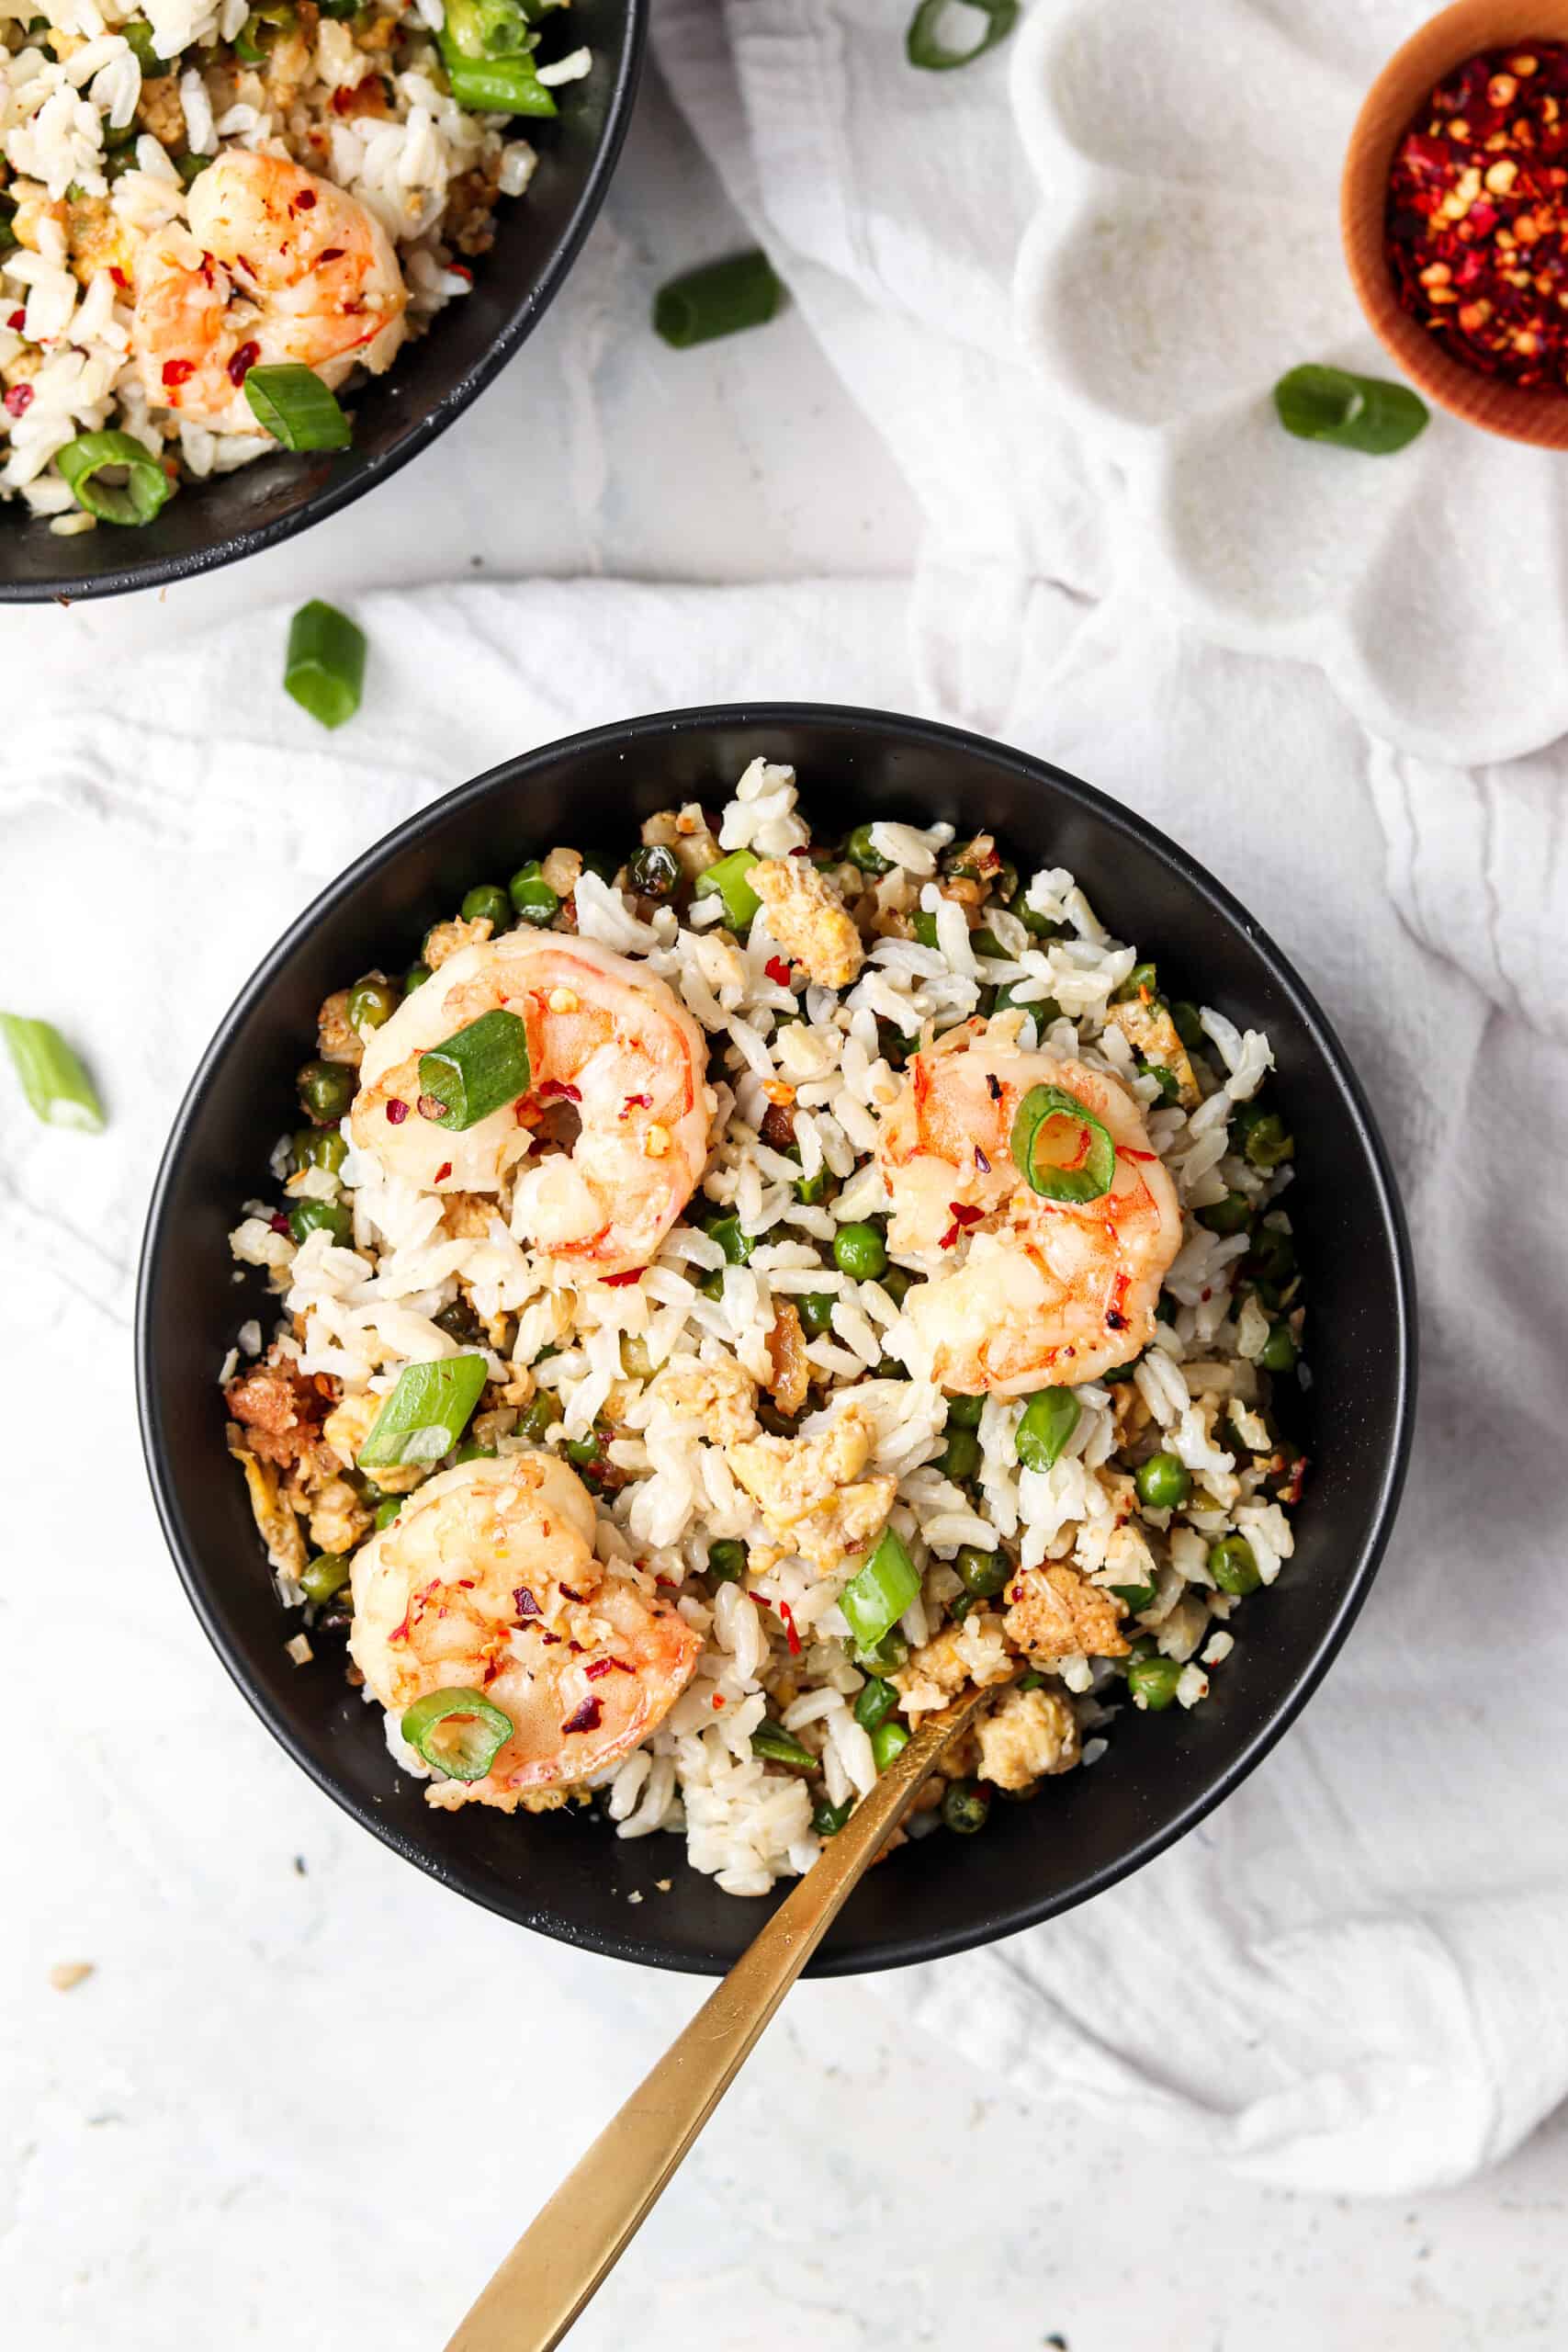
This recipe is delicious and also guilt free without lacking any of the flavor you would expect from a traditional fried rice.
[feast_advanced_jump_to]Why You Will Love This Recipe
- This dish is so easy!
- Kids will love this recipe.
- This recipe is naturally paleo, keto, and whole30 and can be modified to be autoimmune protocol (AIP) friendly as well.
- This would pair well with my Roasted Bok Choy recipe!
- You can be enjoying this dish in less than 30 minutes!
- This is a great recipe to make if you have forgotten to lay meat out for dinner. Shrimp cooks fast even from frozen.
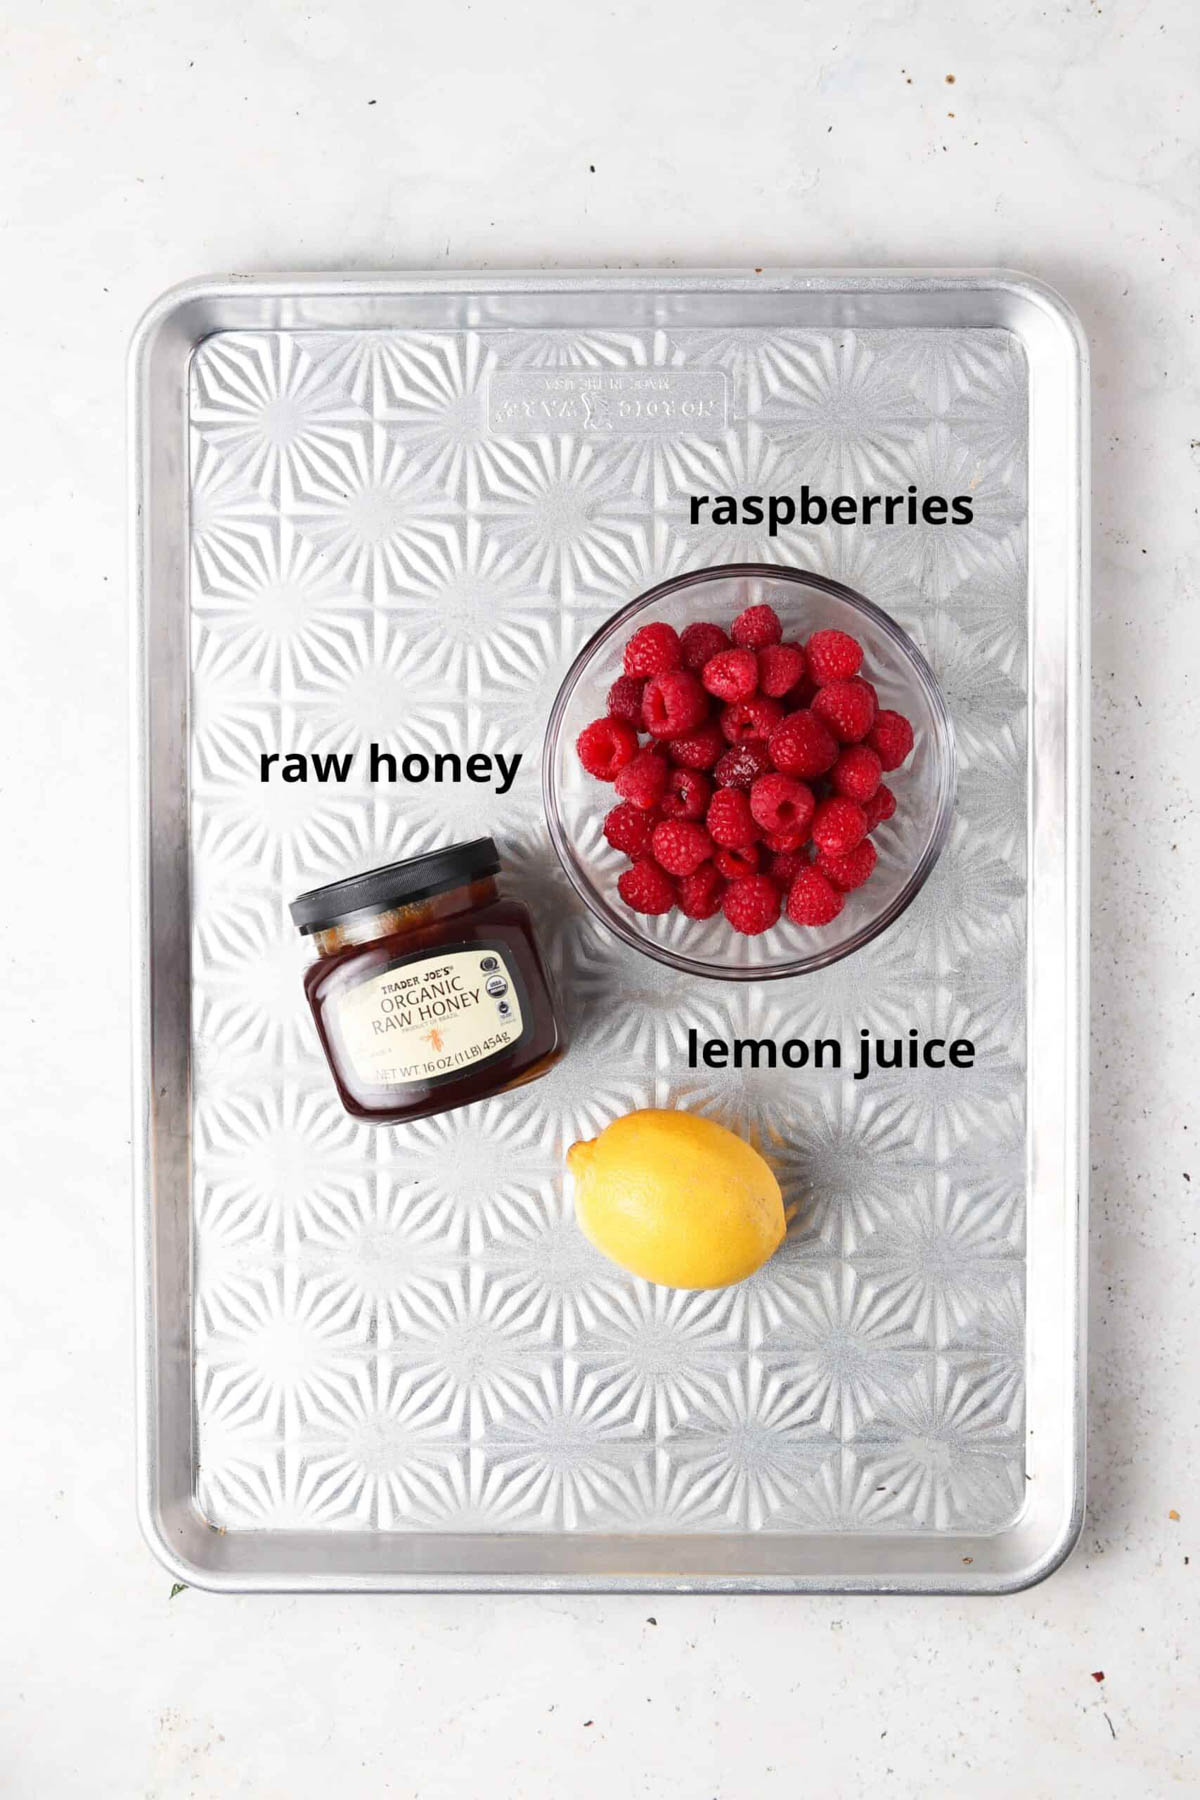
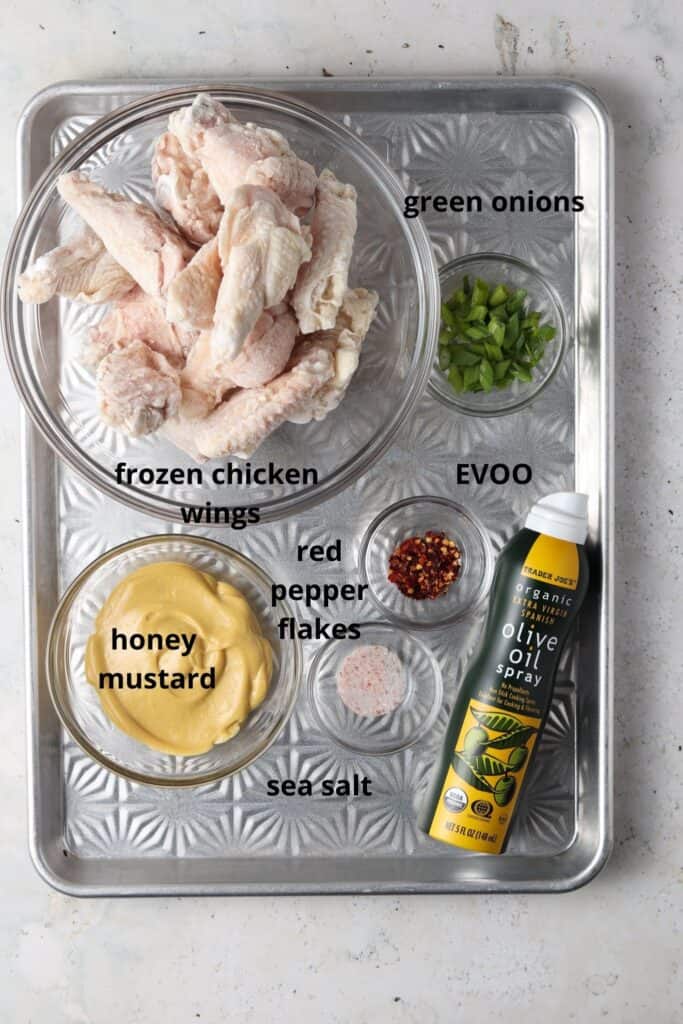
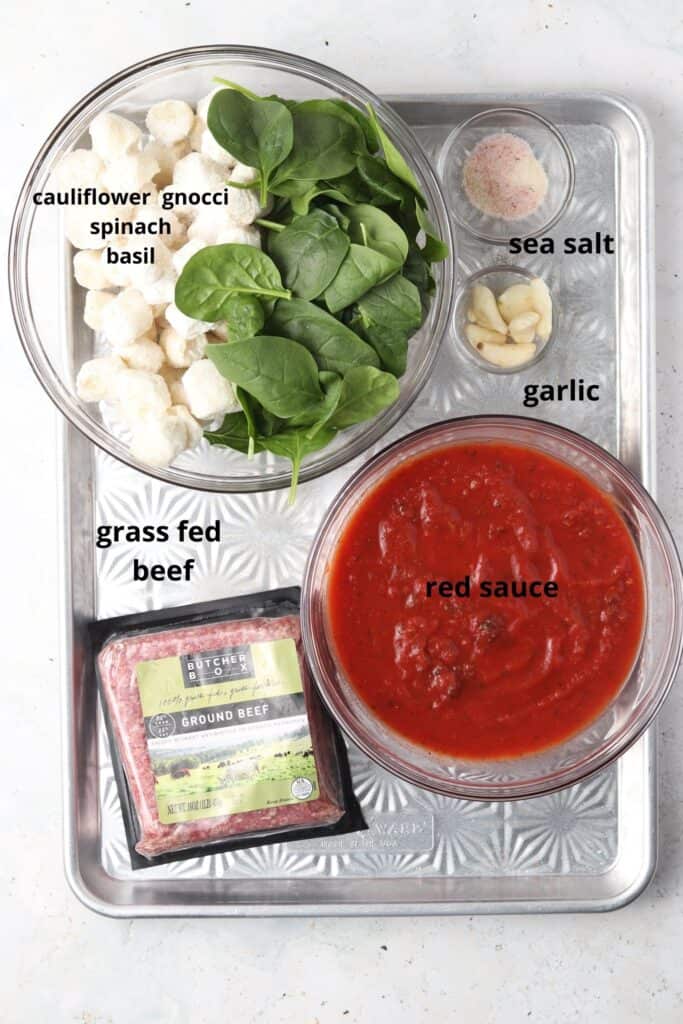
Ingredients
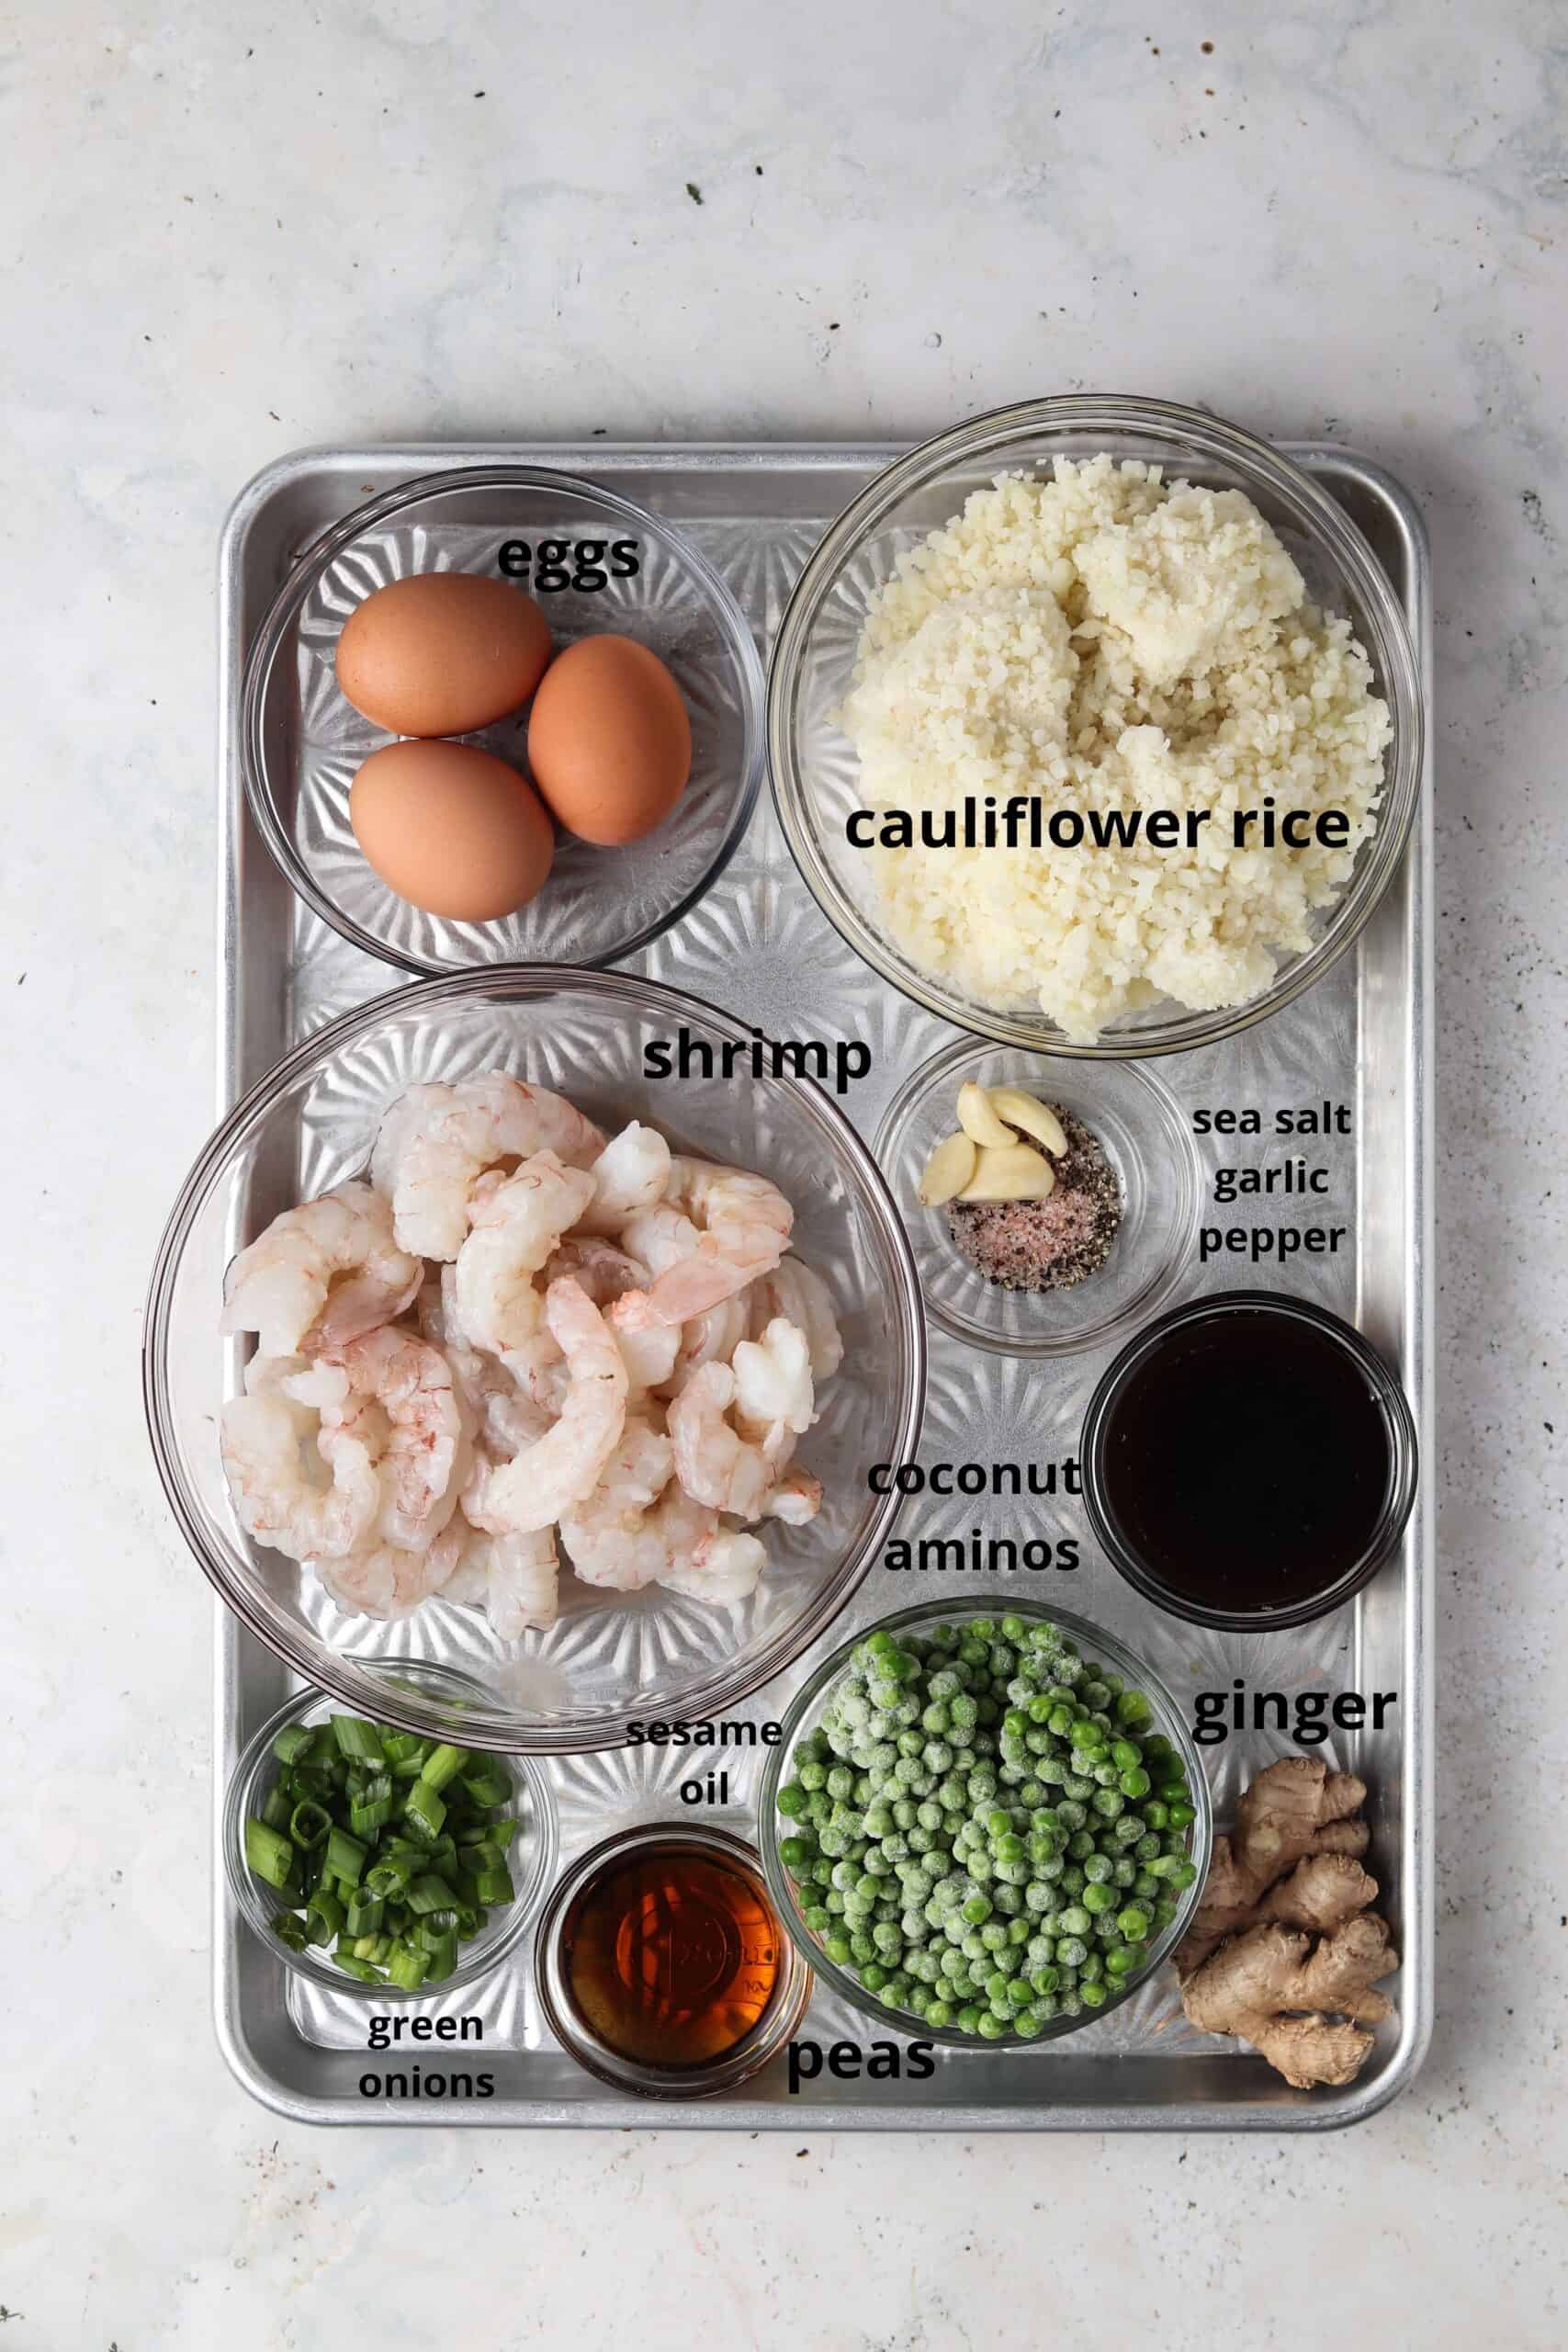
- Shrimp-I always buy wild caught and get it from Butcher Box. They ship you a monthly custom order of all grass fed and wild caught proteins. I always keep a stash in my freezer. If you use my link HERE, you can get $30 off.
- Sesame oil-This is what will give this dish a similar flavor to Chinese take out. If you are doing AIP, you can use avocado oil.
- Frozen peas-Adds even more veggies! Omit for AIP.
- Garlic & ginger-Adds so much flavor, do not skip out on this!
- Eggs-This adds even more texture and flavor.
- Cauliflower rice-I love cauliflower rice. I have found that a lot of the time people do not even realize it is cauliflower vs. regular rice yet it is so much better for you! You can use brown rice if you do not have a dietary restriction against it.
- Green onions-Add so much flavor and the most perfect crunch.
- Coconut aminos-My go to soy sauce alternative for paleo cooking!
- Salt & pepper to taste-Omit pepper for AIP.
See the recipe card below for a full list of ingredients and measurements.
Substitutions and Variations
- If you do not have any dietary restrictions, you can use brown rice instead of cauliflower rice.
- You could add additional stir fry vegetables such as broccoli into this dish as well for additional nutrients.
This recipe has not been tested with other substitutions or variations. If you replace or add any ingredients, let us know how it turned out in comments below!
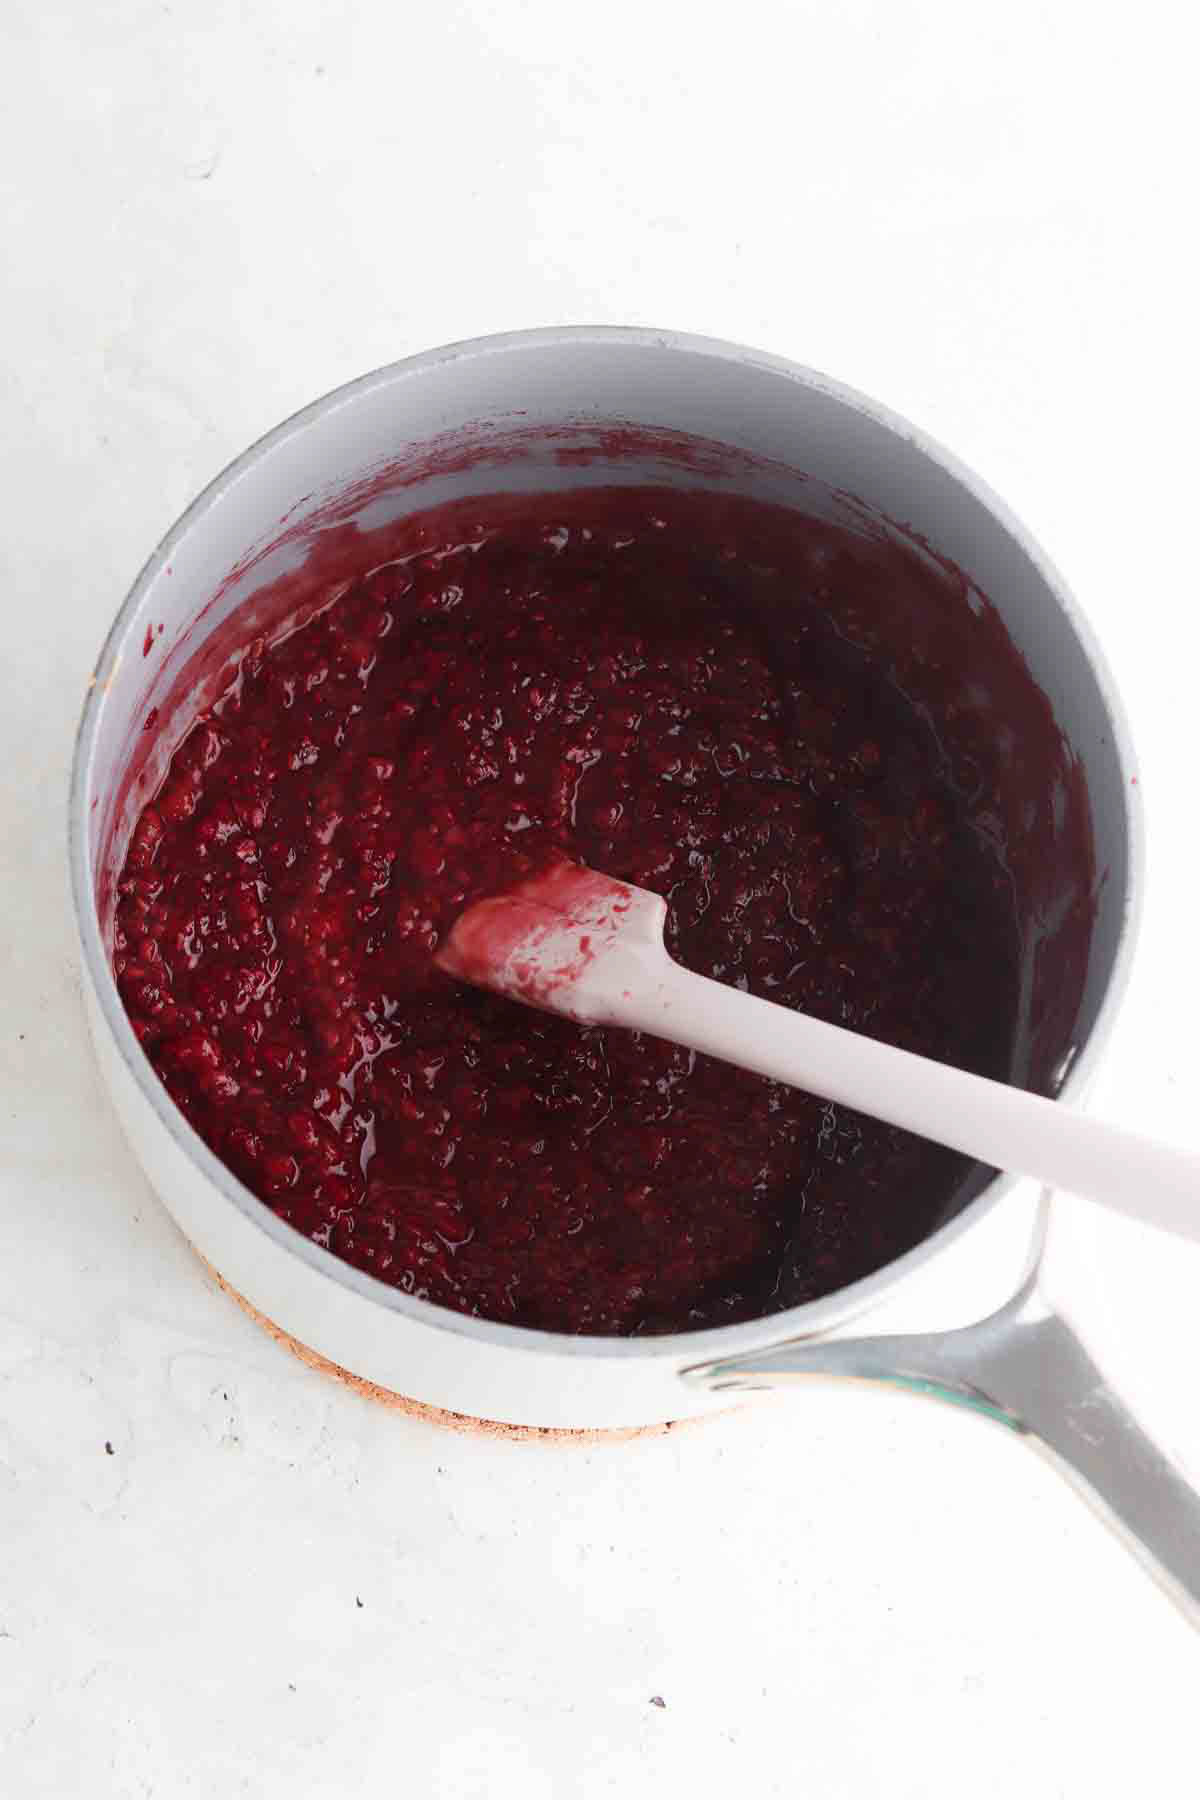
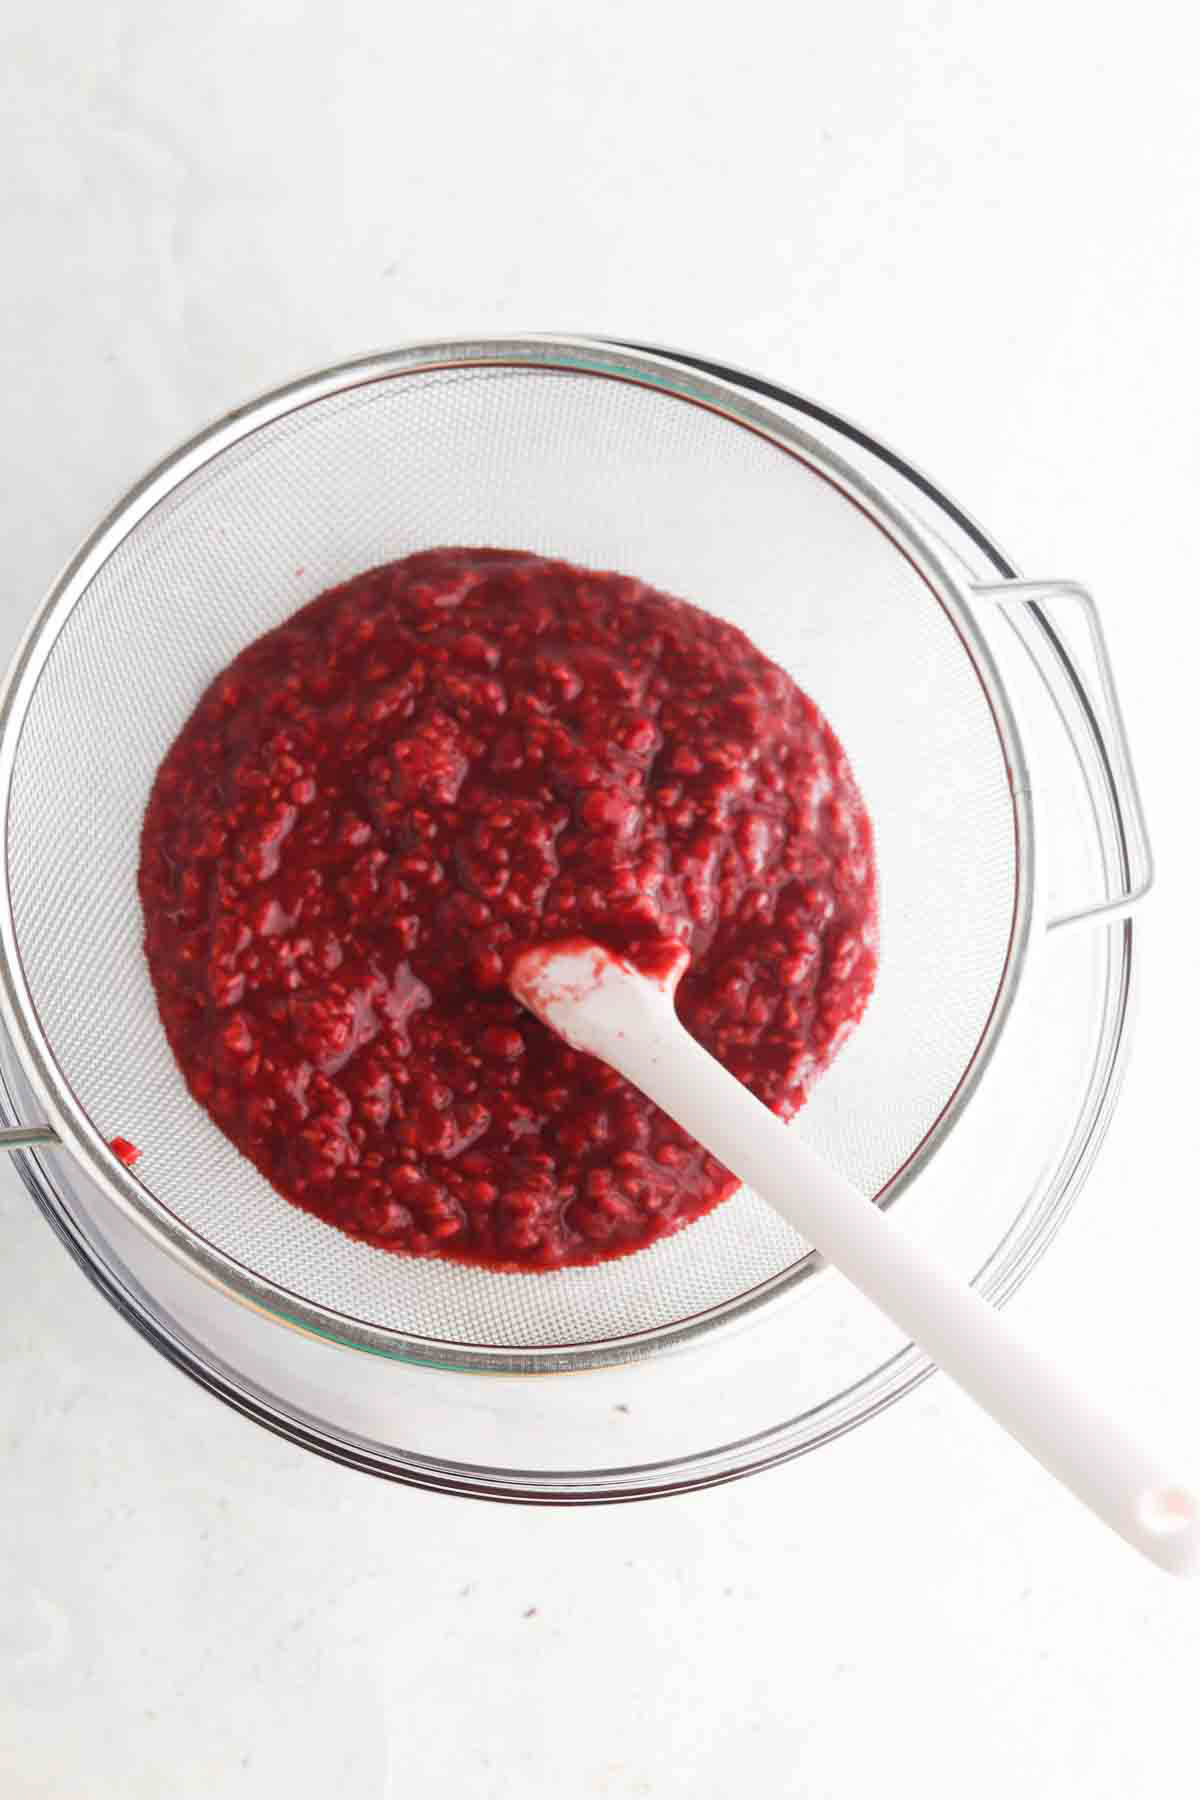
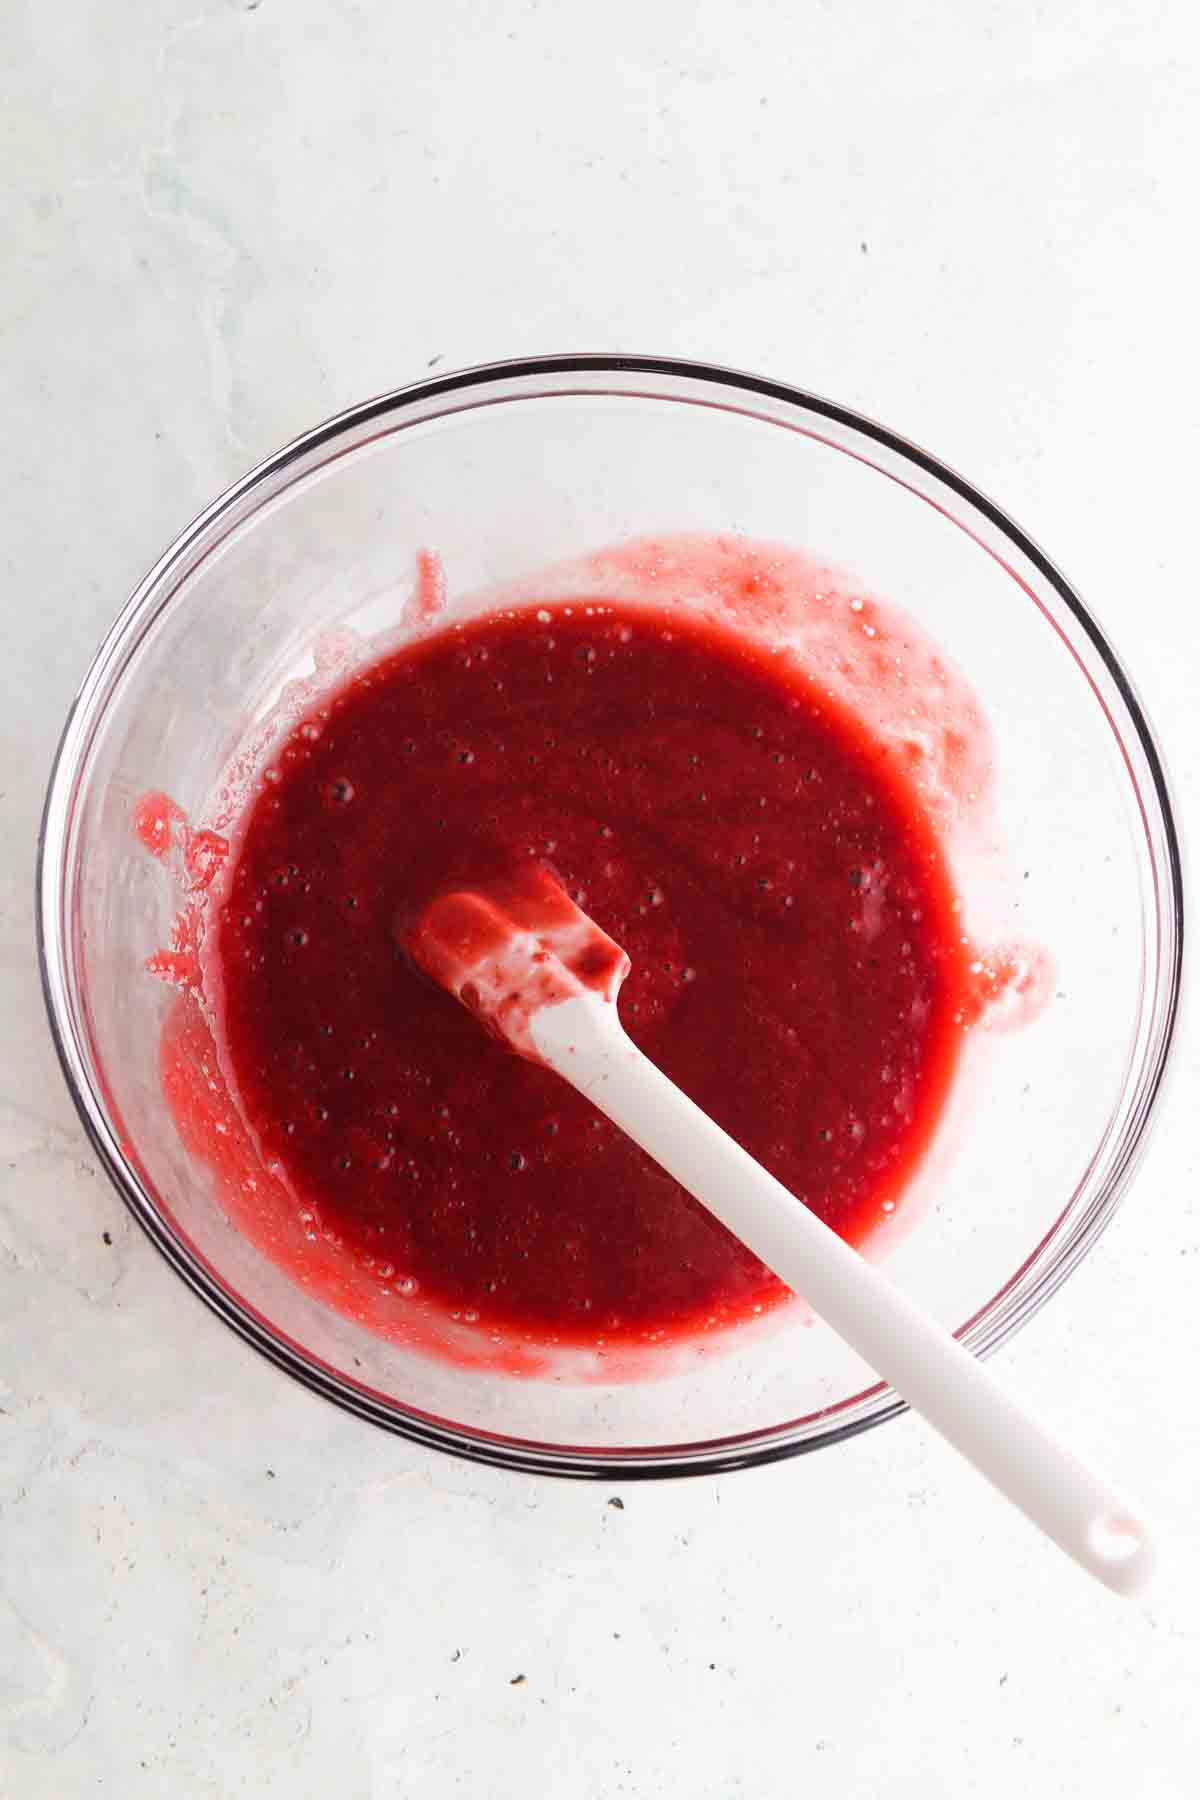
Step by Step Instructions
Equipment Needed
Expert Tips
- Tip # 1: Make sure to prep all of your ingredients ahead of time so you don’t risk over cooking anything. Ginger can take time to grate so want to make sure that is done ahead of starting to cook.
- Tip # 2: If you don’t like shrimp, you can swap it out for your protein of choice.
- Tip # 3: If your shrimp are frozen, you will need to increase your cook time.
Recipe FAQ
I suggest reheating it on the stovetop with a tiny bit of oil. You can also microwave it for 30 seconds.
I prefer the Coconut Secret brand HERE.
Yes! I would just recommend cooking the rice for a longer amount of time since it will still be raw.
Storage Instructions
- You can store this recipe in the fridge for up to 4 days.
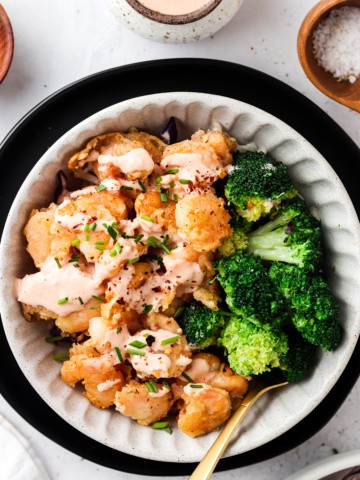
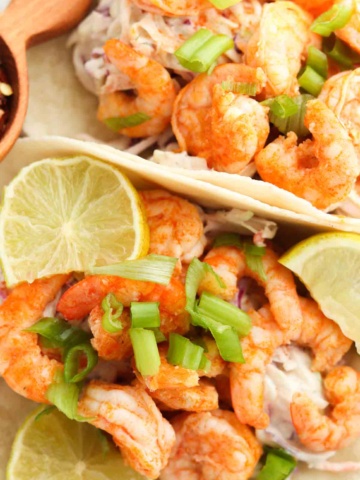
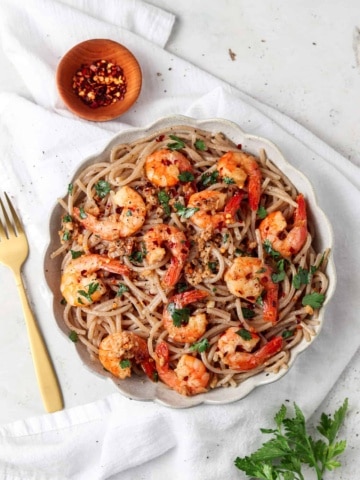
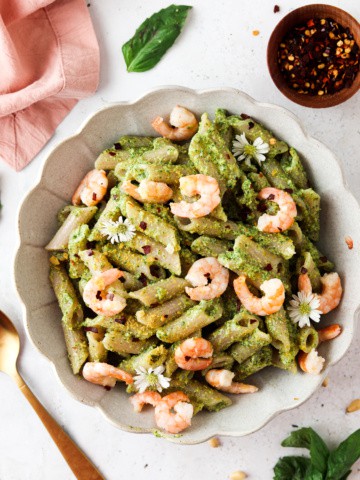
Other Shrimp Recipes You Will Love:
Are you interested in a list of my go to healthy alternatives?
Download your FREE guide below
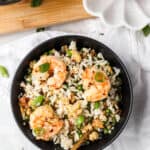
Shrimp Fried Cauliflower Rice
Equipment
- 2 non stick frying pans
- ginger grater
Ingredients
- 4 tbsp sesame oil divided, USE AVOCADO OIL FOR AIP
- 1 pound shrimp I like Butcher Box. Use my code for $30 off your first order. Make sure the shrimp is thawed.
- 4 cloves garlic minced
- 3 whole eggs whisked, SKIP FOR AIP
- 2 cups cauliflower rice roughly 1 frozen bag
- 4 tbsp coconut aminos
- 1/2 tsp sea salt
- 1/2 tsp ground pepper OMIT FOR AIP
- 1 cup frozen peas SKIP FOR AIP
- 3 tbsp ground ginger
To garnish:
- 1/4 cup fresh green onions cut the dark green side
Instructions
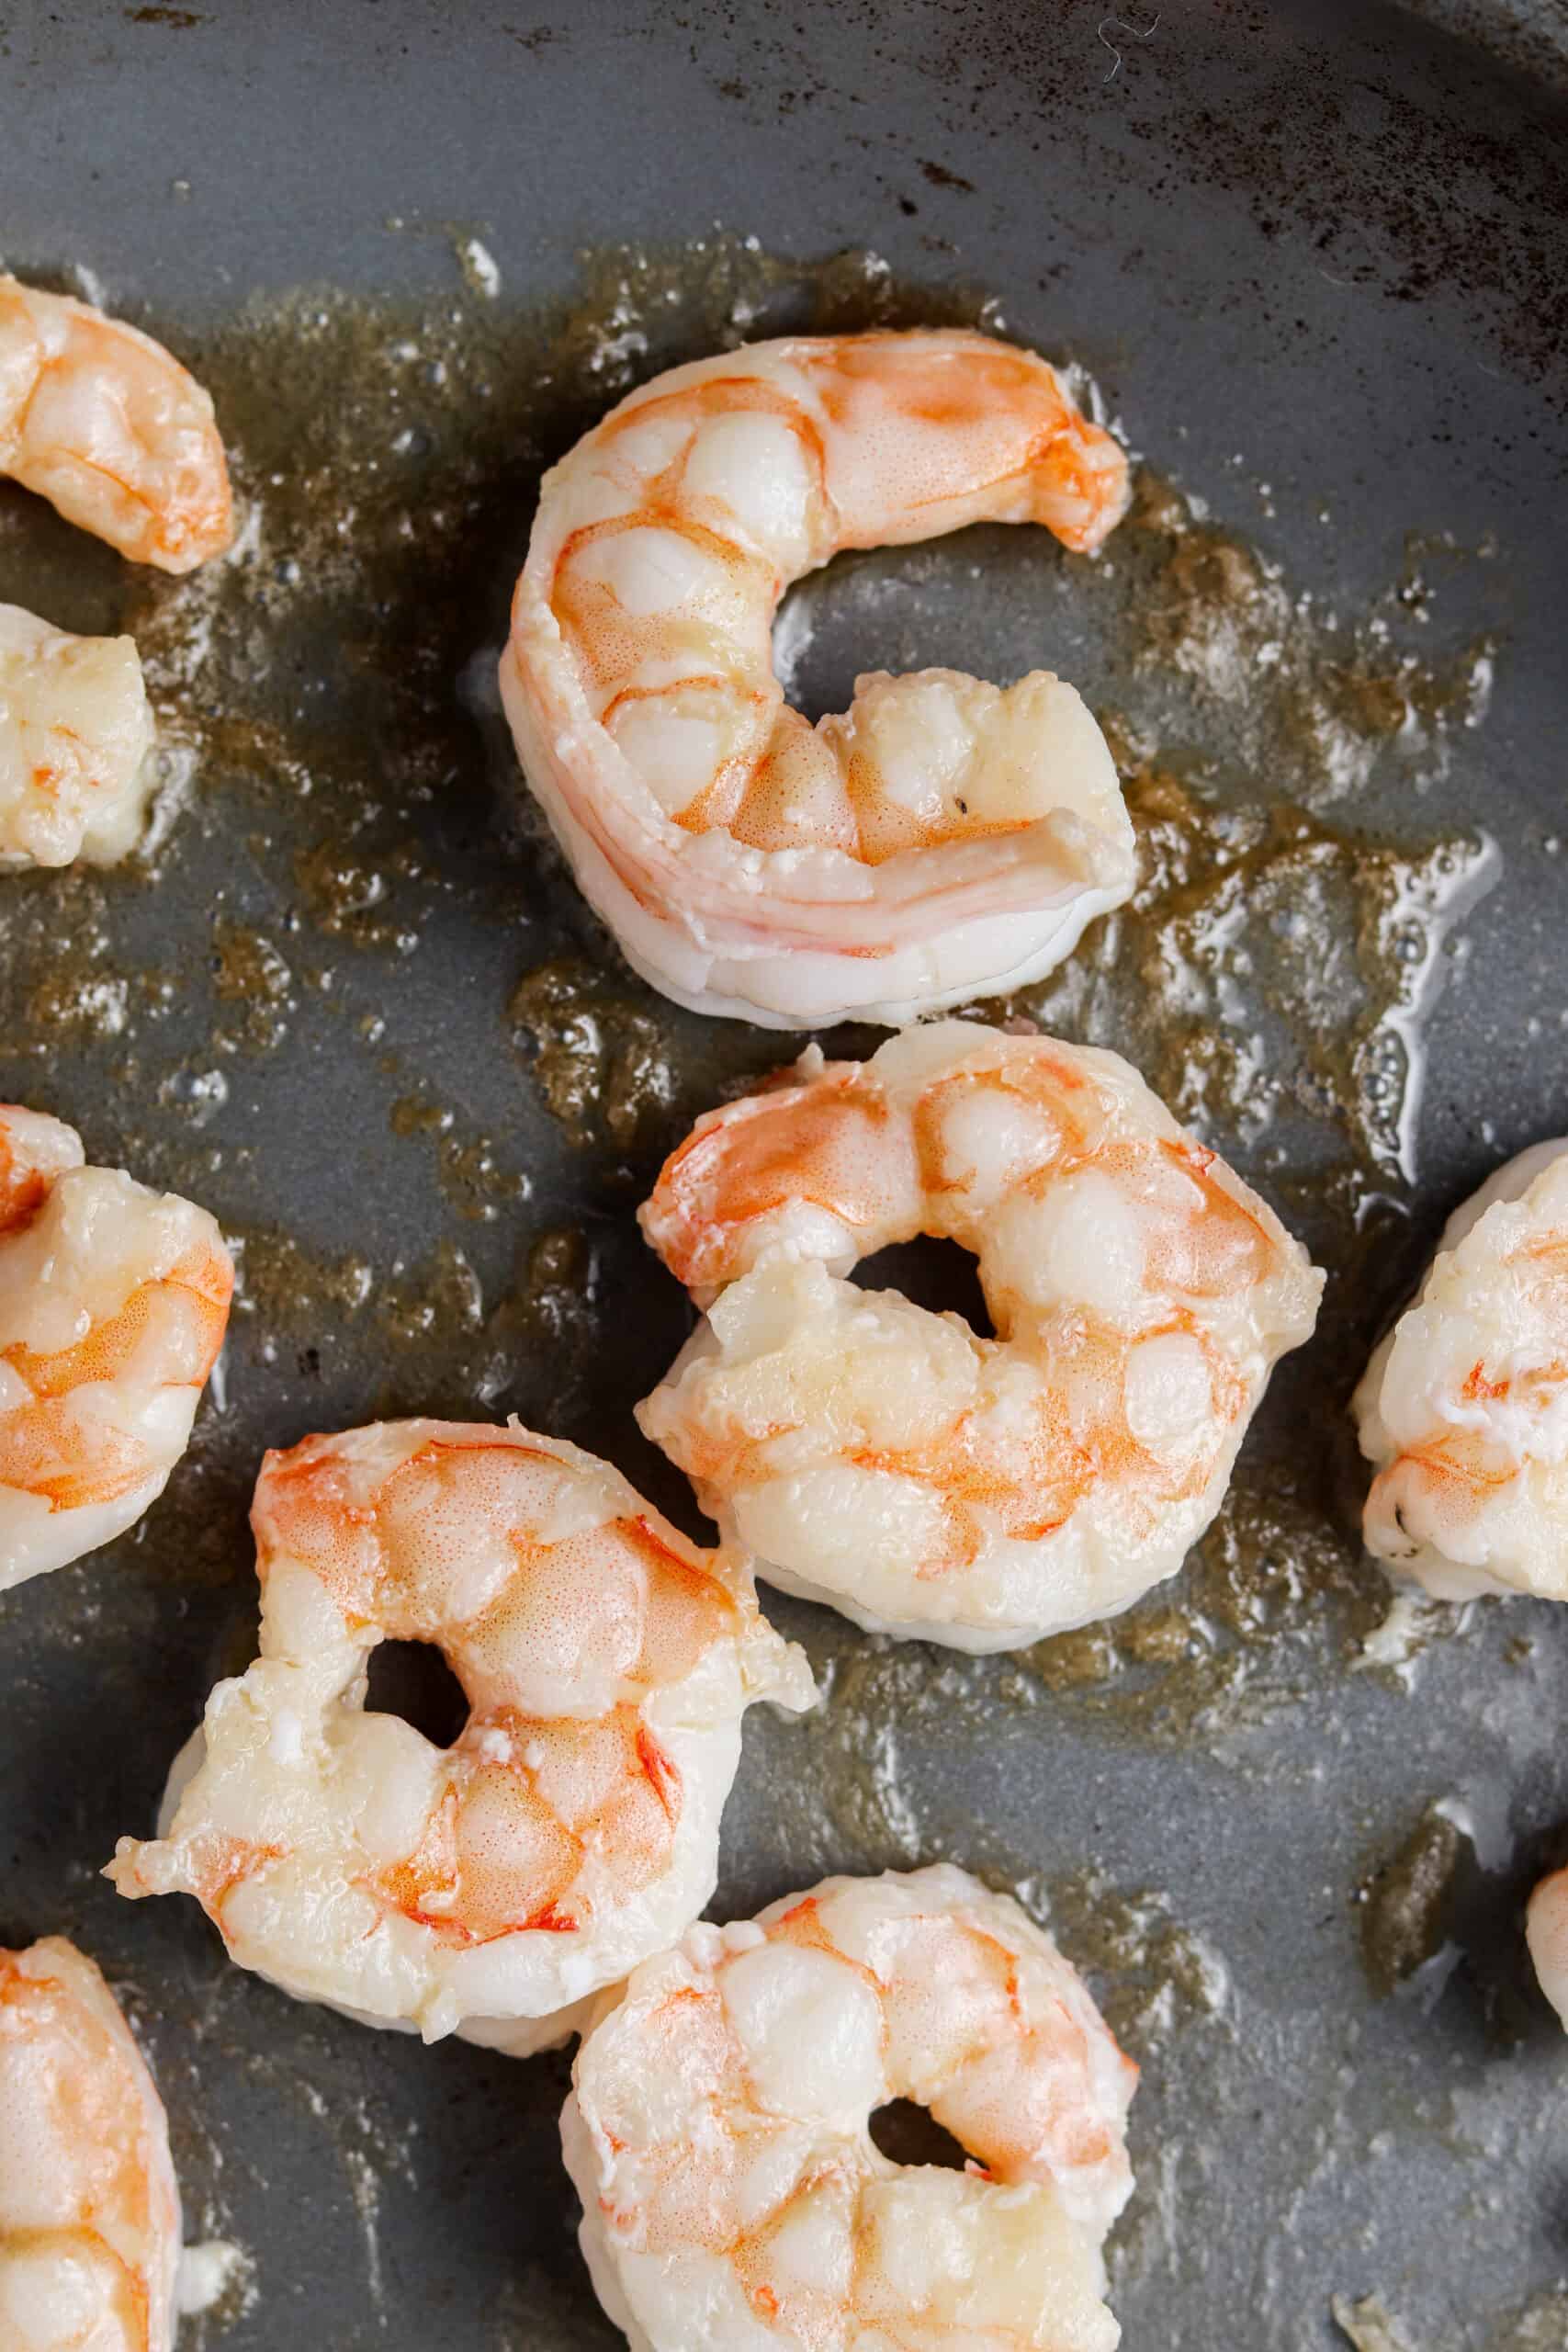
- Make the cauliflower rice with 1 tbsp of sesame oil on low to medium heat to a non-stick skillet. Now, add 2 tbsp of oil to another non stick pan on medium heat and add the shrimp. Cook for 2 minutes, then flip and cook for an additional 2 more minutes. After a total of 4 minutes is up, place the shrimp on a plate and set aside.
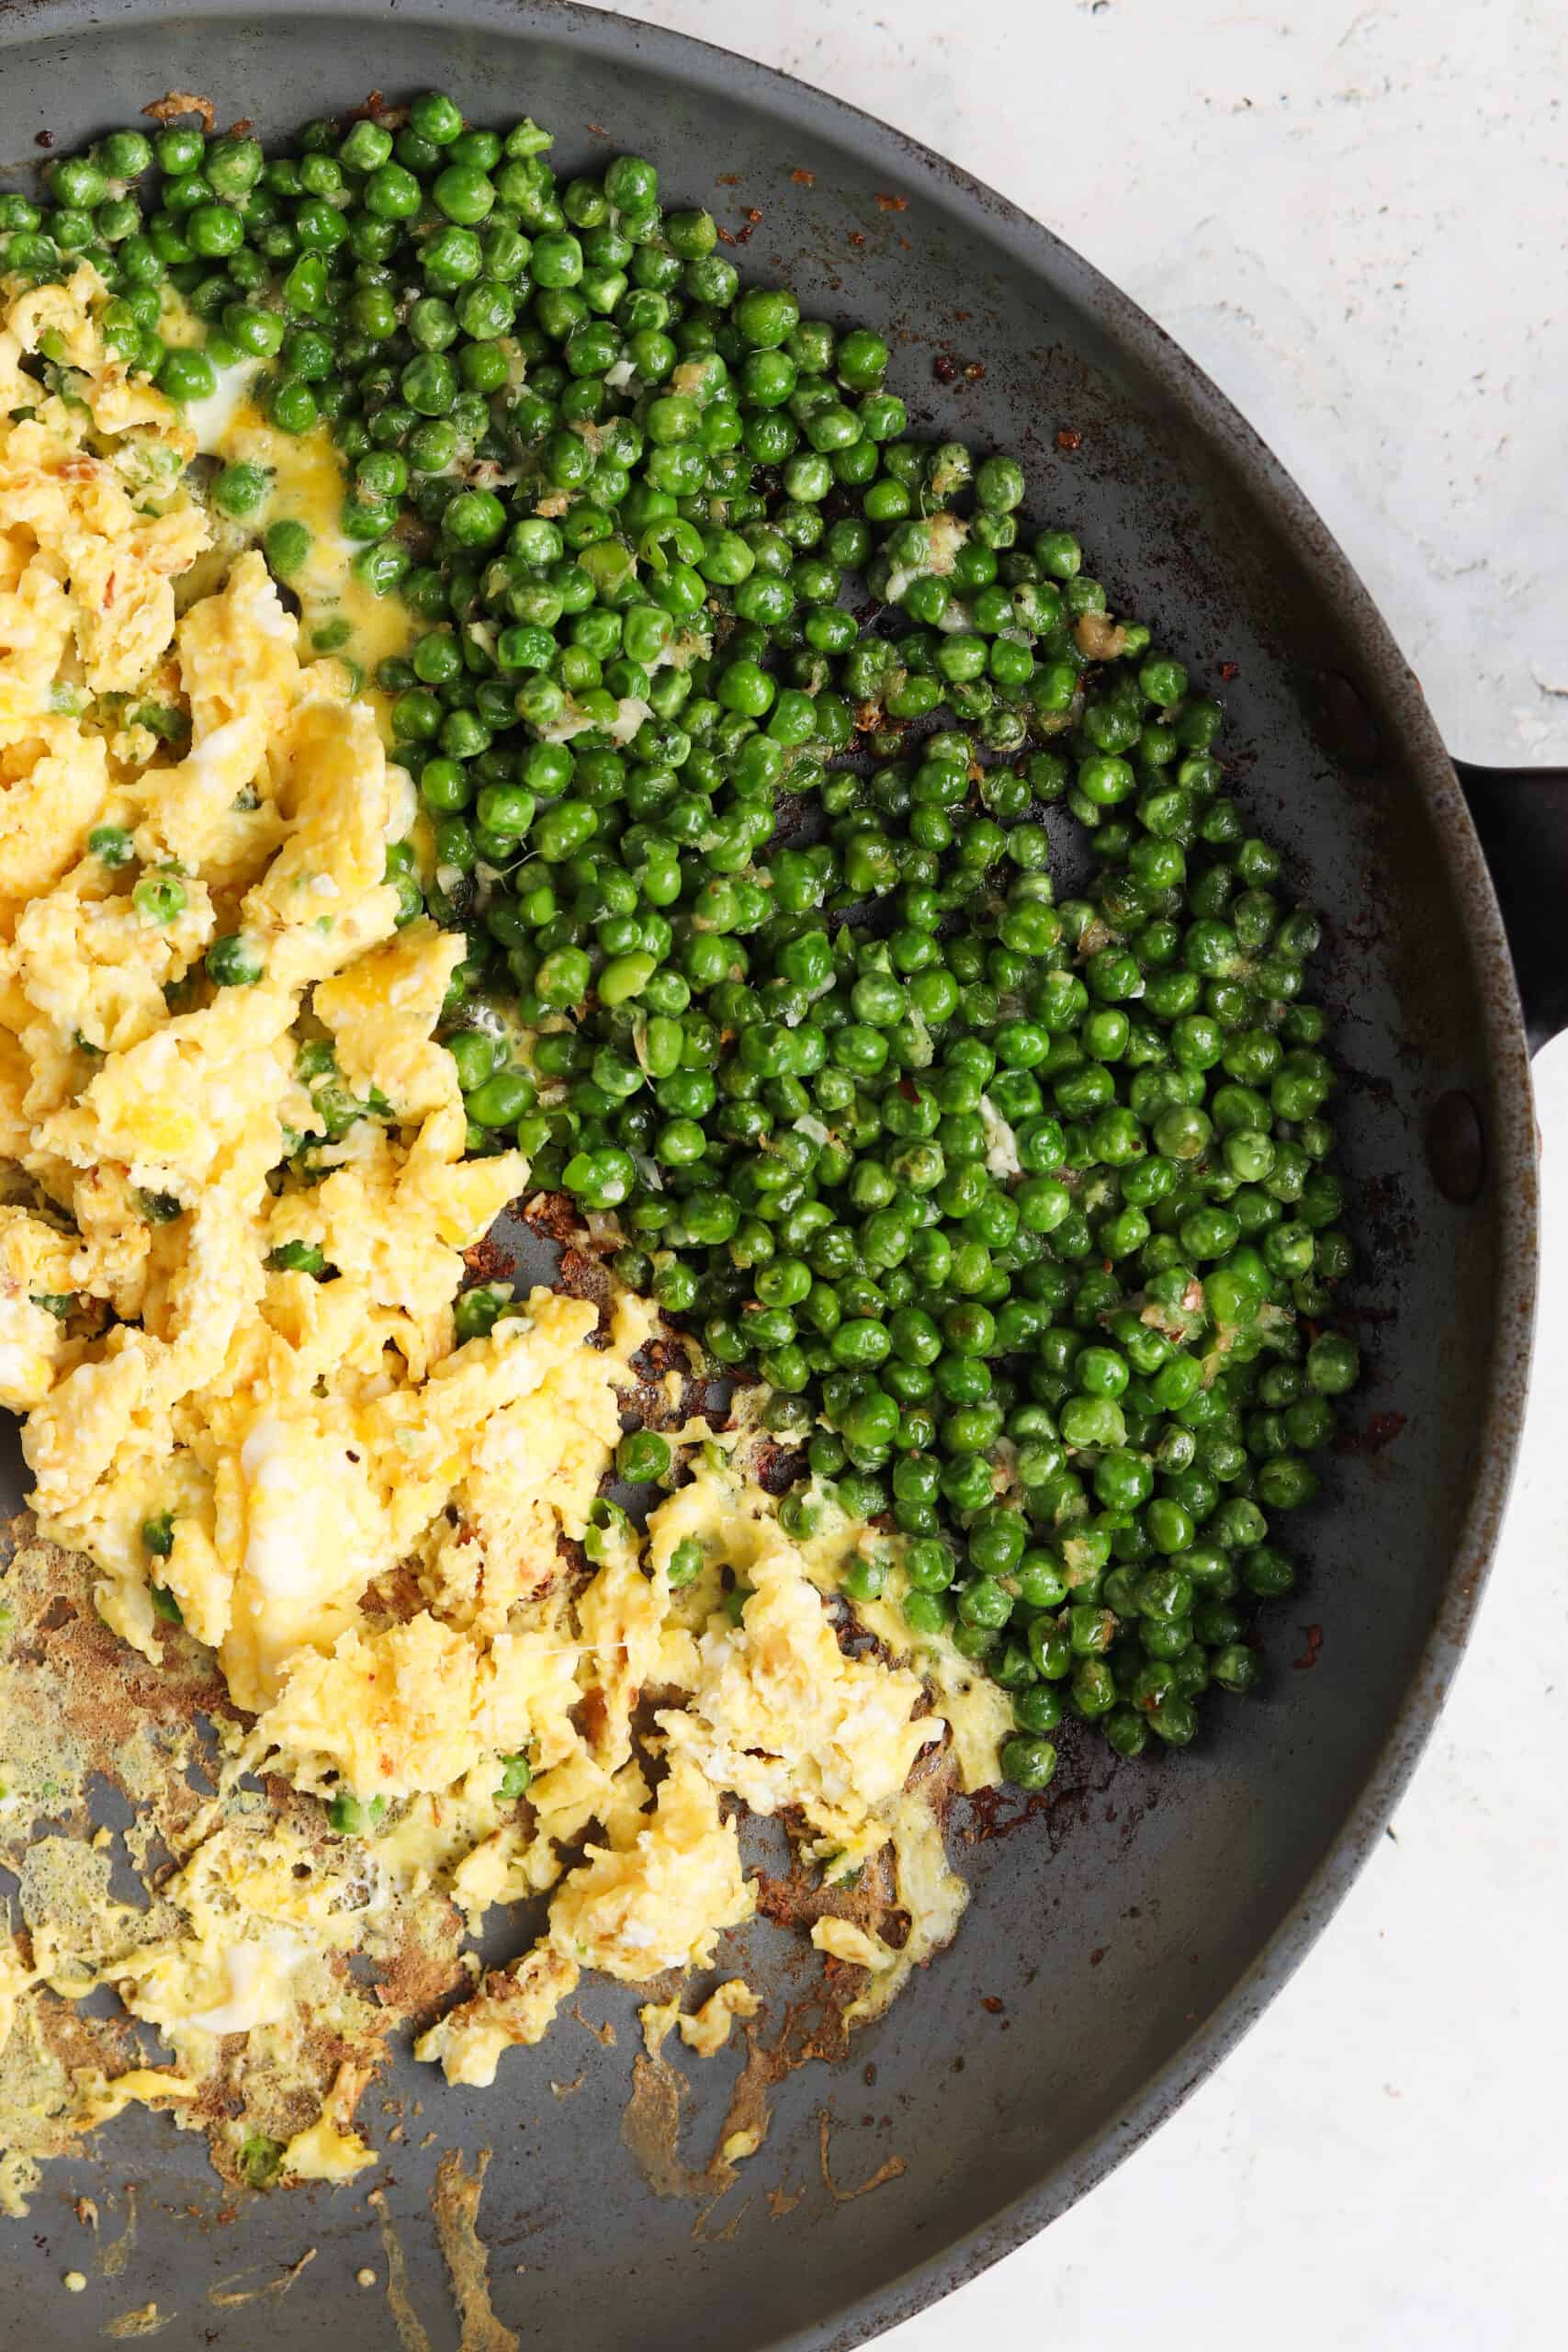
- Using the pan the shrimp was in, add the remaining 1 tbsp of sesame oil on medium heat and add the ginger, garlic, peas, salt, and pepper (omit pepper and peas for AIP.) Saute until fragrant or until peas are cooked, about 5 minutes. Now push the peas to one side of the frying pan and add the whisked eggs to the other side cook until eggs are done (skip the eggs for AIP.)
- Add the cauliflower rice and shrimp to the pan with the peas and eggs. Add in the coconut aminos and mix for on medium heat for 3 minutes. Garnish with green onions and red pepper (omit for AIP.)