This Vegan Fruit Dip is super easy to make and loaded with flavor! It only requires 5 minutes of hands on time and makes for a perfect snack and a healthy dessert. This healthy vegan fruit dip recipe is something you can make at the beginning of the week and enjoy it all week long. It has also become one of my go to’s for special occasions and has become quite a crowd pleaser.
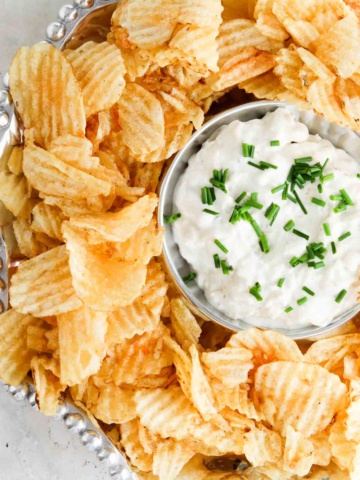
Unlike store bought vegan fruit dips which usually contain vegan cream cheese, vegan marshmallows, dairy-free yogurt, or even dairy-free cream cheese, this dip is made with simple ingredients that you may already have on hand. It is light and unprocessed. It is great for your next barbeque, movie nights, pool parties and so much more! If you love a good snack like I do, check out the other fun snacks on my blog like my Vegan French Onion Dip, Dairy Free Crab Dip Recipe, Crockpot Gluten Free Mac and Cheese, Bacon Wrapped Chicken Bites, and my Vegan Taco Dip.
[feast_advanced_jump_to]Why I Love This Recipe
- This dairy-free fruit dip goes great with just about anything from your favorite fruits to crackers. I sometimes even like to make a fruit charcuterie board with this fun dip in the middle.
- This vegan dip only requires a handful of simple ingredients you likely already have on hand.
- You can prepare this sweet dip in advance and eat this leftover dip all week long.
- This creamy dip is dairy free, gluten free, soy free, nut free, egg free, paleo, vegan and even Whole30 friendly.
- While this has become a go to snack in our home, it is also great for a after school snack and brunches! It pairs well with the other brunch recipes on my blog like my Gluten Free French Toast Casserole, Hashbrown Breakfast Casserole, Winter Fruit Salad, and my Gluten Free Banana Chocolate Chip Muffins. I also like making this as a fun treat on Valentine’s Day, especially with all things chocolate like my Chocolate Covered Oranges and Vegan Chocolate Covered Strawberries.
- You can make this recipe ahead of time!
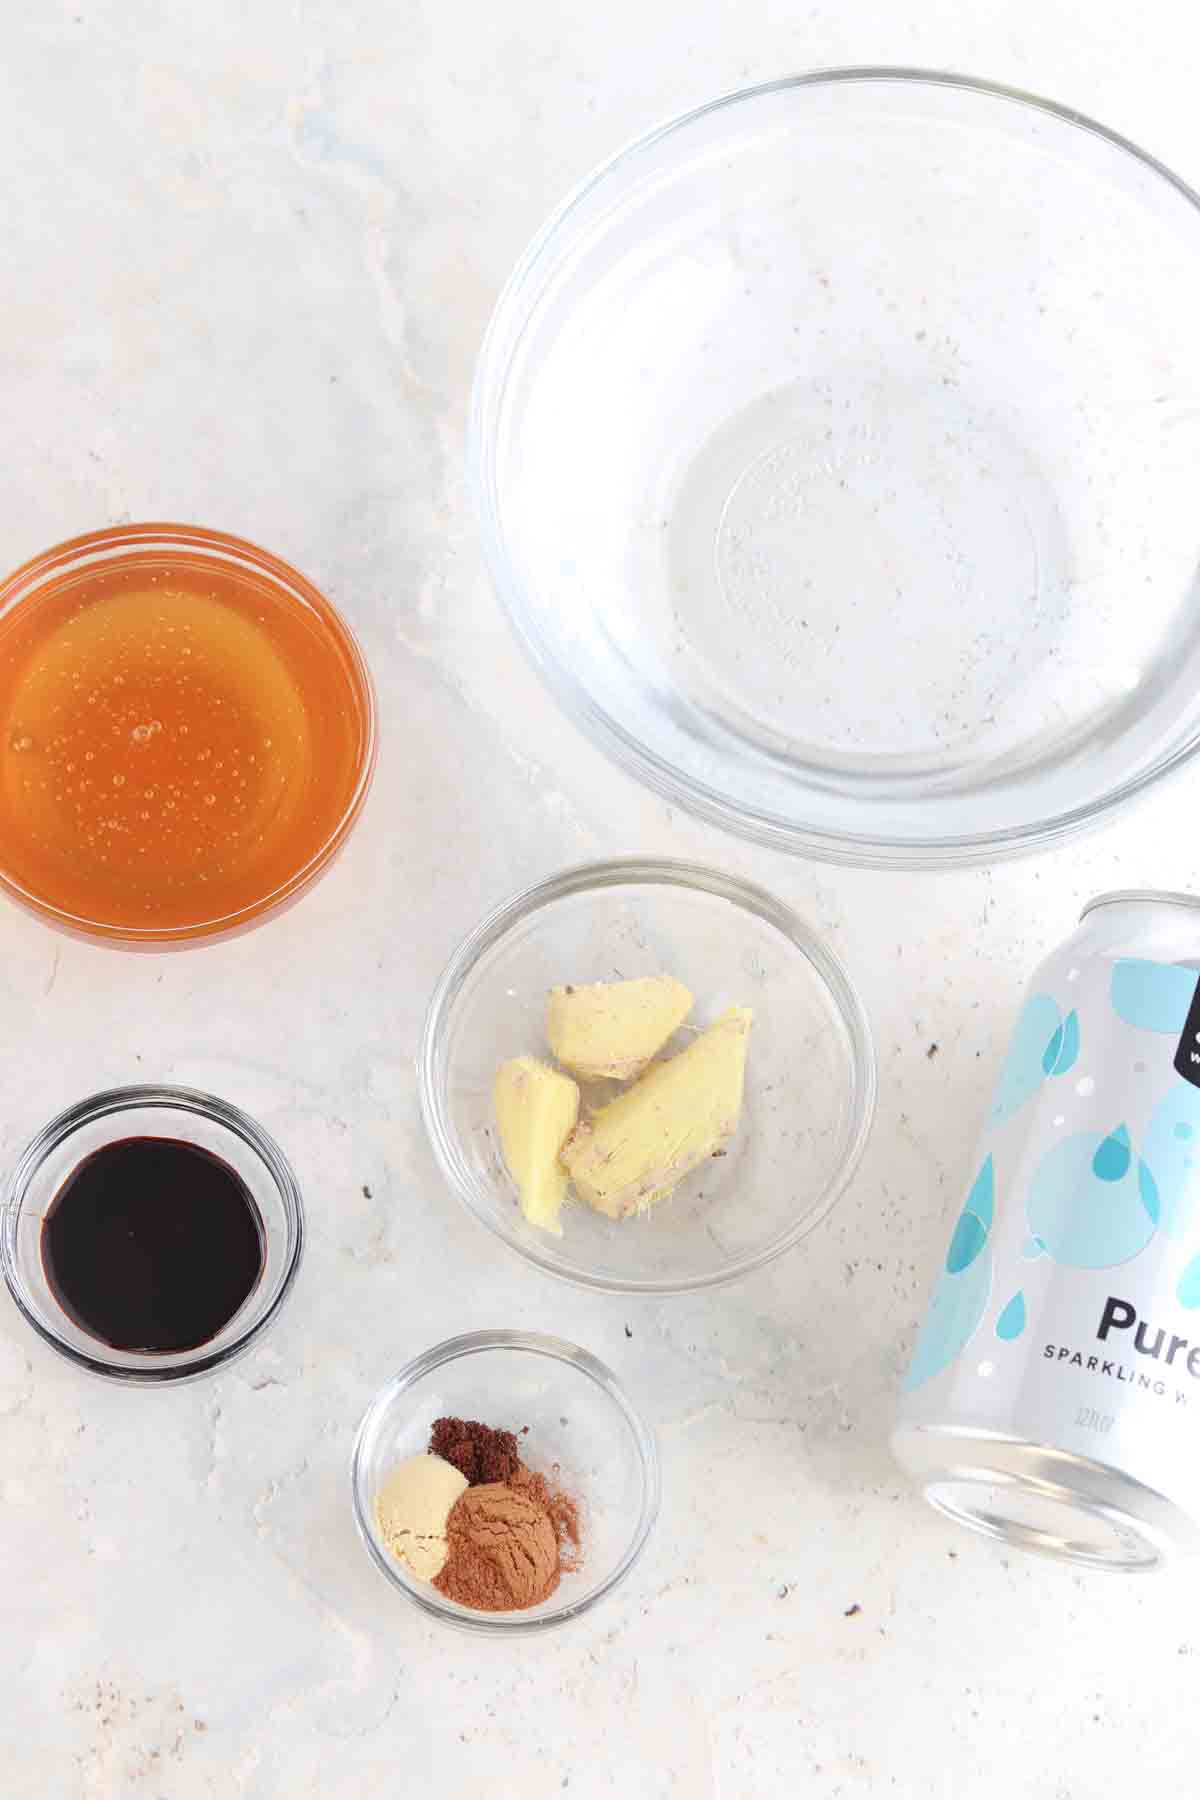
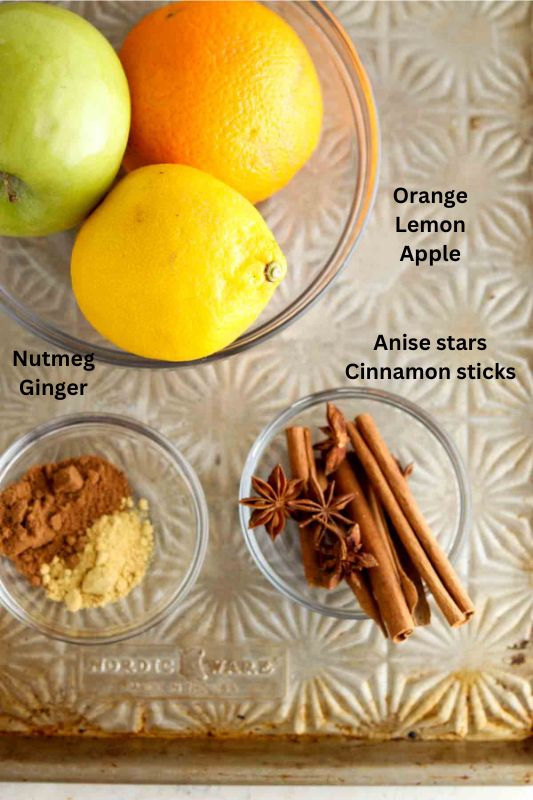
Main Ingredients
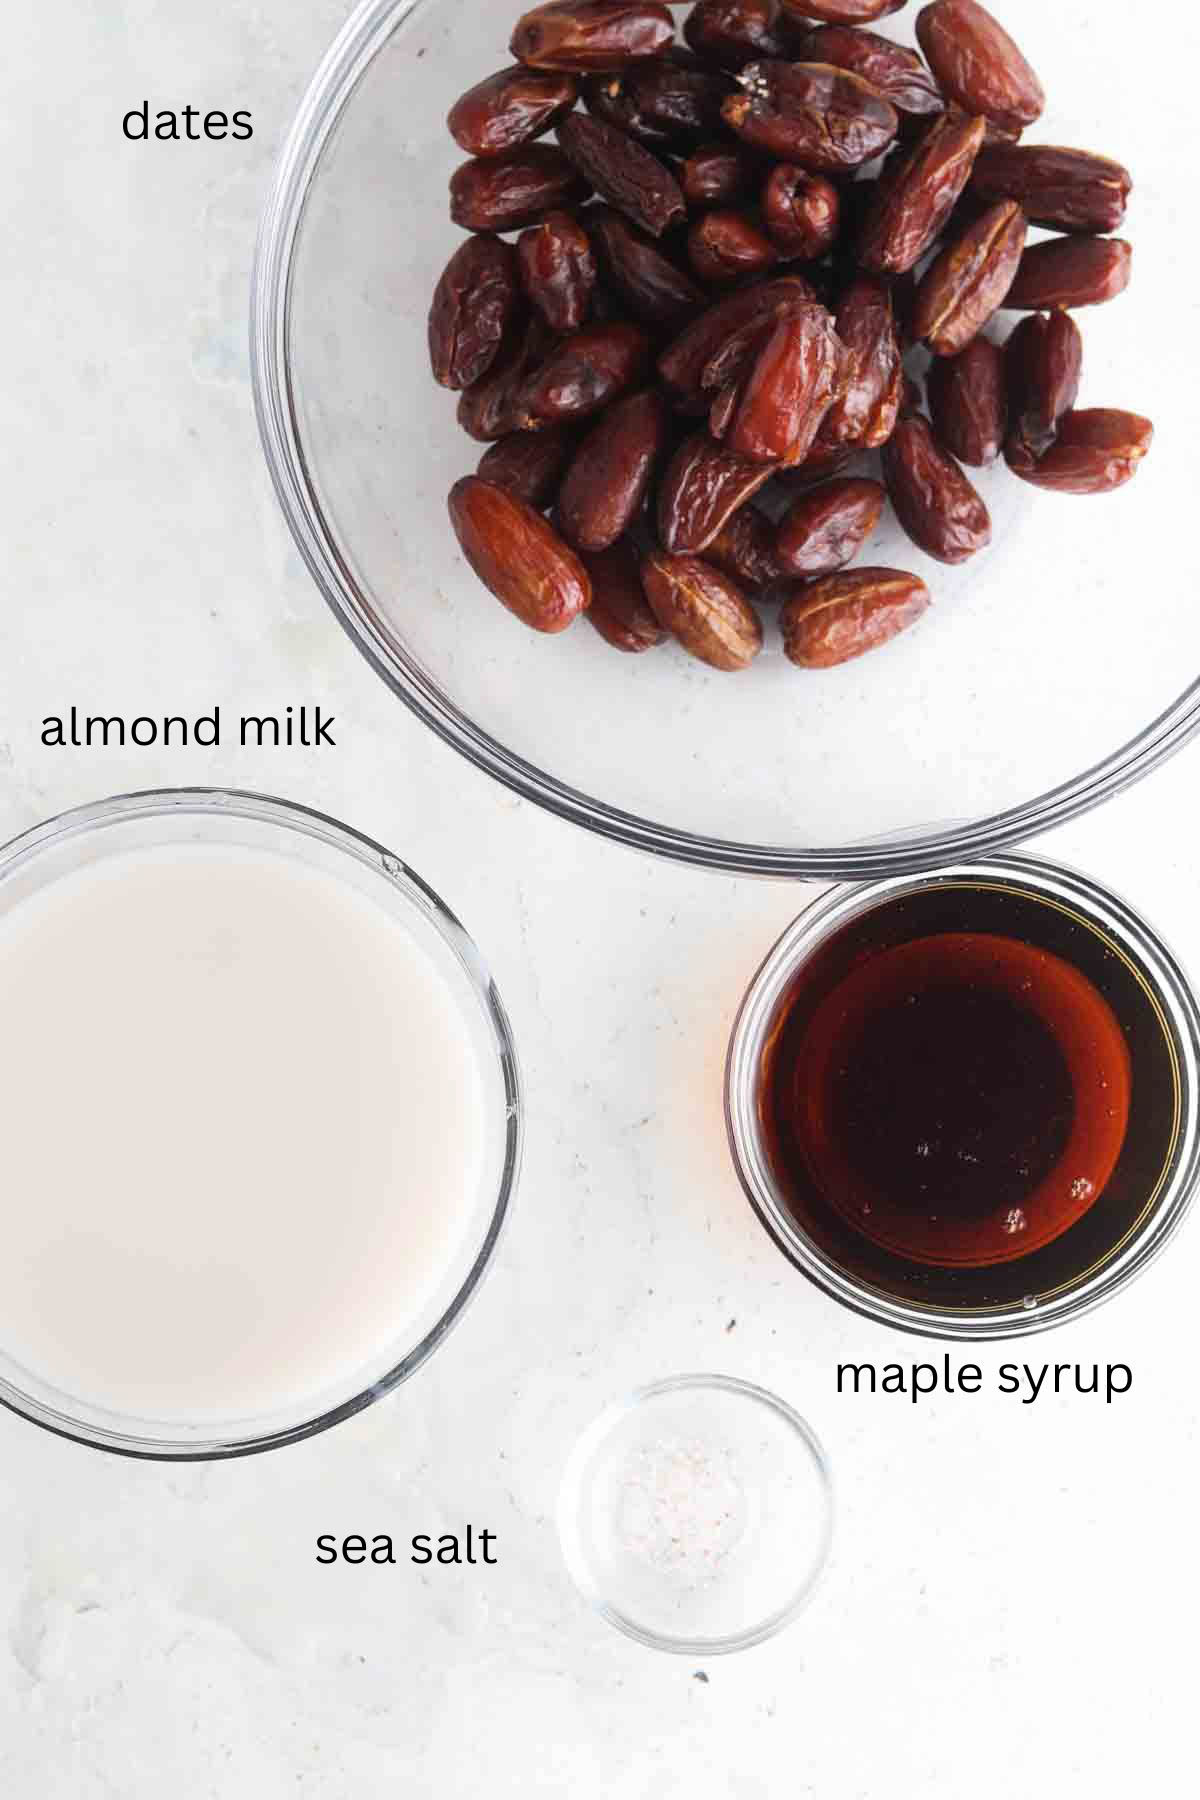
- Dates-Unlike most vegan fruit dips, this dip contains single ingredient ingredients instead of things like marshmallow fluff. The dates given this dip a nice sweet taste like nothing else. I like to buy the dates with the pit removed. This makes this recipe so much easier and require far less time.
- Almond milk-This helps blend everything together.
- Pure maple syrup-This helps blend everything together and also provides a little more sweetness instead of adding added sugar.
- Pinch of salt-A little touch of salty with some sweetness goes a long way.
See the recipe card below with a full list of ingredients and measurements.
Recipe Substitutions and Variations
- Dairy-free milk-While almond milk is my go to, you can also use any other kind of milk. If you do not need to eat dairy free, you can also use regular milk as well.
- Peanut butter-This is not required but would add some added flavor and enhance the creamy texture!
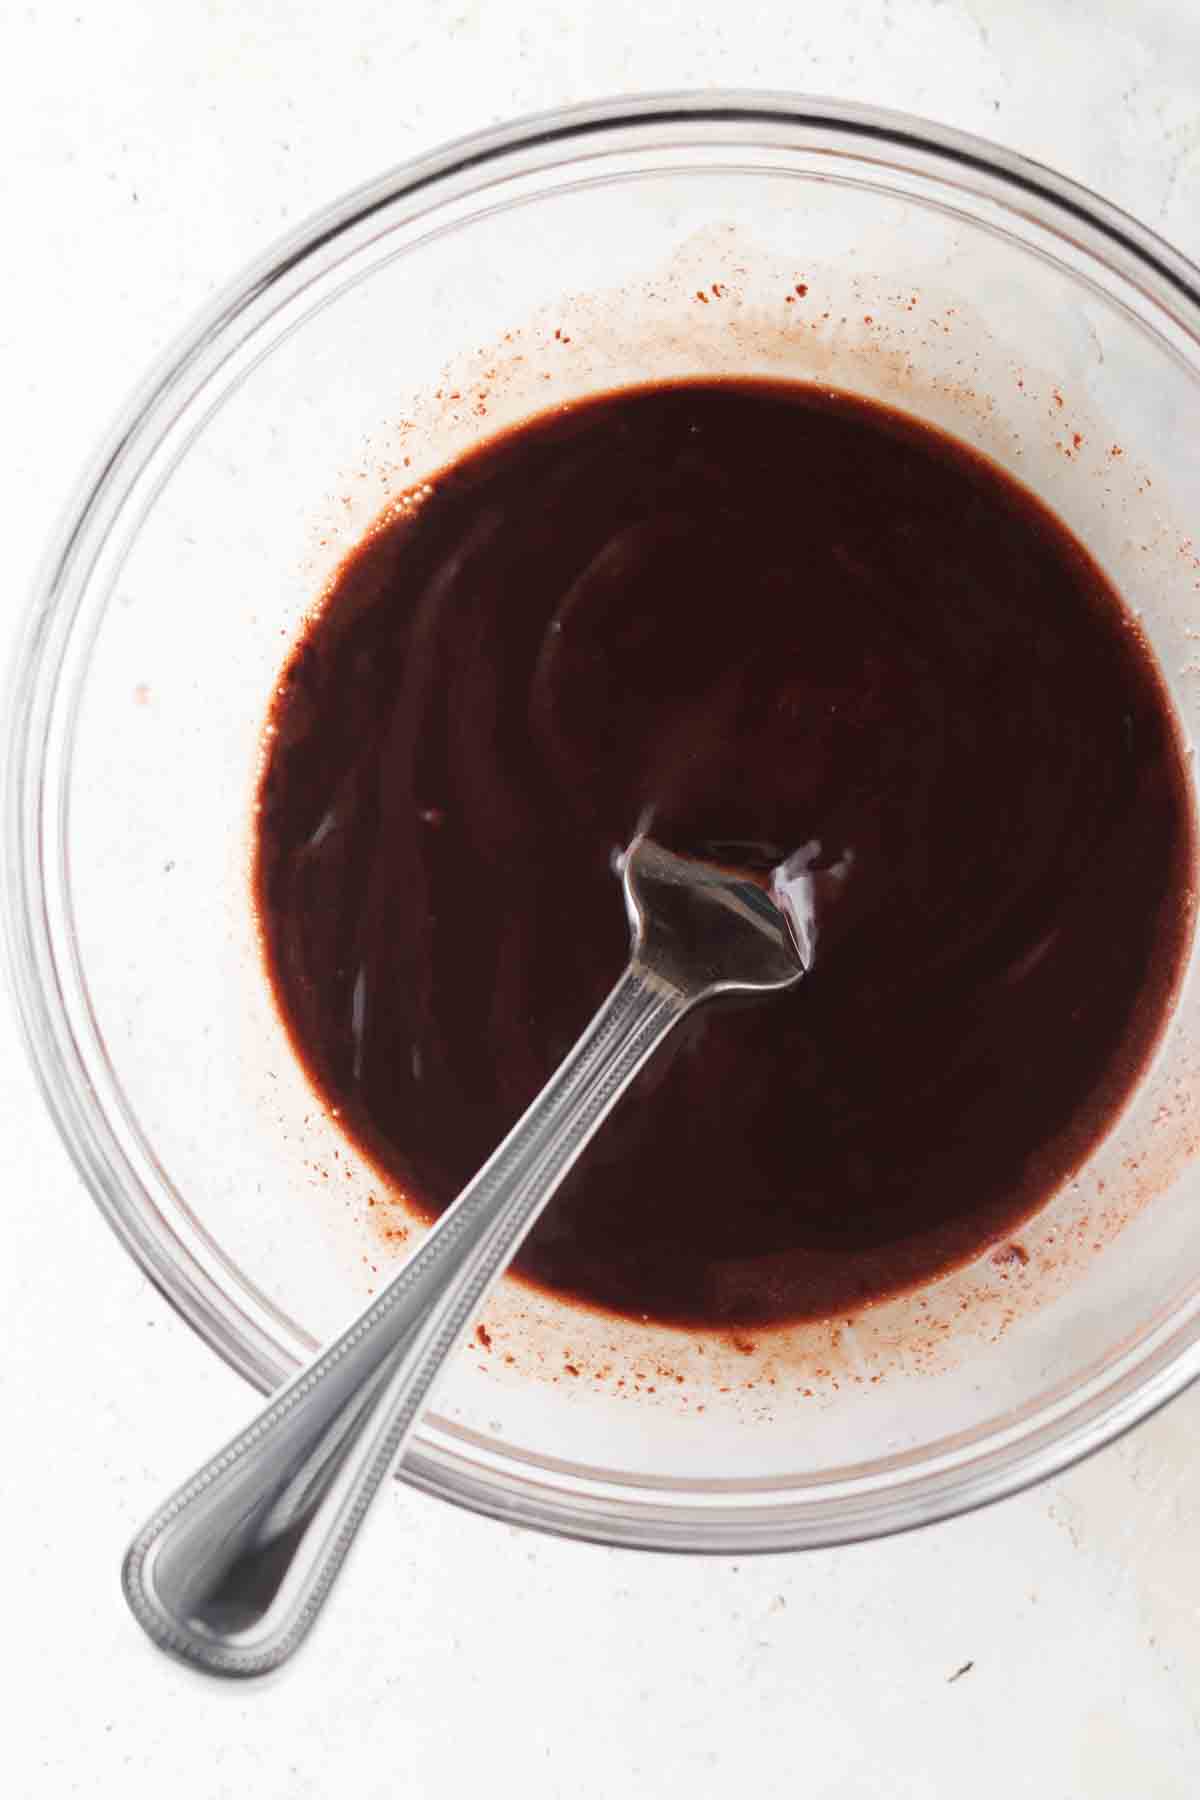
- Cocoa powder-You can turn this into a vegan chocolate fruit dip by adding in some cocoa powder.
- Cool whip-Totally not needed but can be a fun addition to the top of the dip!
- Plant-based protein-You can add in pea protein add get in some added protein to this delicious dip.
- Chocolate chips-This is a fun way to add some texture and crunch!
This recipe has not been tested with any other substitutions or variations. If you try something else out please let me know how it turns out in the comments below!
Recipe Instructions

Recipe Tips
- Tip #1: This healthy fruit dip can satisfy your sweet tooth. Try swapping your next dessert with this recipe!
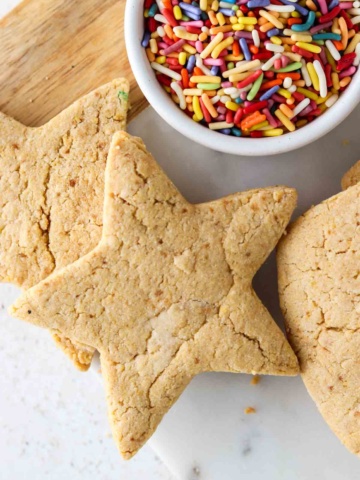
- Tip 2: If you love this recipe as much as I do, you can jazz it up by adding new fun toppings on top, like vegan sprinkles!
- Tip #3: Invest in a good quality food processor. I love my Ninja food processor! I have had it for years.
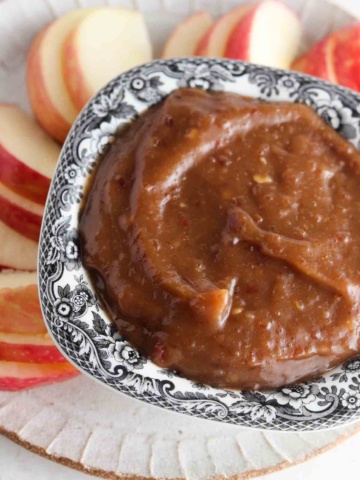
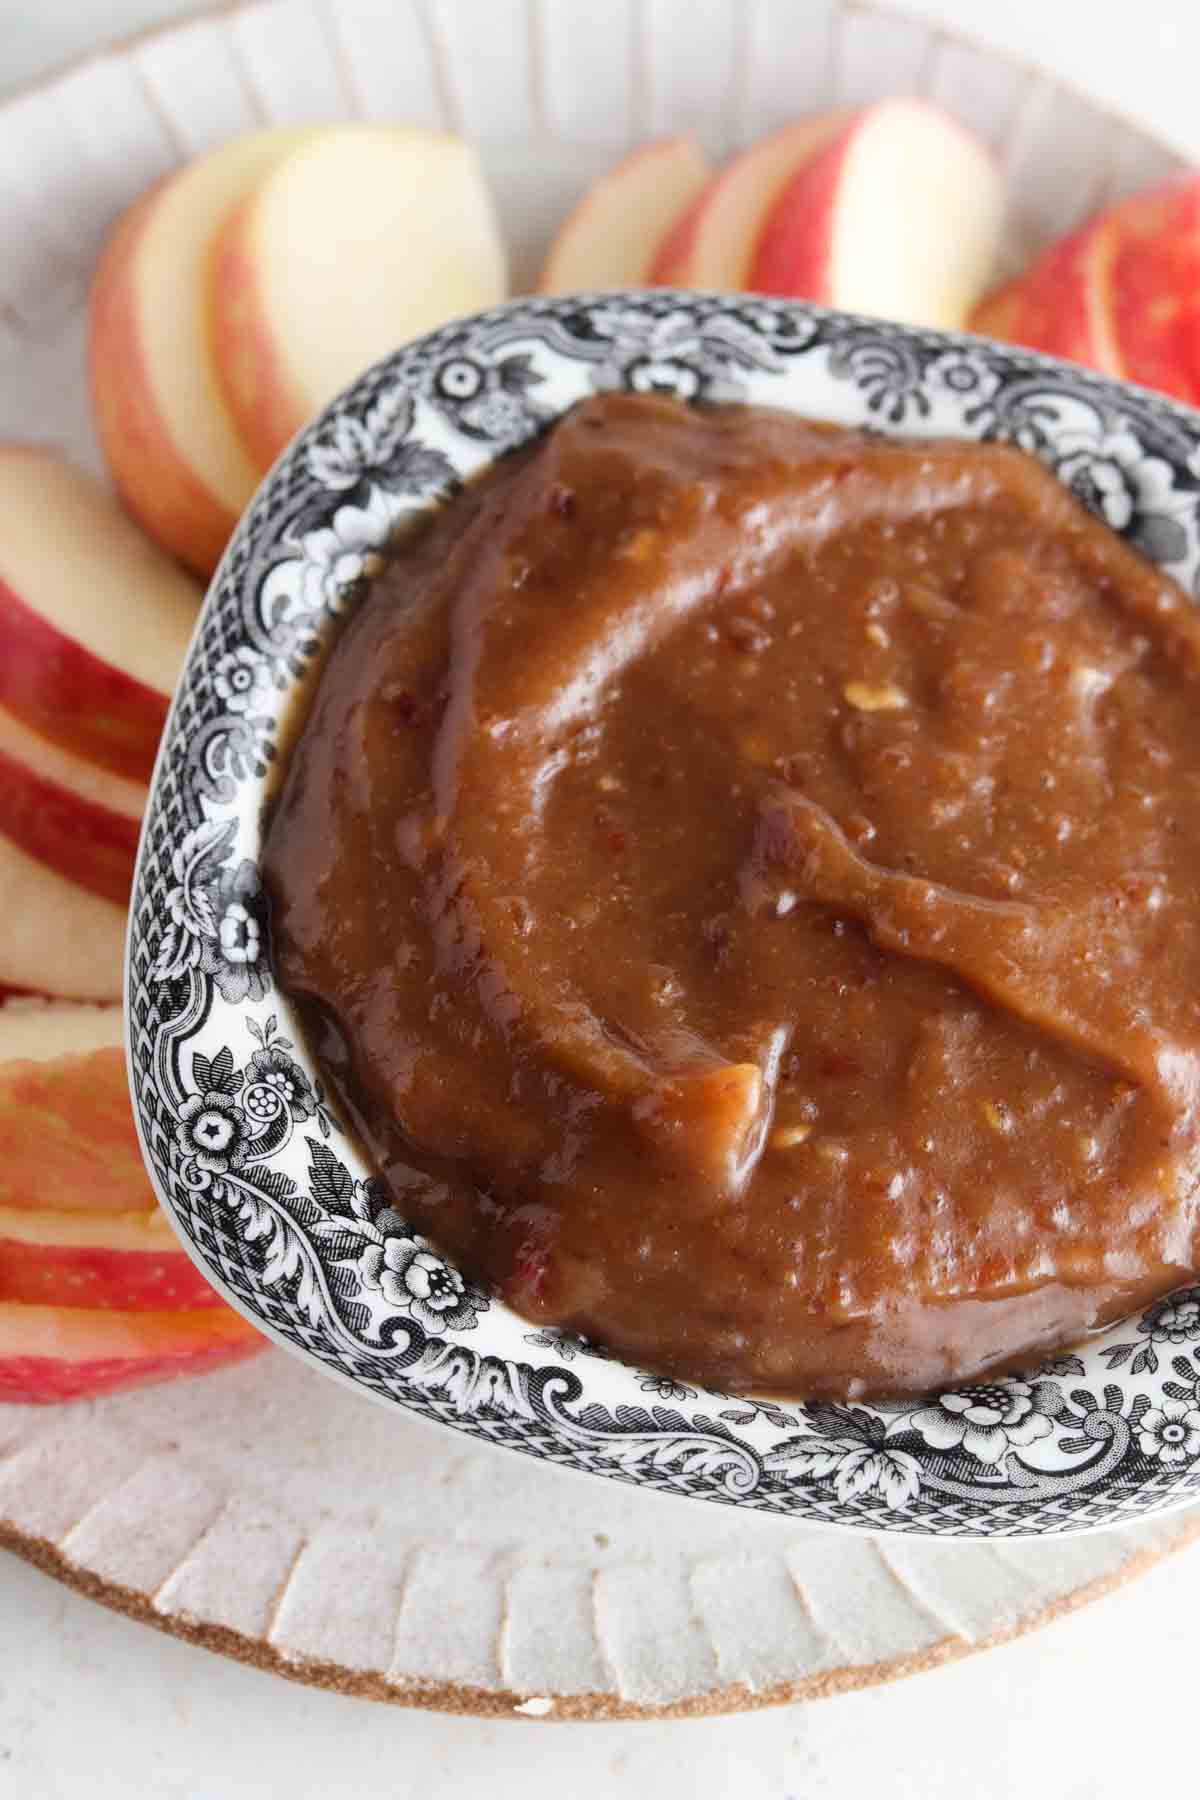
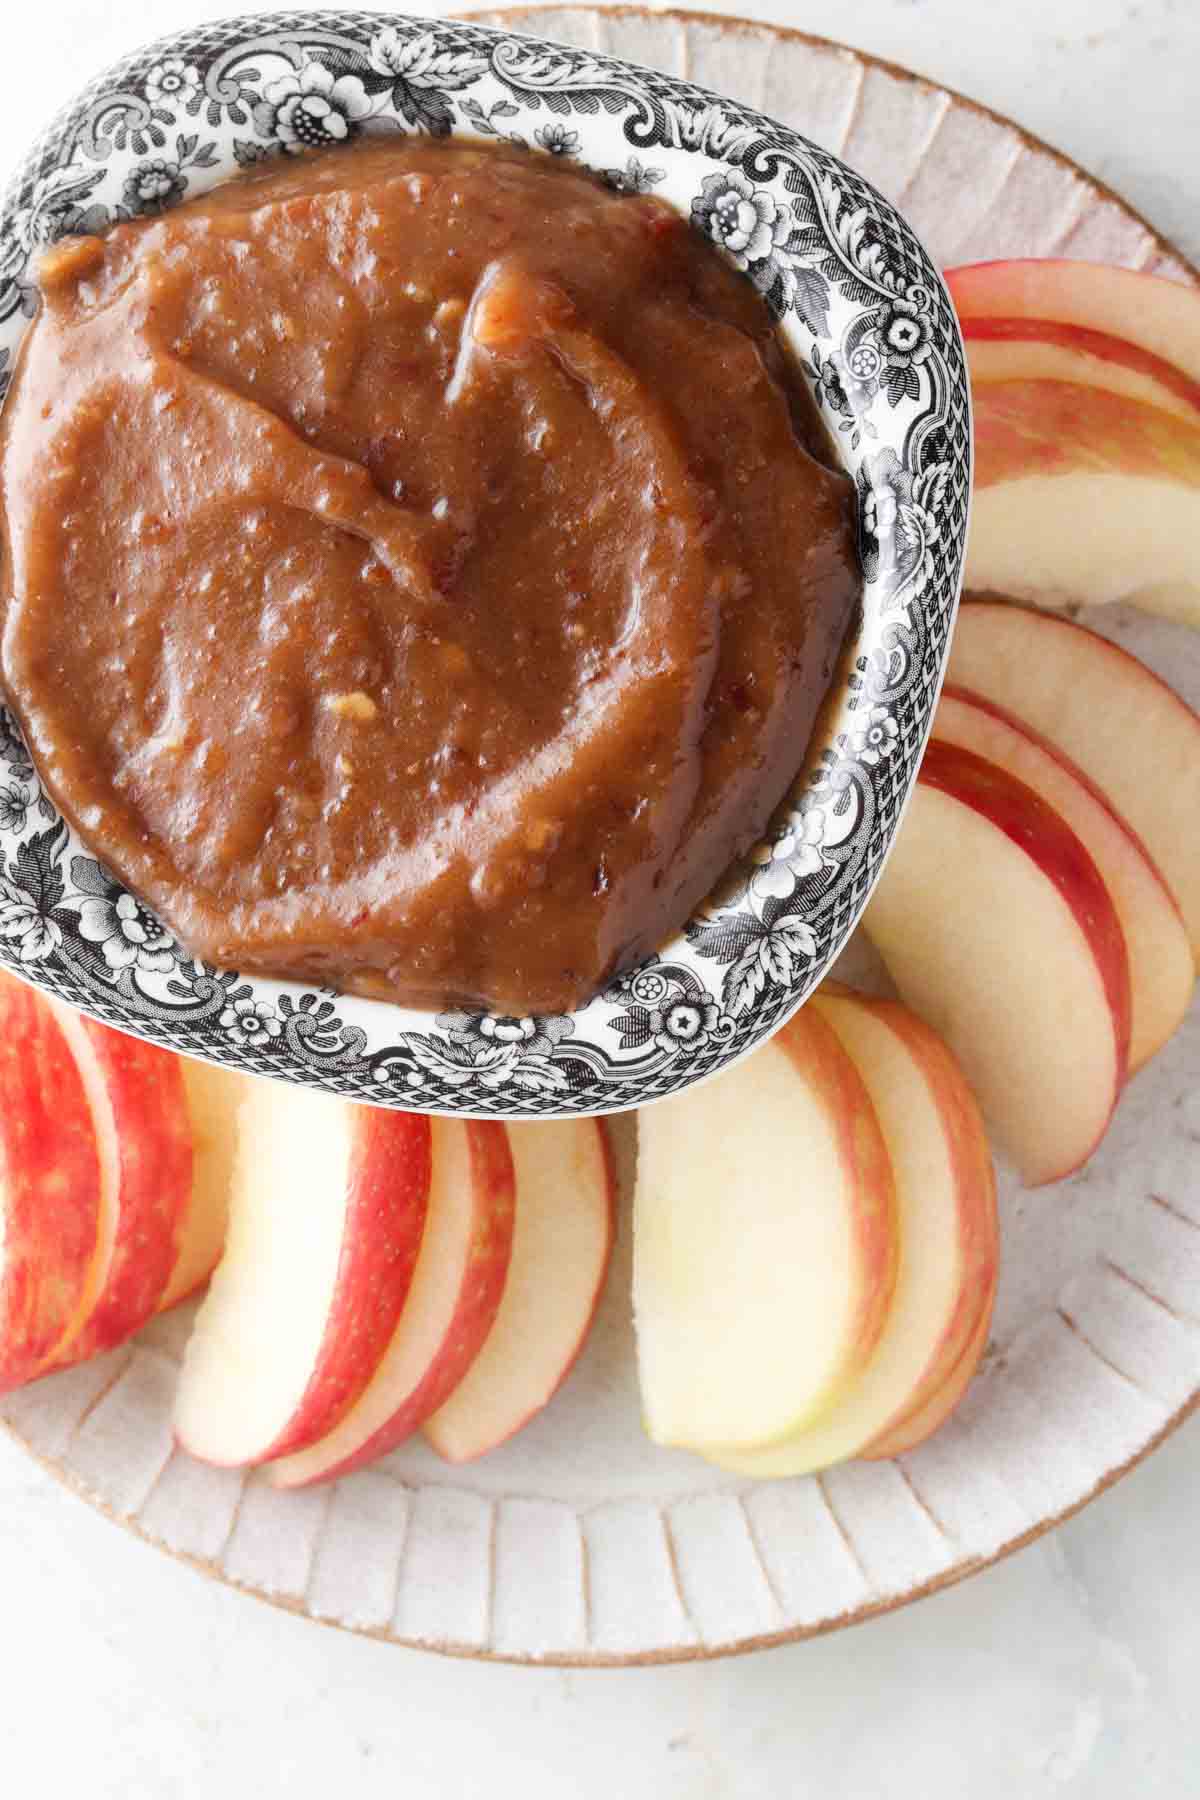
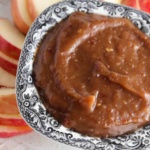
I like to put this recipe in a small serving bowl on a platter with variety fresh fruits! Fresh strawberries and apple slices are my favorite. You can even make a fun snack board with it too.
This recipe can last in the fridge in an airtight container for up to 5 days.
I suggest making it fresh.
Add a little lemon juice on top!
Other Dairy Free Dips You Will Love
Are you interested in a guide of my go to healthy alternatives?
Download your FREE guide below.
Vegan Fruit Dip
Equipment
- high speed blender
Ingredients
- 1 cup milk I use almond milk.
- 2 cups dates Make sure the pits are removed!
- 3/4 cup maple syrup
- 1/4 tsp sea salt
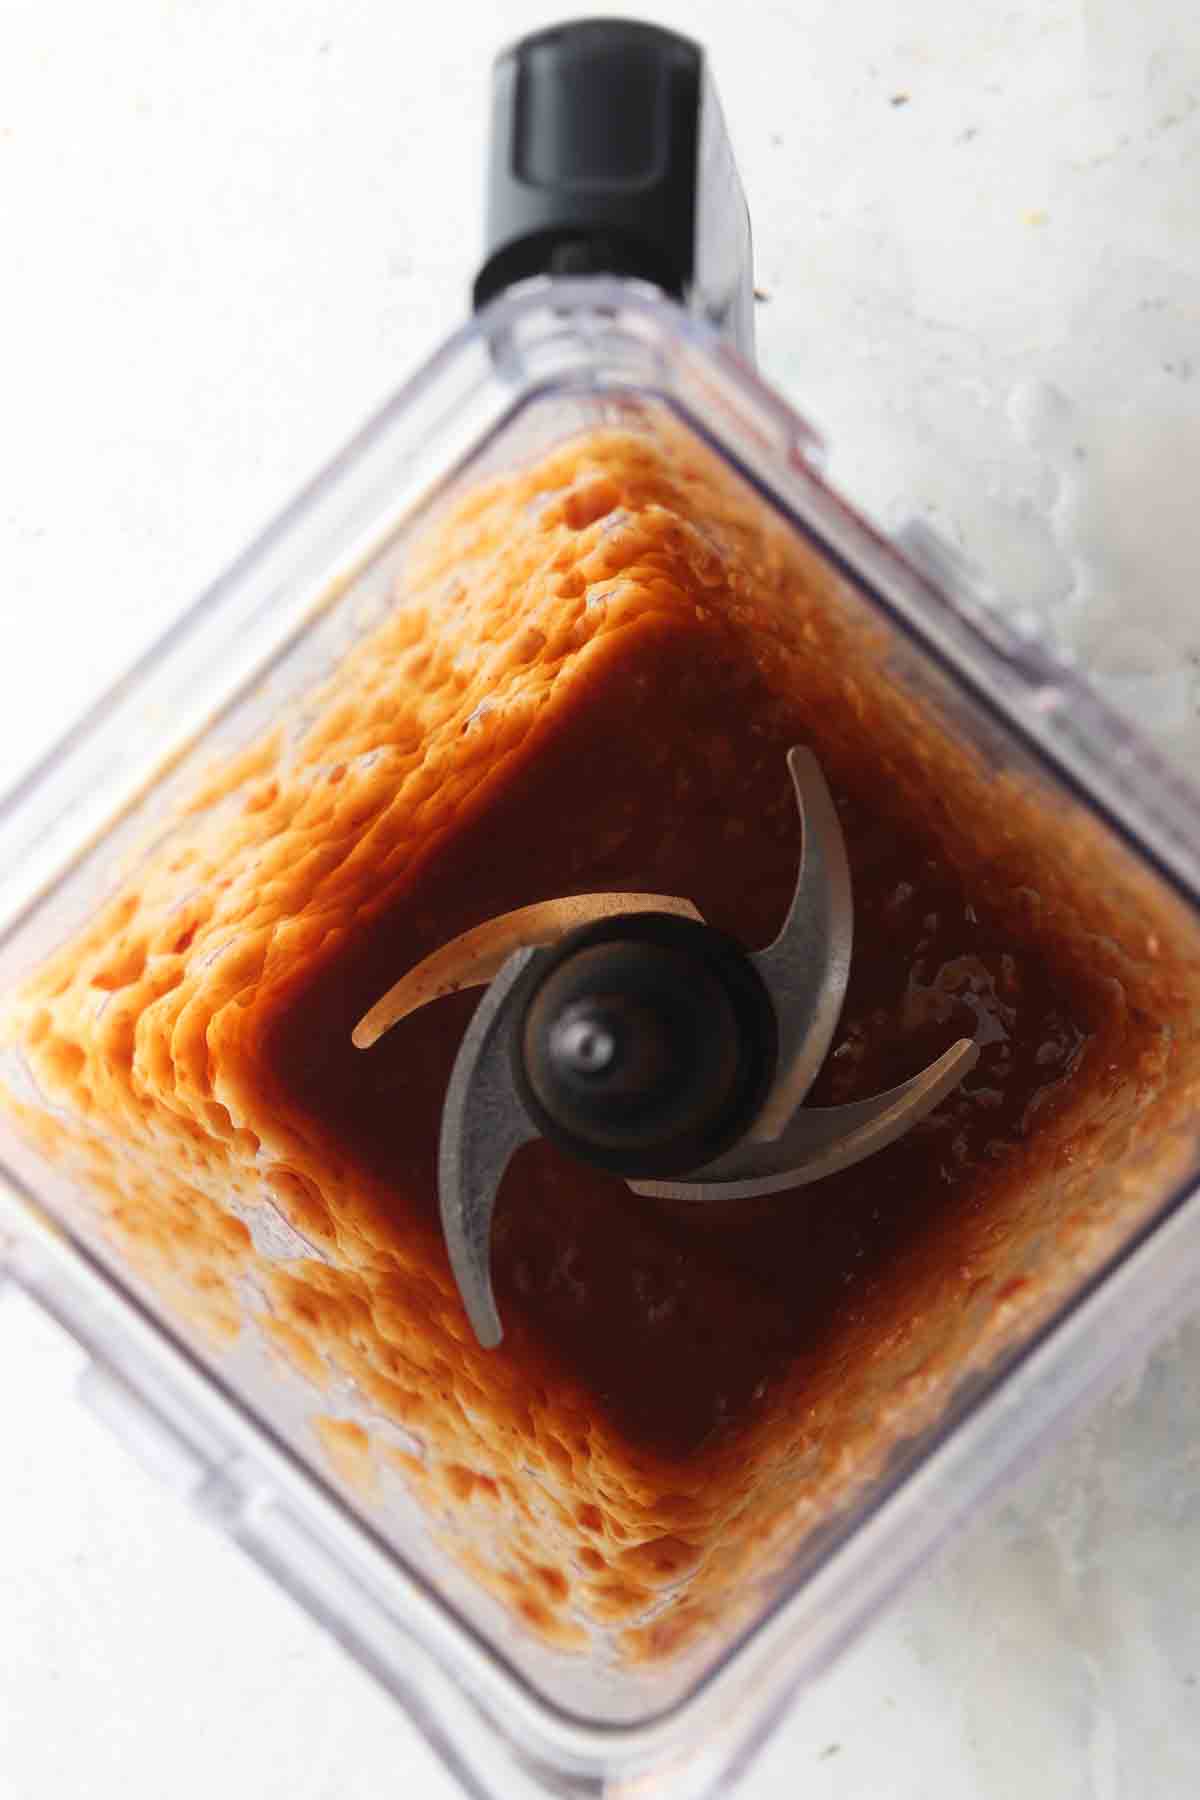
Instructions
- Place all ingredients in a food processor and blend until smooth.